

The Big One

According to my father Ed, his father, Sam, when coming to the end of a big job would often say: “Here’s the one we were looking for.” It was a simple observation, no doubt meant to elicit joy in his farmhands: Ed and three older sisters. I like to utter that one, too, when completing certain jobs. To be clear, my “jobs” are nothing compared to farming chores of the early twentieth century; when fields were plowed with horses and hay was pitched with forks. Still, it is satisfying to declare that you have, at last, finished the final task. The job under discussion here is the fourth and final cornice for our living room: the Big One.
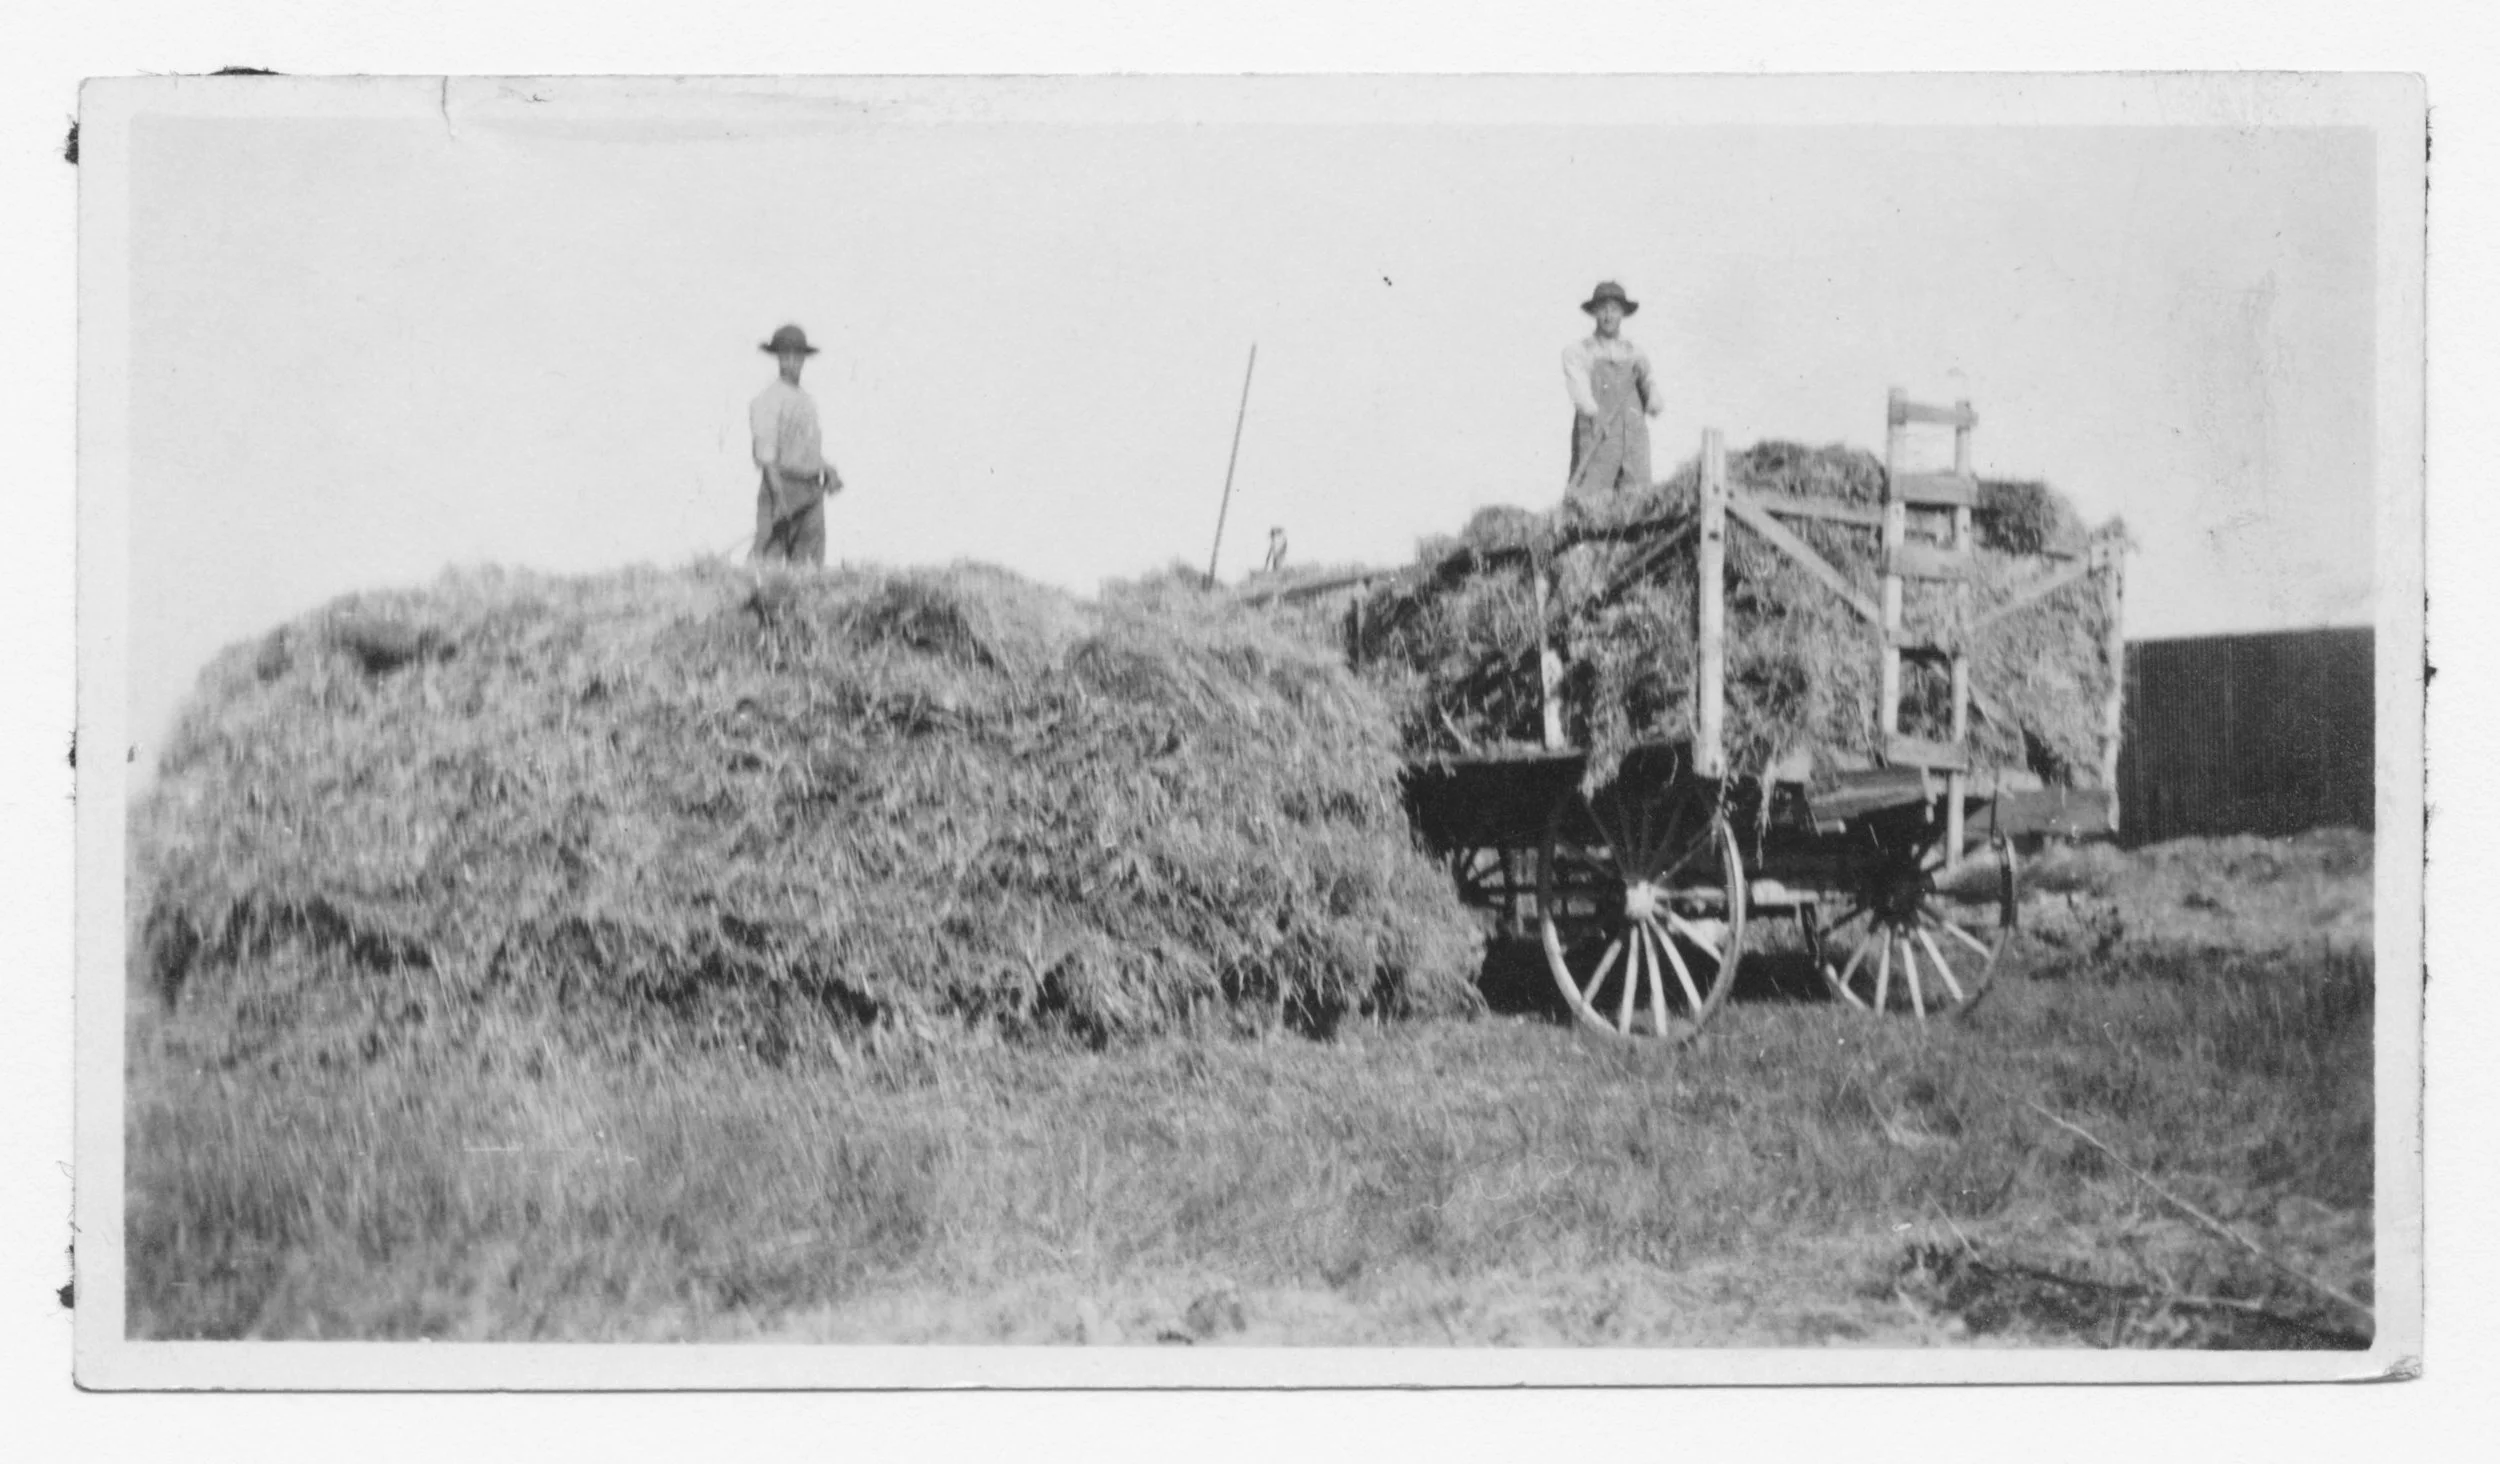
Once upon a time on the farm
Design
The design for this cornice is very similar to the last one, with just the panel dimensions changed to accommodate the new window sizes. I hope it works. That so-called “sophomore cornice” was mounted atop three windows of identical widths, whereas this one includes a large, 5 foot central window flanked by two smaller versions in what was once a dining room that overlooks the backyard.

“Dining room” windows
It should be a straightforward build, but before getting started a simple plan was produced to put the dimensions on paper and glimpse the ensemble’s relative proportions.
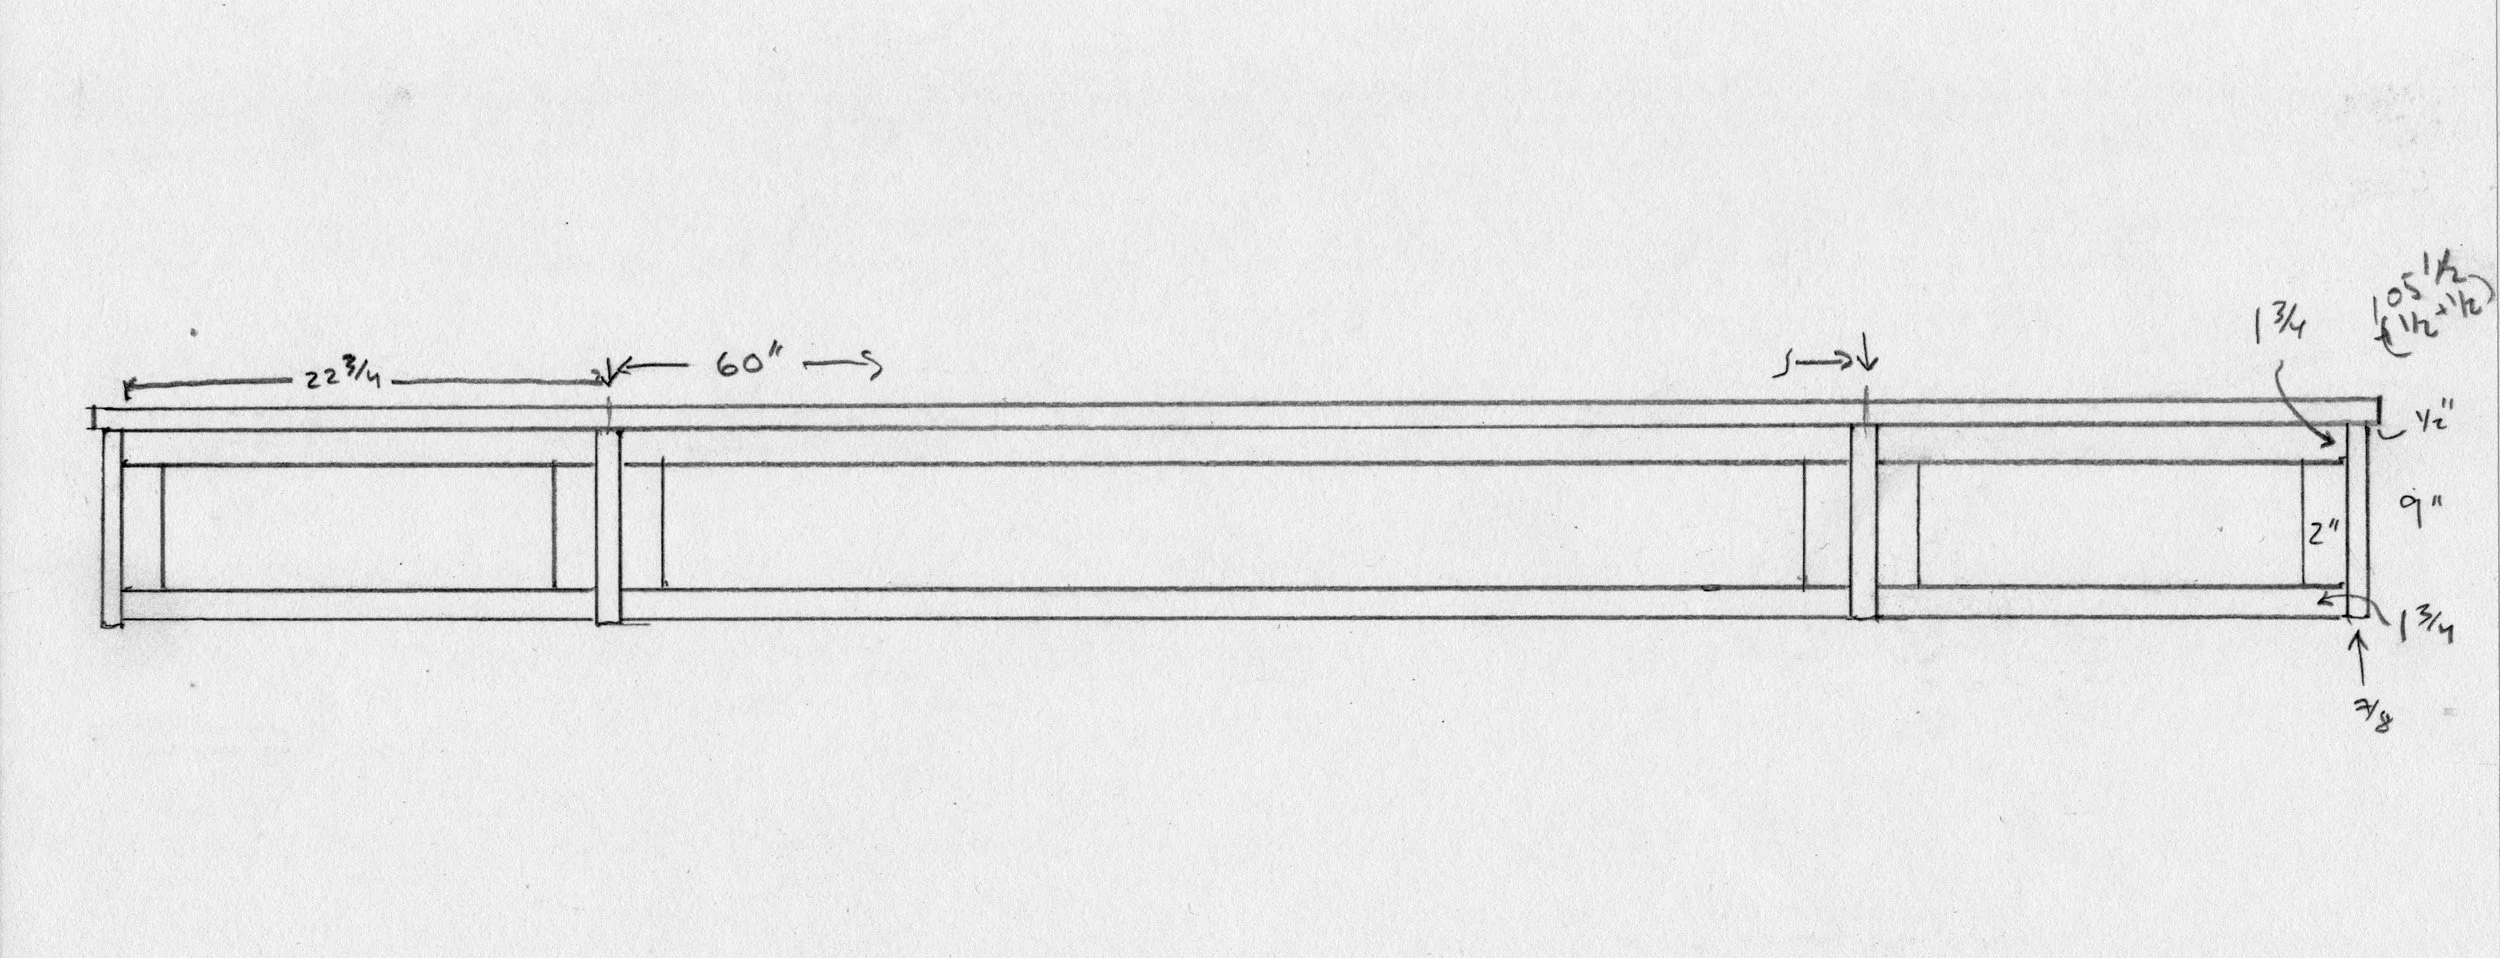
Rough plan
Materials
Four 4/4 white oak boards, three quarter sawn and one rift sawn, were procured from Reader’s and marked with chalk for processing into stiles, rails, panels and trim.
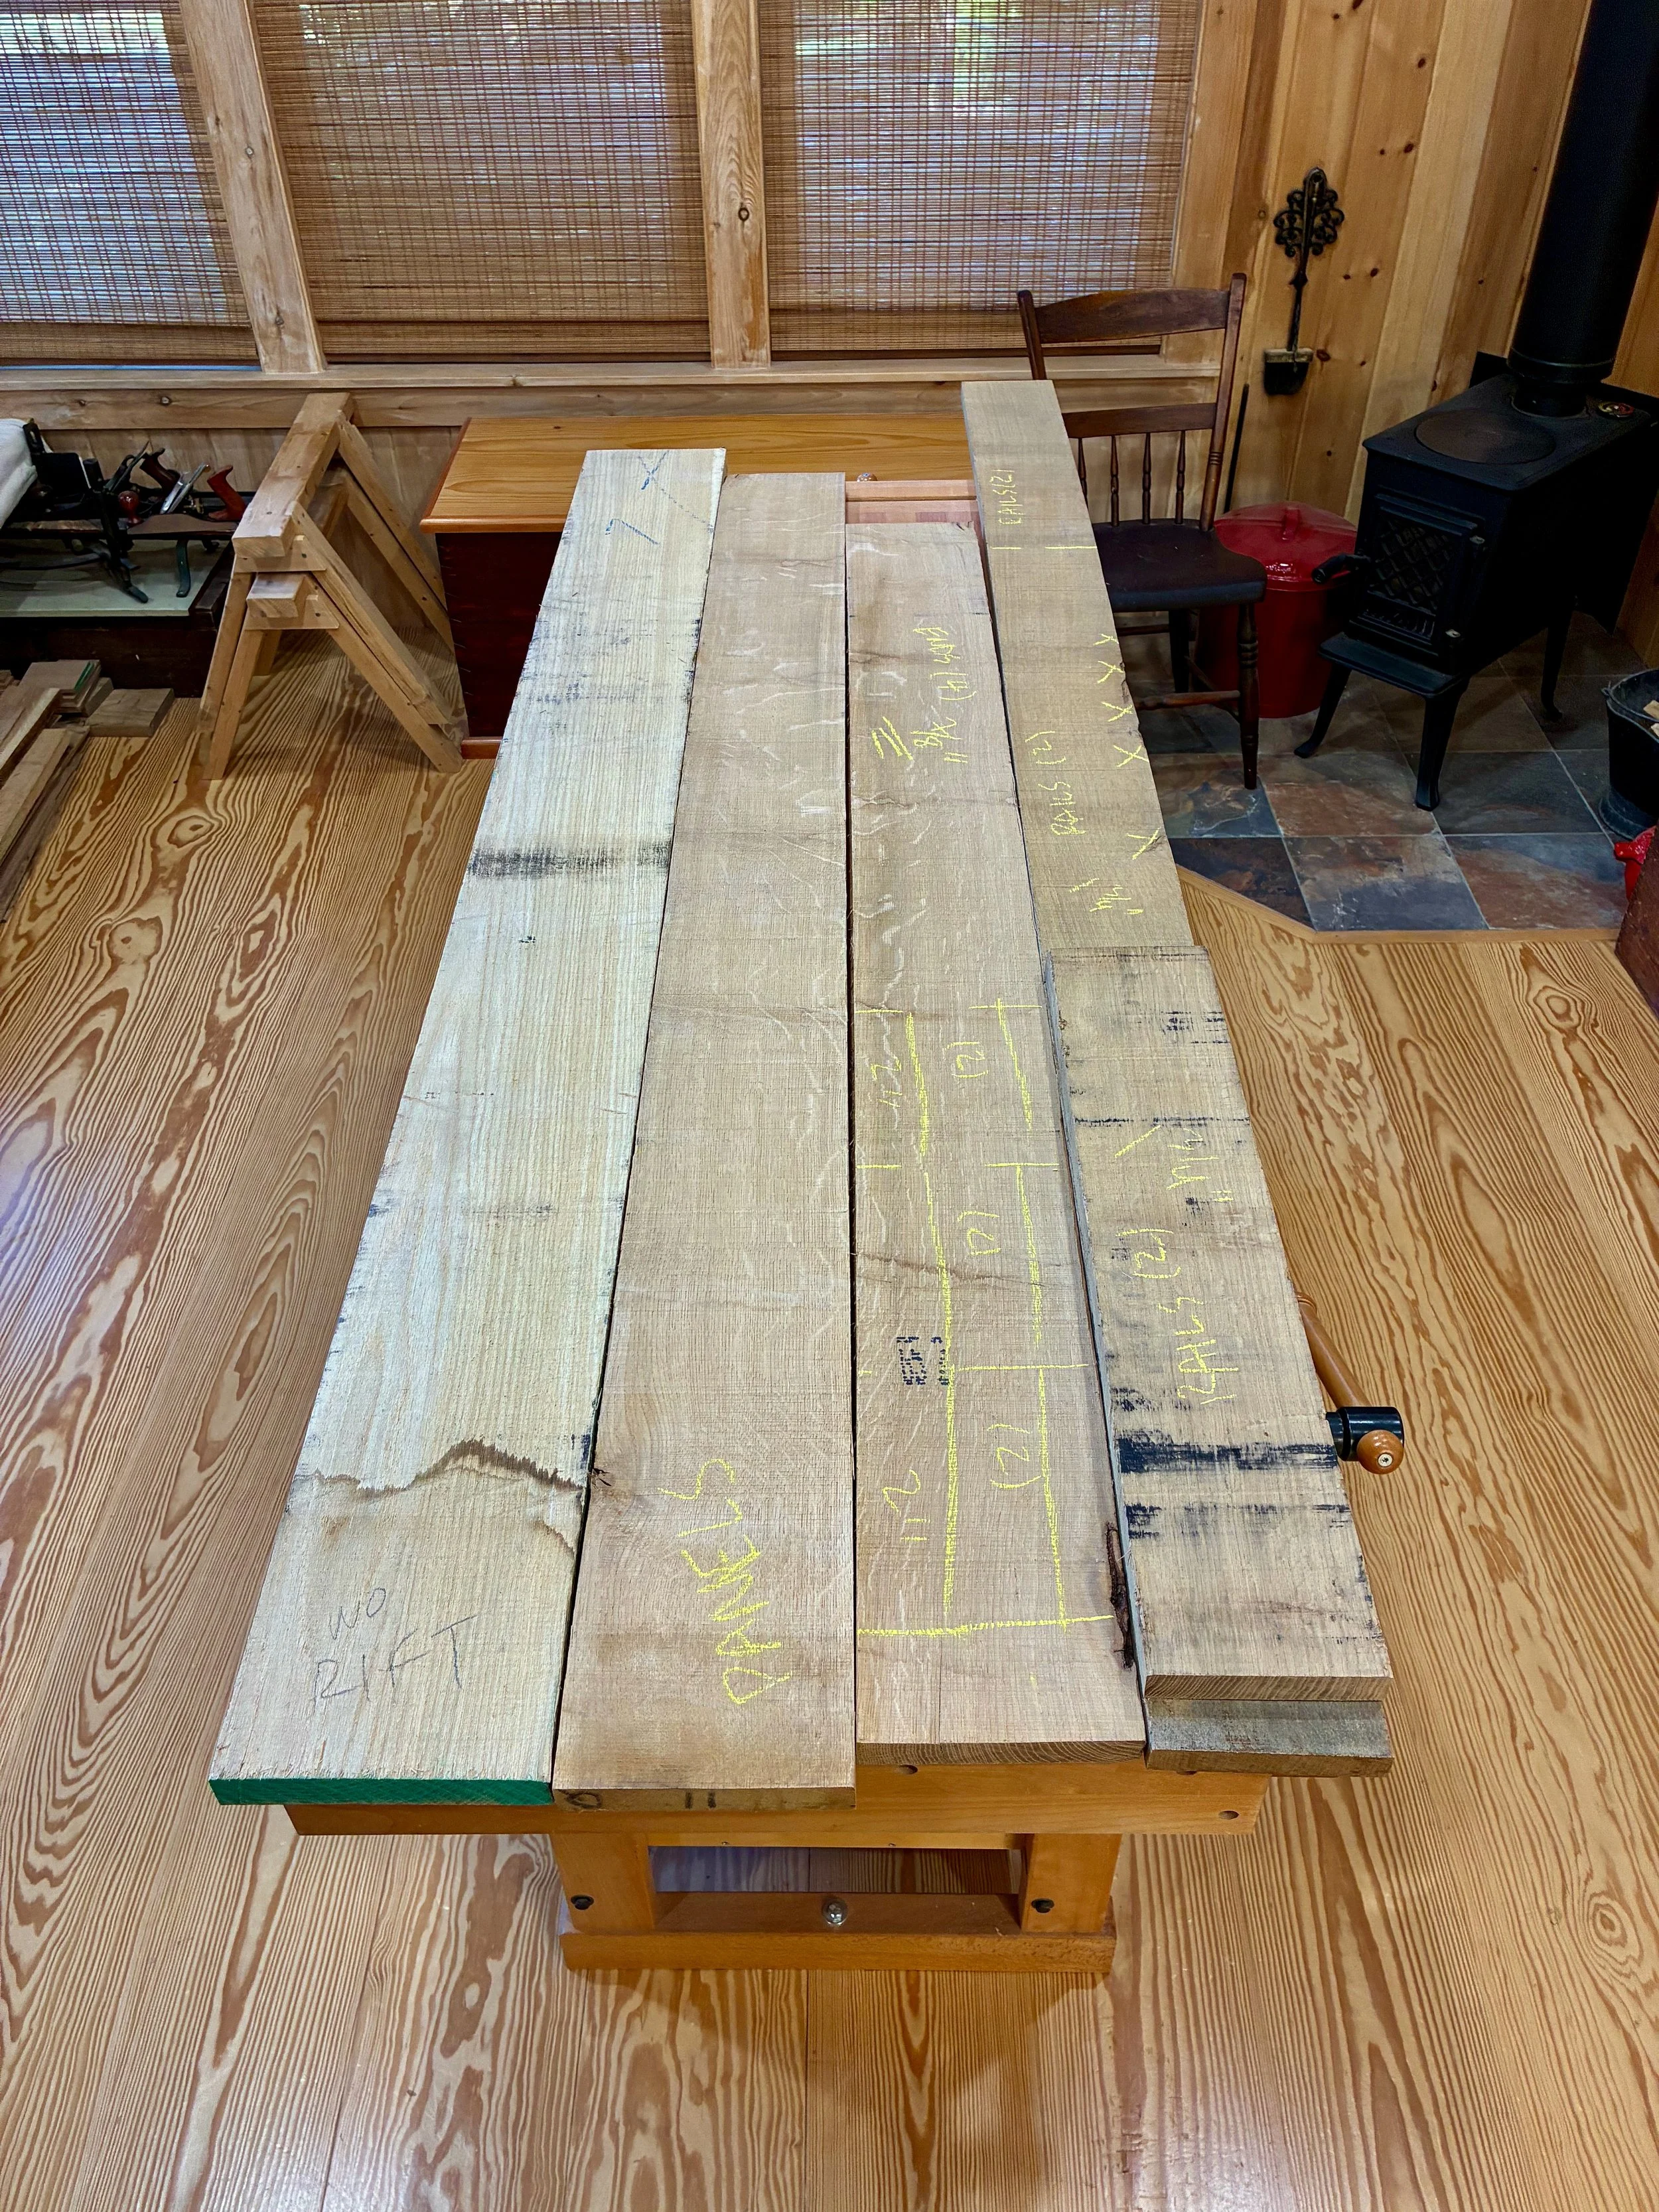
White oak cornice wood
Dimensioning, Assembly & Finish
Using a few oak pattern pieces saved from the prior build, to help set the tool fences, there is nothing remarkable about this construction story and so I’ll spare the details and just leave you to imagine the fun. <pause>
Once the cutting and dressing operations were finished, the panels were constructed as 3 sub-assemblies.
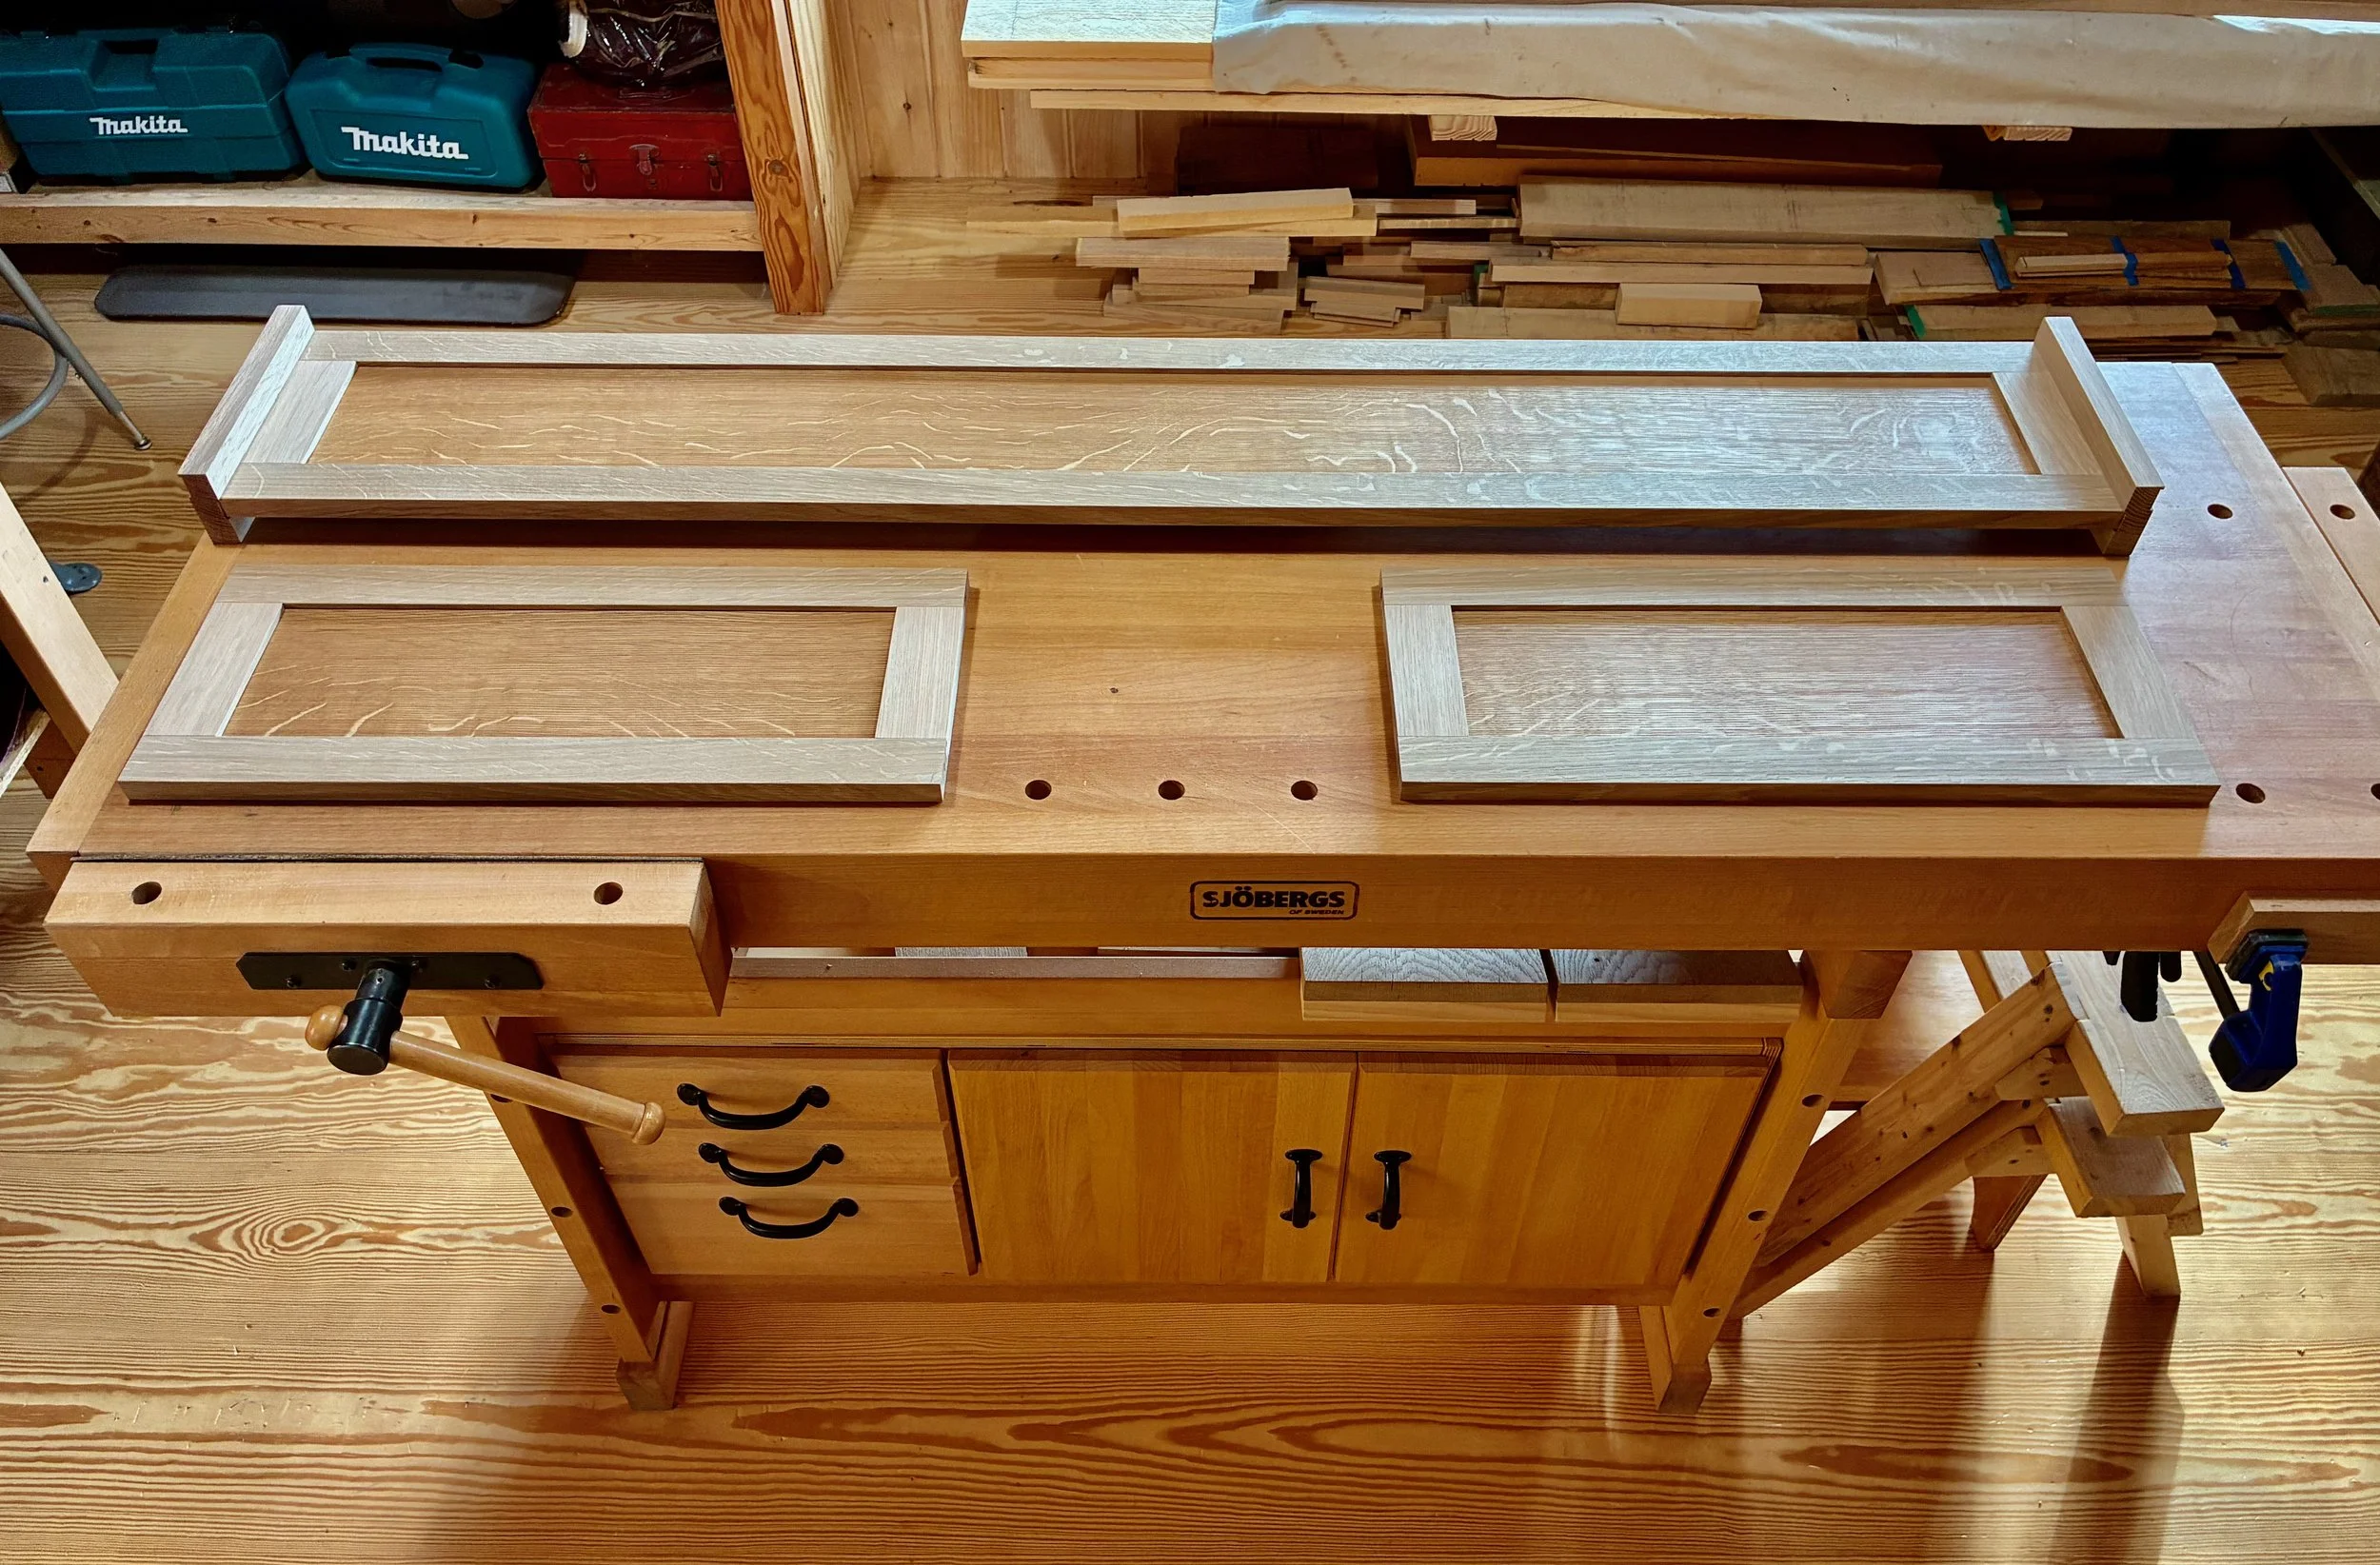
Cornice panels
To complete the build, the end caps were attached to the smaller panels with pocket screws, and then these sections were connected to the center panel in a similar manner. At almost 9 feet in length it was a challenge to support and hold the thing square while it was coming together. I’m not saying I need a bigger workshop, just maybe more clamps.
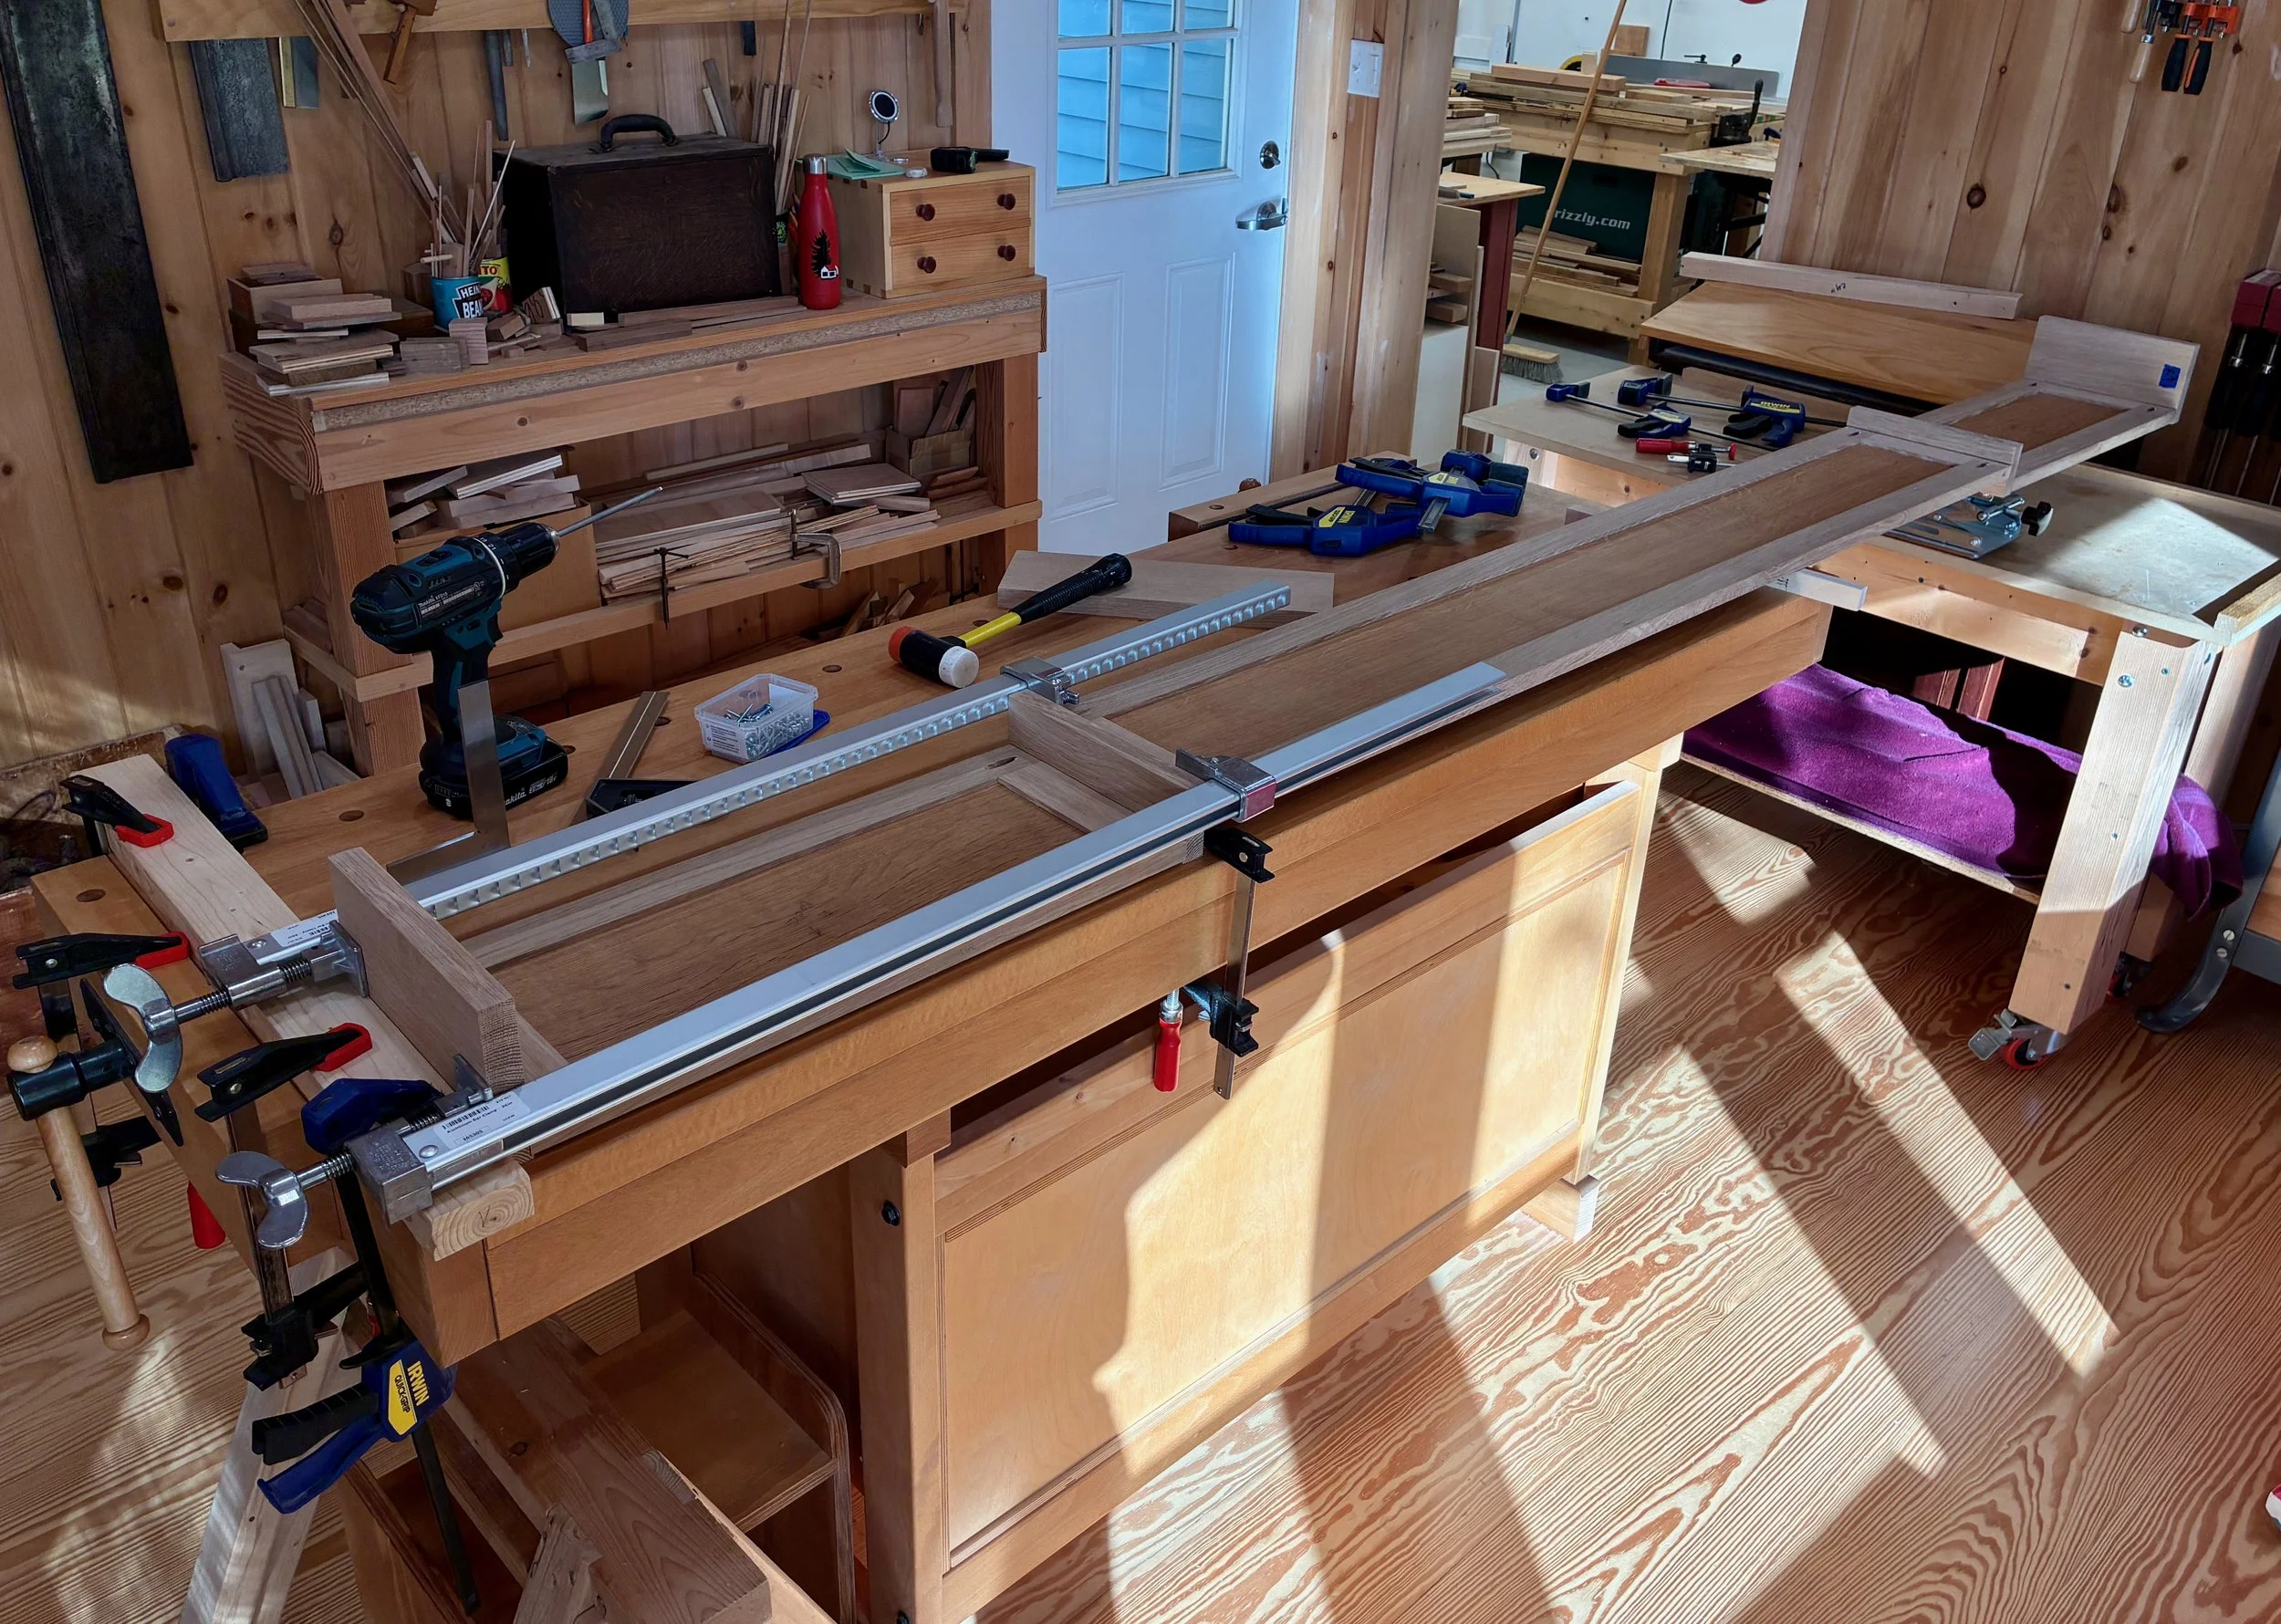
Connecting the panels together
Following assembly, the top trim was fabricated from rift sawn wood and attached as before. The cornice was then treated with two applications of boiled linseed oil and allowed to cure for a few days afterwards.

Finished cornice (upside down)
Lastly, my furniture hand (son), Ben, stopped by to assist with installation and to find “the one we were looking for”.
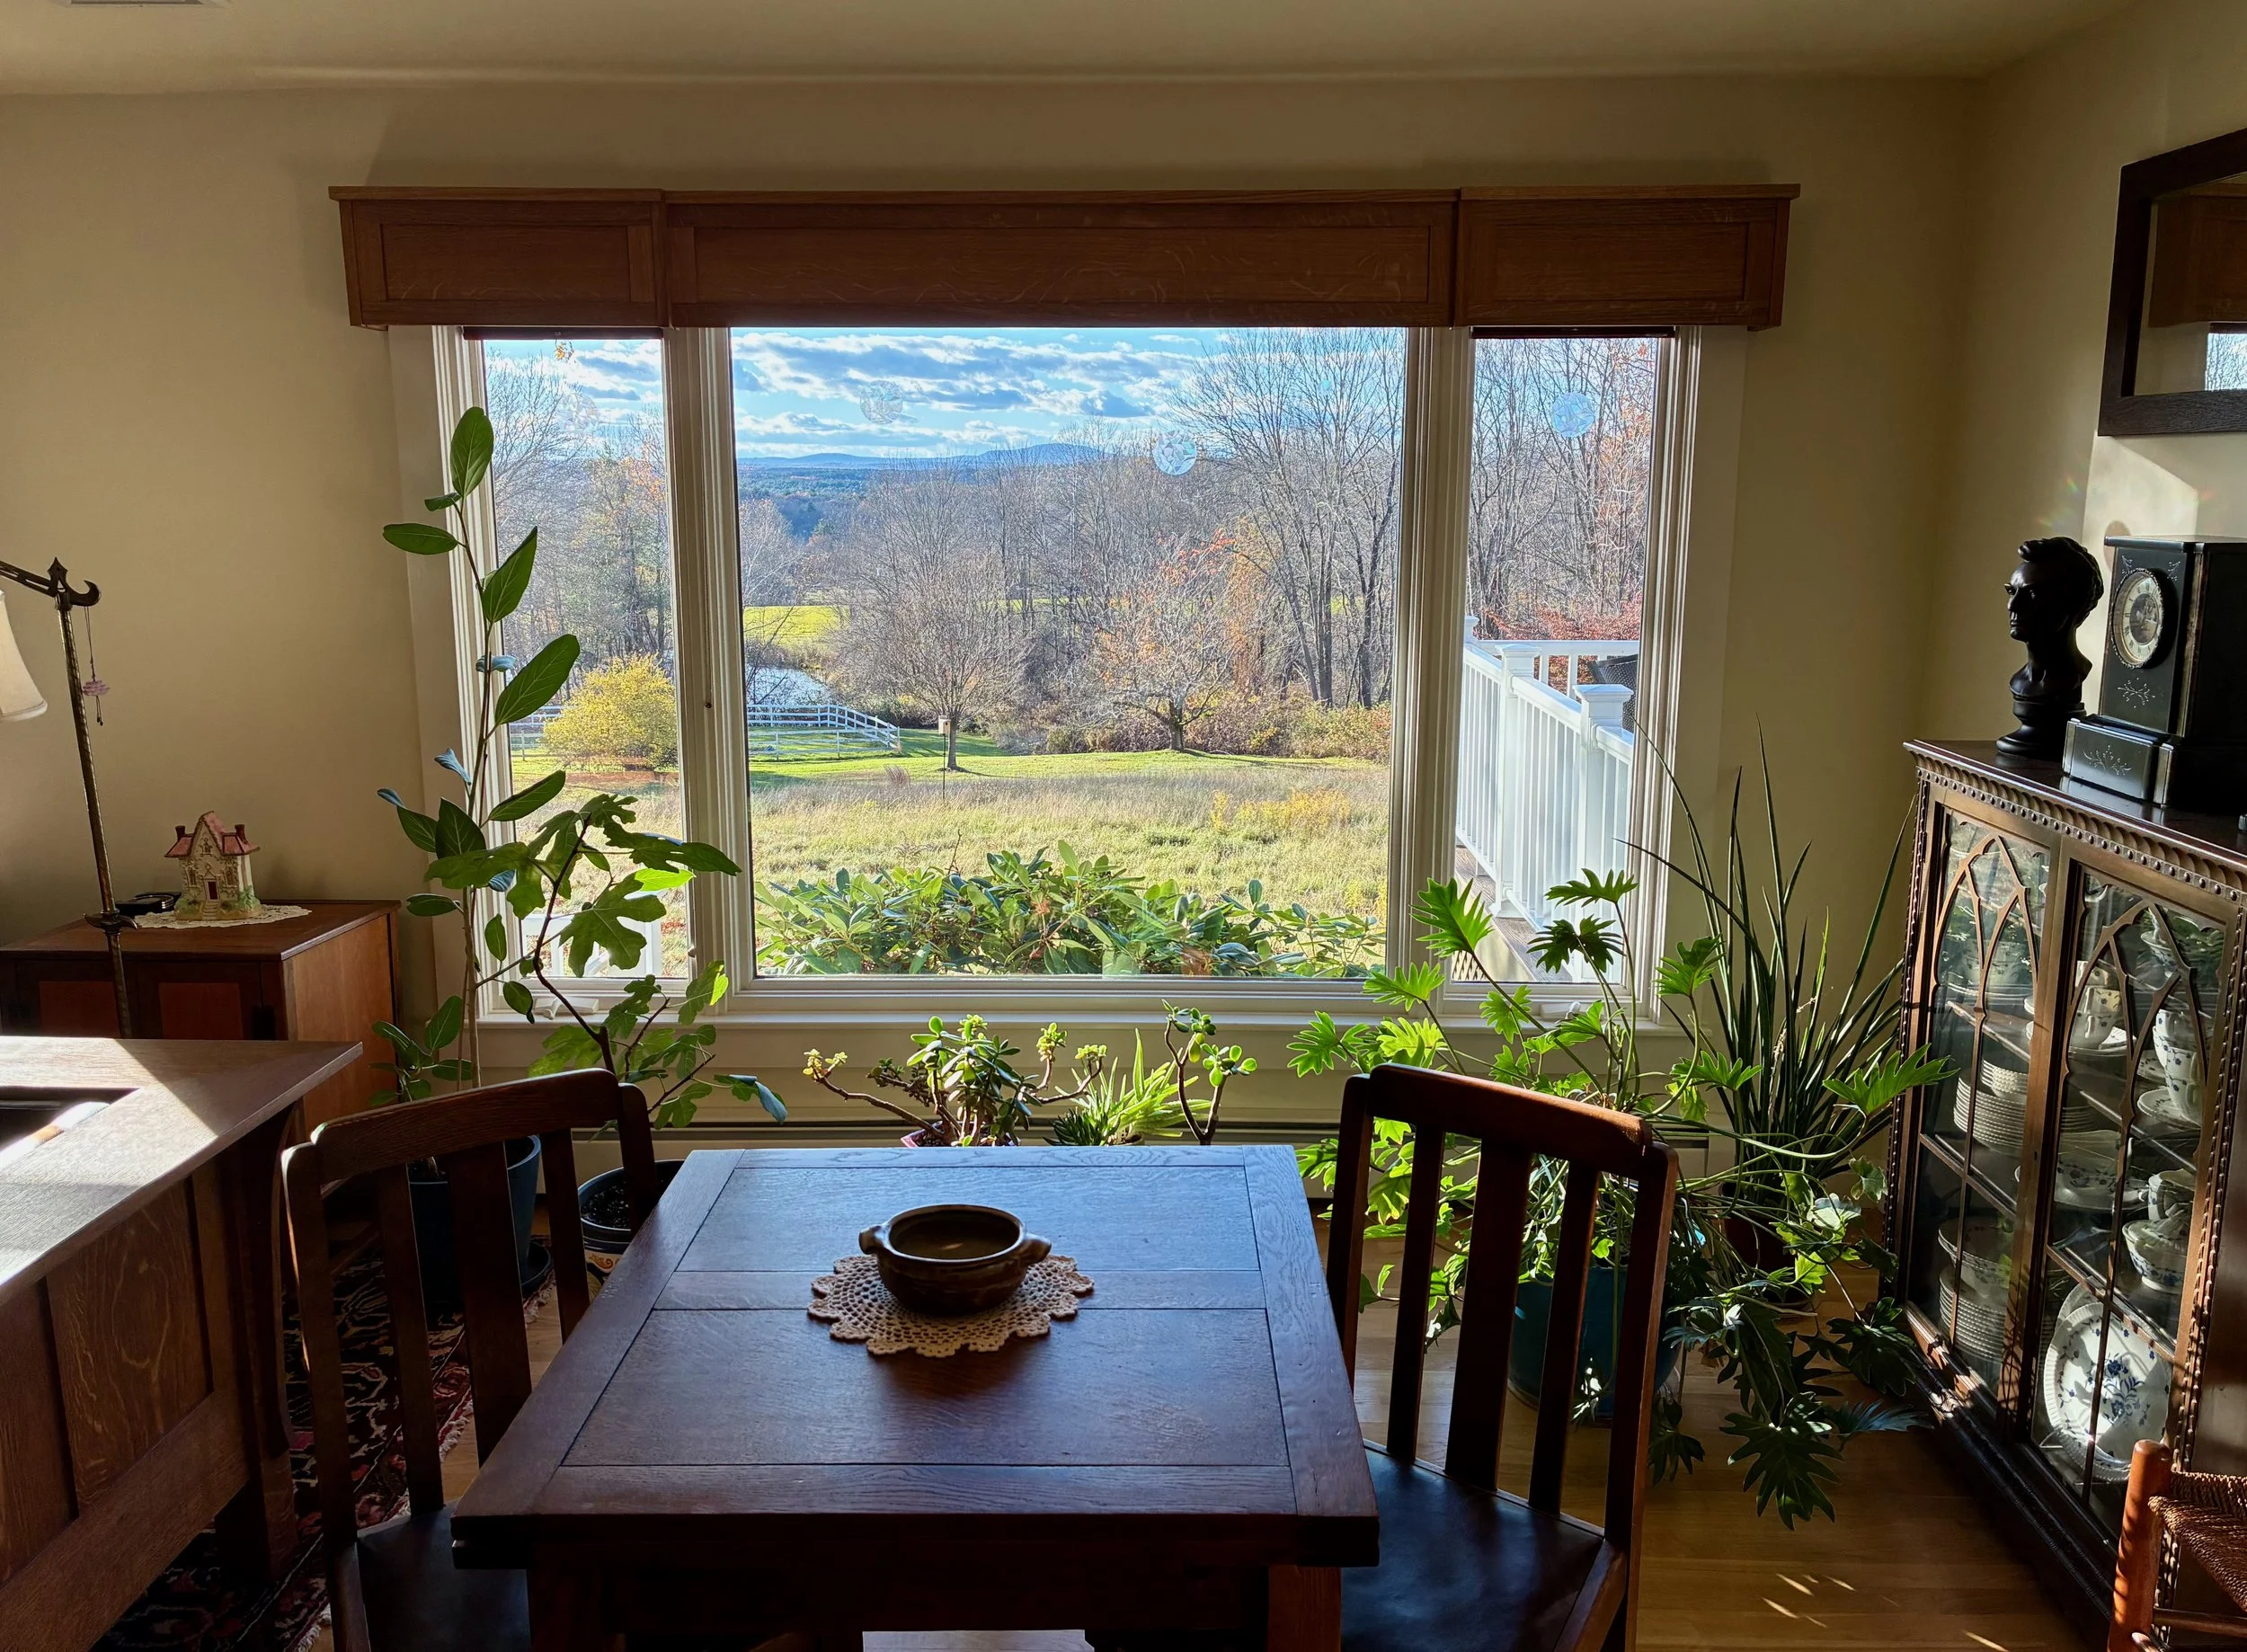
The Big One in its place