

Sophomore Cornice
Here’s a timeless question fraught with feelings:
I liked the last one, but how will the next one compare?
This natural query can elicit thrills or, when the stakes are high, dread. For me, it brings back memories of hope; as in tearing the plastic from a band’s new album and hoping you will like it as much as you enjoyed their last. Sometimes you do - sometimes you don’t. More than a feeling, that was my state while embarking on this Project.

Notable first and second efforts
I took a break after completing the Craftsman Cornices for the purpose of working with a different wood and joinery scheme. But, to complete my neo-bungalow living room there were two more window banks to outfit so I’d best keep at it. The window areas were different enough that it seemed prudent to tackle them one at a time. The current Project addresses a trio of identical windows on the West wall that, today, are a feature of our living room but were once part of a bedroom (it’s complicated).
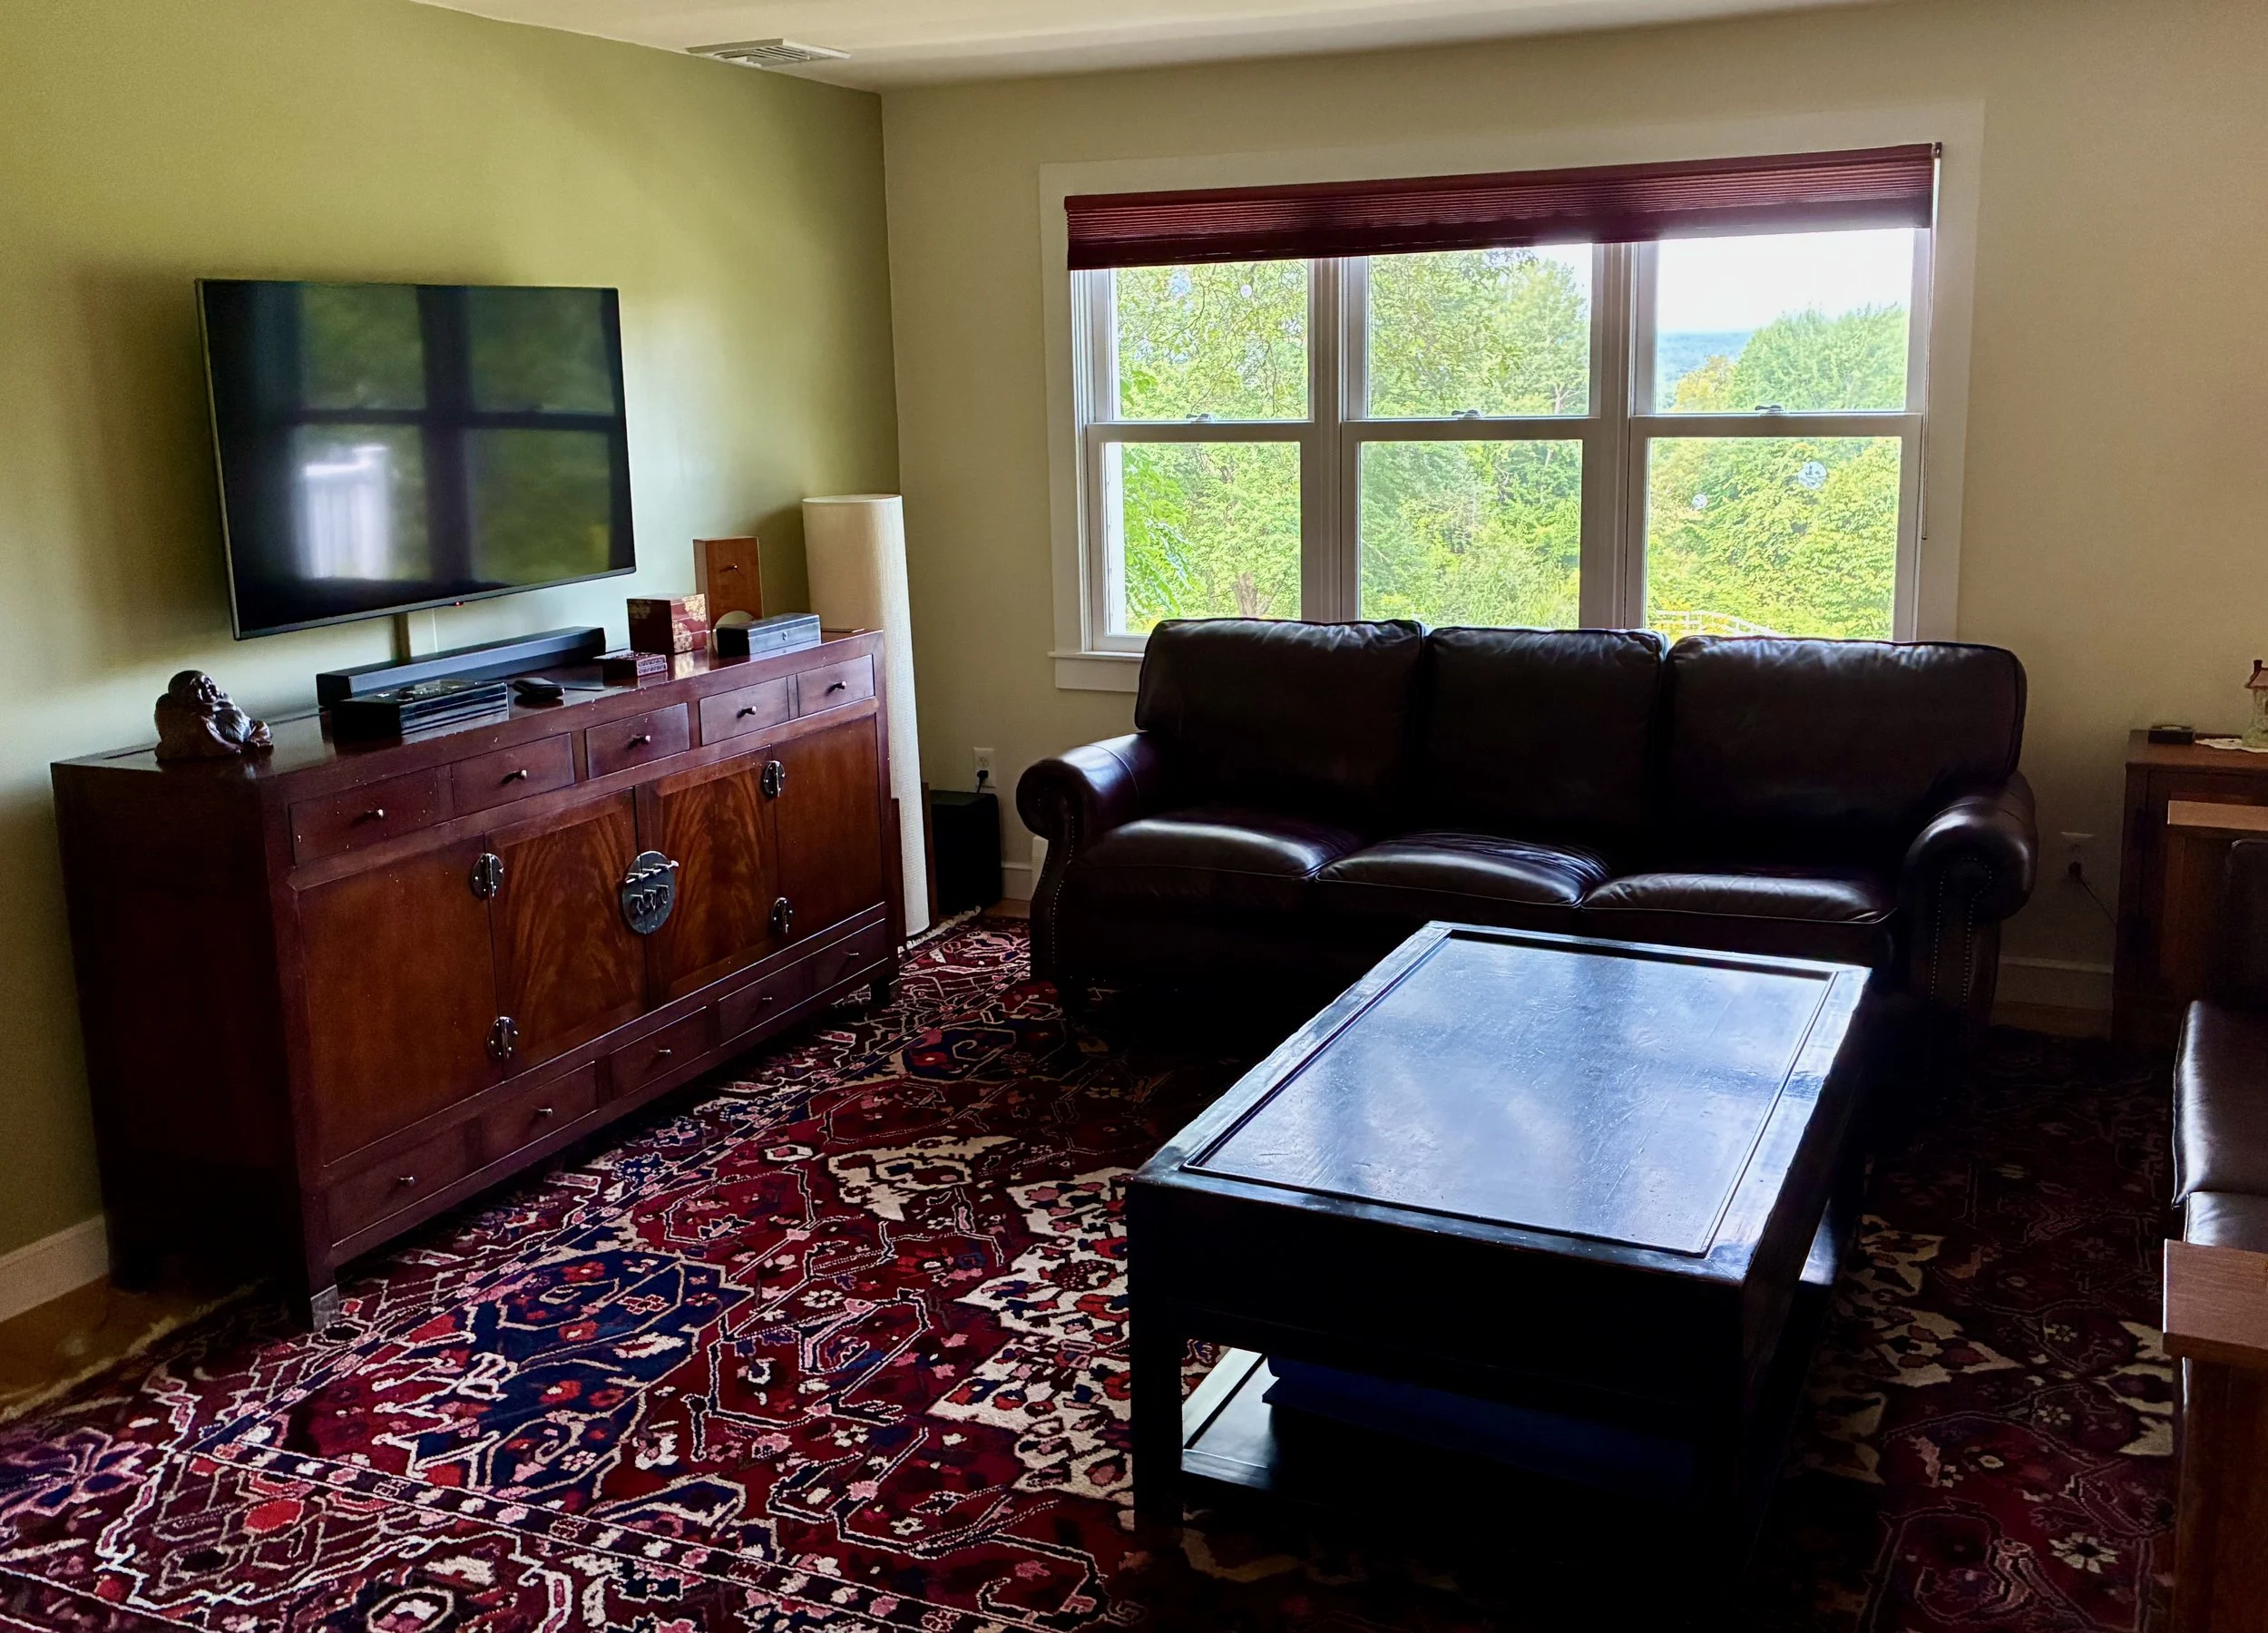
Target windows
Design
Much like those Boston album covers the new design would be a variation on the old; no new features, just a new take. The big idea was to add some dimensionality to the sequence of three framed panels by protruding one or two beyond the other(s); just enough to add interest without overpowering the scene. All of the part dimensions would match the “old” cornices, as would the materials, so the only remaining choice was: one lump, or two?
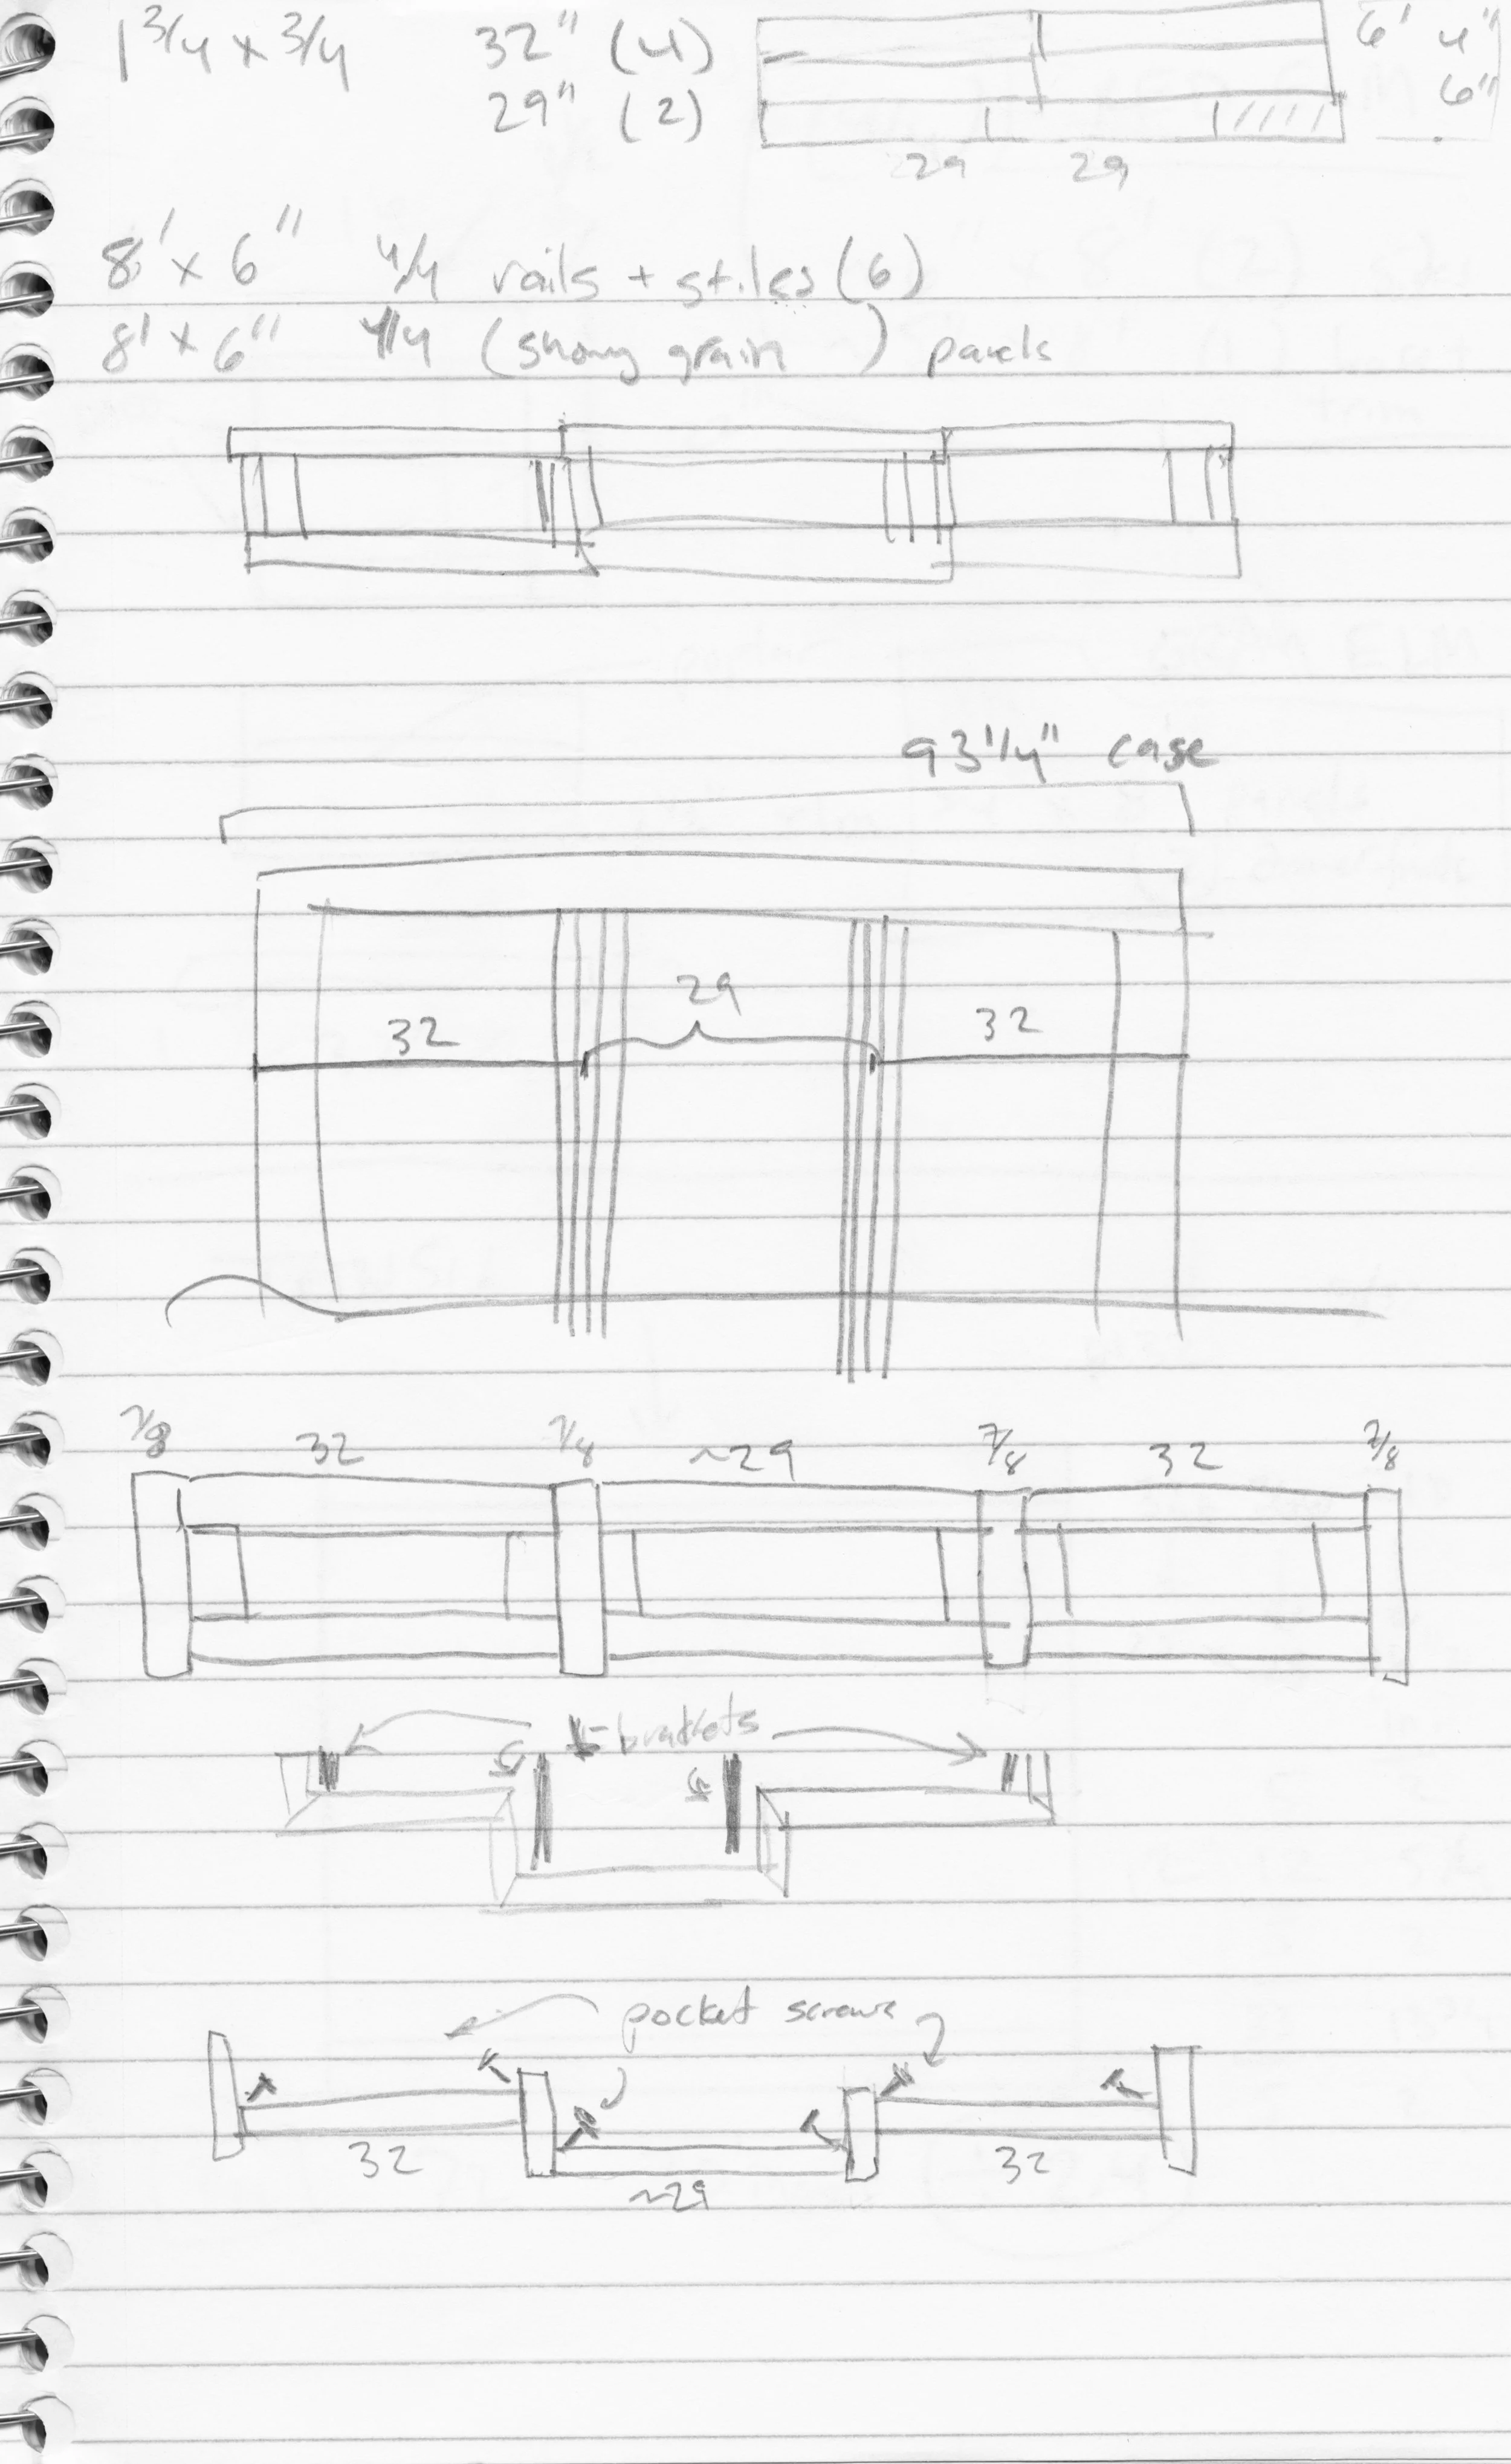
Hastily jotted construction plan and mill bill
I know of no existing design precedent, and think both patterns would look fine. The deciding factor for the use of two lumps was the peculiar fact that the wheel for this window’s blind cord was temperamental, and prone to coming unhitched when operated inattentively. It was hoped that a protruding panel on the end would provide enough extra space to rig something (TBD) that would allow for re-threading the spool, as needed, without dismounting the heavy cornice.
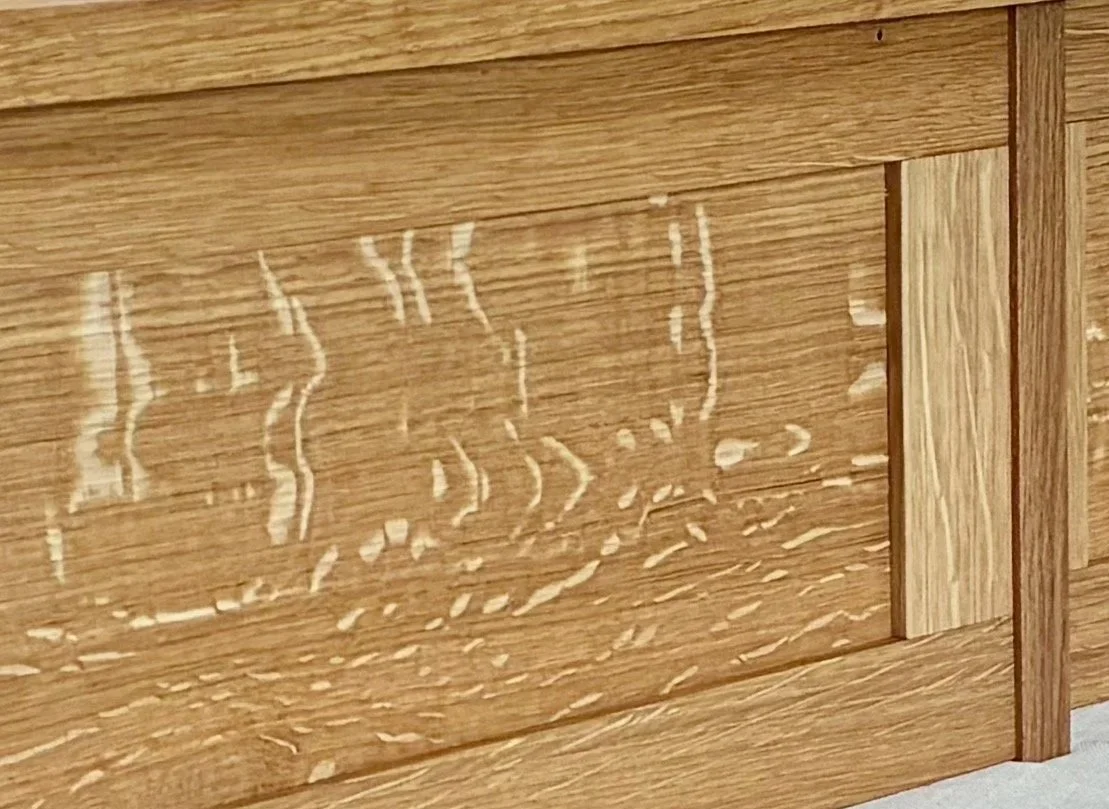
Materials
White oak boards, two quarter sawn and one rift sawn, were procured from Reader’s Hardwood Supply. I purchased these among a bunch of boards for use in the next project and so forgot to take a picture before diving in.
Dimensioning
With forethought, I had saved a few cut-offs from the original Craftsman Cornice. By definition these are milled to the exact dimensions (thicknesses, dado widths/depths, etc) required here and so were used to set the fences and blade heights for the new build. This made everything super easy and within a couple days I had all of the major parts prepared for the three panels.
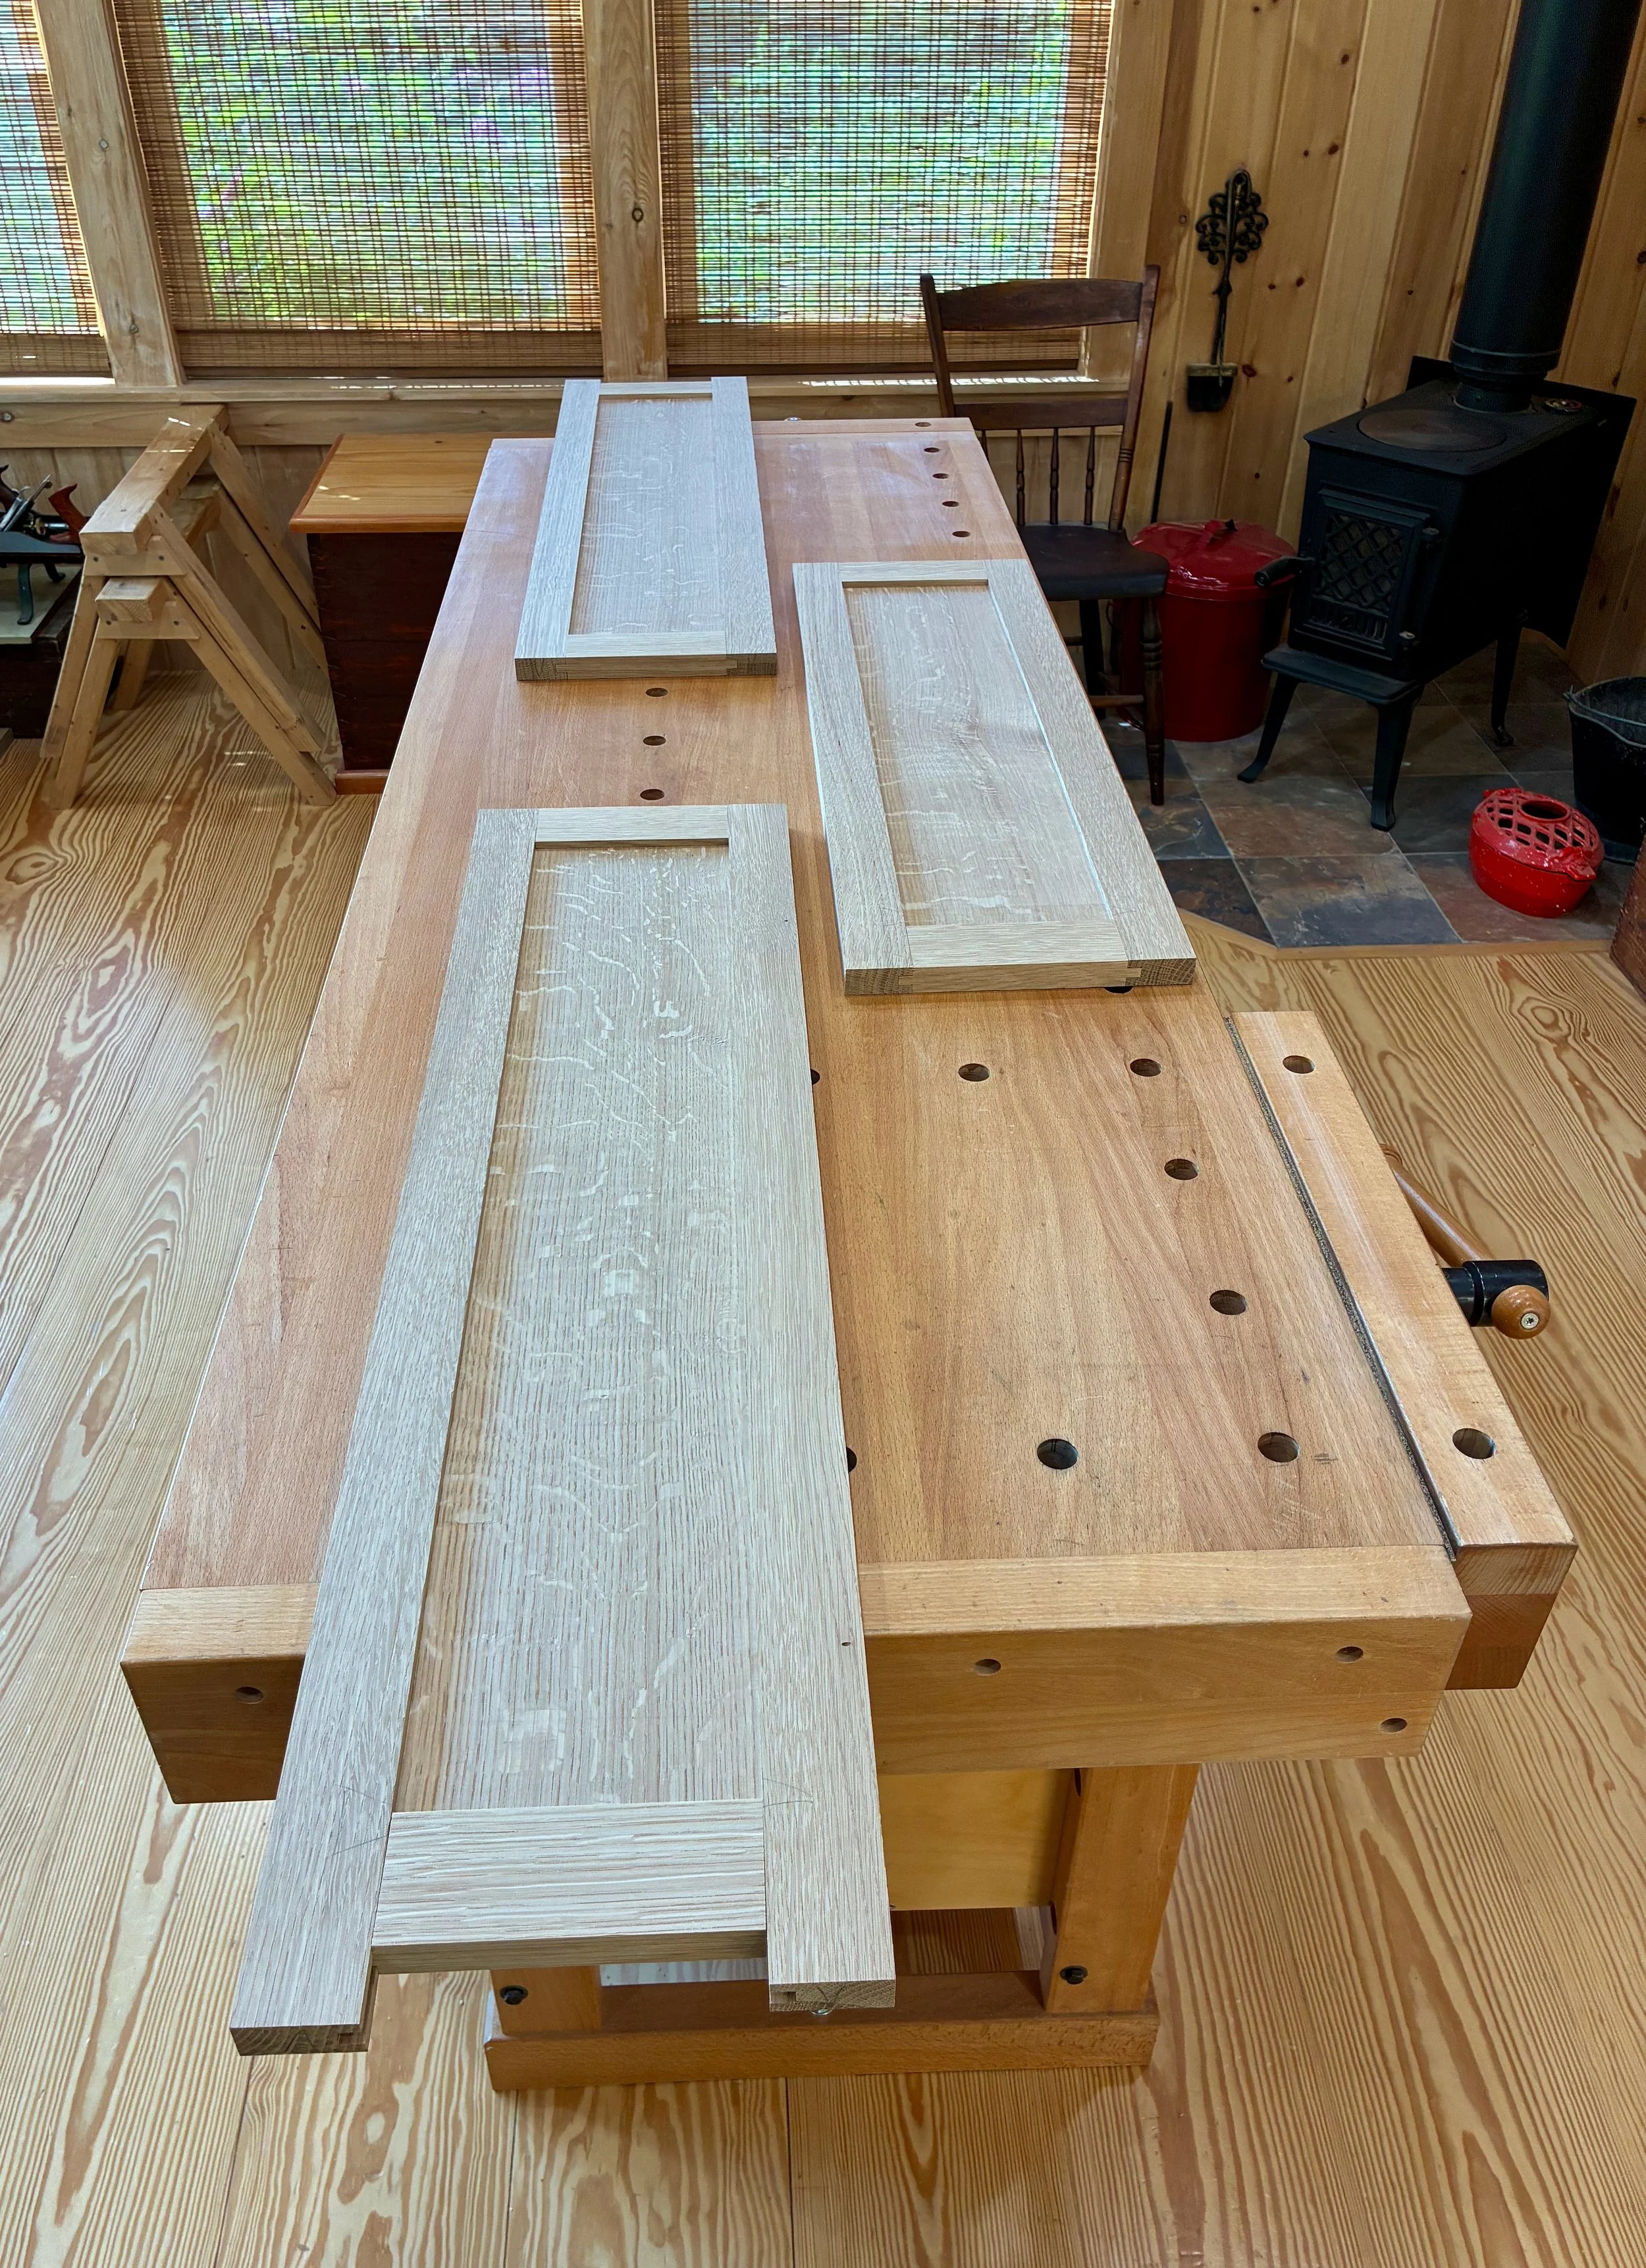
Dry-fit panel sections
The cornice would be constructed from the inside out. This meant getting the dimensions of the central section properly established so that the two connecting boards could then be added, followed by the flanking sections, trimmed to their correct final length. I decided on a 1 inch offset for the center section and, using rift sawn stock, constructed two connecting boards with shallow dadoes to impart this pattern. A rift sawn board was also used to create the top trim in three sections, as well as the two end panels.
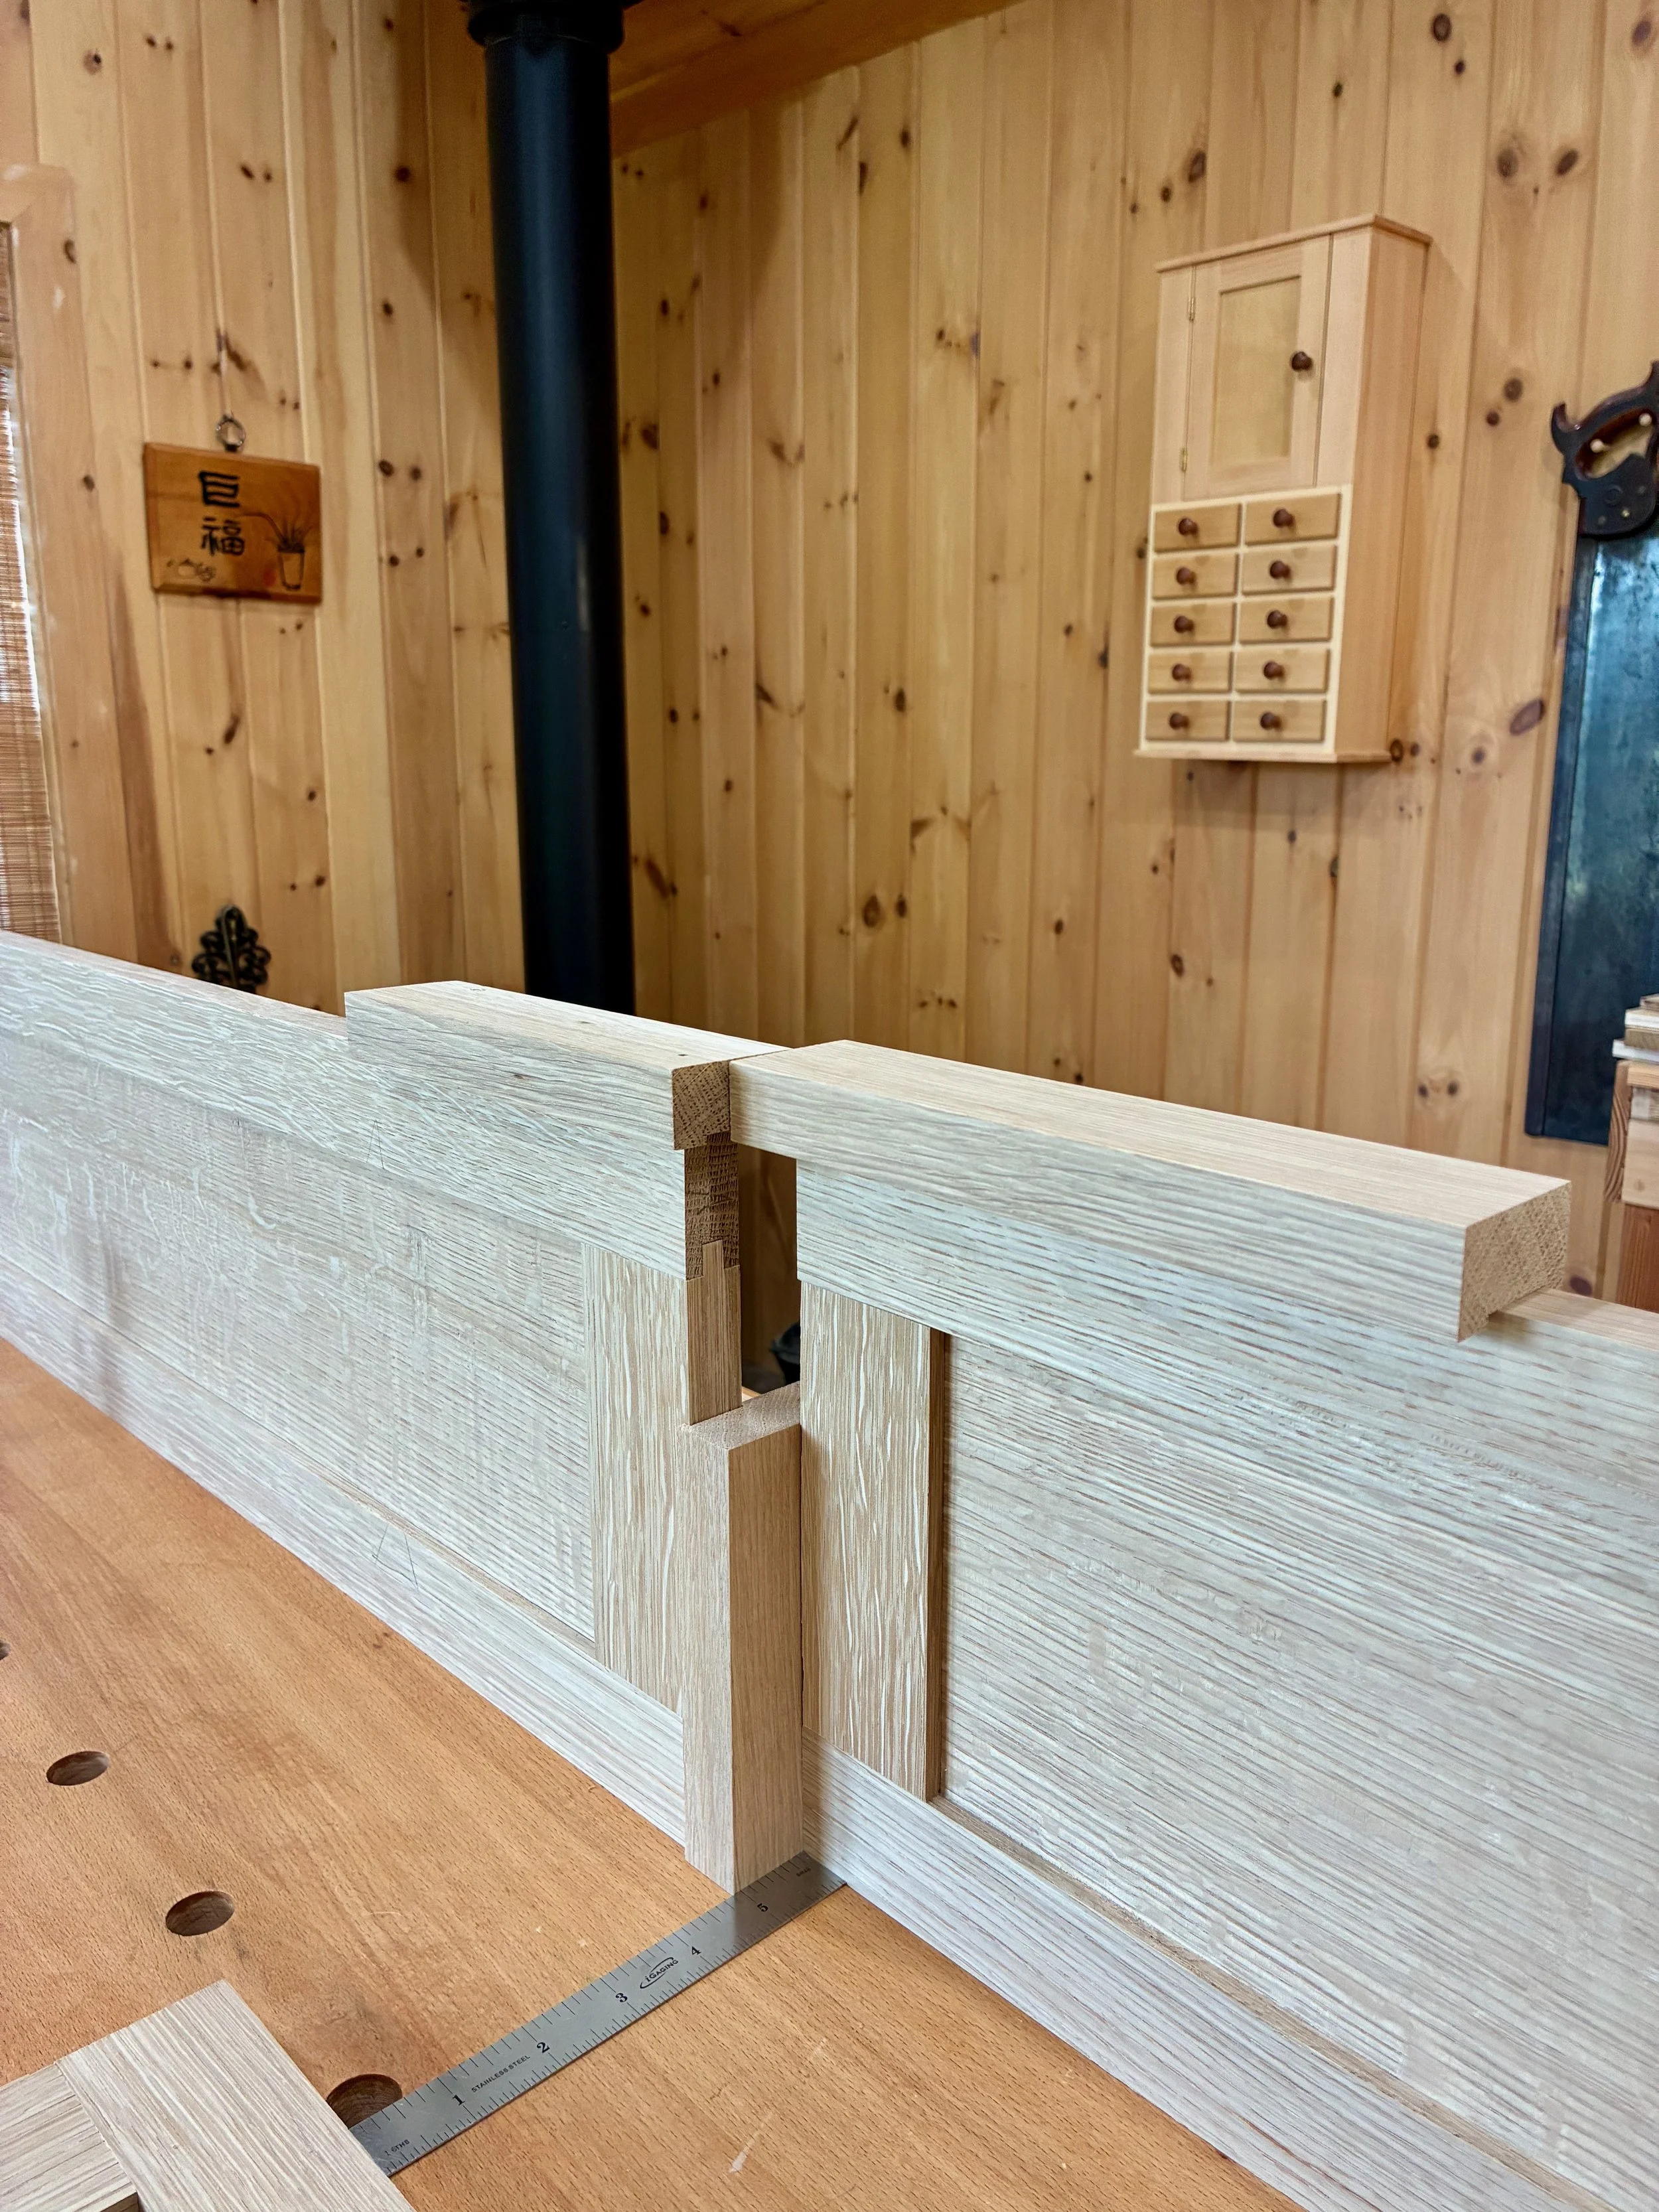
Playing with a connecting board (center) and trim joint
Assembly and Finish
Prior to assembly, the panels were treated with their first course of boiled linseed oil. Following this the central section of the cornice was glued together and clamped. The connecting boards were then attached to each end of the section with glue and pocket screws. With this section now resting on the actual window sill I could take final measurements to determine the exact lengths of the remaining sections. Back in the workshop, the outer section rails and panels were trimmed to final length and then assembled.
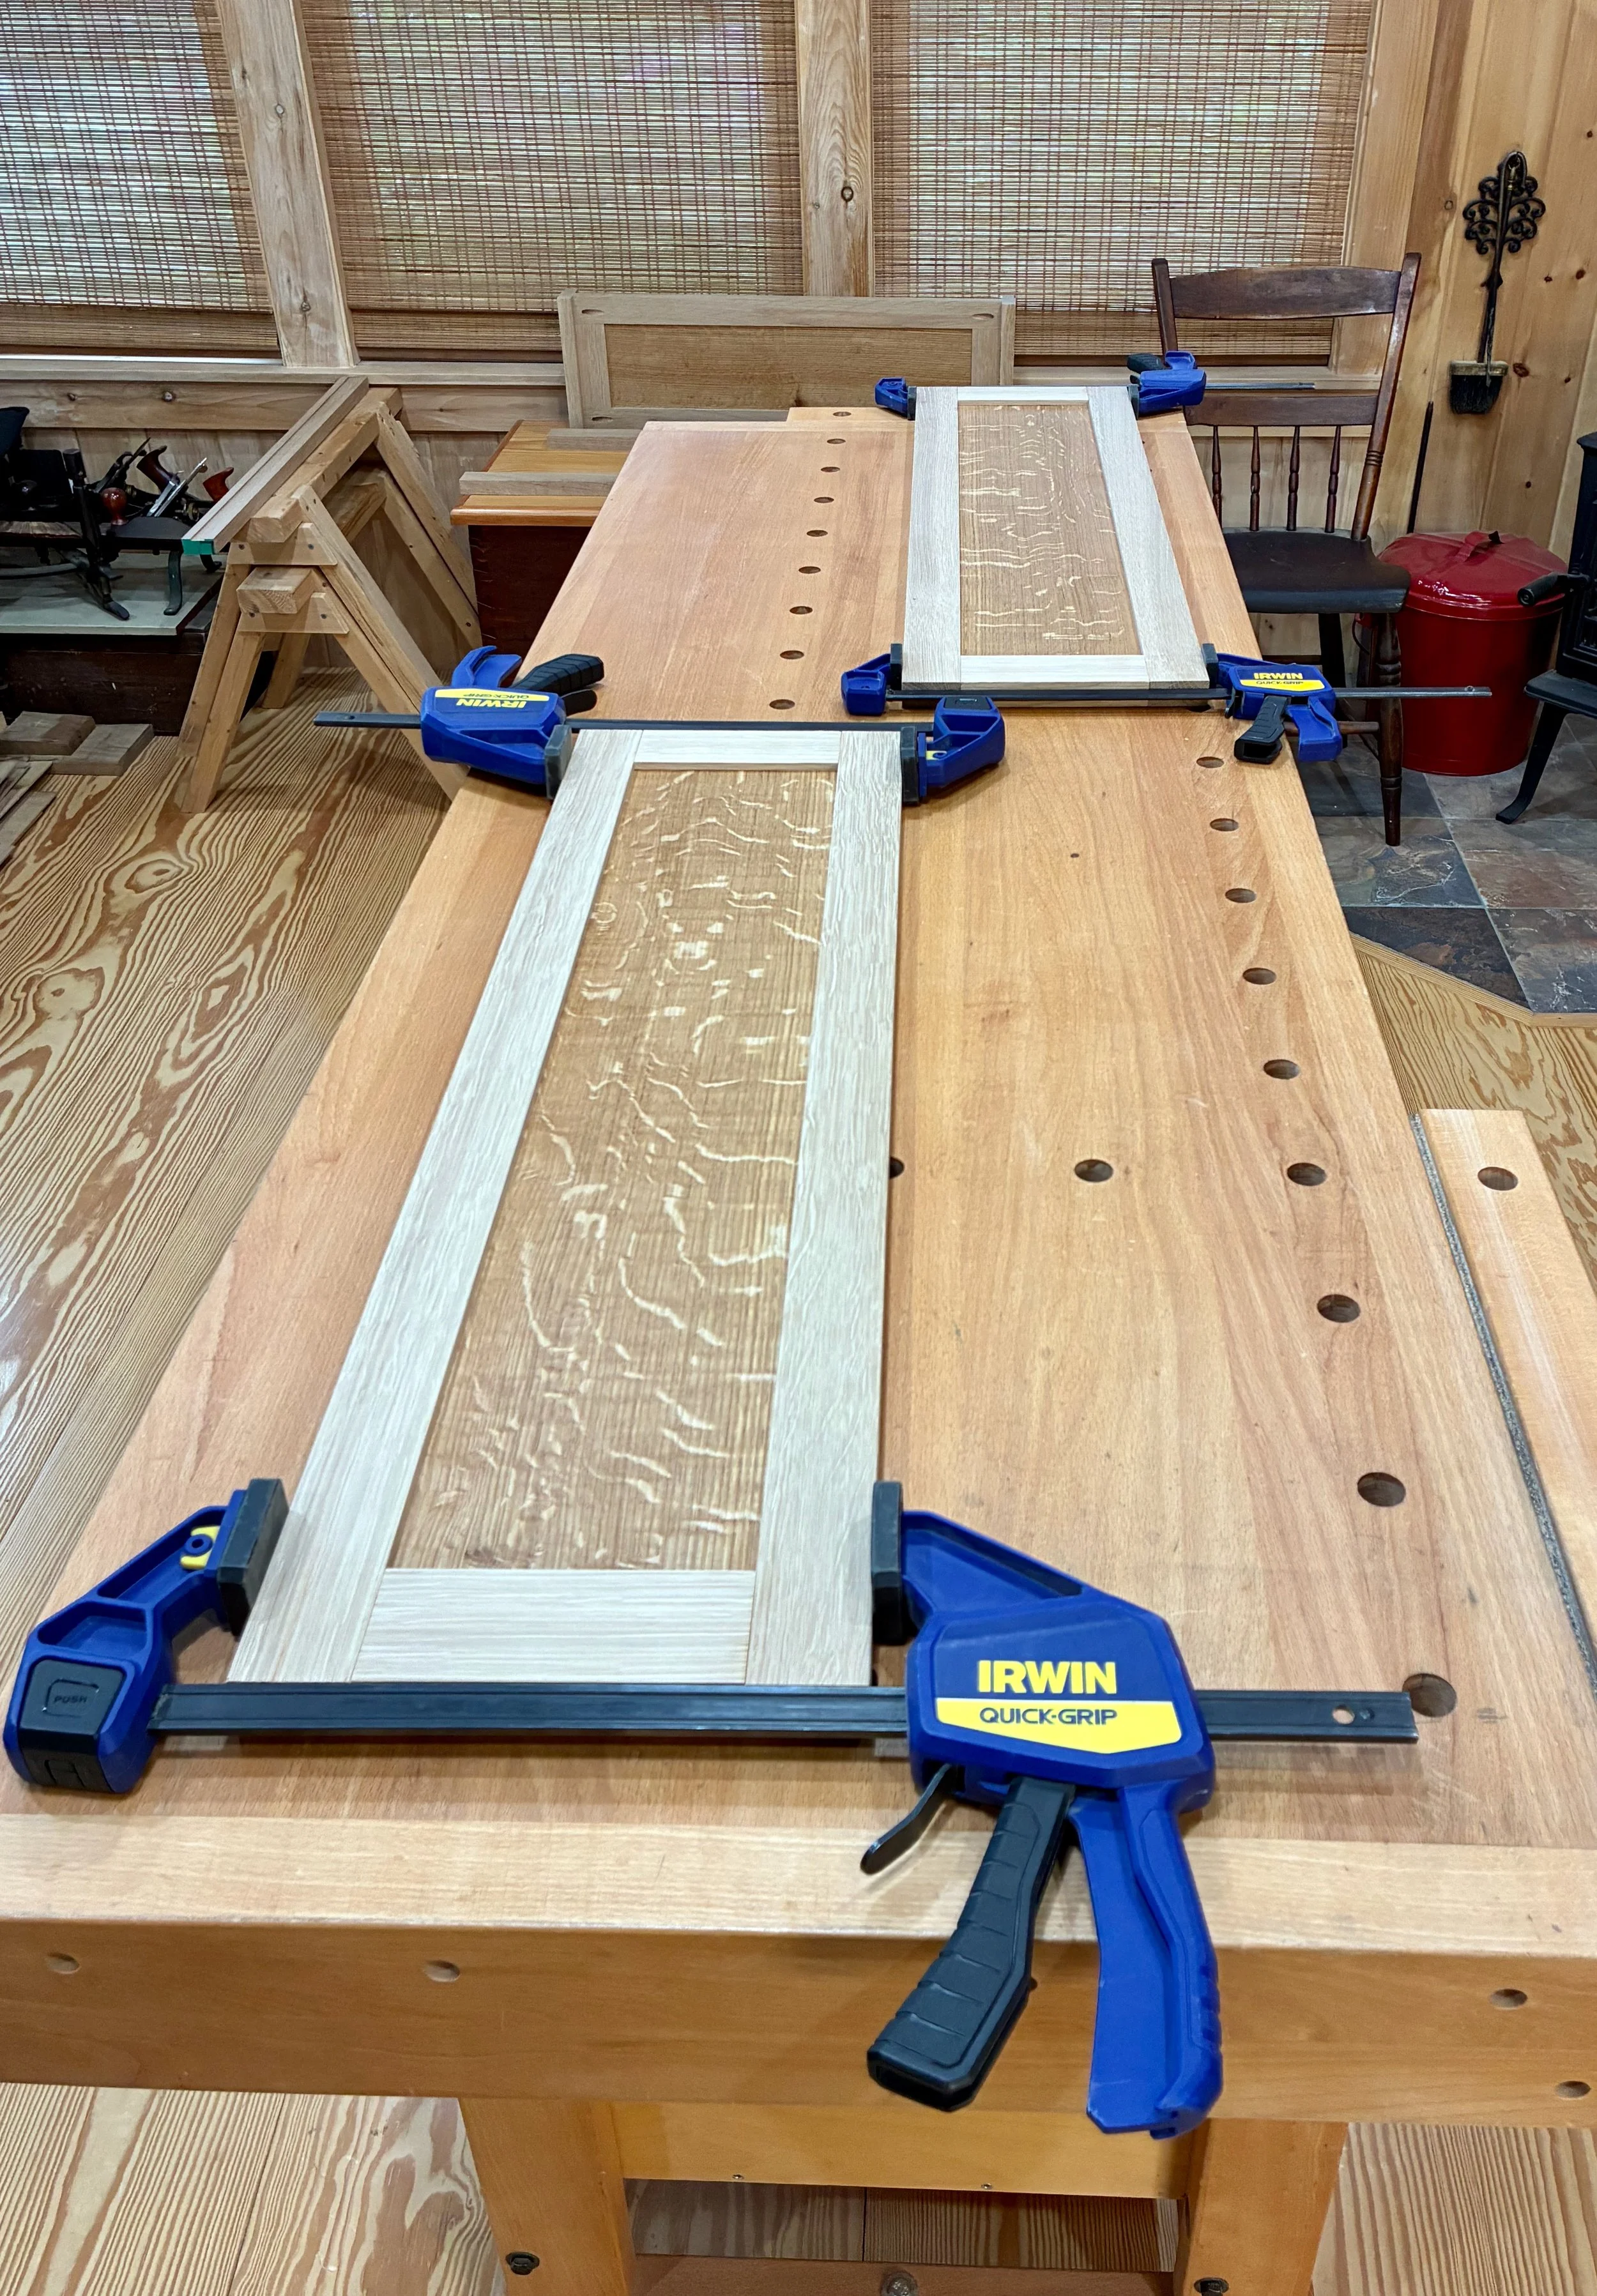
Glueing the outer sections, central section in background
To mount the end panels I drilled holes for pocket screws on the left side, but I left the right (window blind cord) side alone. Next, the sections were put together with pocket screws, forming an 8 foot long cornice body. The trim parts were then mitered on a 45° angle, modified with chisels on the underside to accommodate profiles of connecting and end pieces, and then trimmed to their final length.
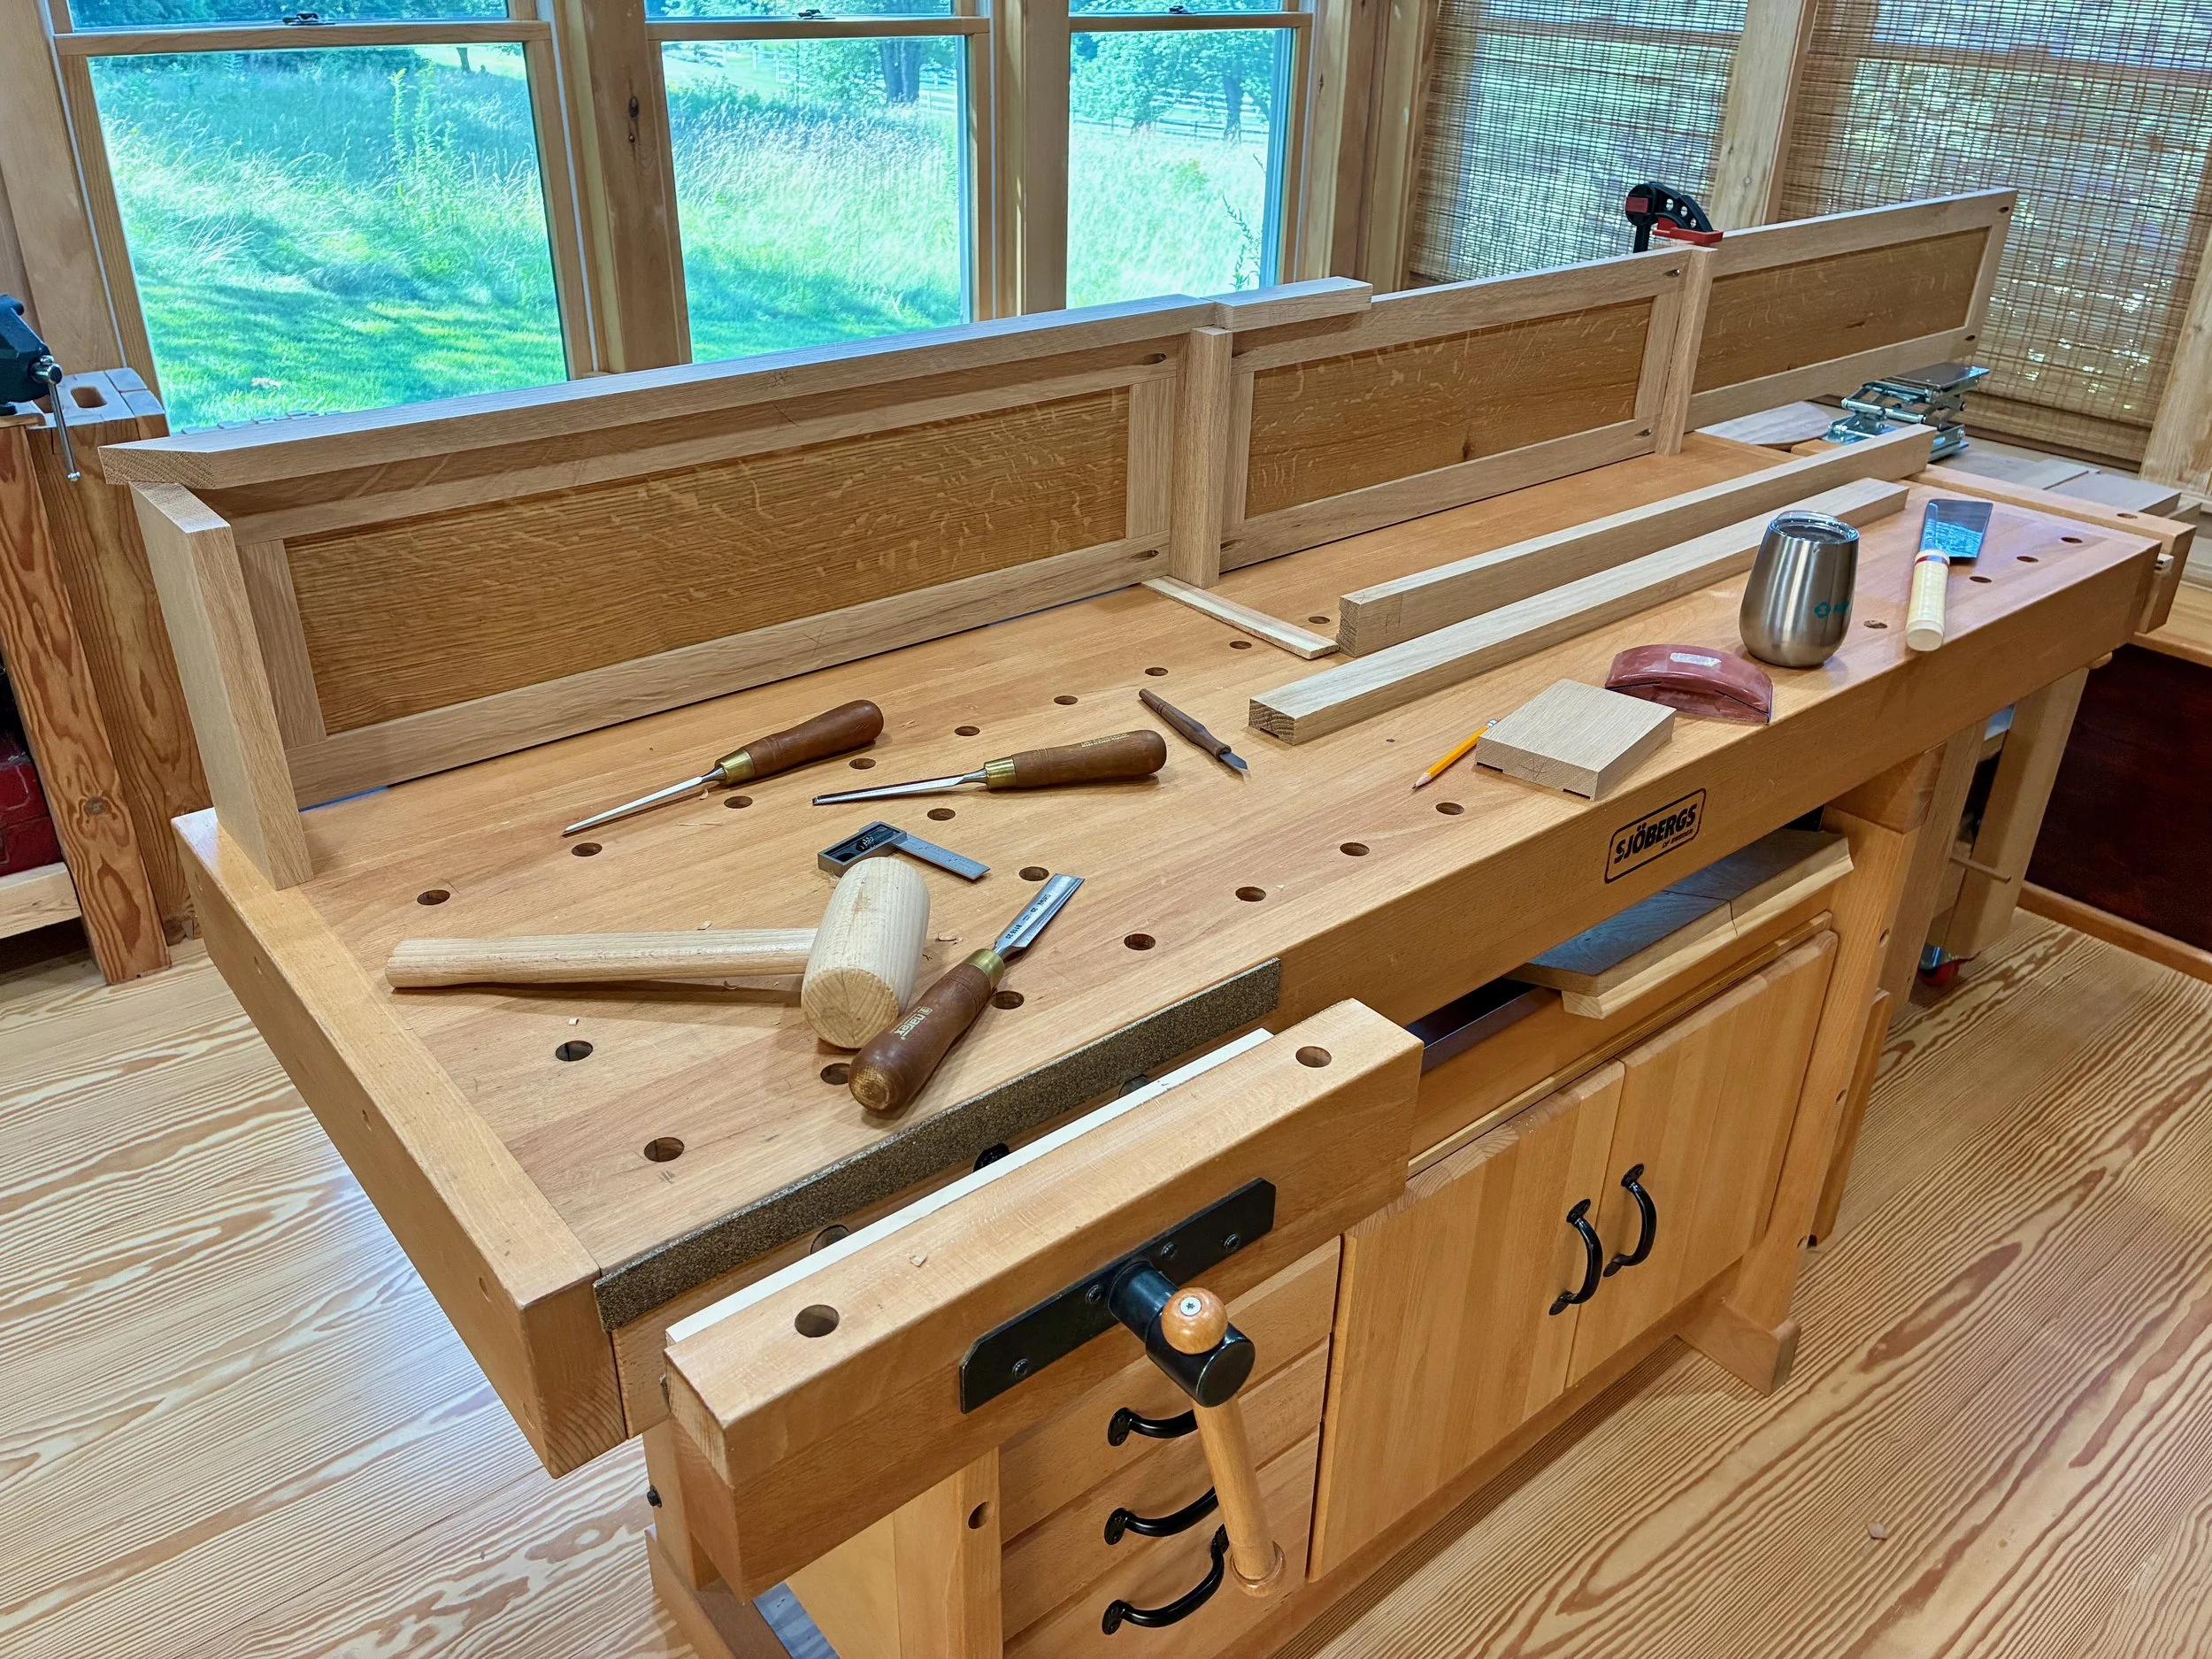
Sizing the top trim on the fully assembled body
To cover the end grain where the trim boards jog around the central section I glued a small piece of homemade veneer before sizing and mounting the center trim span.
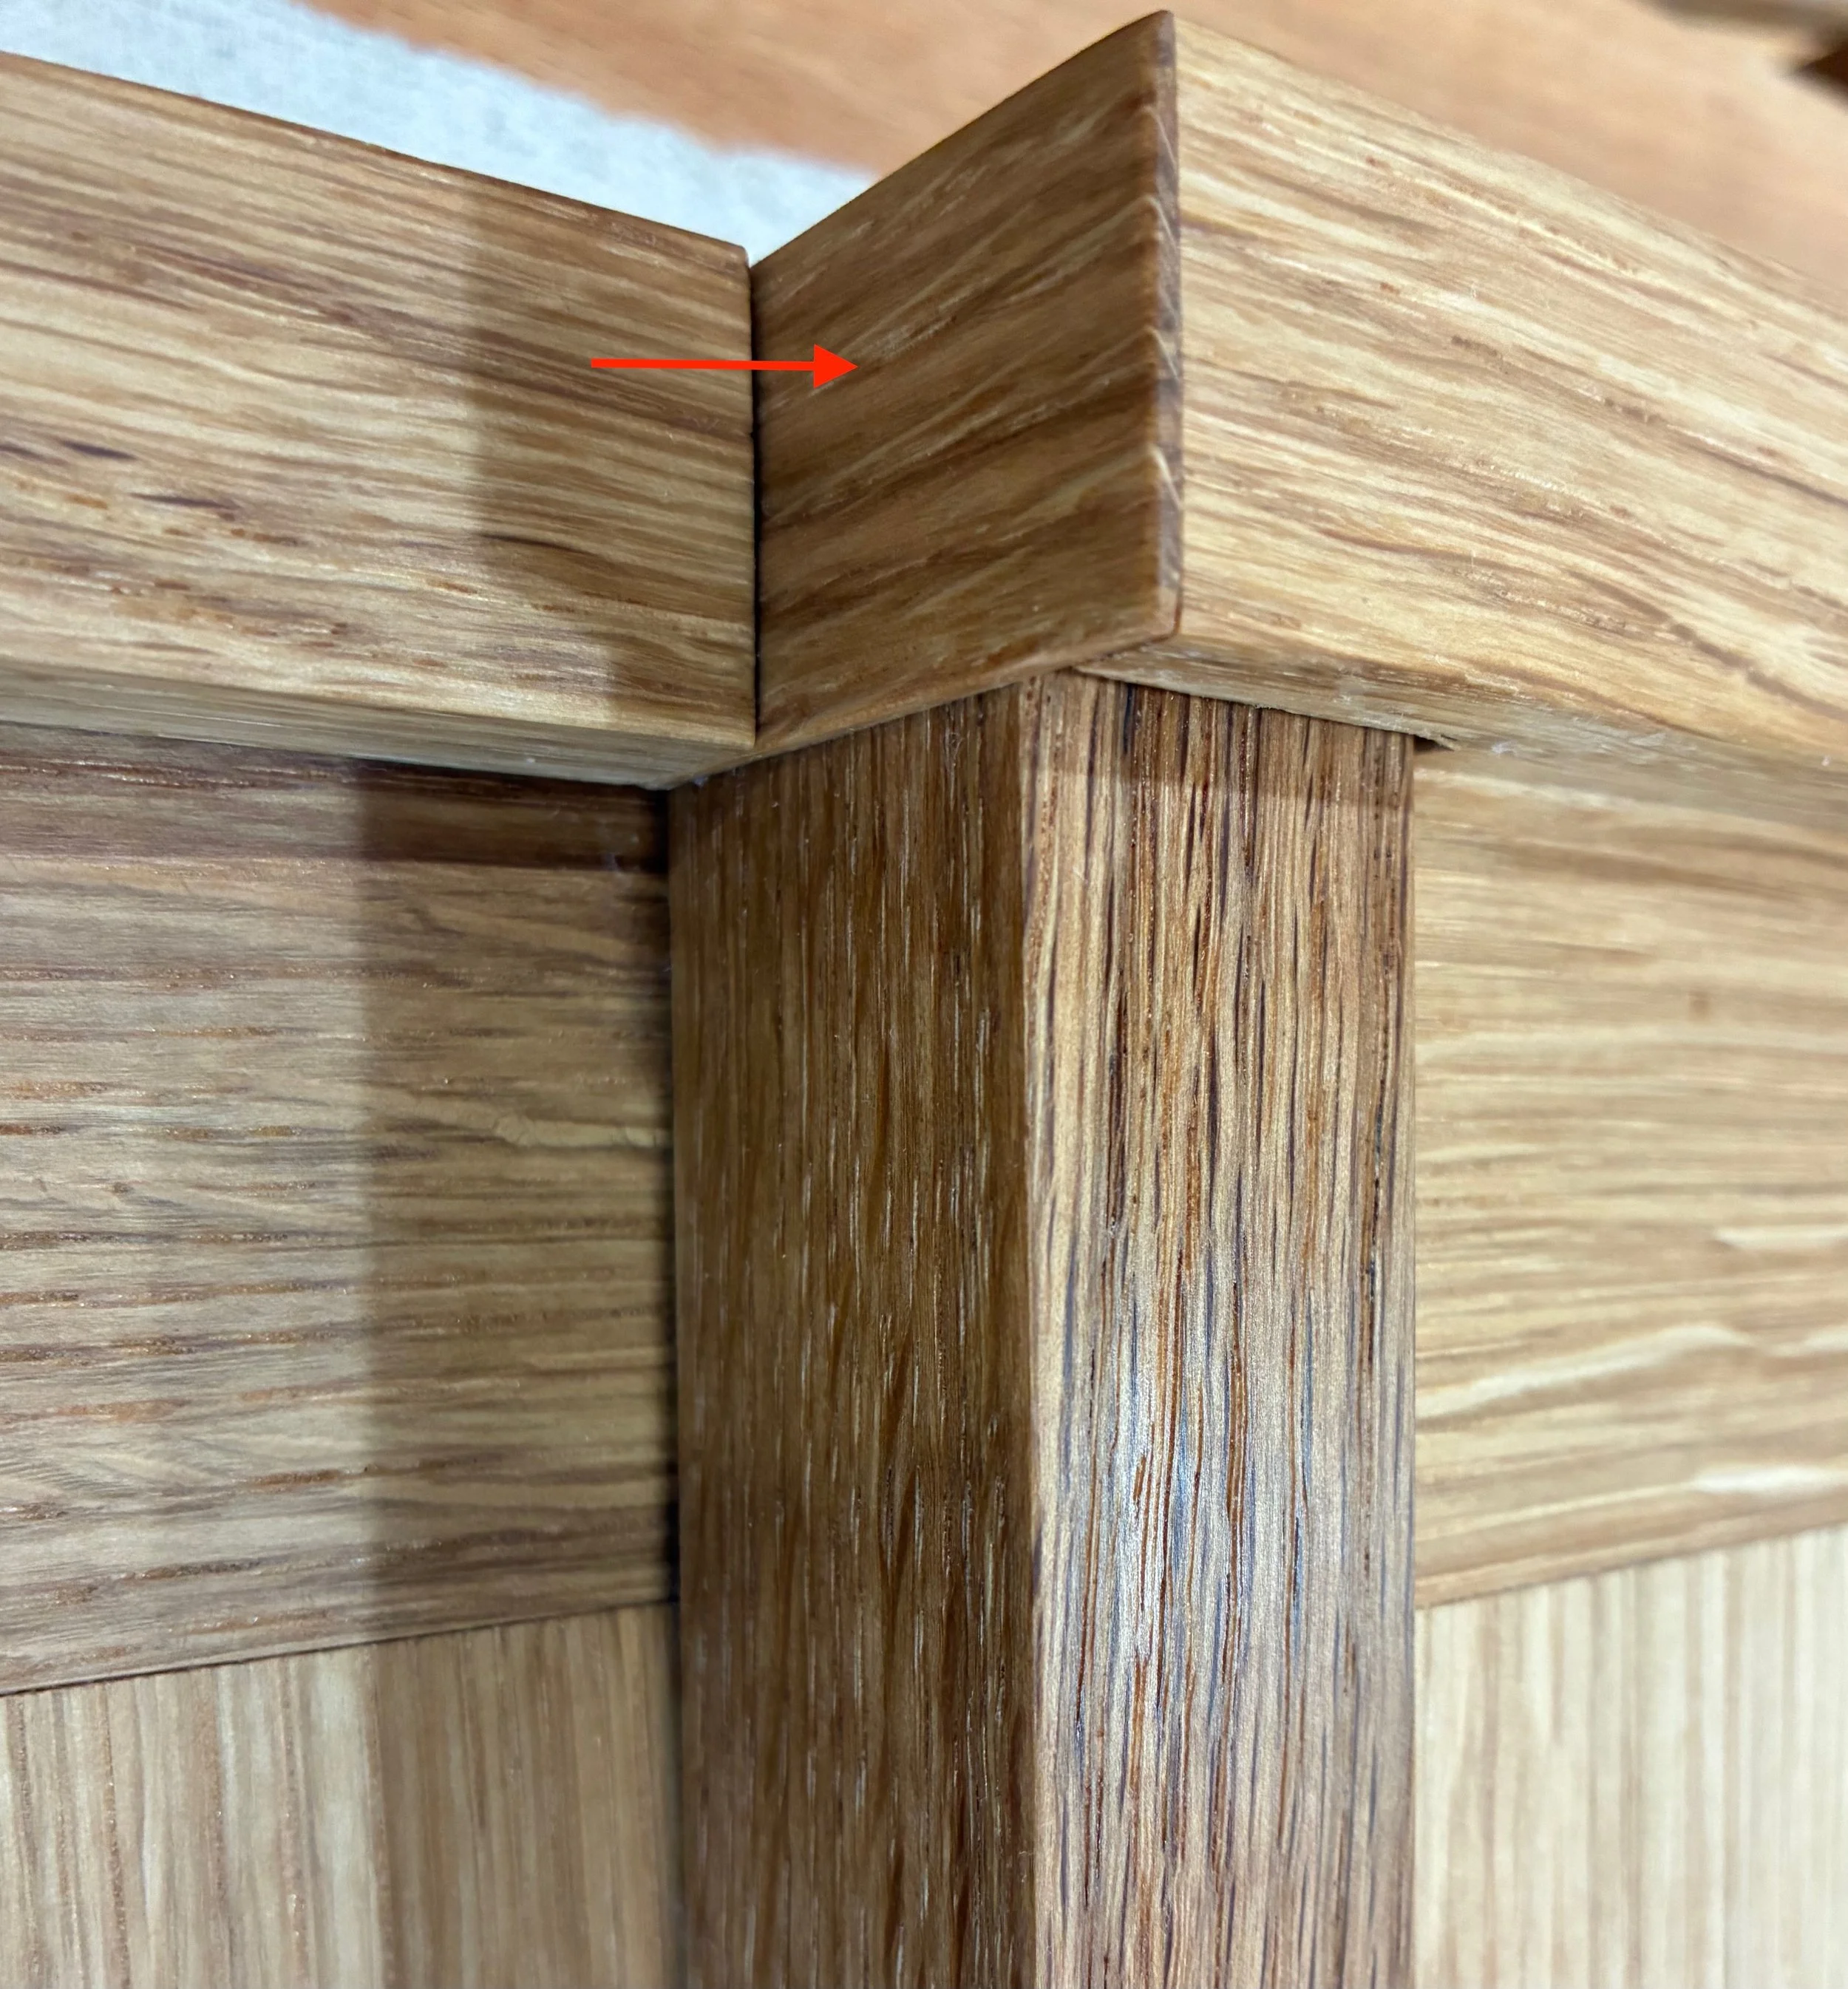
Veneer covering end grain of trim
To solve for the removable end panel, the right side panel was attached using magnets along the edge; the trim’s top resting on an auxiliary board behind. These can be modified further if they are not able to keep things tight, but I think they will work.
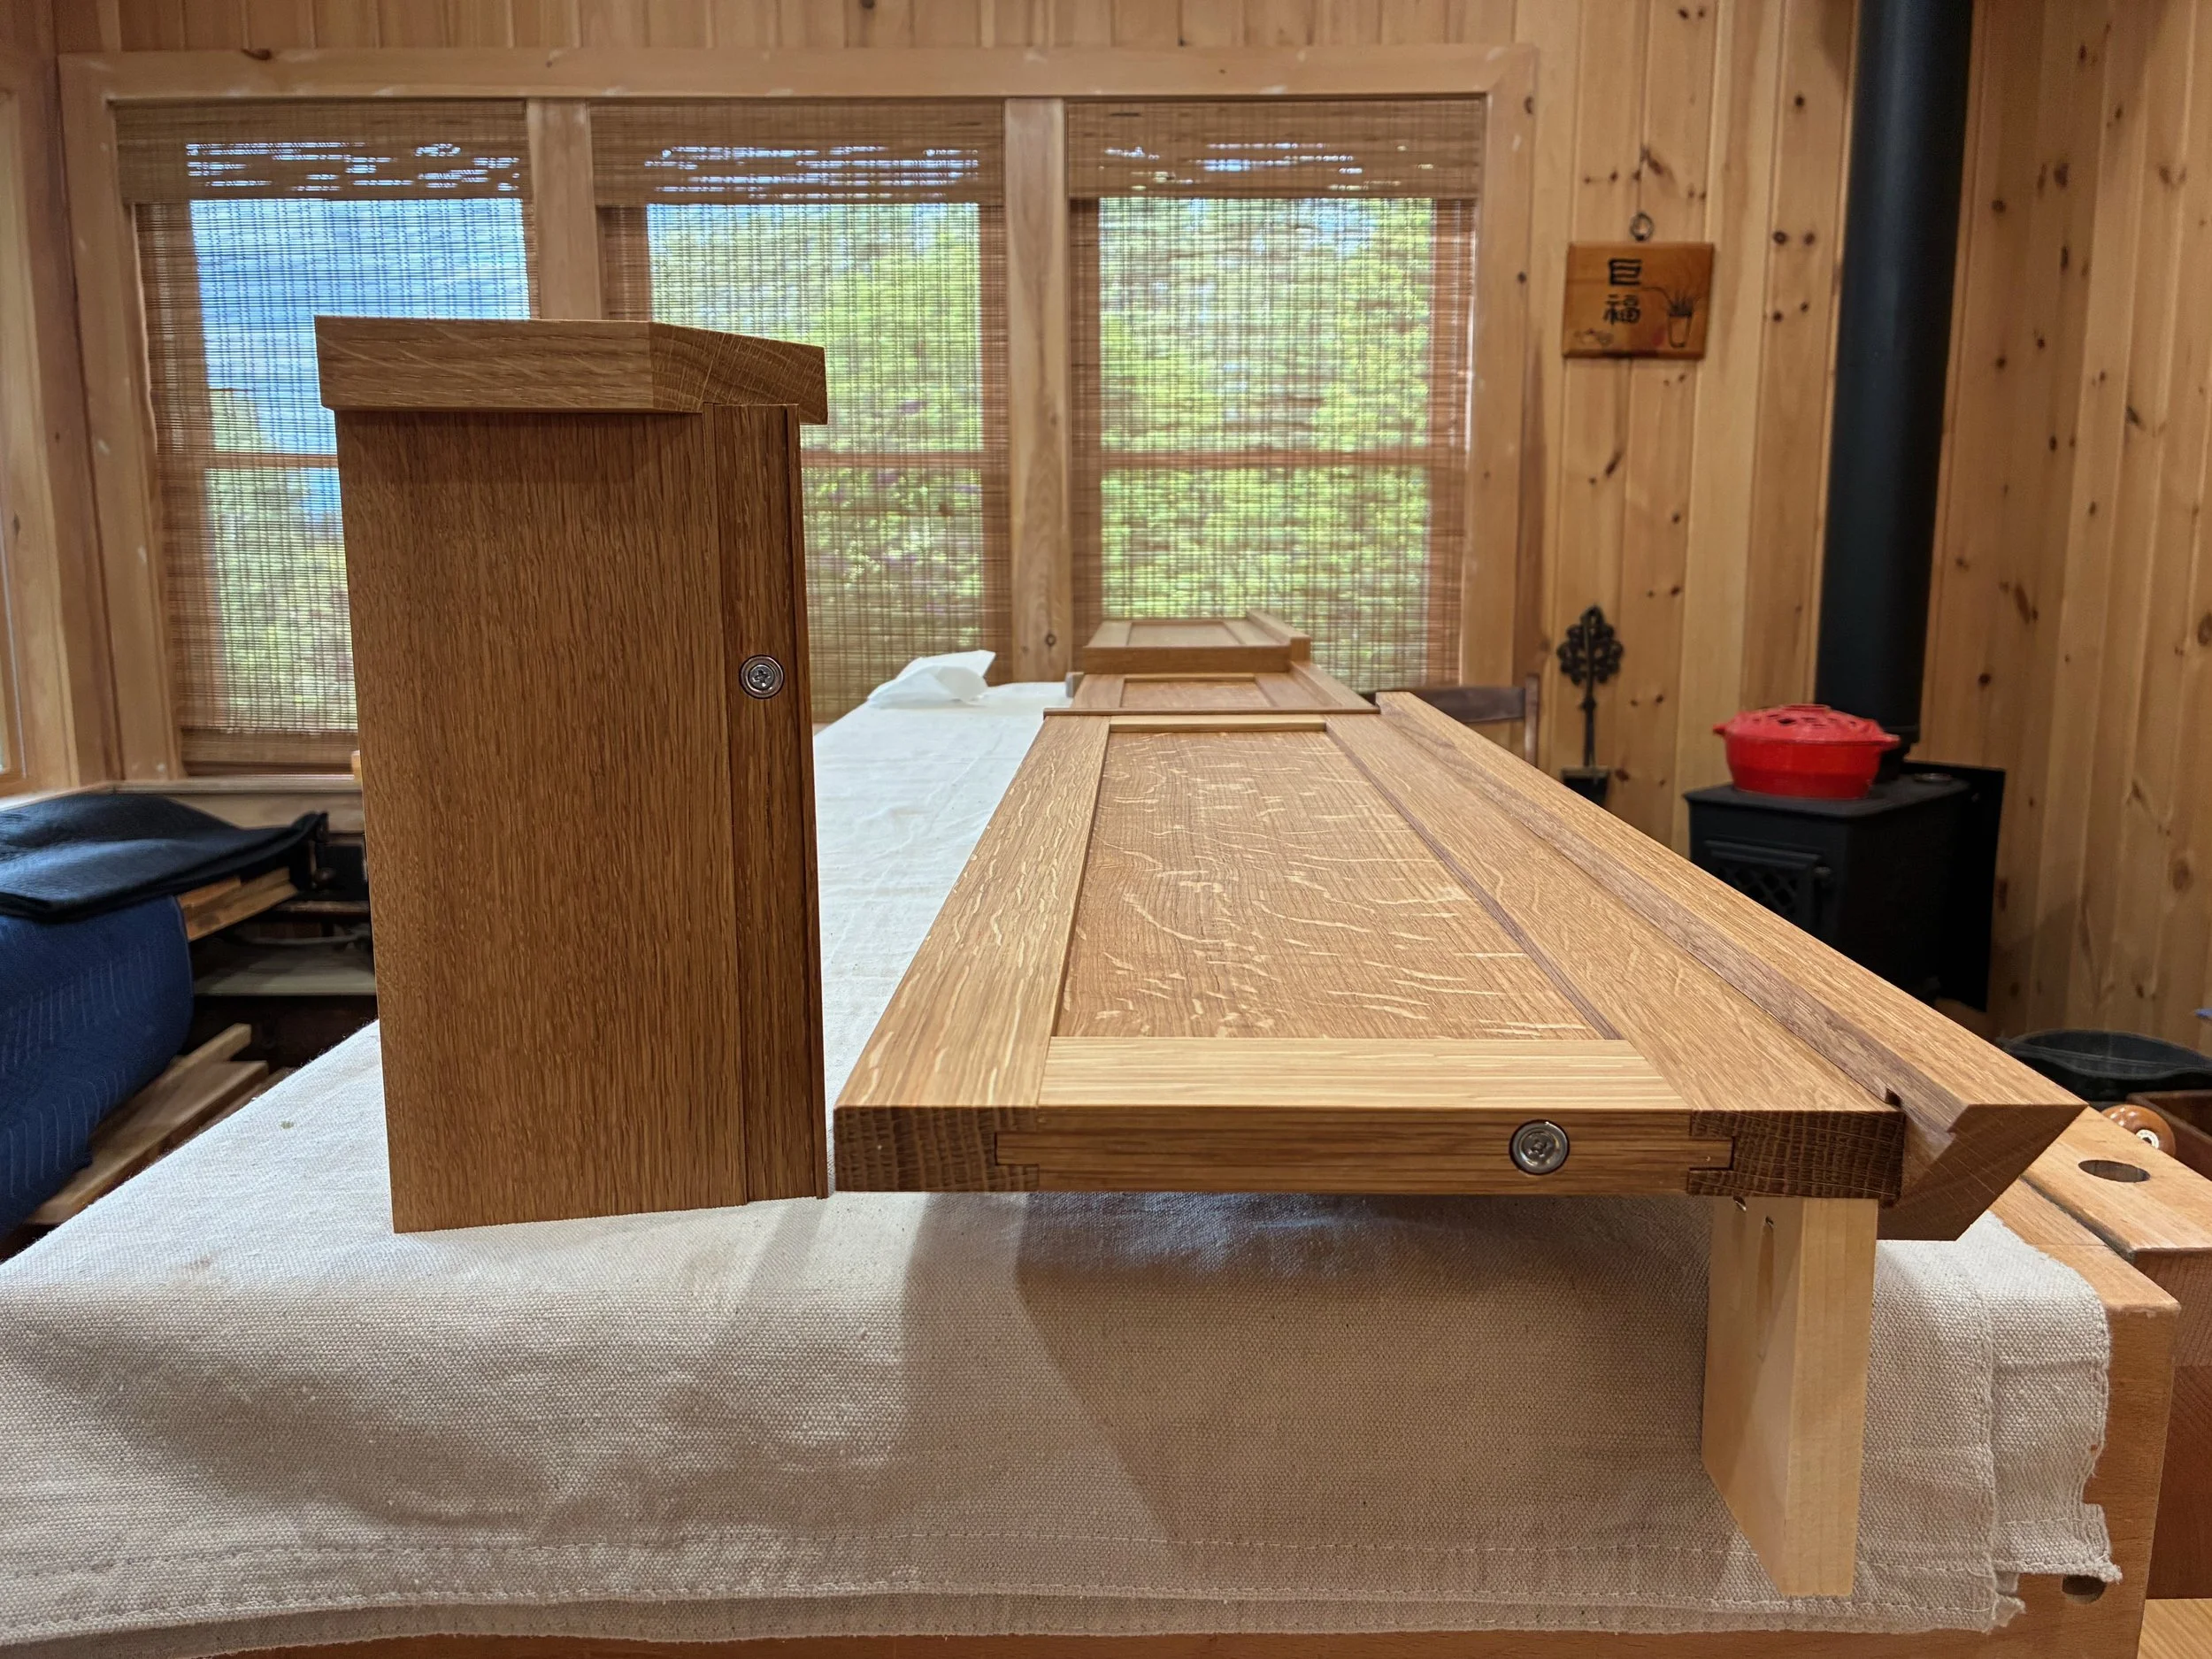
End panel with magnet next to a reclining cornice section with matching magnet and auxiliary board (after finish)
At last it was time to complete the oil finish by applying two coats of boiled linseed oil, 24 hours apart. This livened the grain while adding some color to the cornice.
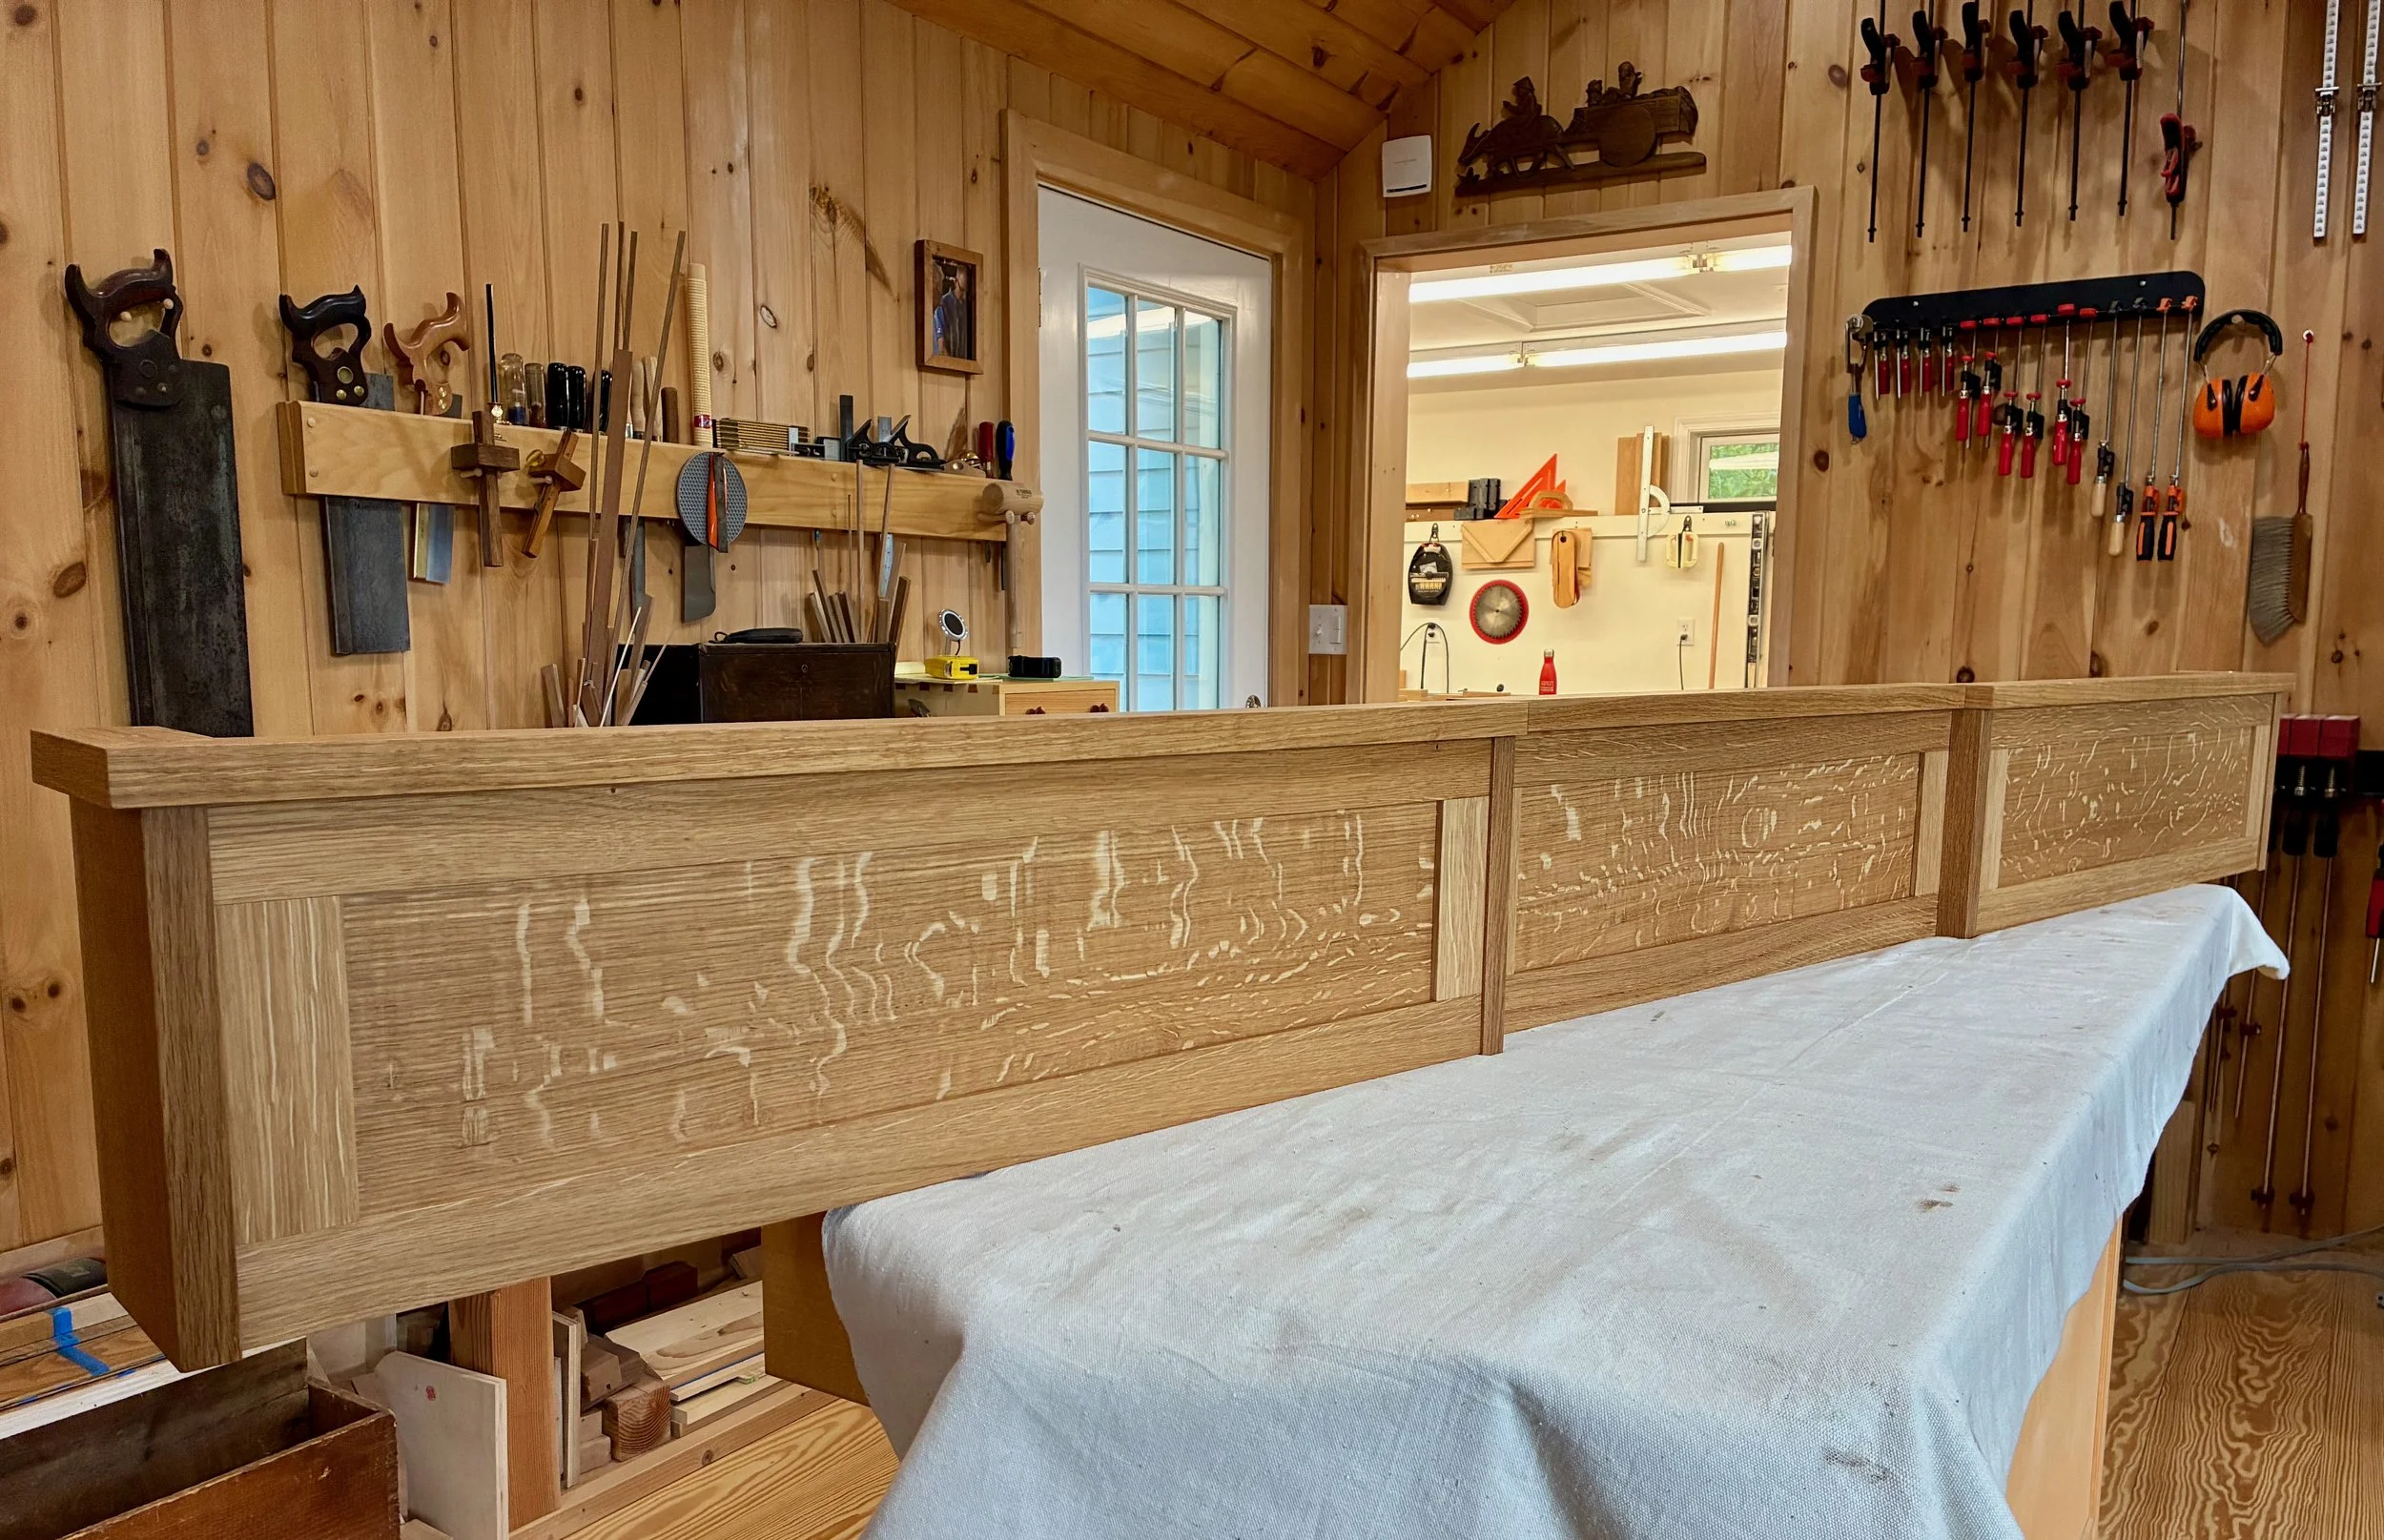
Finished cornice
Installation was just a matter of settling the piece onto 4 pre-installed angle brackets along the top of the window trim and cinching things tight with a couple of zip ties. It also looks like the removable end panel will work as intended. Terrific!
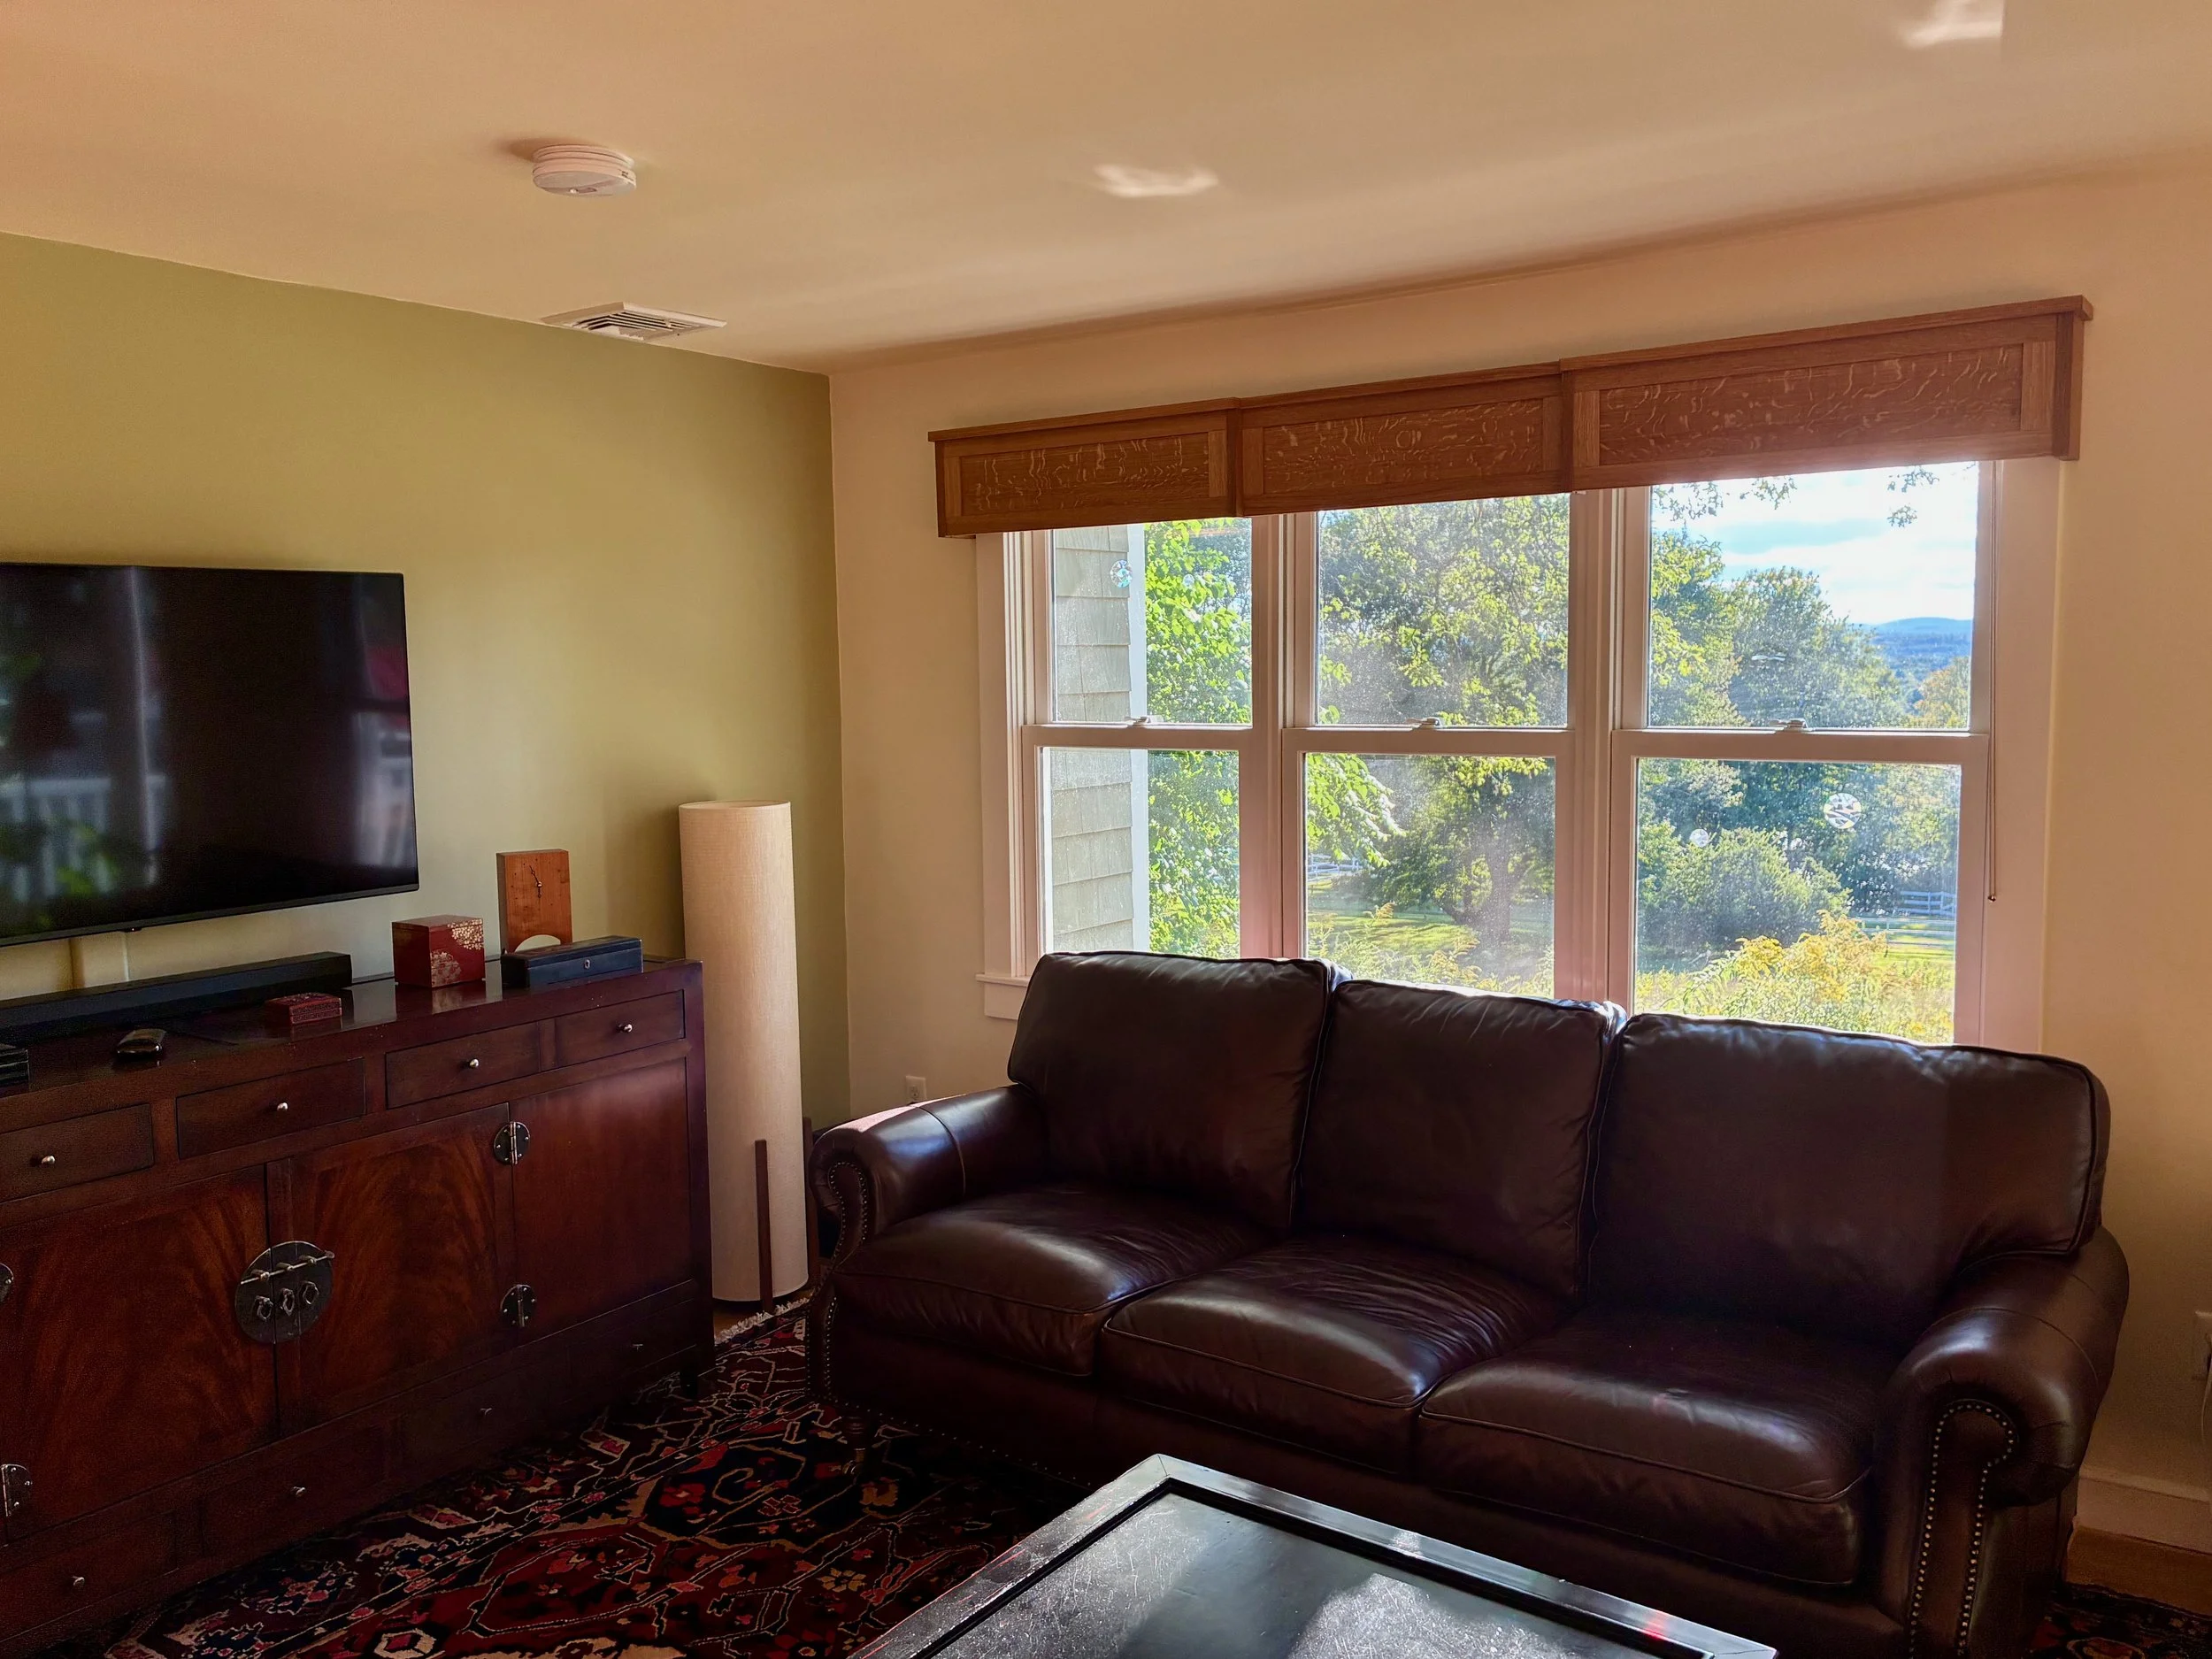
Feelin’ Satisfied