

Crafty Cornice

You probably have never seen the words Craftsman and cornice appearing side-by-side, but that pairing accurately describes my latest Project and I never pass up an opportunity to alliterate! Please read on.
Our home is a pleasant 1951 ranch with unremarkable interior features, save for a fieldstone fireplace and expansive windows. As far as decoration, the trim is a mix of period, so-called “clam shell”, moulding around the doors and “square” casings for the window openings - all painted white. They fit, and I like the simple lines, but … it’s just that lately I have been on an Arts and Crafts jag and obsessing about ways to nudge our home’s decor backward another 50 years to capture more of a bungalow vibe.

Bungalow living room, designed by Gustav Stickley’s United Crafts guild, from The Craftsman, Vol. II, No. 2, April, 1902
(Note the symmetrical windows beside a dominant fireplace, natural wood trim and paneling.)
I have made some progress. Homemade Craftsman furnishings are steadily replacing their store-bought Colonial kin, and the Asian pieces we have scattered about were already at home in the original bungalows. I feel it is mostly the painted walls and white trim that are holding things back, but a total do over to replace the painted parts with bare oak is out of the question. Painted wood paneling is occasionally seen in “new” bungalows, but I don’t think it would work here, busted up by all of those windows. Perhaps a taste of raw wood along the walls would be enough to recast the mid-century mood to an earlier era, especially if that wood were quarter sawn white oak. It was thinking of a solution along these lines that inspired the Craftsman cornice.
There are four banks of windows in our living room and they all might deserve a Craftsman cornice, but the goal of this Project was to fit out the two windows flanking the fireplace to see whether this manner of adding wood to the decor could satisfy desire.
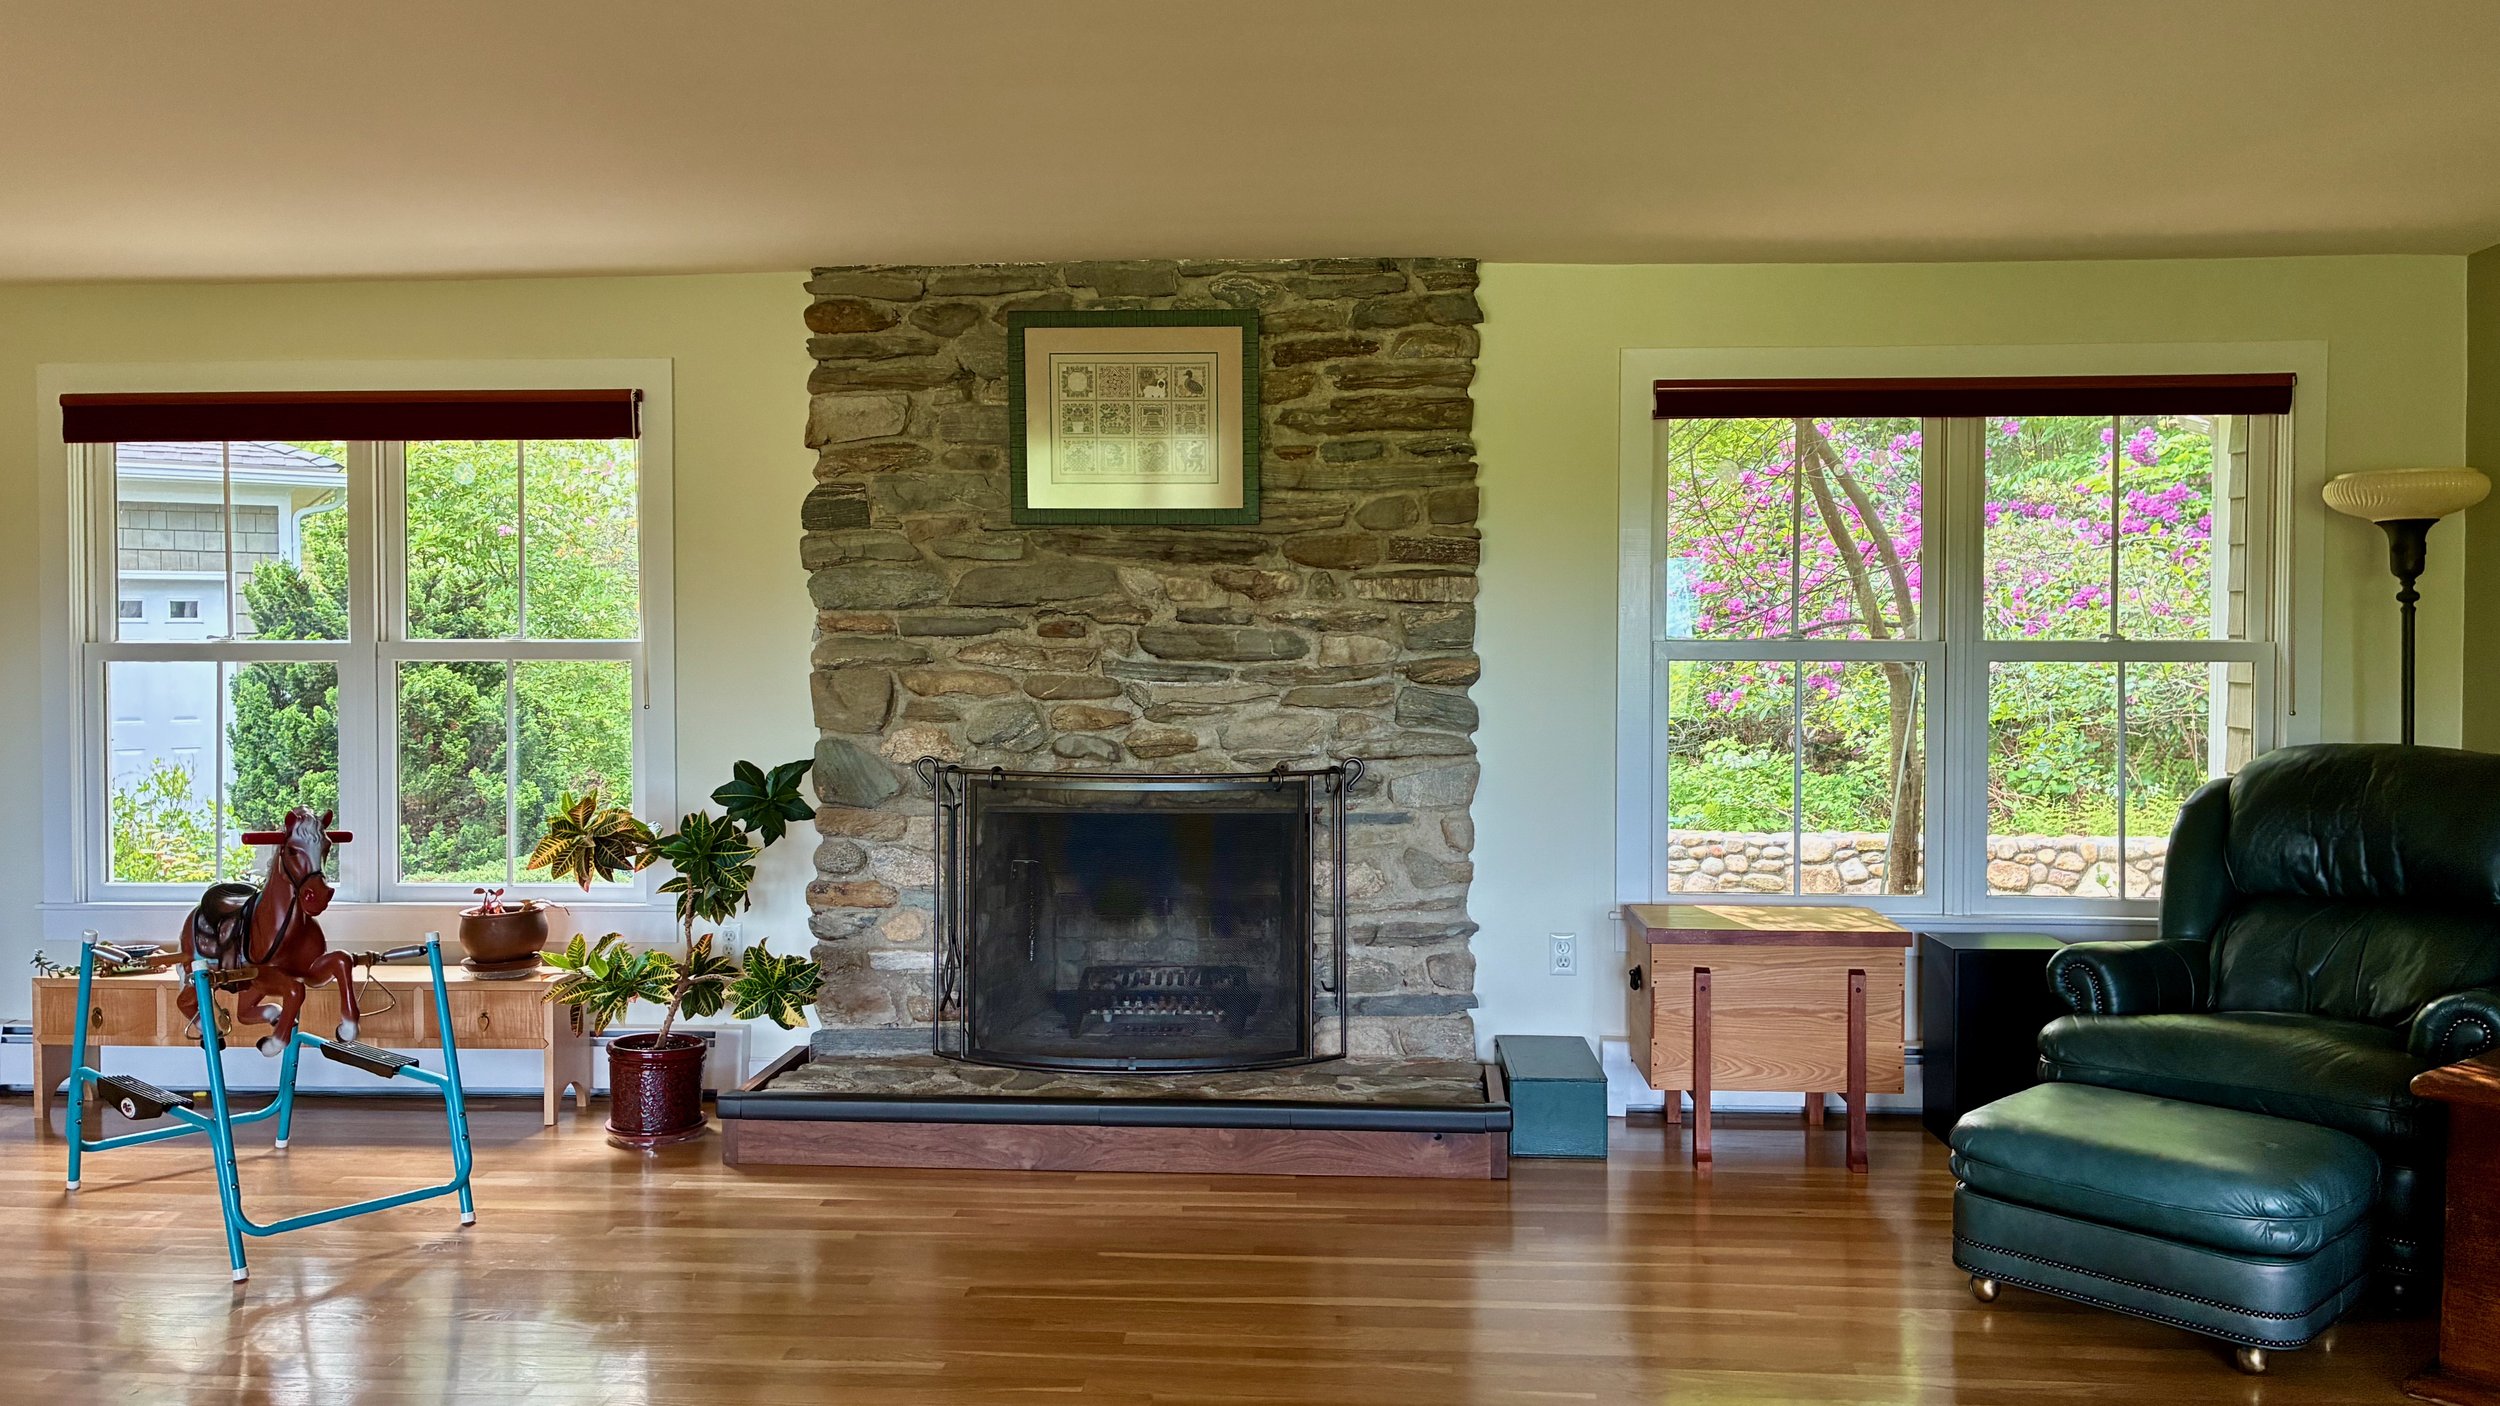
East wall of the living room
Design
In all of my research I have never seen a cornice in a Craftsman bungalow interior. Never. Let alone one made out of wood. Cornices are generally fabric-covered fixtures, and it seems that wooden cornices are, themselves, rare. The ones I have found online are generally painted but nice. Construction-wise, they are a 3-sided, “partial” box trimmed with moulding. My groundbreaking plan was to make the partial box in a Craftsman style using nice wood, and then not paint it. Genius! Lacking precedent I’m certain there are many ways to get this wrong, but there may also be a way to do it right. I figure I’ll never know until I make one and, while I’m at it, I might as well make two.
The “box” dimensions were easily derived from the window casing, itself. First, I sketched the window bank with those red interior blinds and then, using tracing paper, I played with the overlaying cornice structure. I wanted to keep it as lightweight as possible, and so framed panels were used along the major span instead of the typical full thickness plank. This feature is congruent with Craftsman. The dimensional proportions of the moulding and framing elements to the whole are key for making this design “work”, and to study this relationship I consulted Robert Lang’s indispensable book Shop Drawings for Craftsman Interiors. It was certainly helpful to learn the rules here but, in the final plan, these rules were not strictly kept. I concluded that what I was intending to create was a transitional form somewhere between Craftsman stocky and mid-century svelte. A neo-bungalow piece, perhaps.
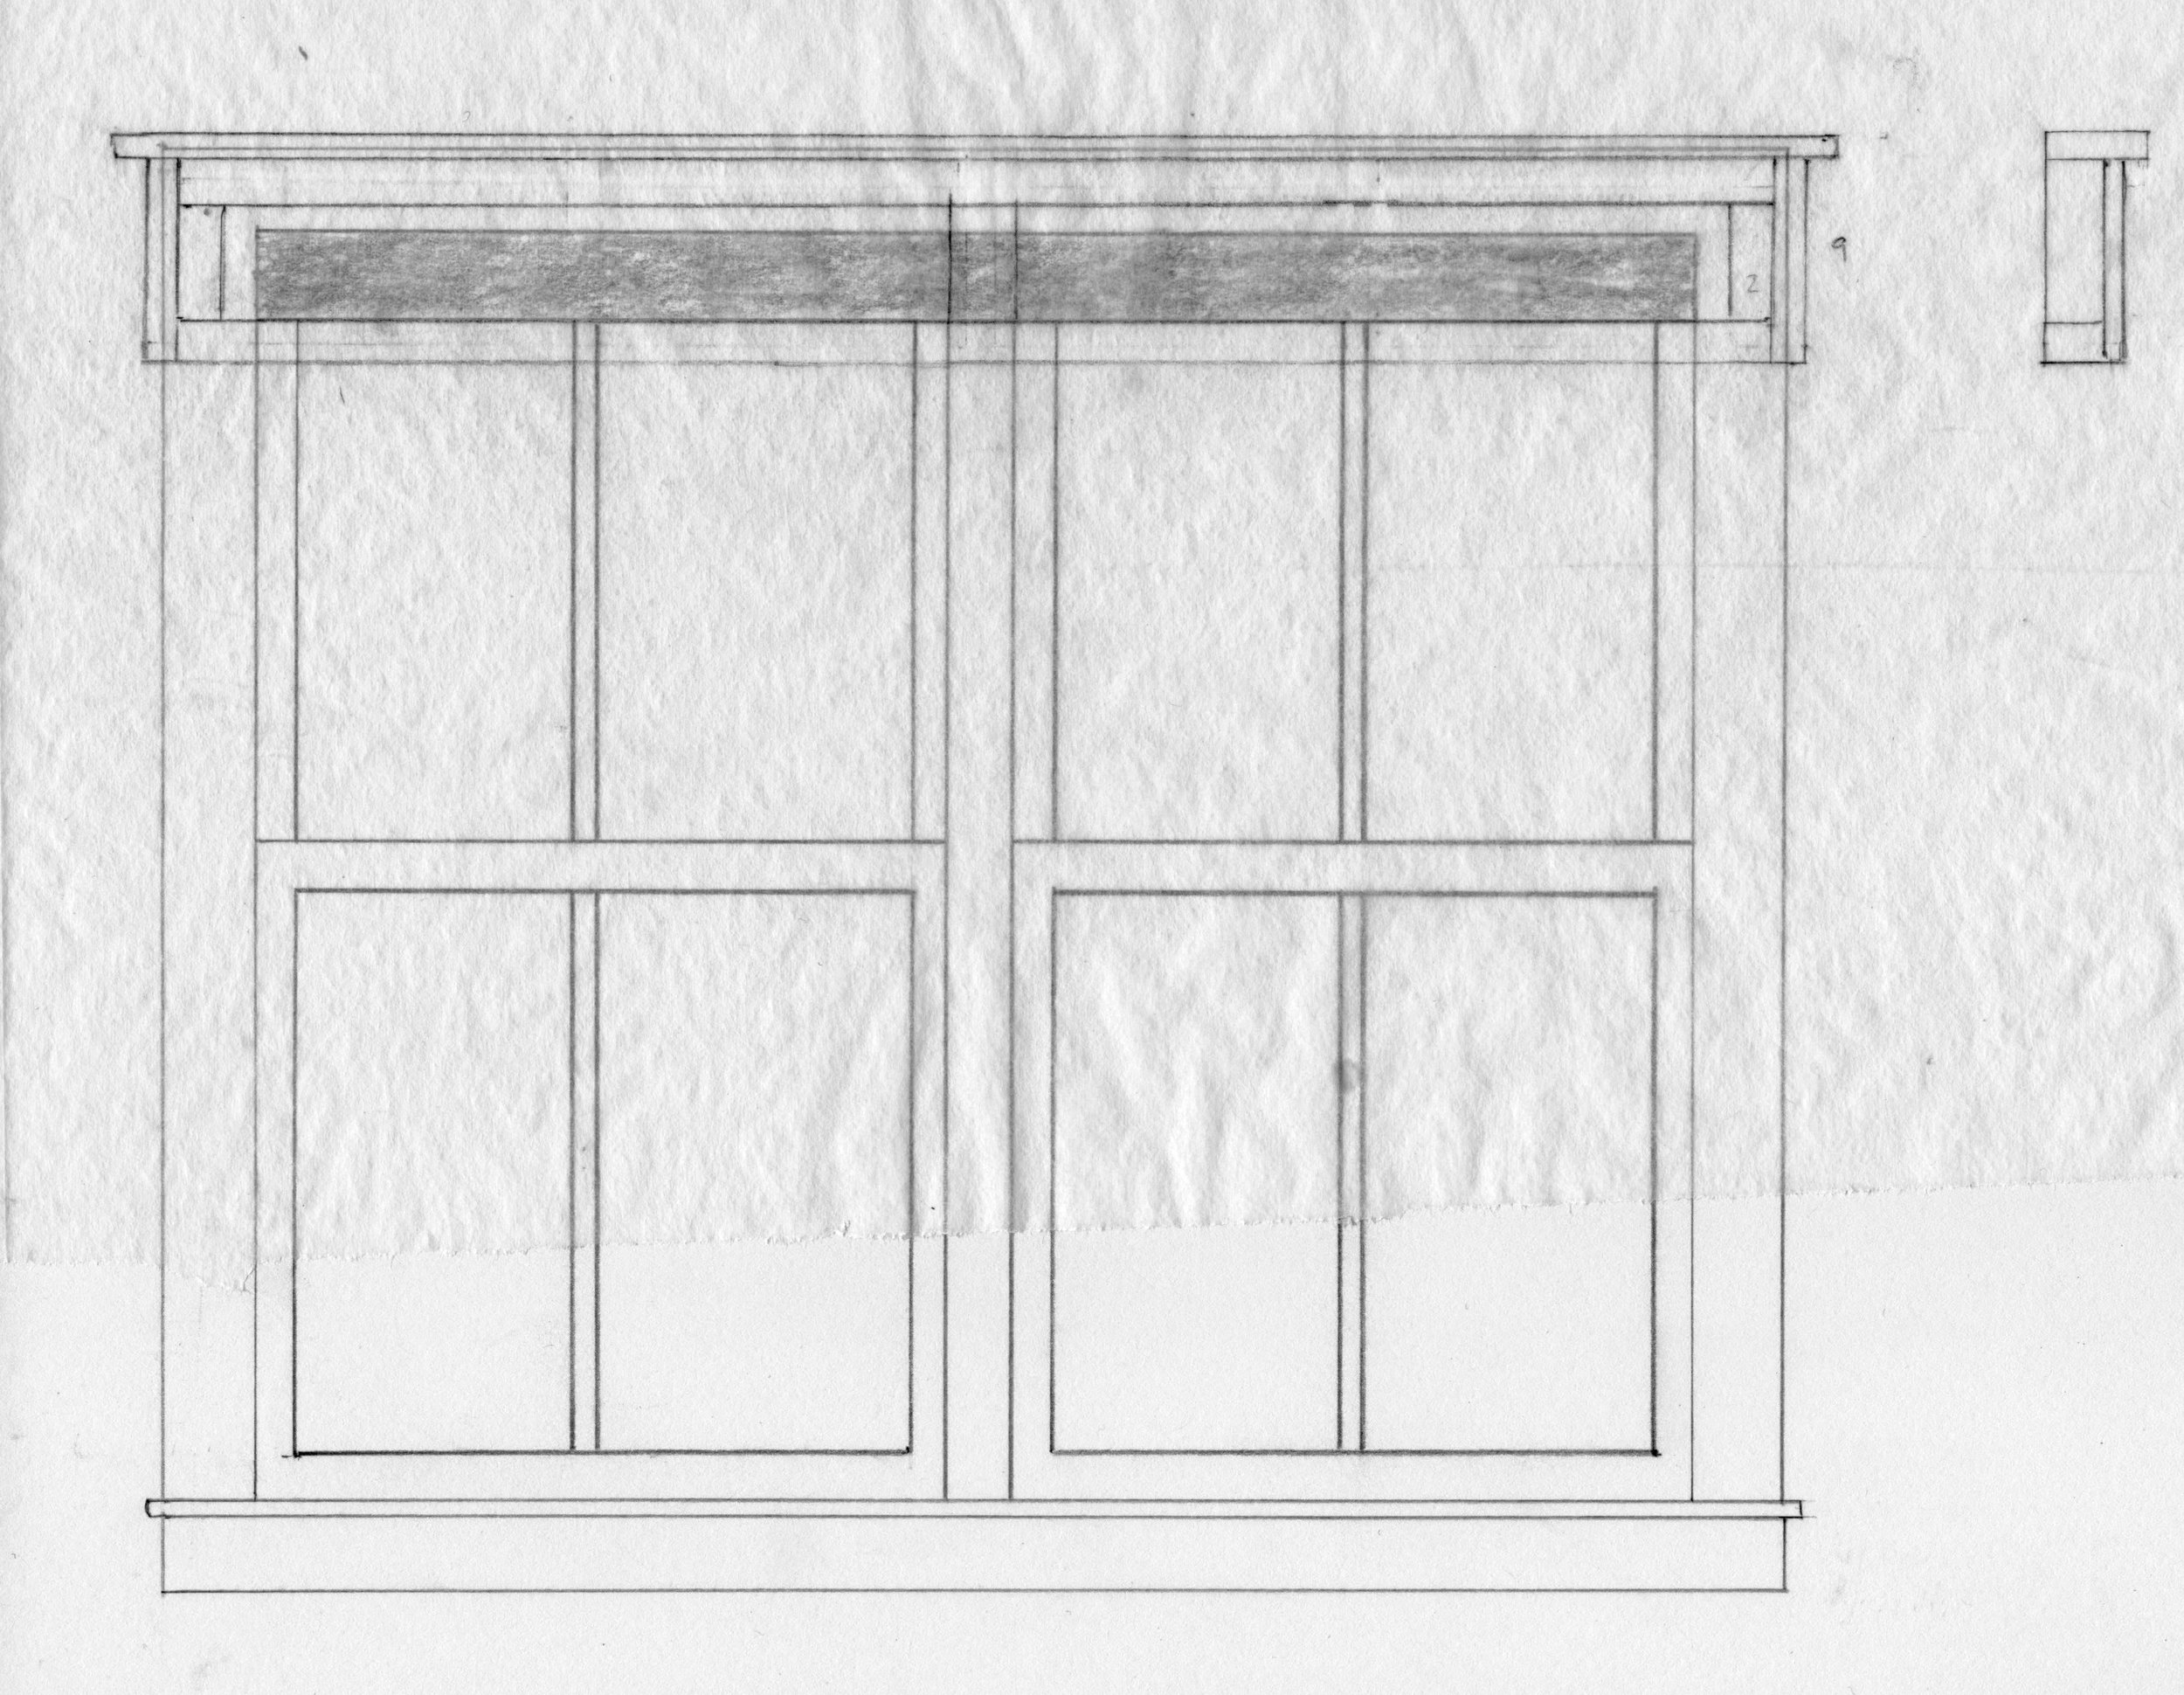
Craftsman cornice rough plan
The rough plan pictured above makes it difficult to see the cornice design. Next time I’ll have to change the pencil color, but one can imagine that it would look okay. Assuming I could come up with a joinery scheme, the remaining variables were the extent of overhang, and whether the two panels should be broken-up further along their span; and, if I were to do that, whether this would necessitate shifting the grain orientation by 90°. It’s all aesthetics for, unlike furniture, there are few structural fitness concerns here. Rather than build mock-ups, I figured I would just make the pieces to dry-fit, and then further modify them prior to actual assembly should the design require improvement. It’s only wood. (Shush!)
Materials
I had a couple 4/4 quarter sawn white oak boards lying about the shop that should work nicely for the body of both cornices, but I would need to pick up another board to complete the top trim. Onward!
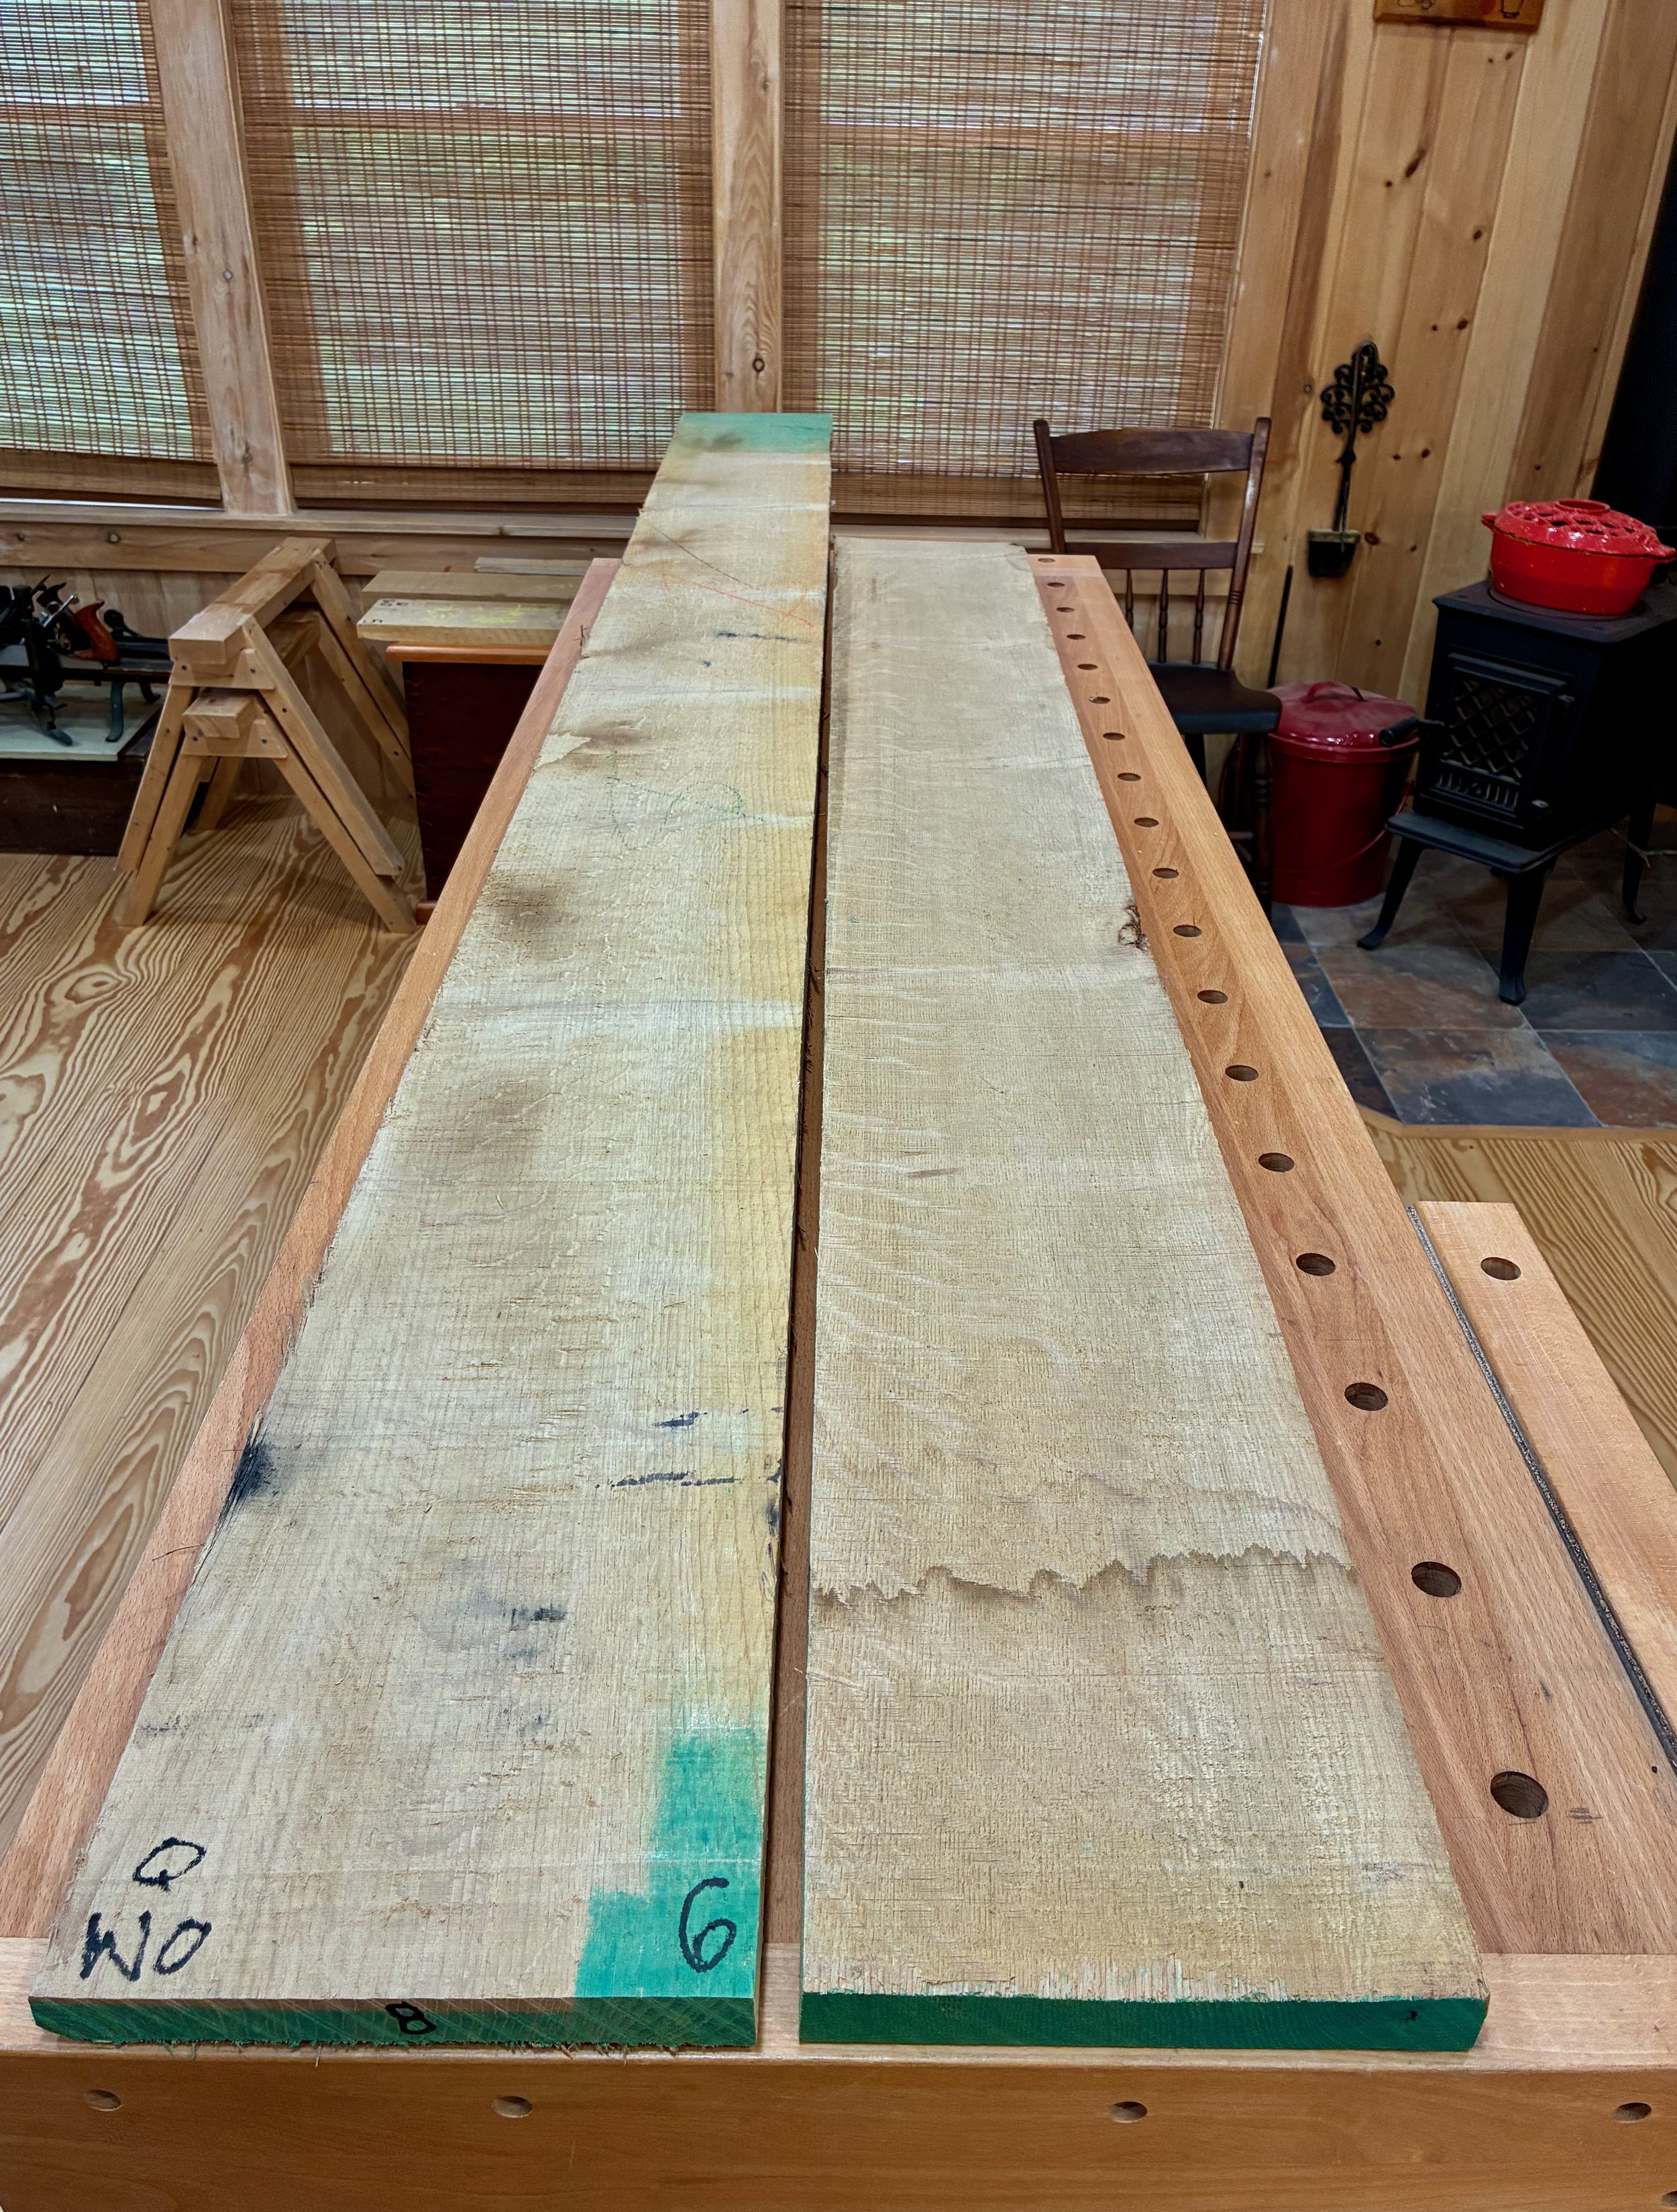
4/4 white oak boards in the rough
Dimensioning
Work started by preparing the bigger of the two boards to fashion the top and bottom rails. Given constraints in the shop, I can maximally accommodate a 73 1/2 in. long board at my jointer and so the plank was chopped to that length, flattened on one edge at the jointer and then ripped into two thinner boards at the table saw. To maintain grain and color consistency within each cornice, these were marked with Sharpies, red and black, and kept segregated during subsequent processing. These boards were flattened on one side at the jointer and then thickness planed to 3/4 in. Next, they were ripped in two again to achieve their 1 3/4 in. final widths. The side and central stiles were fashioned in a like manner to provide 10 frame parts. Finally, a 5/16 in. wide groove was dadoed along the edges at a depth of 3/8 in. These slots would hold the panels and stiles.
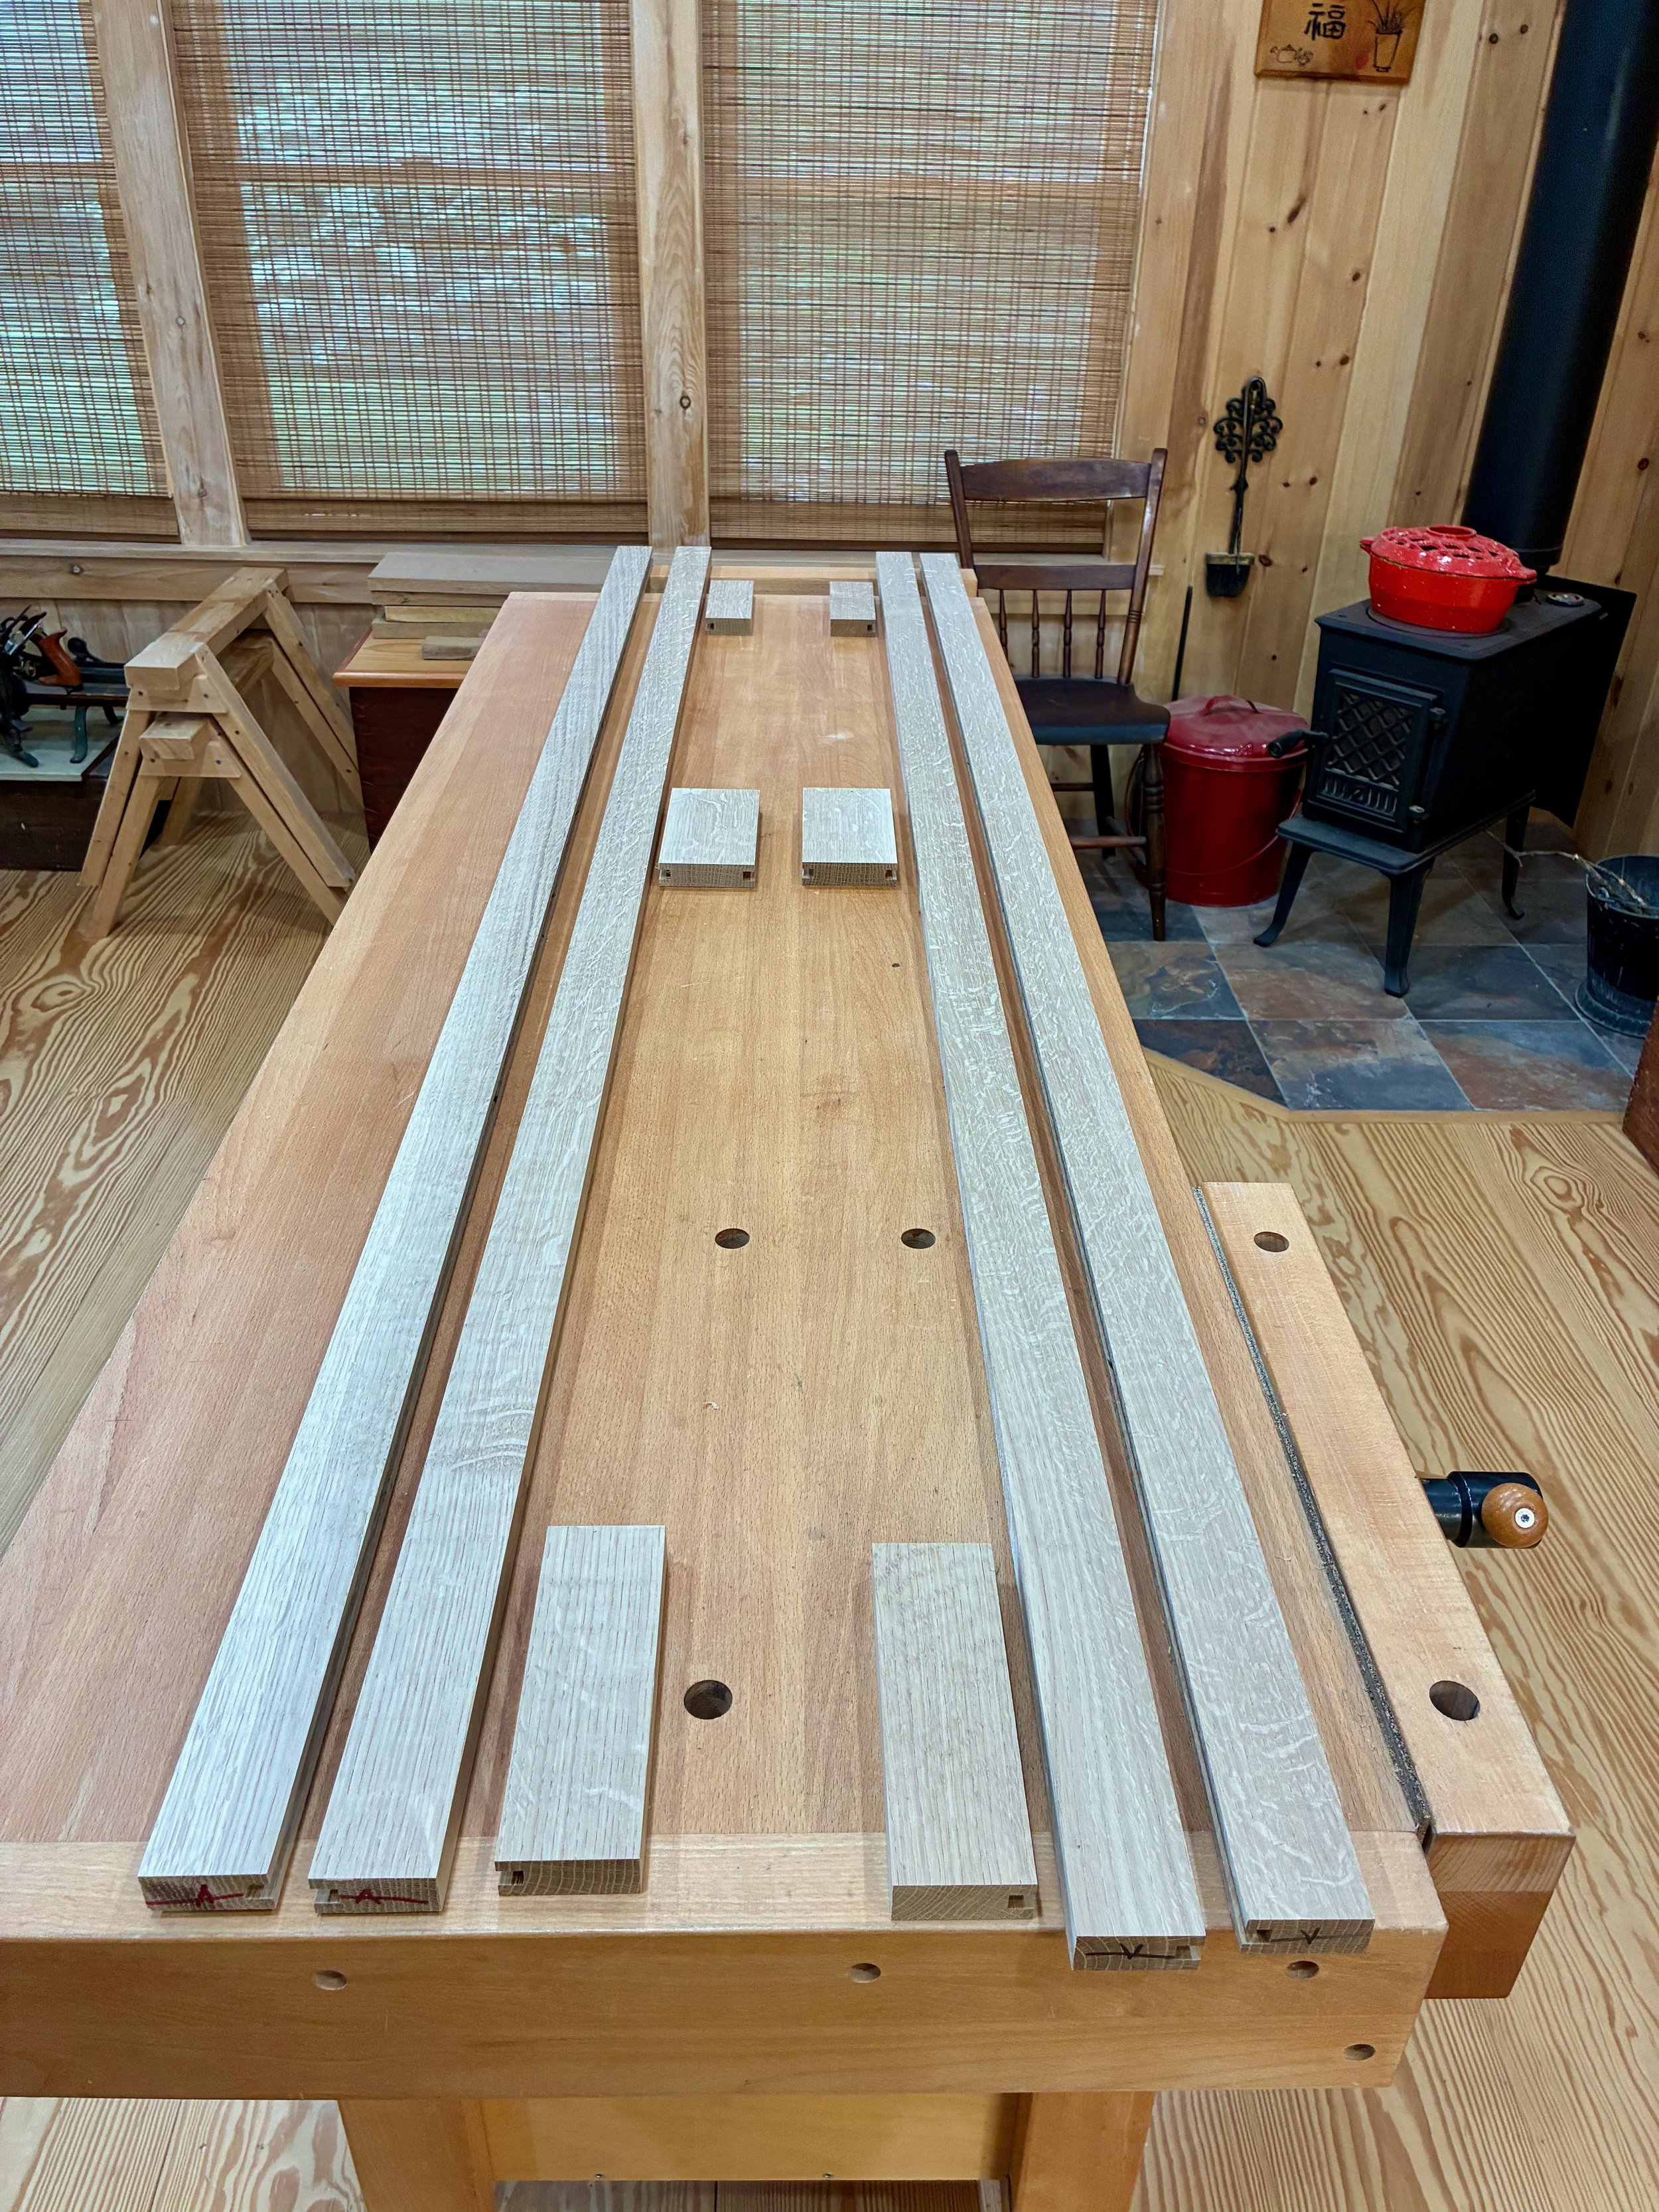
Ten slotted frame members
At this point, all members were cut to their final lengths and then 3/8 in. tenons were fashioned on both ends of the six stile parts using a dado blade and cross-cut sled at the table saw. After some fine-tuning with the shoulder plane, the parts could be dry fit together to get a first glimpse of the final form.

Dry-fit frames on top the rough cut panel board
Things were coming together well to this point, and I liked the overall proportions of the cornice front. The next step was to fashion 4 panels from that nicely figured smaller board. To begin, the board was chopped in half, and the two pieces jointed on edge and then ripped to rough width at the table saw. These were then smoothed somewhat on the thickness planer before being re-sawn at the band saw and the resulting 4 pieces thickness planed (for real) to a 5/16 in. depth. Trimming the lengths and widths to their final dimensions allowed for a complete dry fit. I like the way the medullary rays flow in those extended panels so I decided not to break things up further with additional stiles.
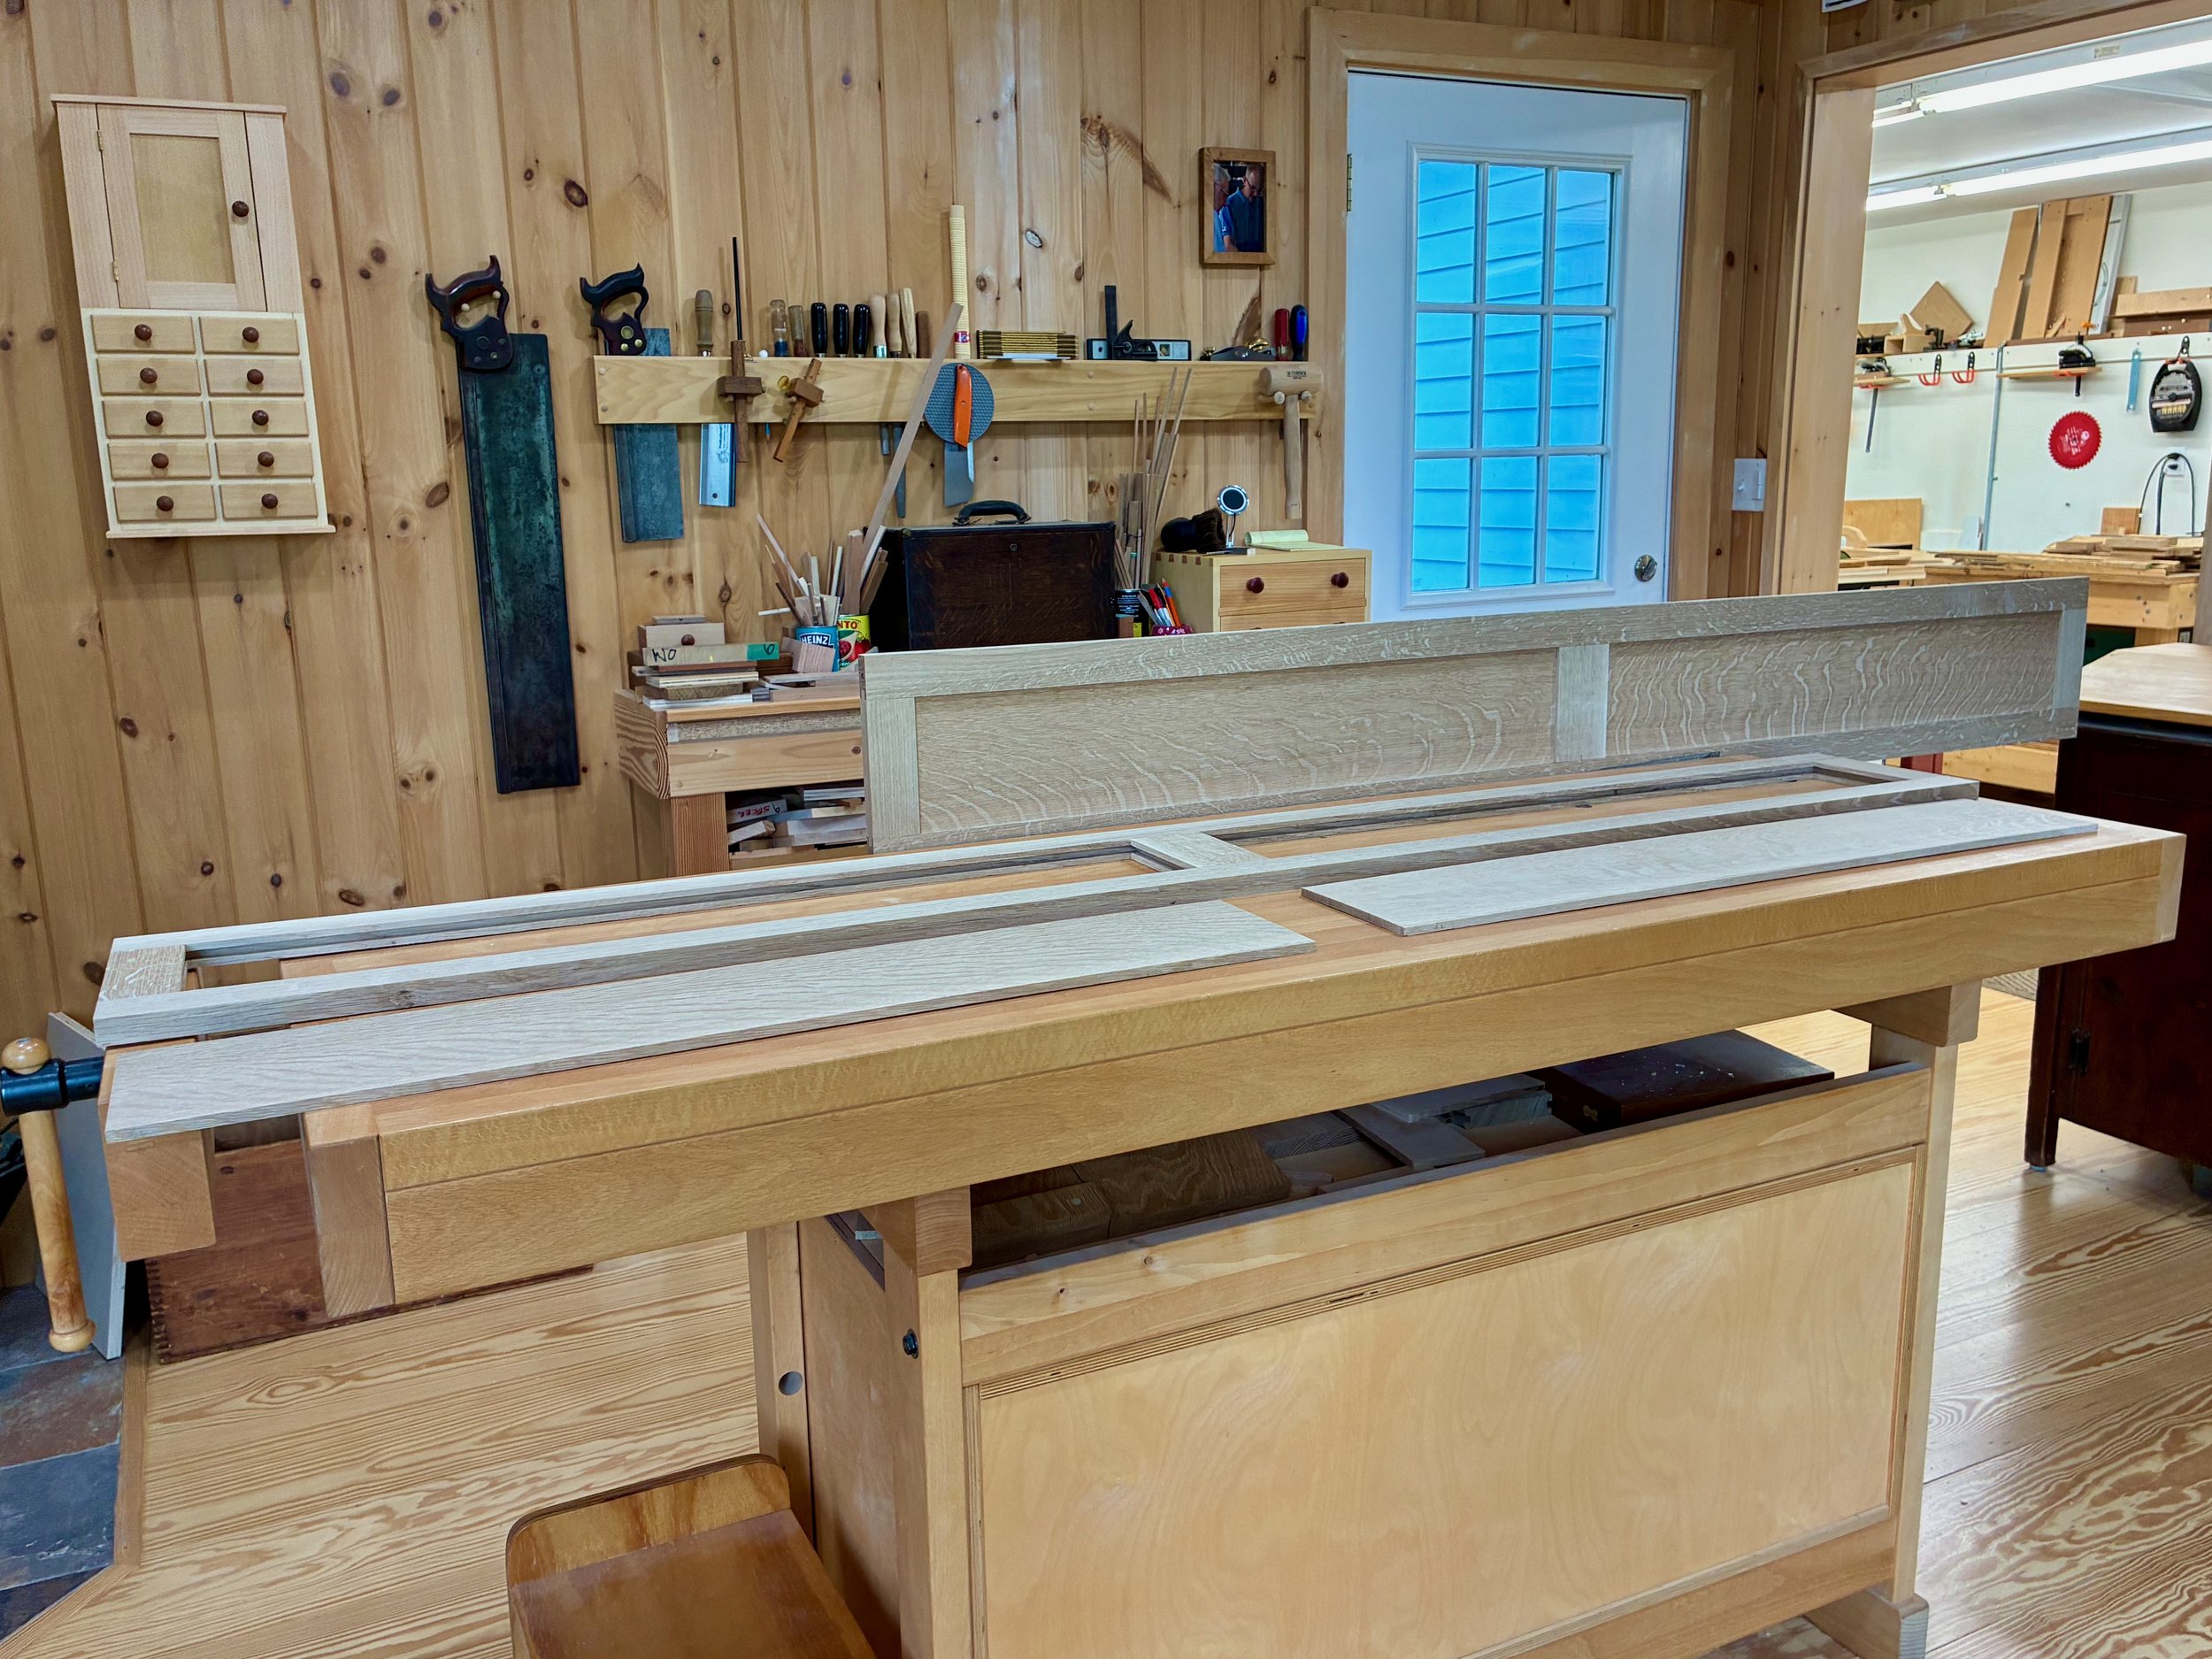
Piecing things together
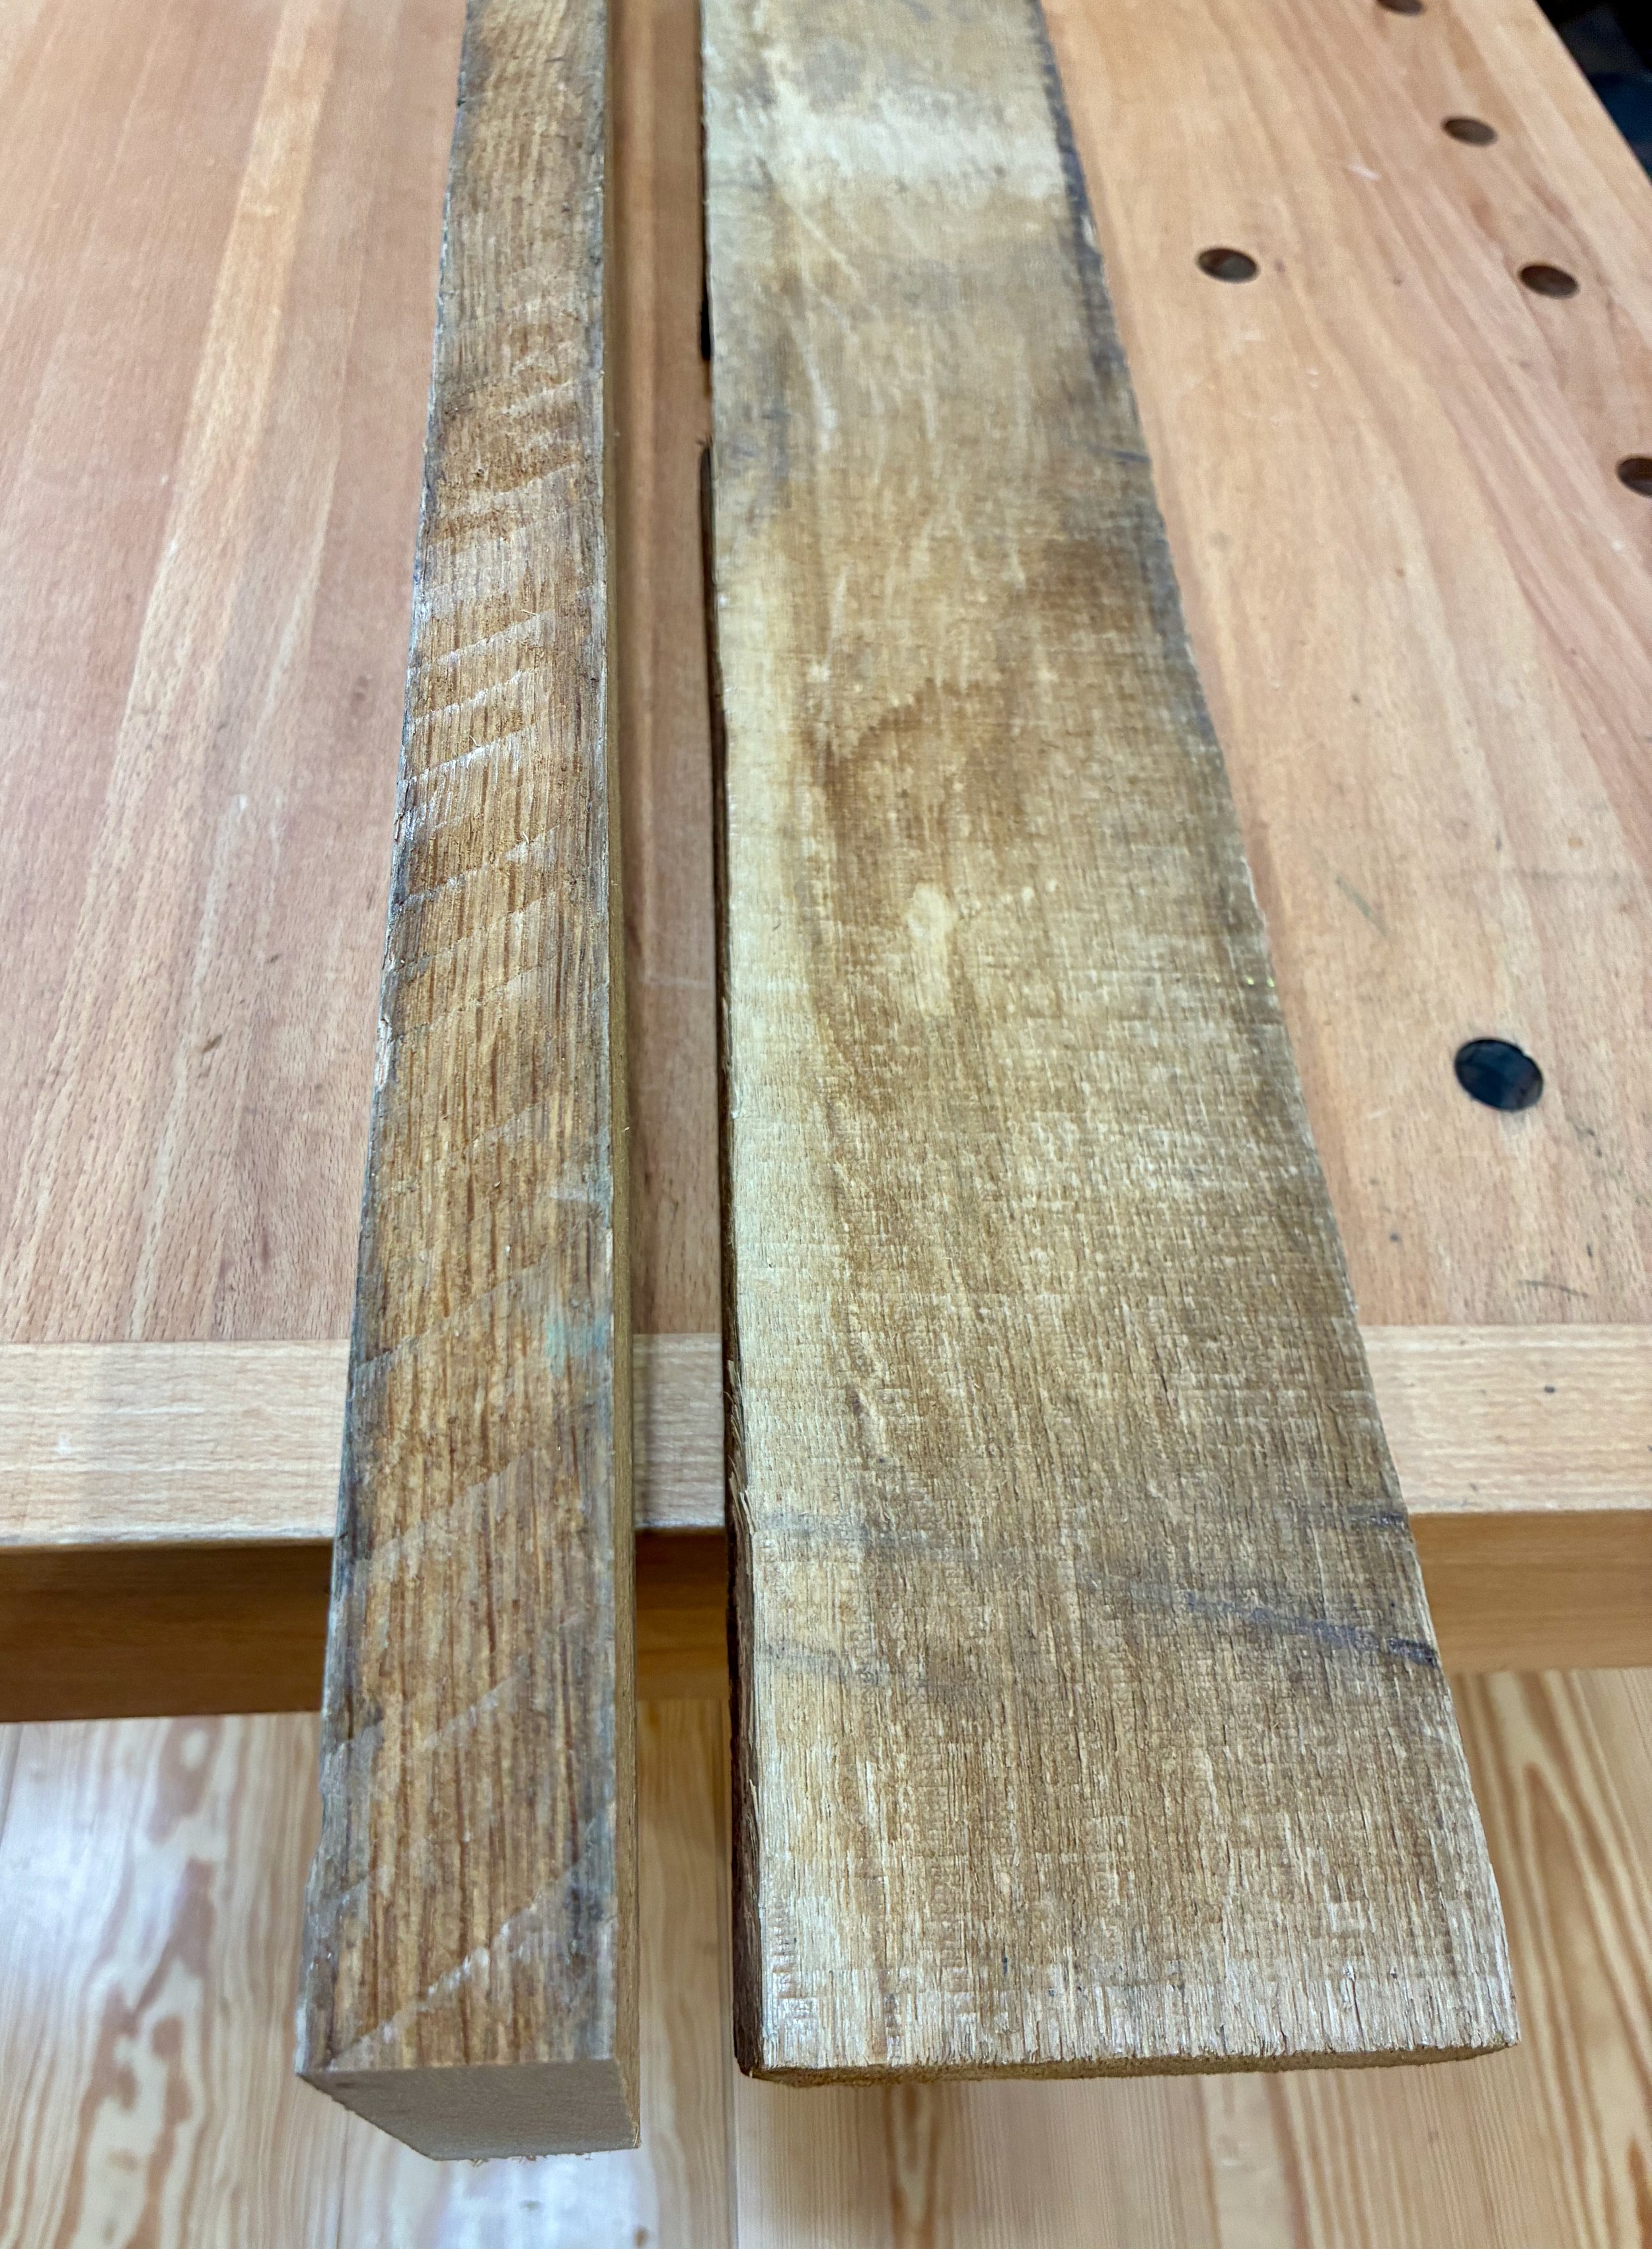
All that remained was to fashion the side “faces” and the top trim from some more white oak. For this I visited a new lumber source, Reader’s Hardwood Supply, located about an hour away in East Taunton, MA. This yard has an excellent mix of species for sale, nicely laid out in racks, and I spent some time picking through their 4/4 quarter sawn white oak section in search of their “cleanest dirty” board. You see, I needed the edge side of this plank to supply the visible portion of that top trim and, as I have griped about in earlier posts, the edge grain of quarter sawn oak boards can range from unsightly to downright ugly. (While I have made my peace with quarter sawn behaviors, unsuspecting visitors would need to look at a 77 inch stretch of this mess at the top of each cornice.) I also took a peek at the plain sawn boards but determined their edge grain was too “wavy”. Then I happened upon a pile of rift sawn white oak. This rare cut, possessing grain at a ~ 45° angle to the board plane, had just the strait-laced edge character I was looking for.
Rift sawn oak diamond in the rough
Because of the uninterrupted length of the top trim, I couldn’t use my jointer to flatten this part without a major disruption to the footprint of the shop and so I worked without that tool. To achieve a straight edge I first screwed an auxiliary board atop my oak and used its straight edge against the table saw fence to rip a correspondingly straight side for the trim. It may not be dead true & square, but close enough for trim work.
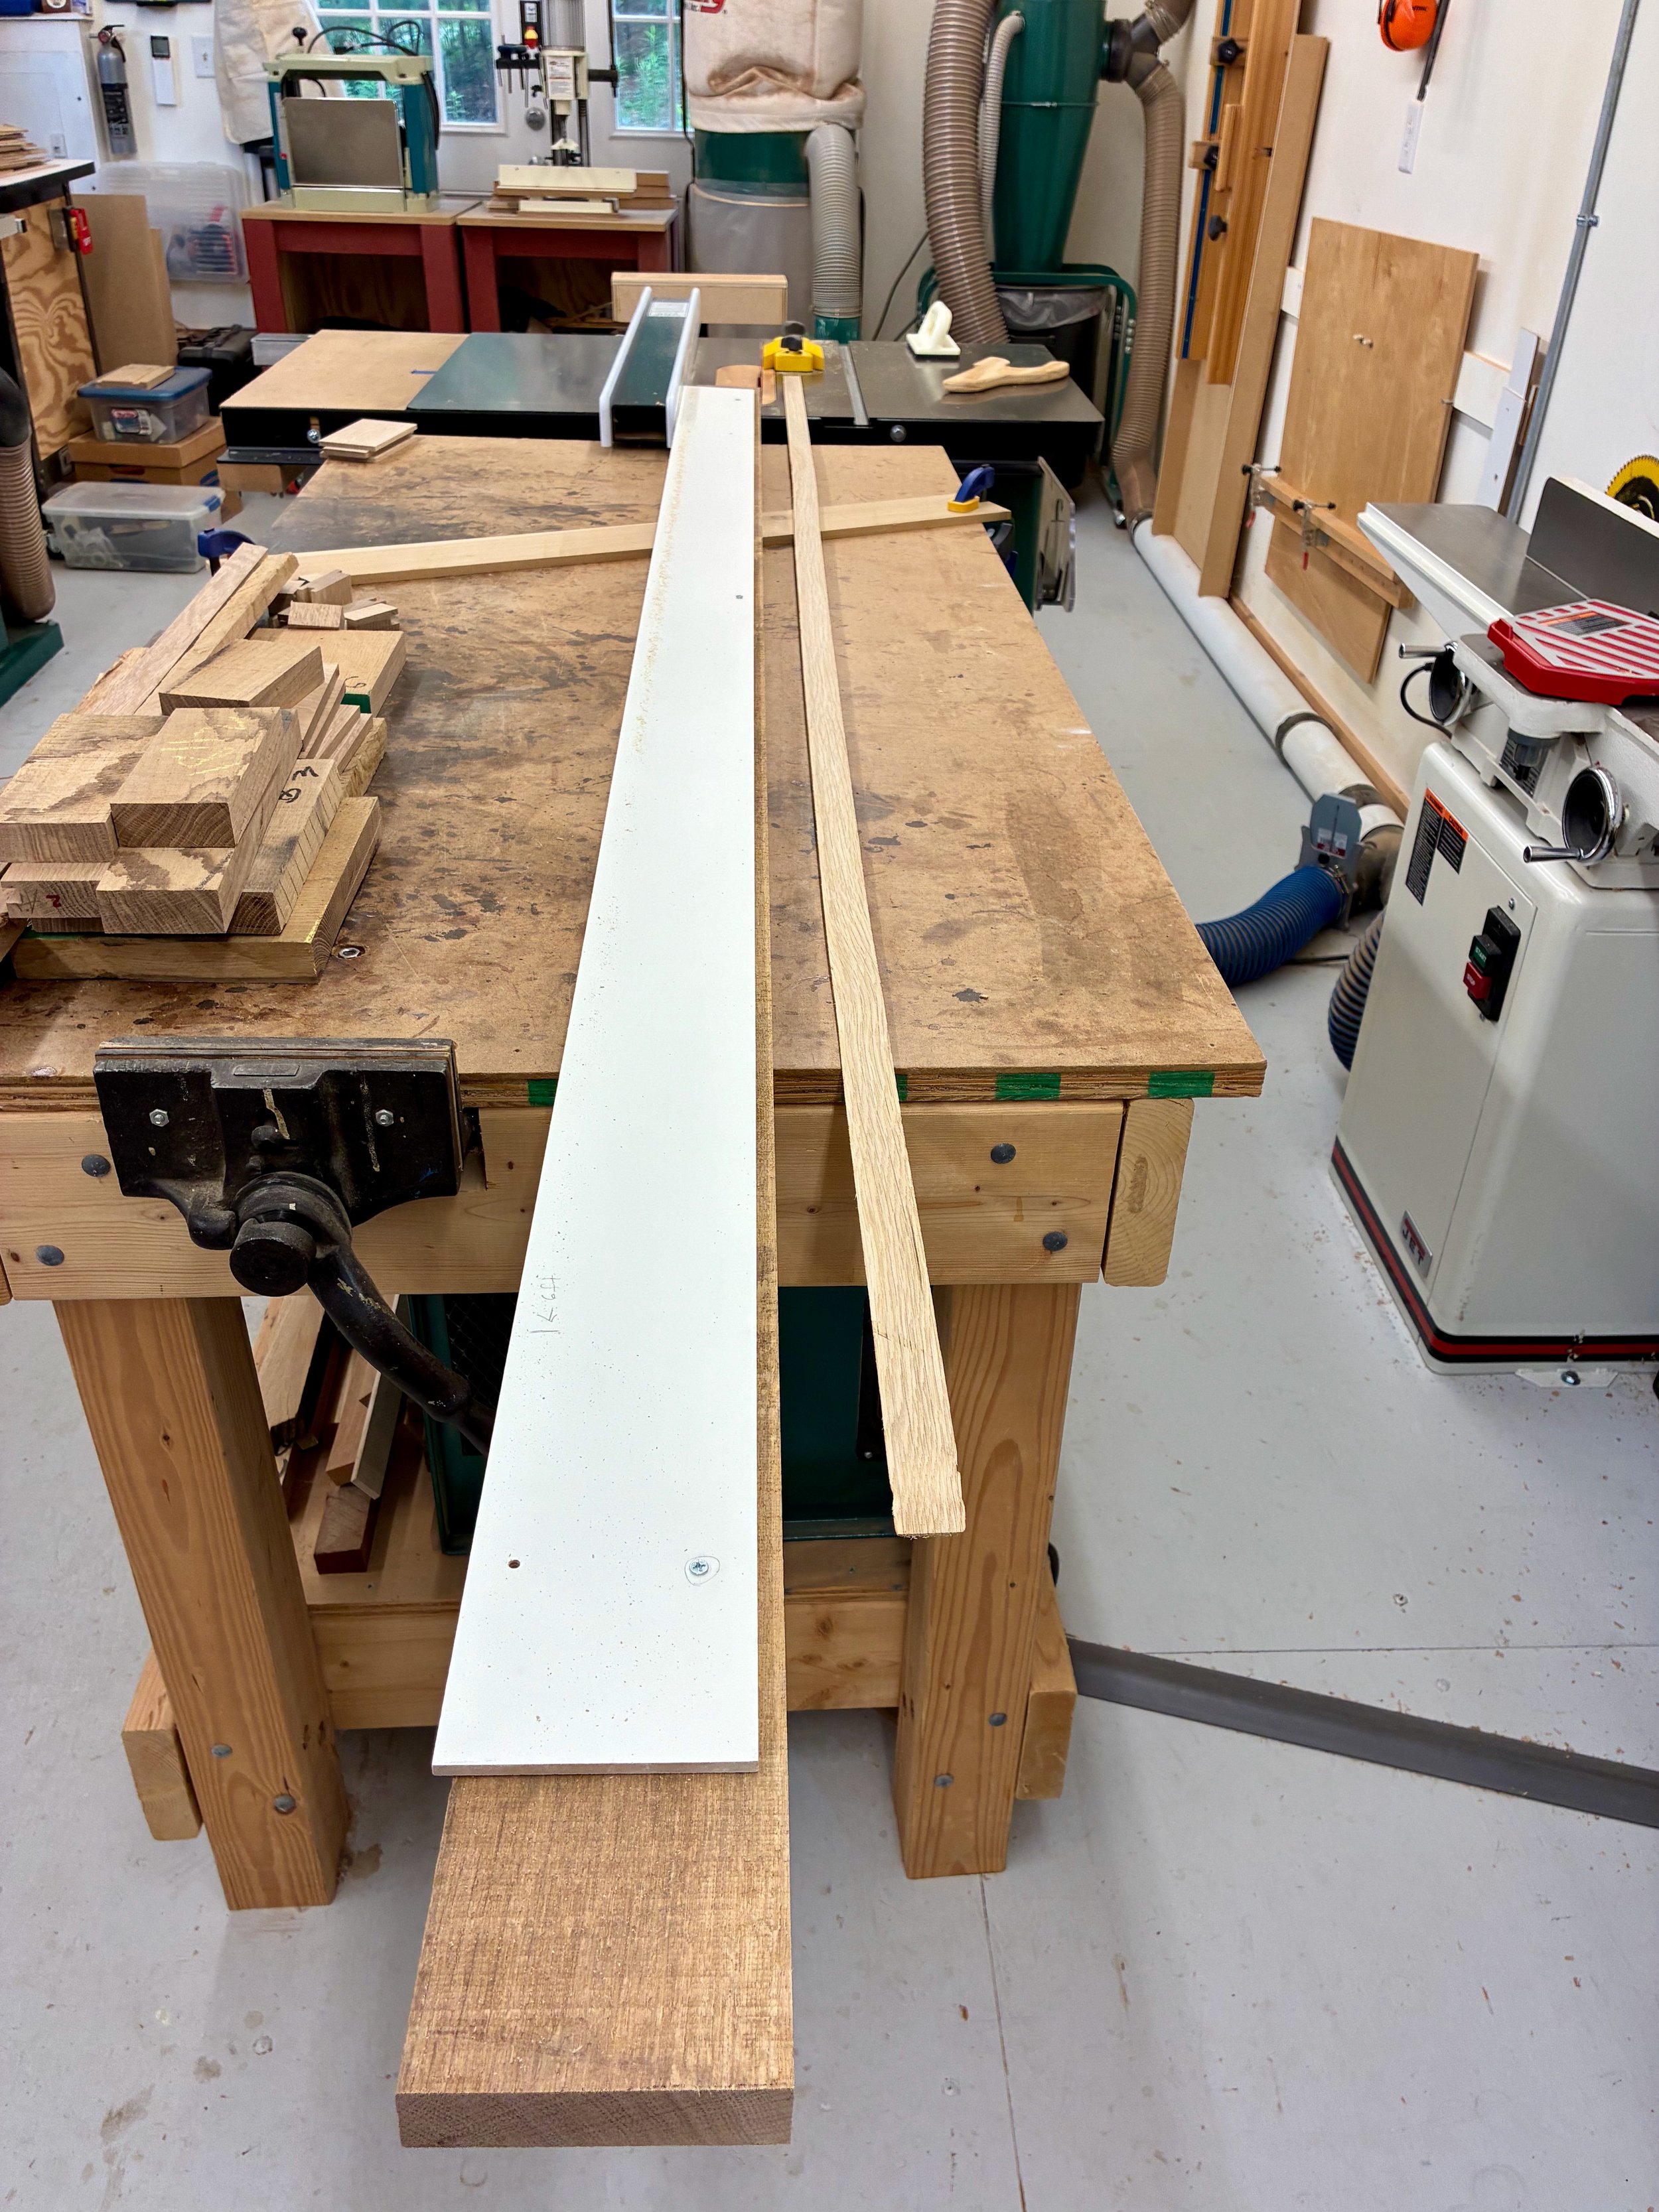
Ripping a nice, straight edge while the jointer stands idle (right).
From here, the board could be ripped into two, 1 3/4 in. wide strips which were then thickness planed to a 7/8 in. depth. Shorter sections of that same board were likewise processed to provide the four side trim pieces. While these would ride atop the framed panel body, I needed to achieve a uniform 1/2 in. overhang along that span and so a shallow groove was dadoed on the underside of all trim pieces allowing them to snap into perfect formation during assembly.
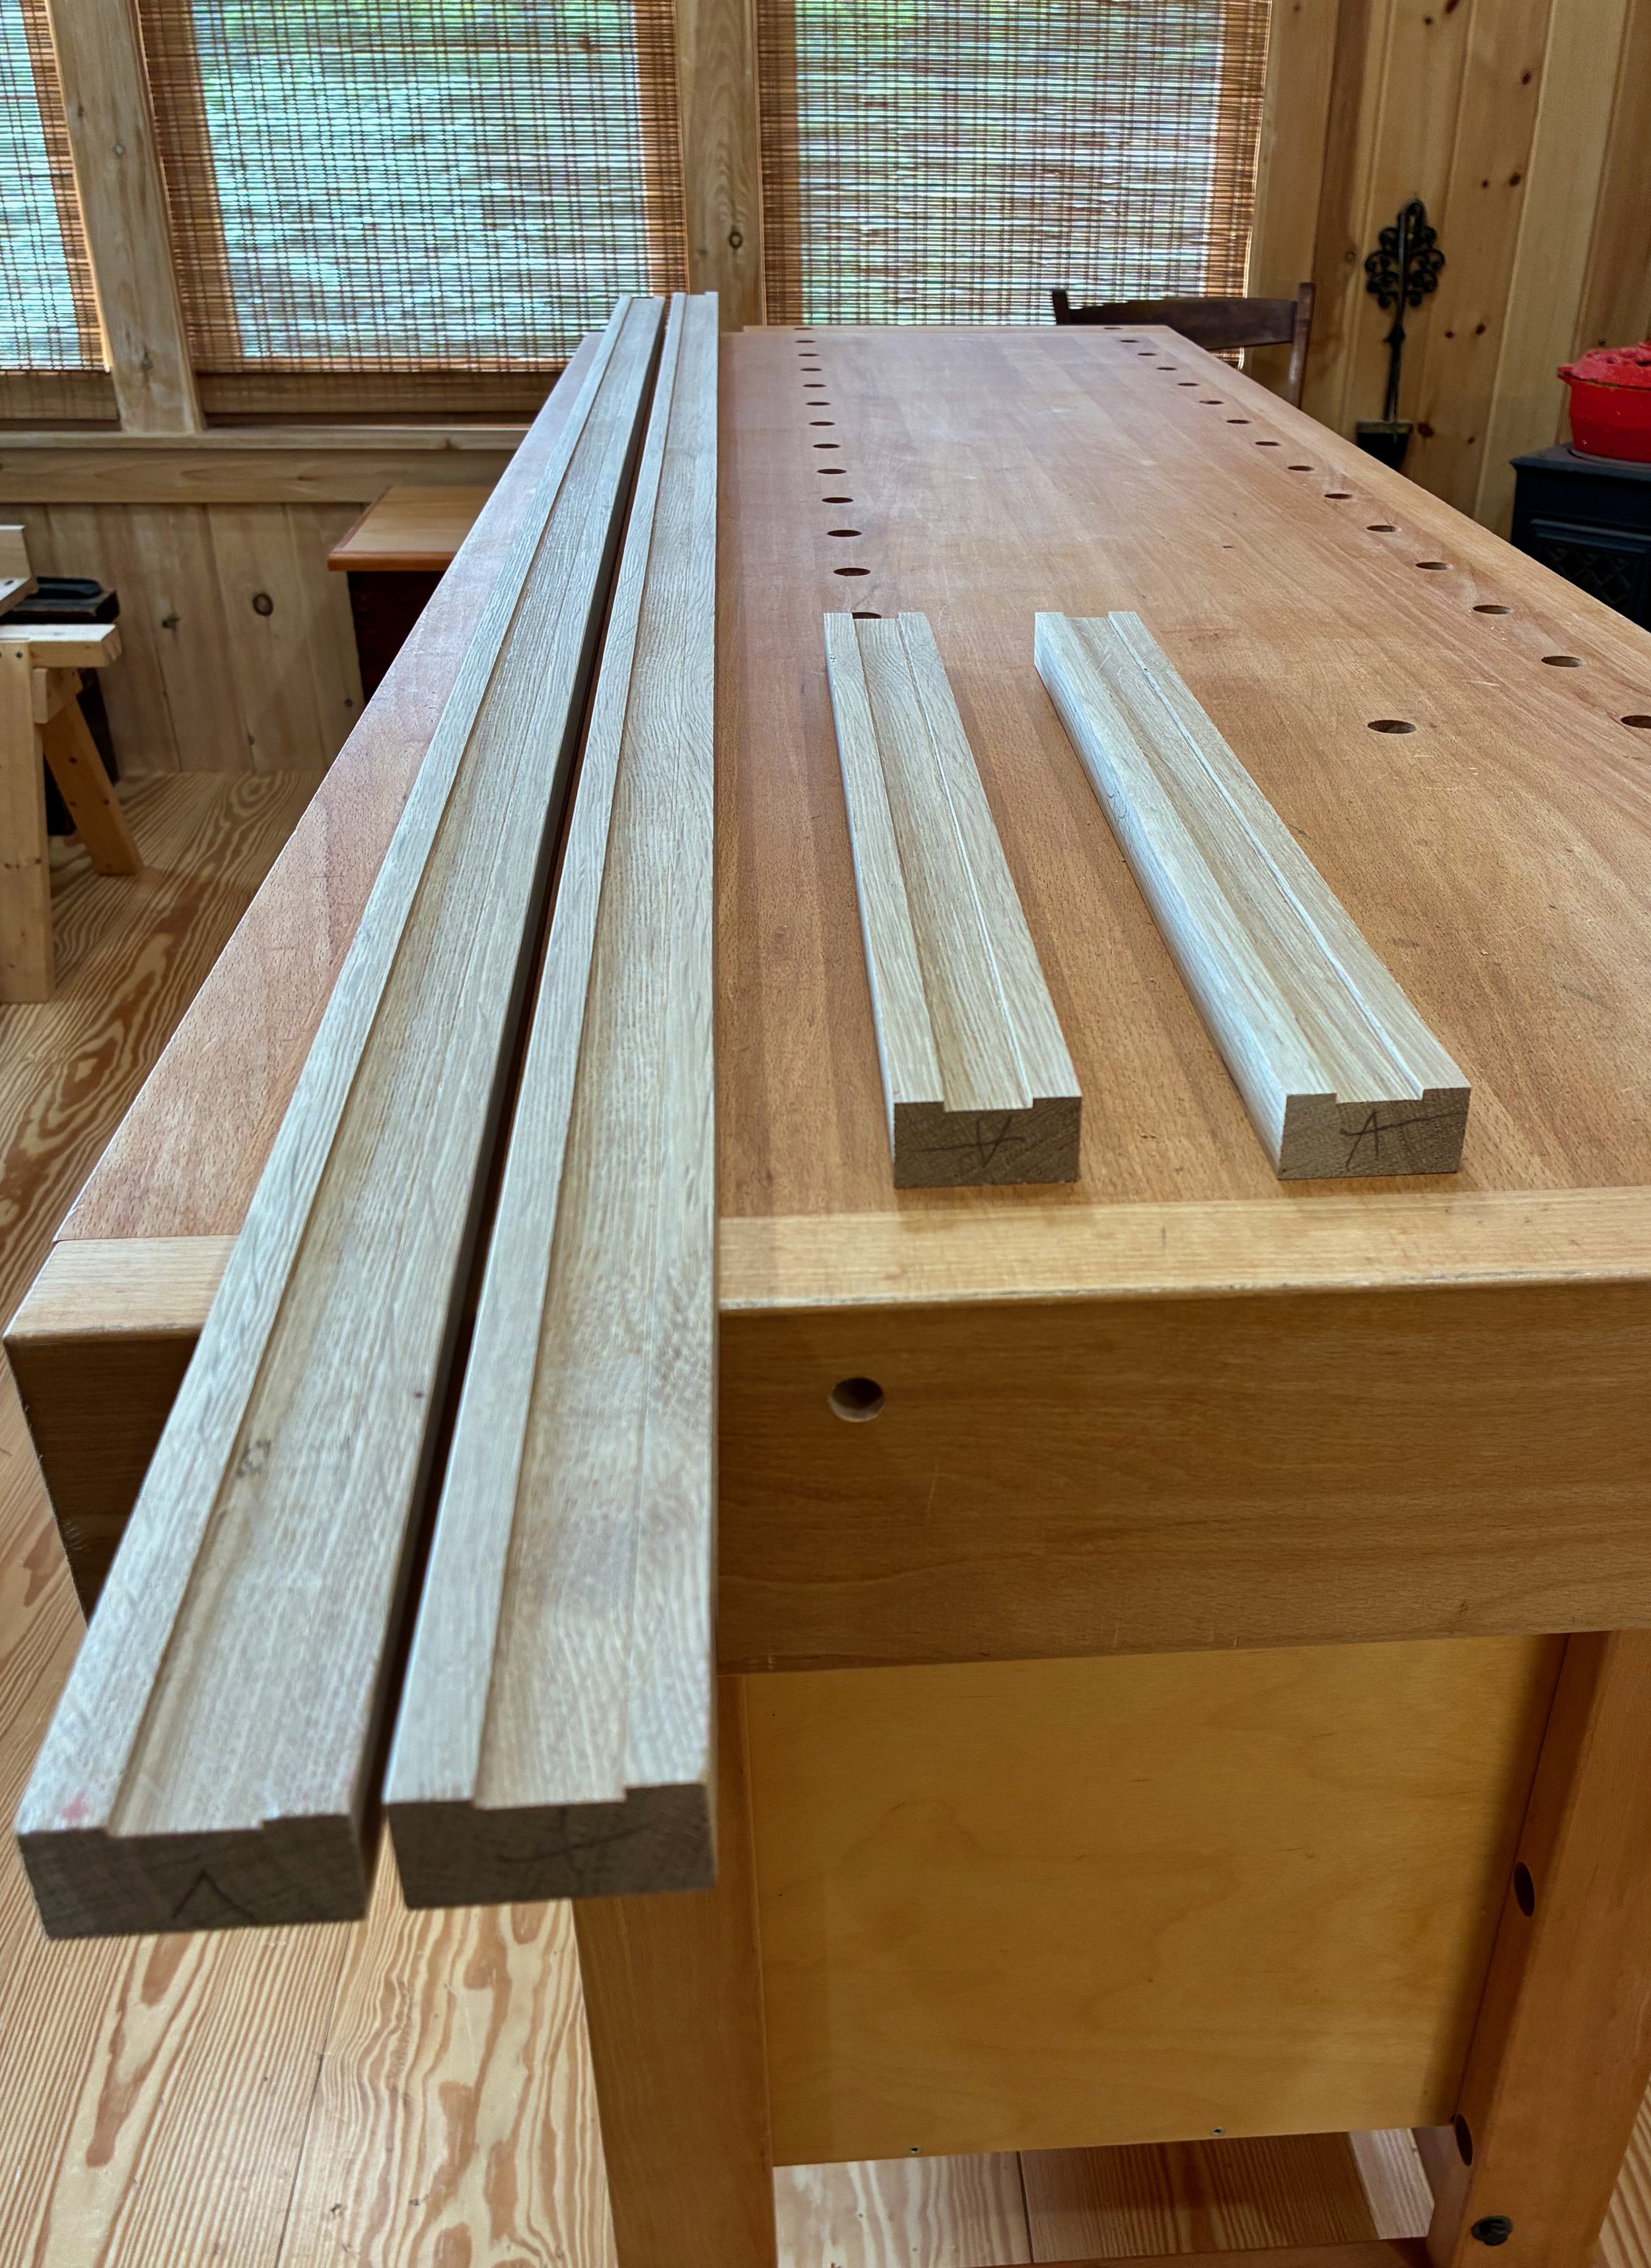
Trim pieces with their undersides slotted
Finally, I found a couple white oak scraps with stretches of acceptable looking edge grain that could be milled to the proper dimensions for the side faces, two per cornice. As with the trim, these were slotted to straddle the stile edges to achieve a uniform (1/8 in.) overlap in front.
Assembly and Finish
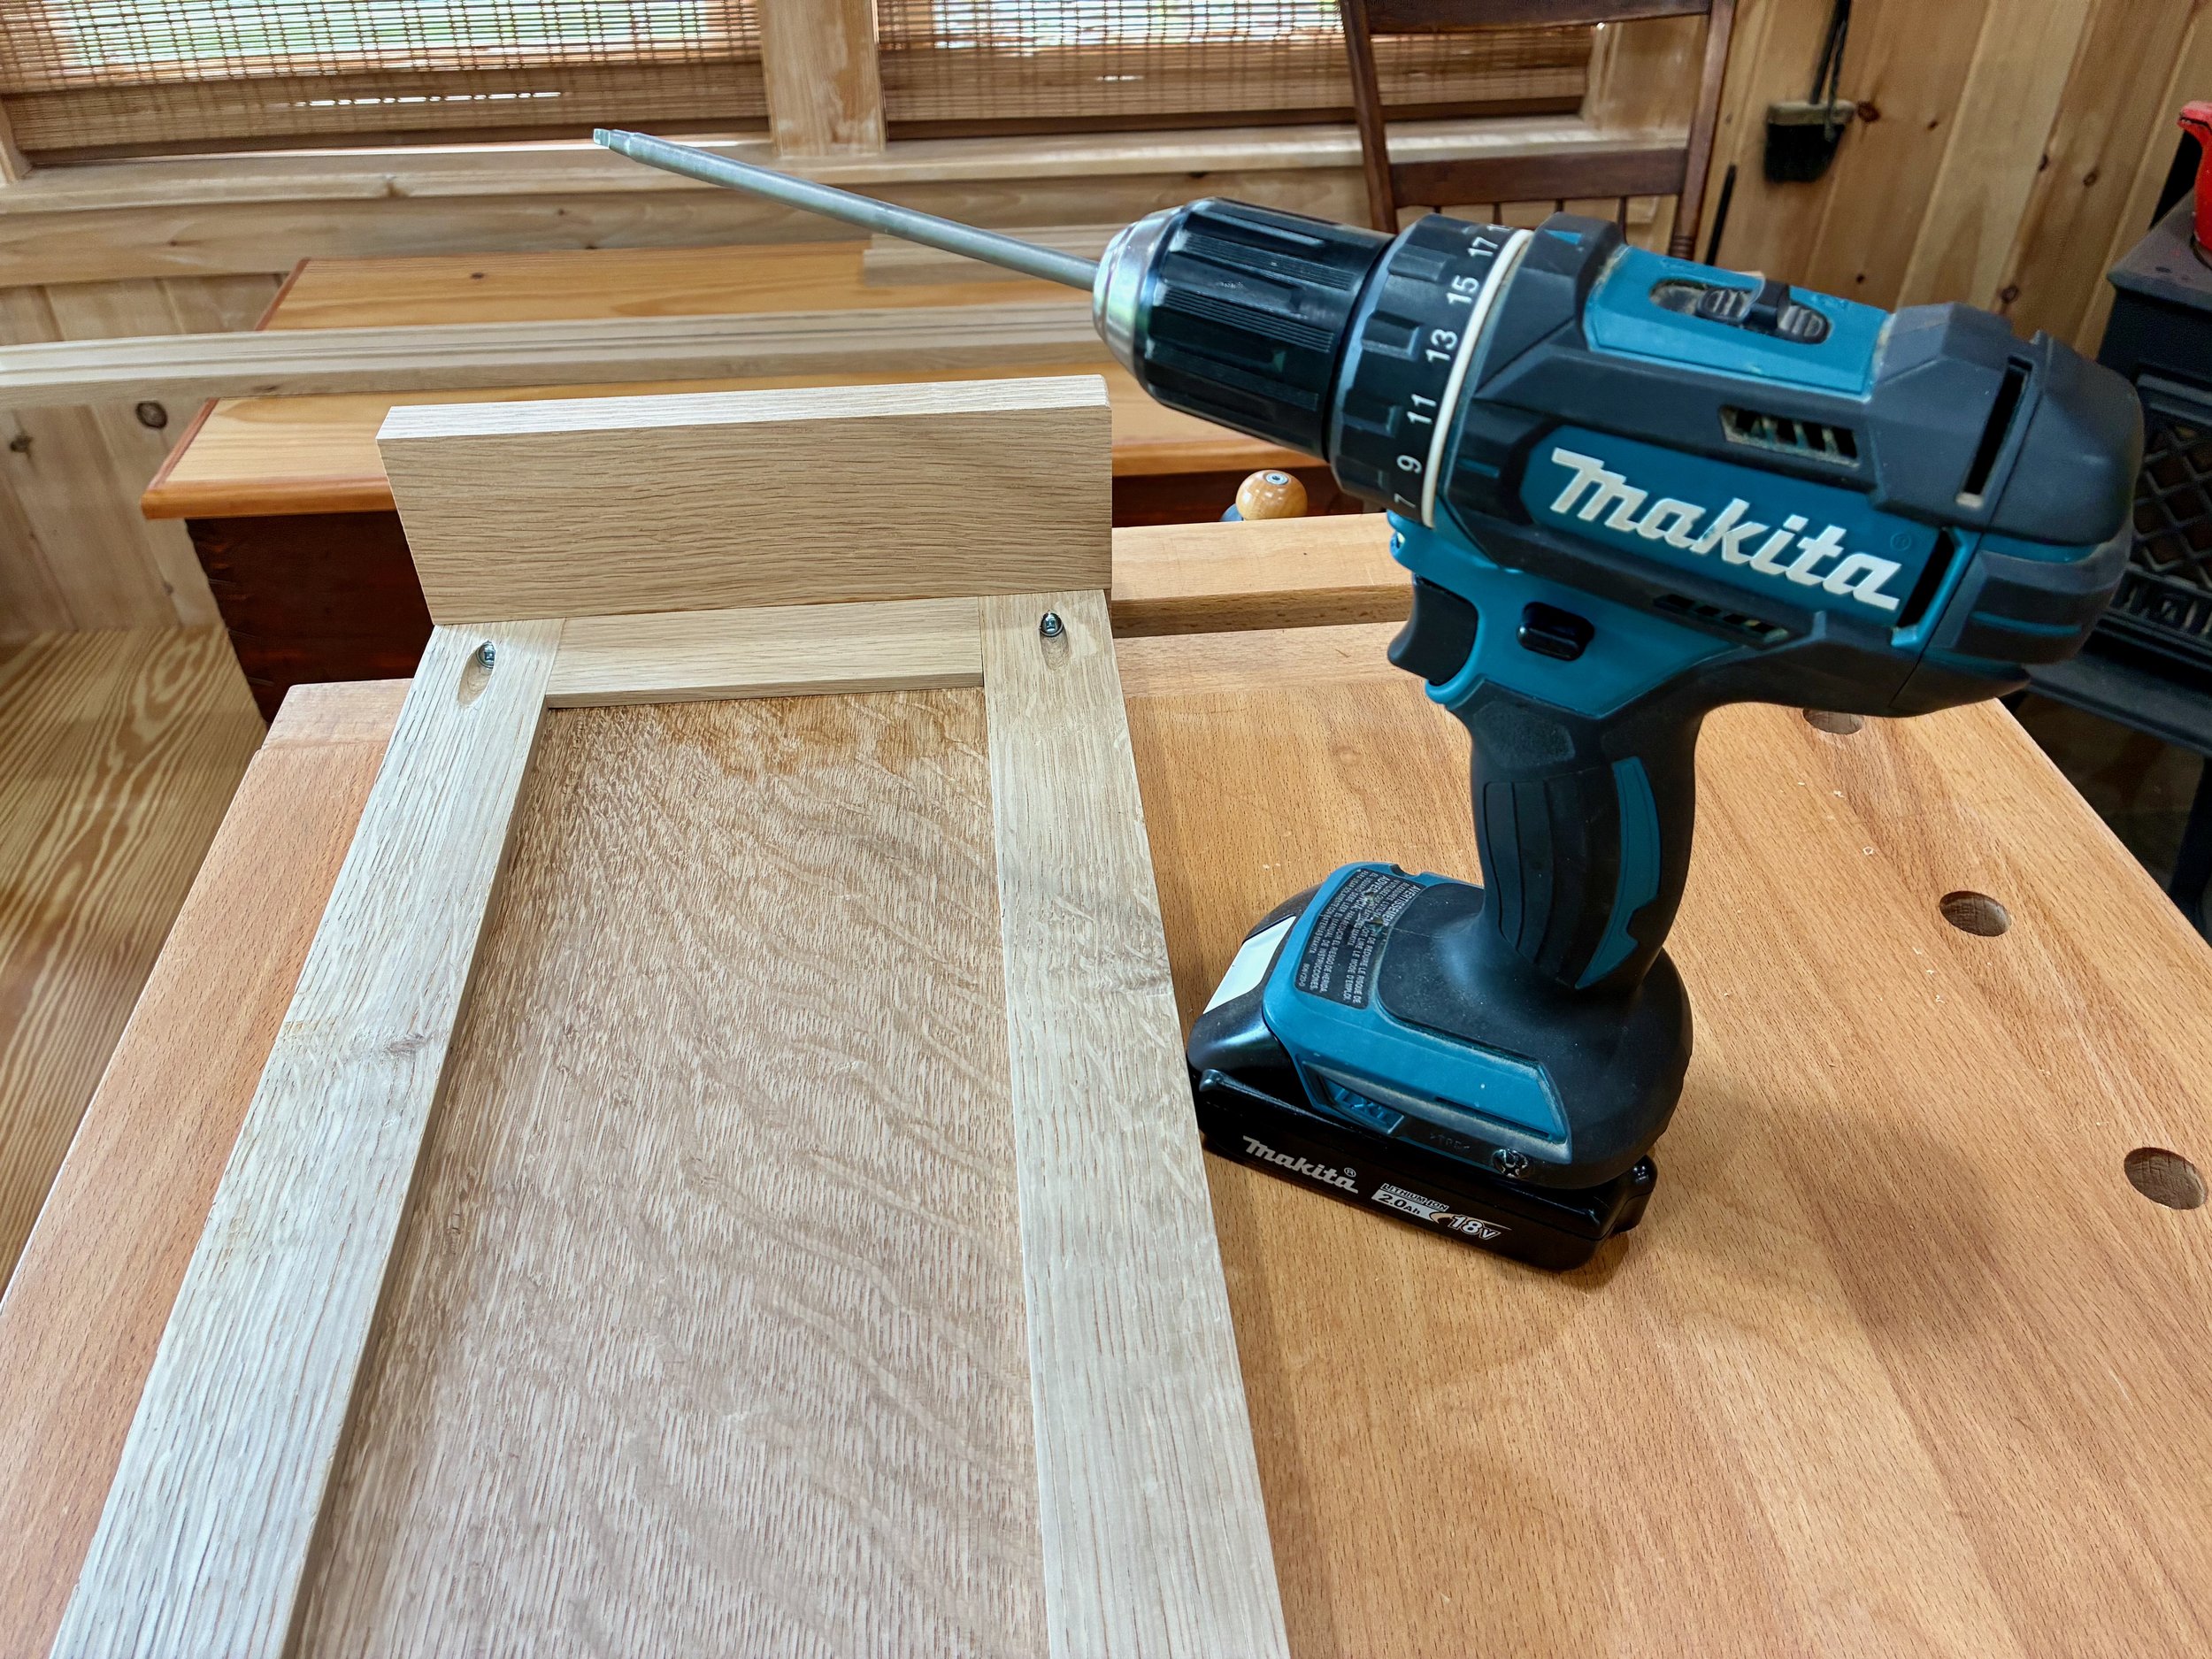
The parts were all given their final surface preparation and then the four panels were treated with their first course of boiled linseed oil. Assembly was easy. First, the center stile was glued and clamped to the bottom rail and then the panels were slid into place (unglued), capped-off by the end stiles. After adjusting for squareness the top rail was tapped into place and the whole thing clamped to cure. Once dry, a second cornice front was put together in the same fashion.

Putting the panels together
From here the sides were attached with glue, flush at the top but 1/8 of an inch proud on the fronts and bottoms. This little overhang adds extra dimension with shadow lines and makes it look more “finished”, to me. Pocket screws into the top and bottom rails were used to keep this corner solidly at 90°.
Pocket screws on the backside further secure the side faces to the frame
Finally, it was time to apply the trim. I decided to miter the corners, keeping the “look” in line with Craftsman moulding doctrine. The small side trims were cut to a 45° angle and dry-fitted first, and this allowed for accurate marking of the intervening long trim section. After cutting this piece to length a bit of chisel work was needed to widen the slots on each end to accommodate the overhanging sides. With a clean fit assured, the trim sections were glued and clamped.
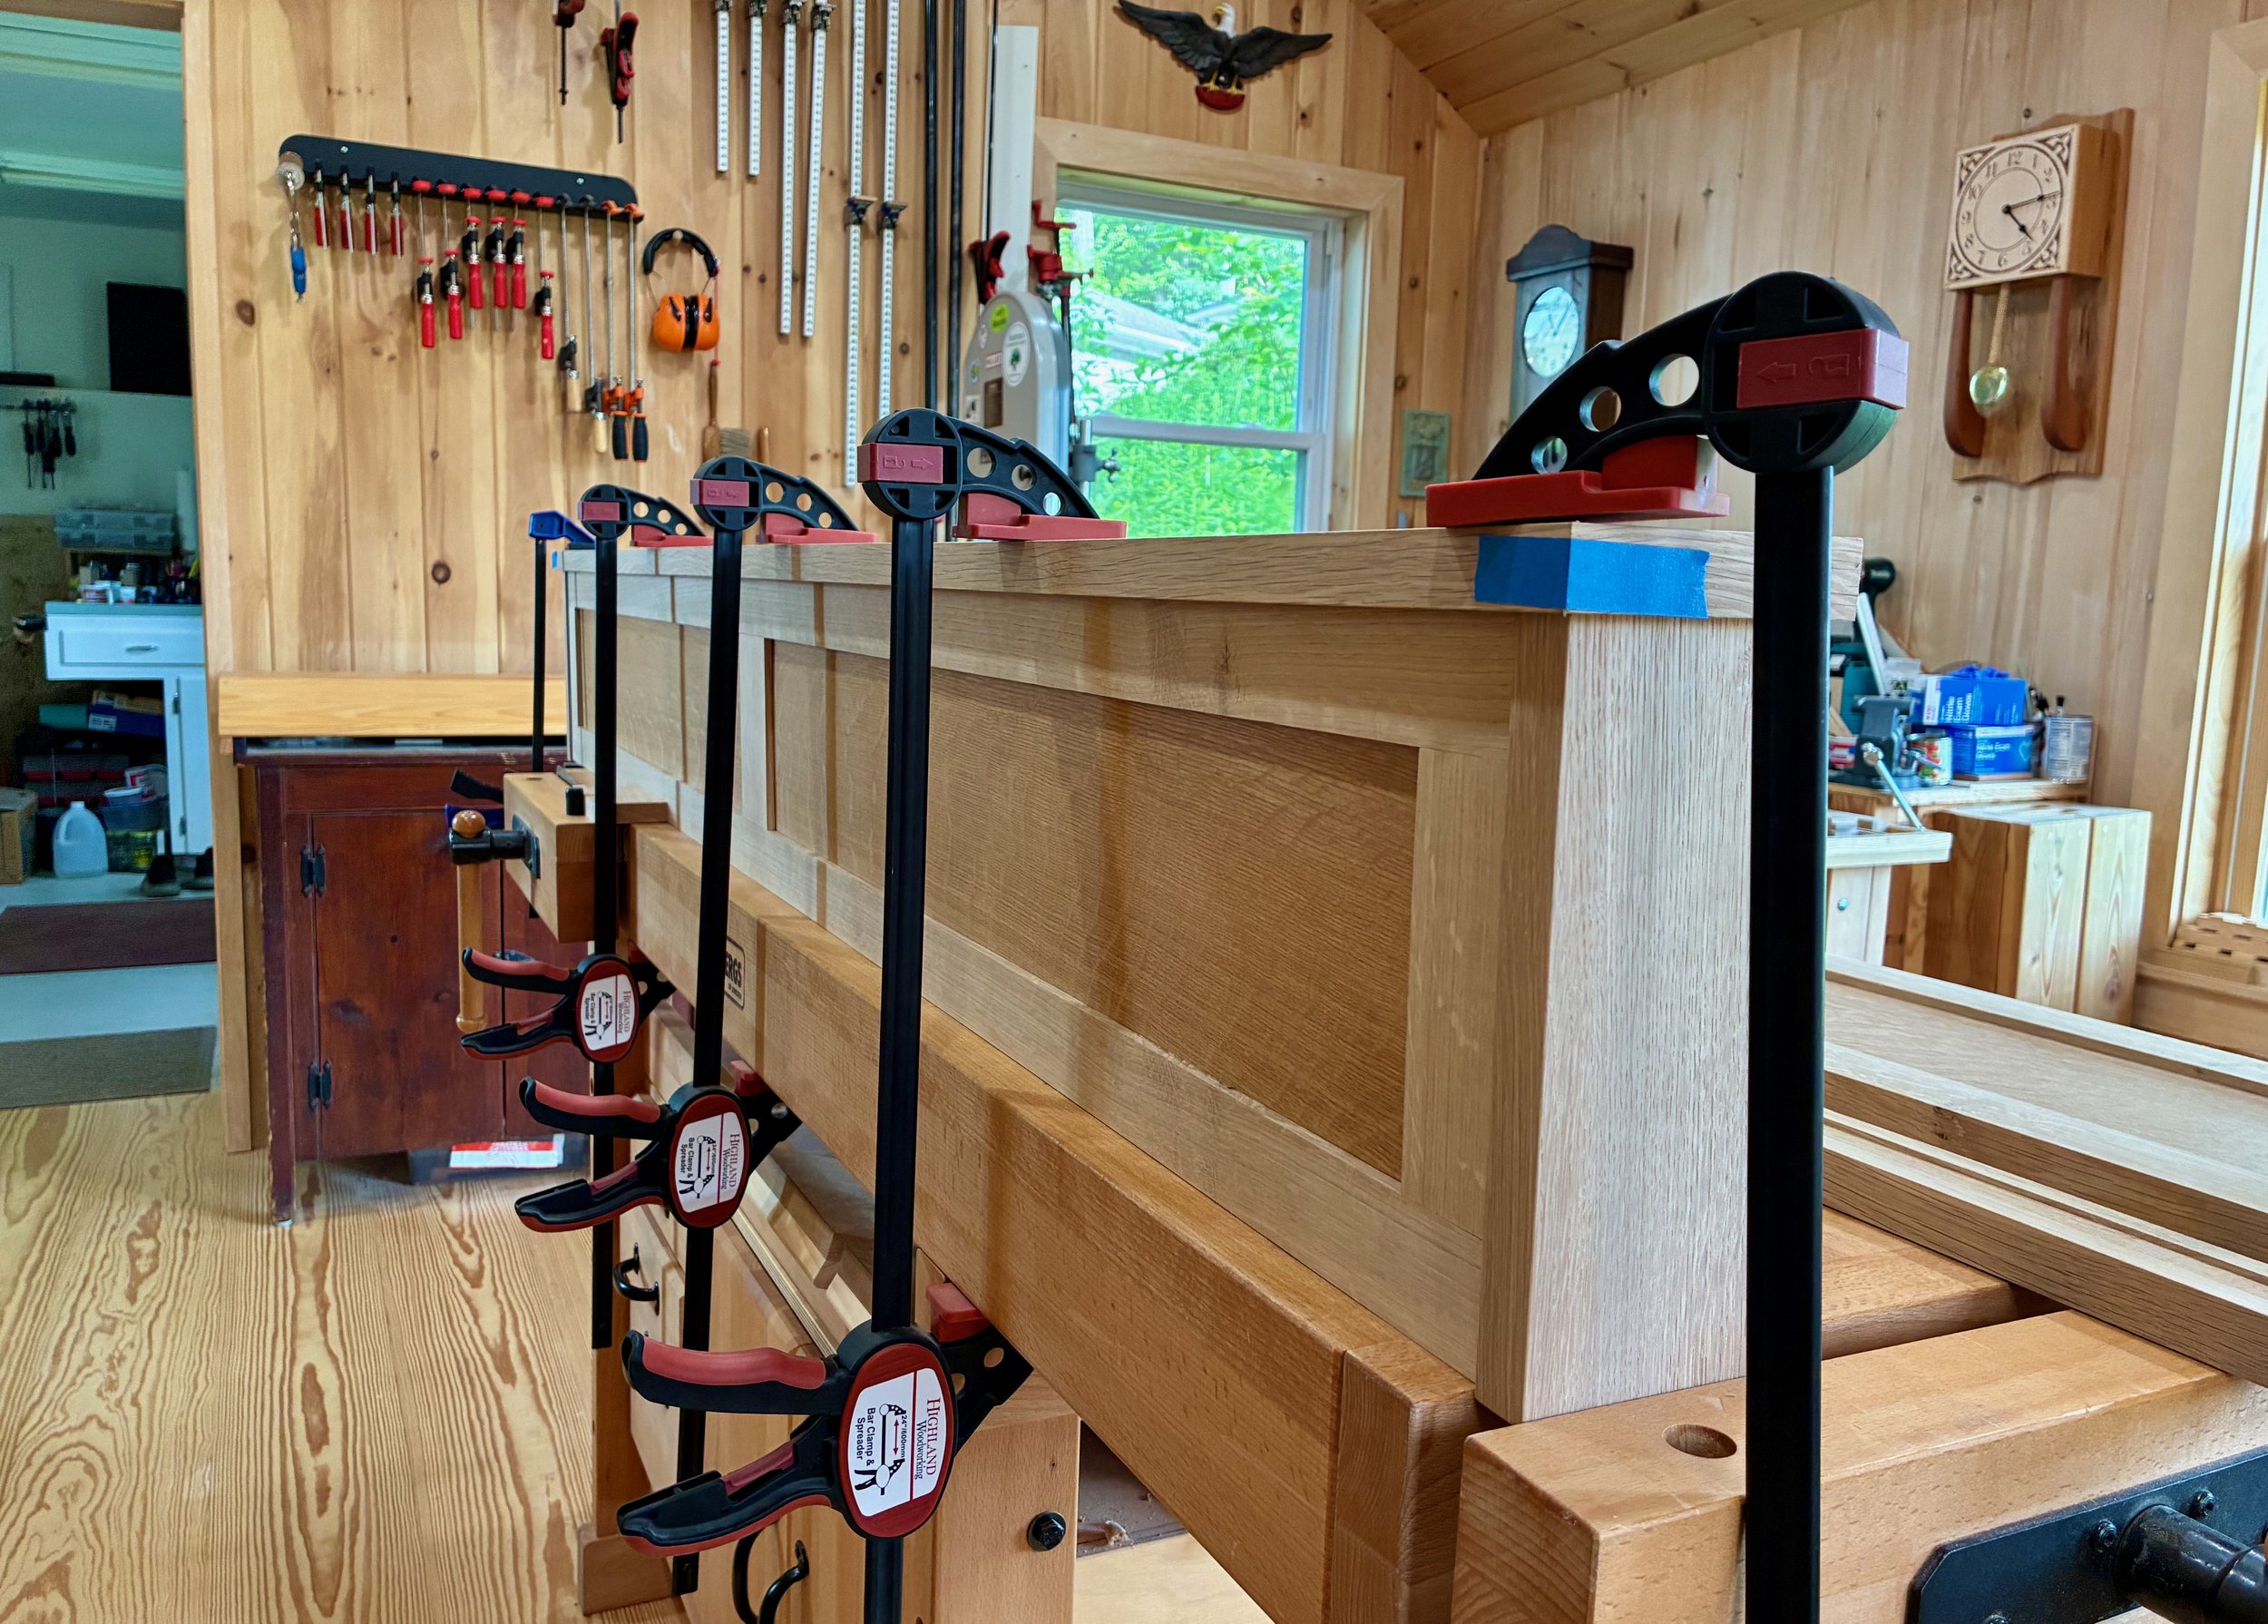
Gluing the top trim in place
Once fully assembled, the cornices were given two treatments of boiled linseed oil to darken the colors and bring out the contrast of rays versus grain. From here most furniture pieces would proceed right to their photo shoot, but cornices require installation.
I had several fabric covered cornices at my prior house and seem to recall they merely “sat” on L-brackets fastened alongside the window trim. Although my new cornices are twice as large and more than twice as heavy, that was the plan here, too. I secured some 4 in. x 2 in. L-brackets online that I mounted at the ends of the window trim with the short arm protruding. Installation was simply a matter of settling the cornice onto these brackets and letting the weight be supported by the backside of the trim. That trim serves to make the piece a bit top heavy and so to keep the cornice from lurching forward, I used zip ties to cinch the bracket to eye screws mounted in the trim. All seems well.
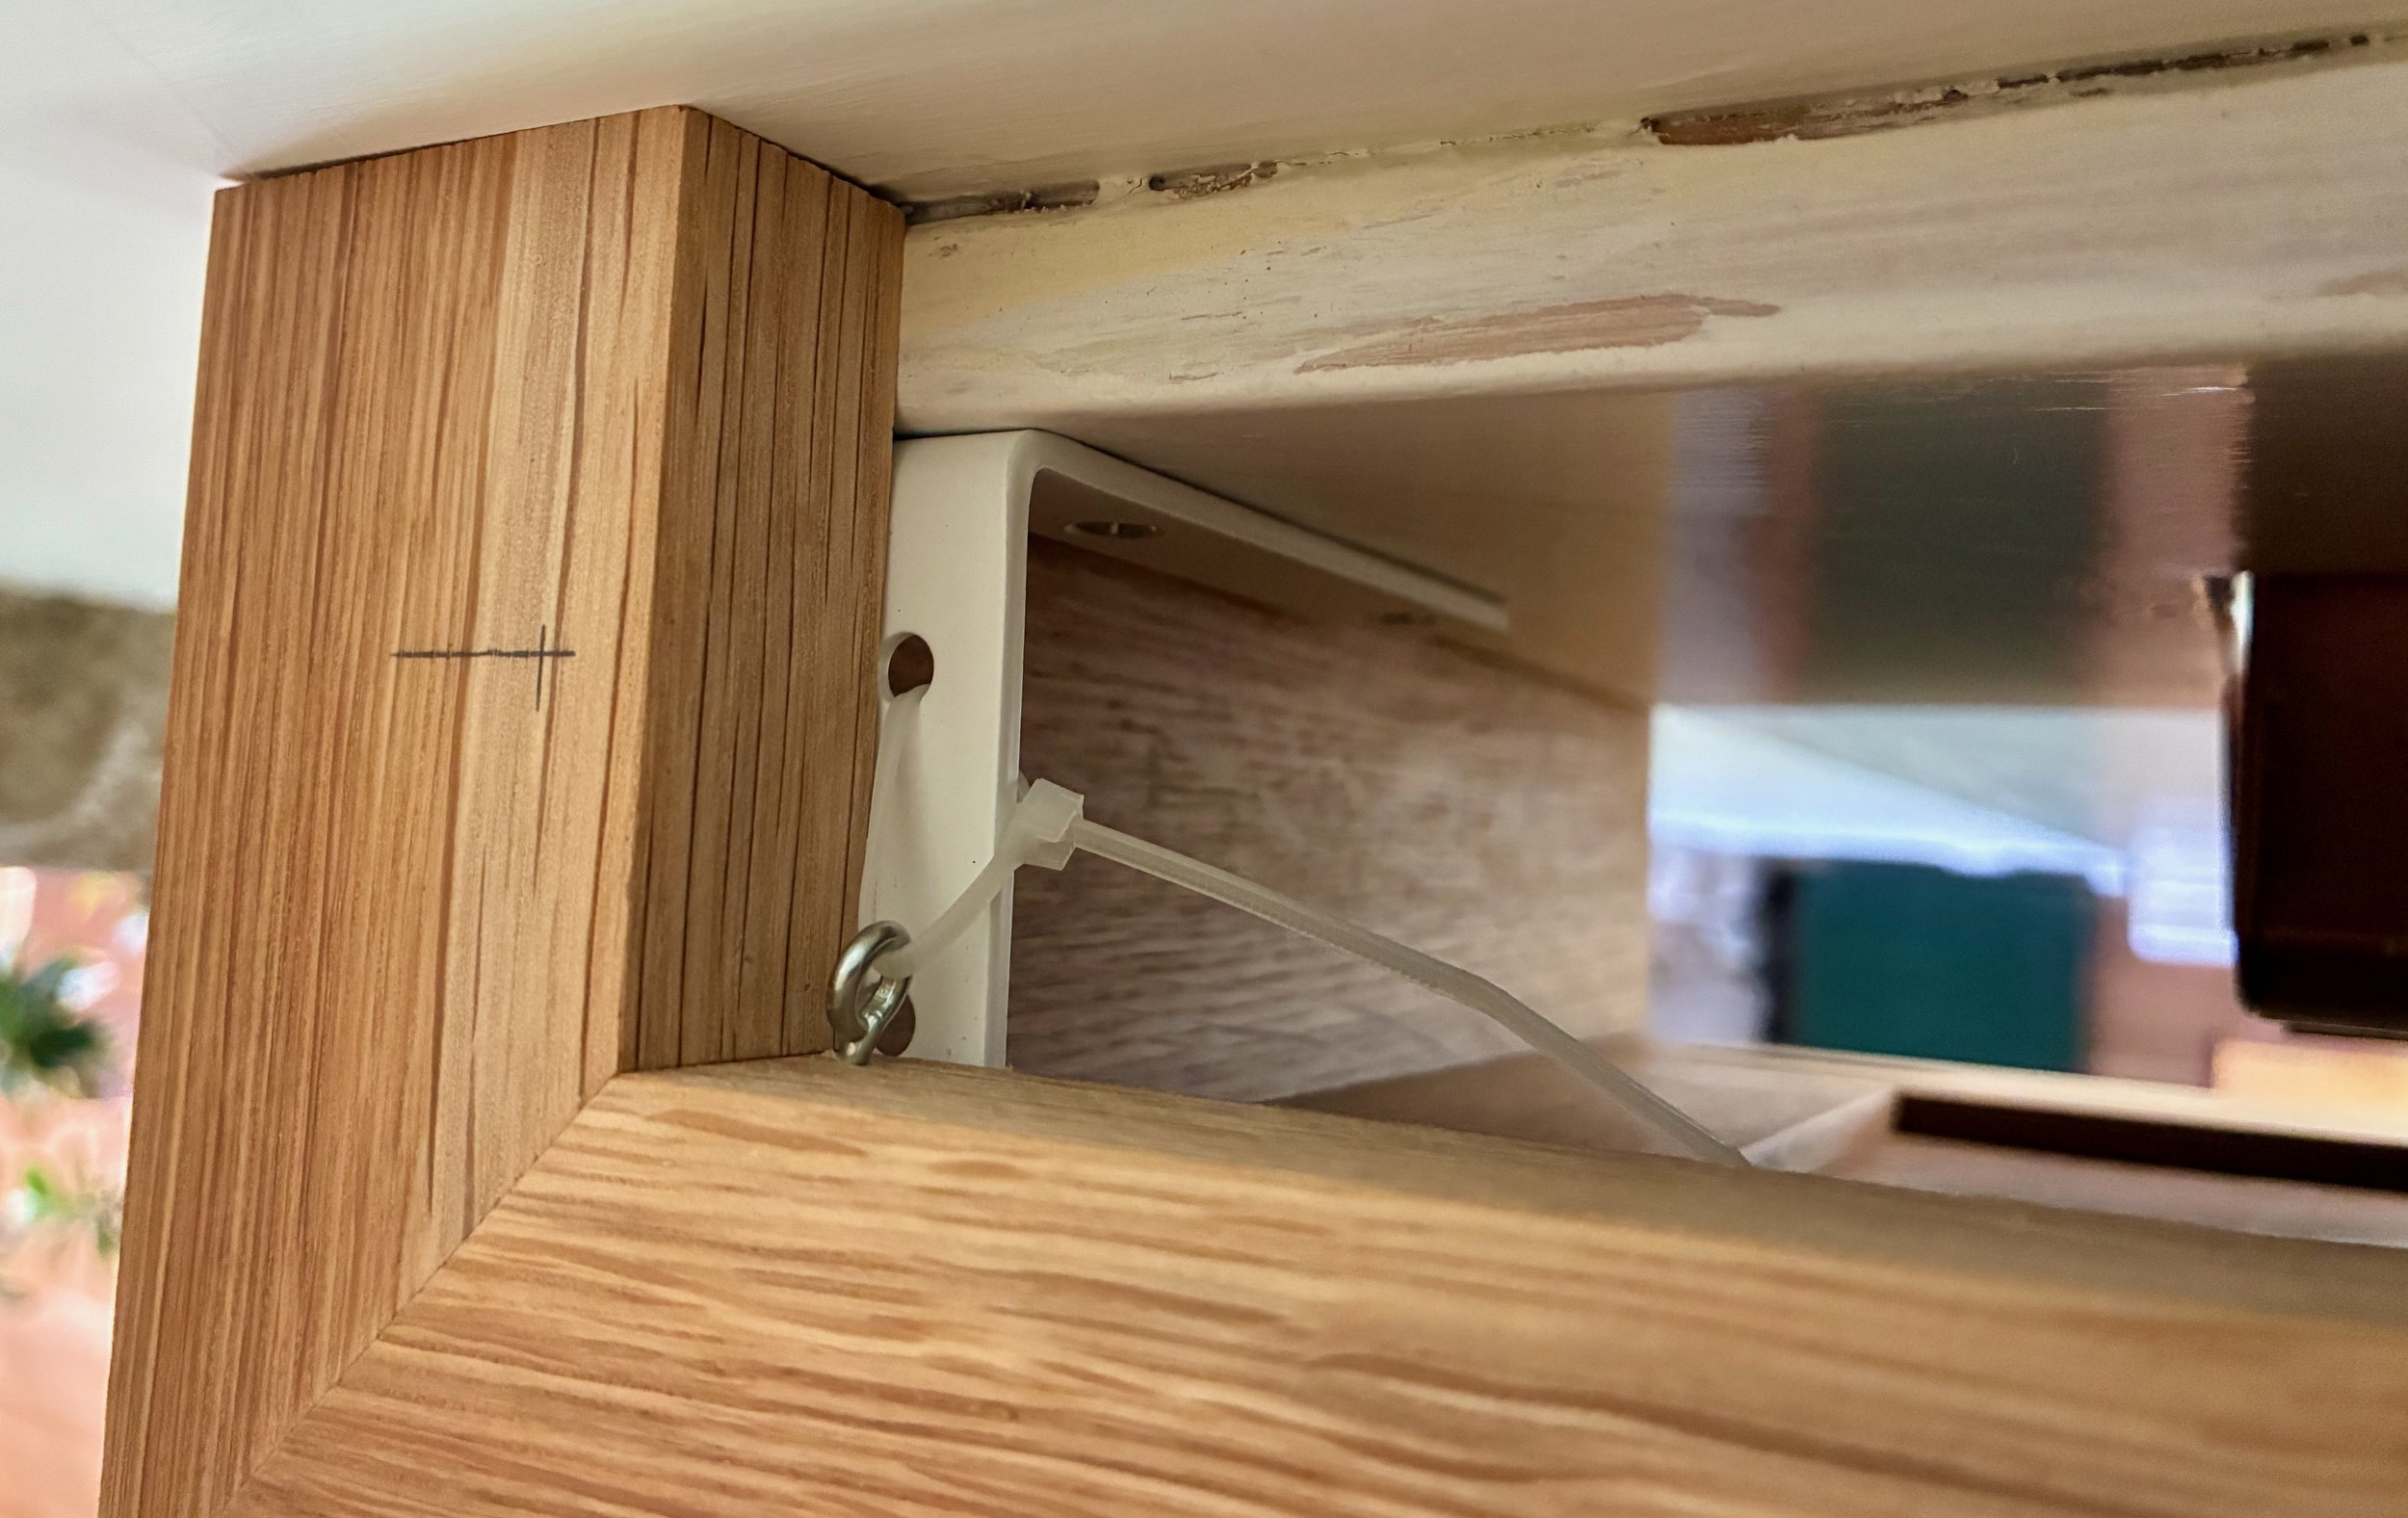
Cornice mounting scheme
And that’s the story of the Craftsman cornice. They now hang, solemn yet friendly, beside the fireplace stone. I think they do their job but will want to check again after a few months. If they continue to please, I’ll likely whip up a couple variants for the remaining windows of our neo-bungalow living room.

Craftsman cornices