

My library office has become uncomfortably crowded of late. It’s not that I possess too many books, it’s that too many of those books are homeless (or “un-housed”, to use the inoffensive identifier du jour). They lie about in untidy stacks and I should do something about that. So, following much deliberation, I have conceived a three-part plan to upgrade the furnishings of my library that begins with the Limbert No. 367. Come along.
No. 367 is a single doored bookcase designed and manufactured by the Charles P. Limbert Furniture Co. sometime around 1910. It is a charming and mysterious piece. Even as the subject of both online and how-to book builds, I have yet to find this model listed in any extant Limbert catalog; and only rarely does it surface at auction sites. What I do know is that, in their day, similar sized pieces went for $15-20 dollars, whereas they now fetch thousands!
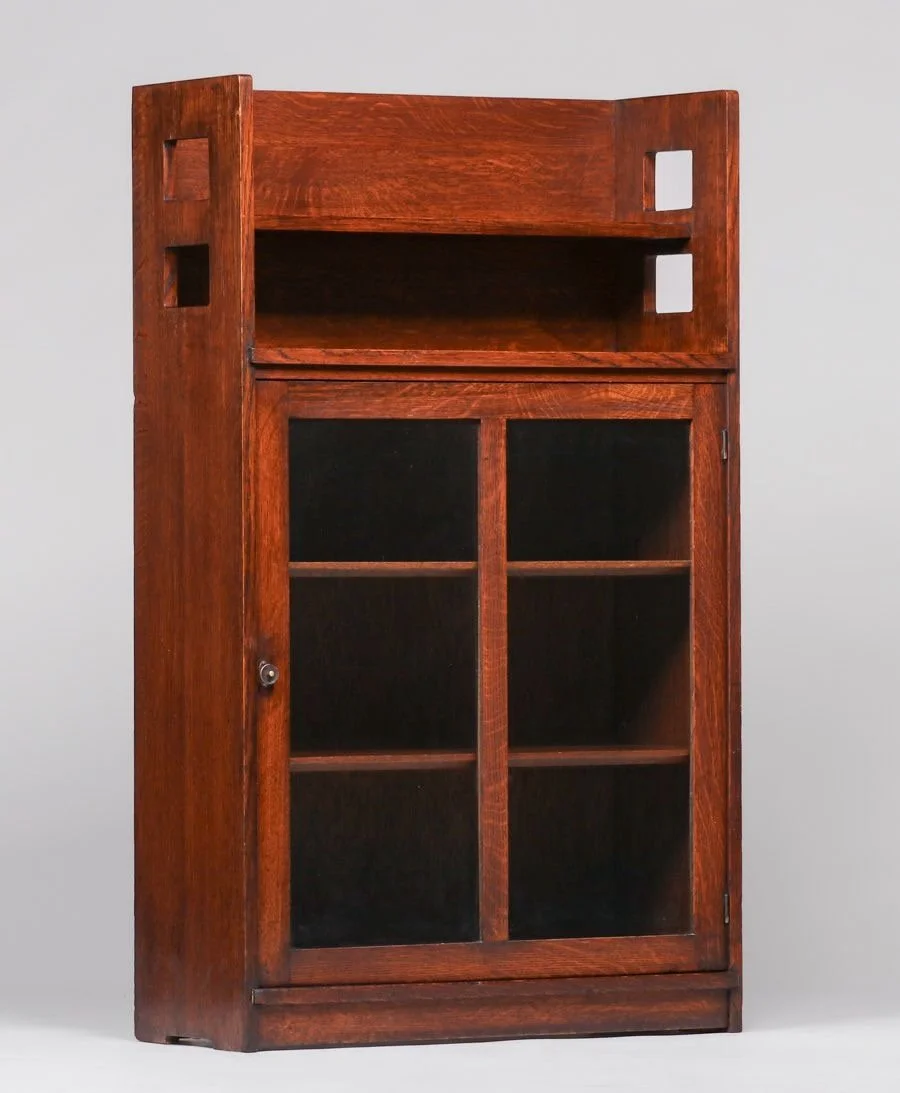
Limbert No. 367 from an auction listing at California Historical Design
A few words about Limbert. Charles P. Limbert (1854-1923) was an American furniture salesman turned manufacturer in the early twentieth century. He built a large and successful Arts & Crafts “style” furniture business in what would become the hub of twentieth century American furniture manufacturing, Grand Rapids, Michigan. While his forte was in home furnishings, Limbert also gained contracts to outfit hotels and other large establishments, including the newly constructed Old Faithful Inn at Yellowstone National Park in 1904. Charles Limbert was certainly influential in his day, but my impression (and that of others) is that he was mostly a copier who relied heavily on the design concepts of others, notably: Gustav Stickley (USA); C.F.A. Voysey (England.); Charles Rennie Mackintosh (Scotland.); and the New Art works of several German designers. This is observation, not denigration. Limbert’s pieces were well made and possess a distinctive charm that comes from the amalgamation (by his designer, William J. Gohlke) of characteristic elements seen in works of the trailblazers. Certainly, that was his genius.
Limbert also created the myth that his work was “Dutch” inspired, but that seems to be more a marketing ploy to leverage his ancestry, the raging Dutch Revival trend of that time, and the location of his factory in nearby Holland, Michigan. I’m not judging. It must have been quite a challenge to establish your niche among the dozens (hundreds?) of American furniture makers all vying for survival in those days. Indeed, I am a big fan of his work and have wanted to make a replica for some time.
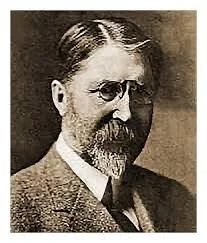
Charles P. Limbert (1854-1923)
For an excellent history, see: Cavey, S.G. (2025) Charles Limbert Funiture: Legend & Legacy, self-published.
Design
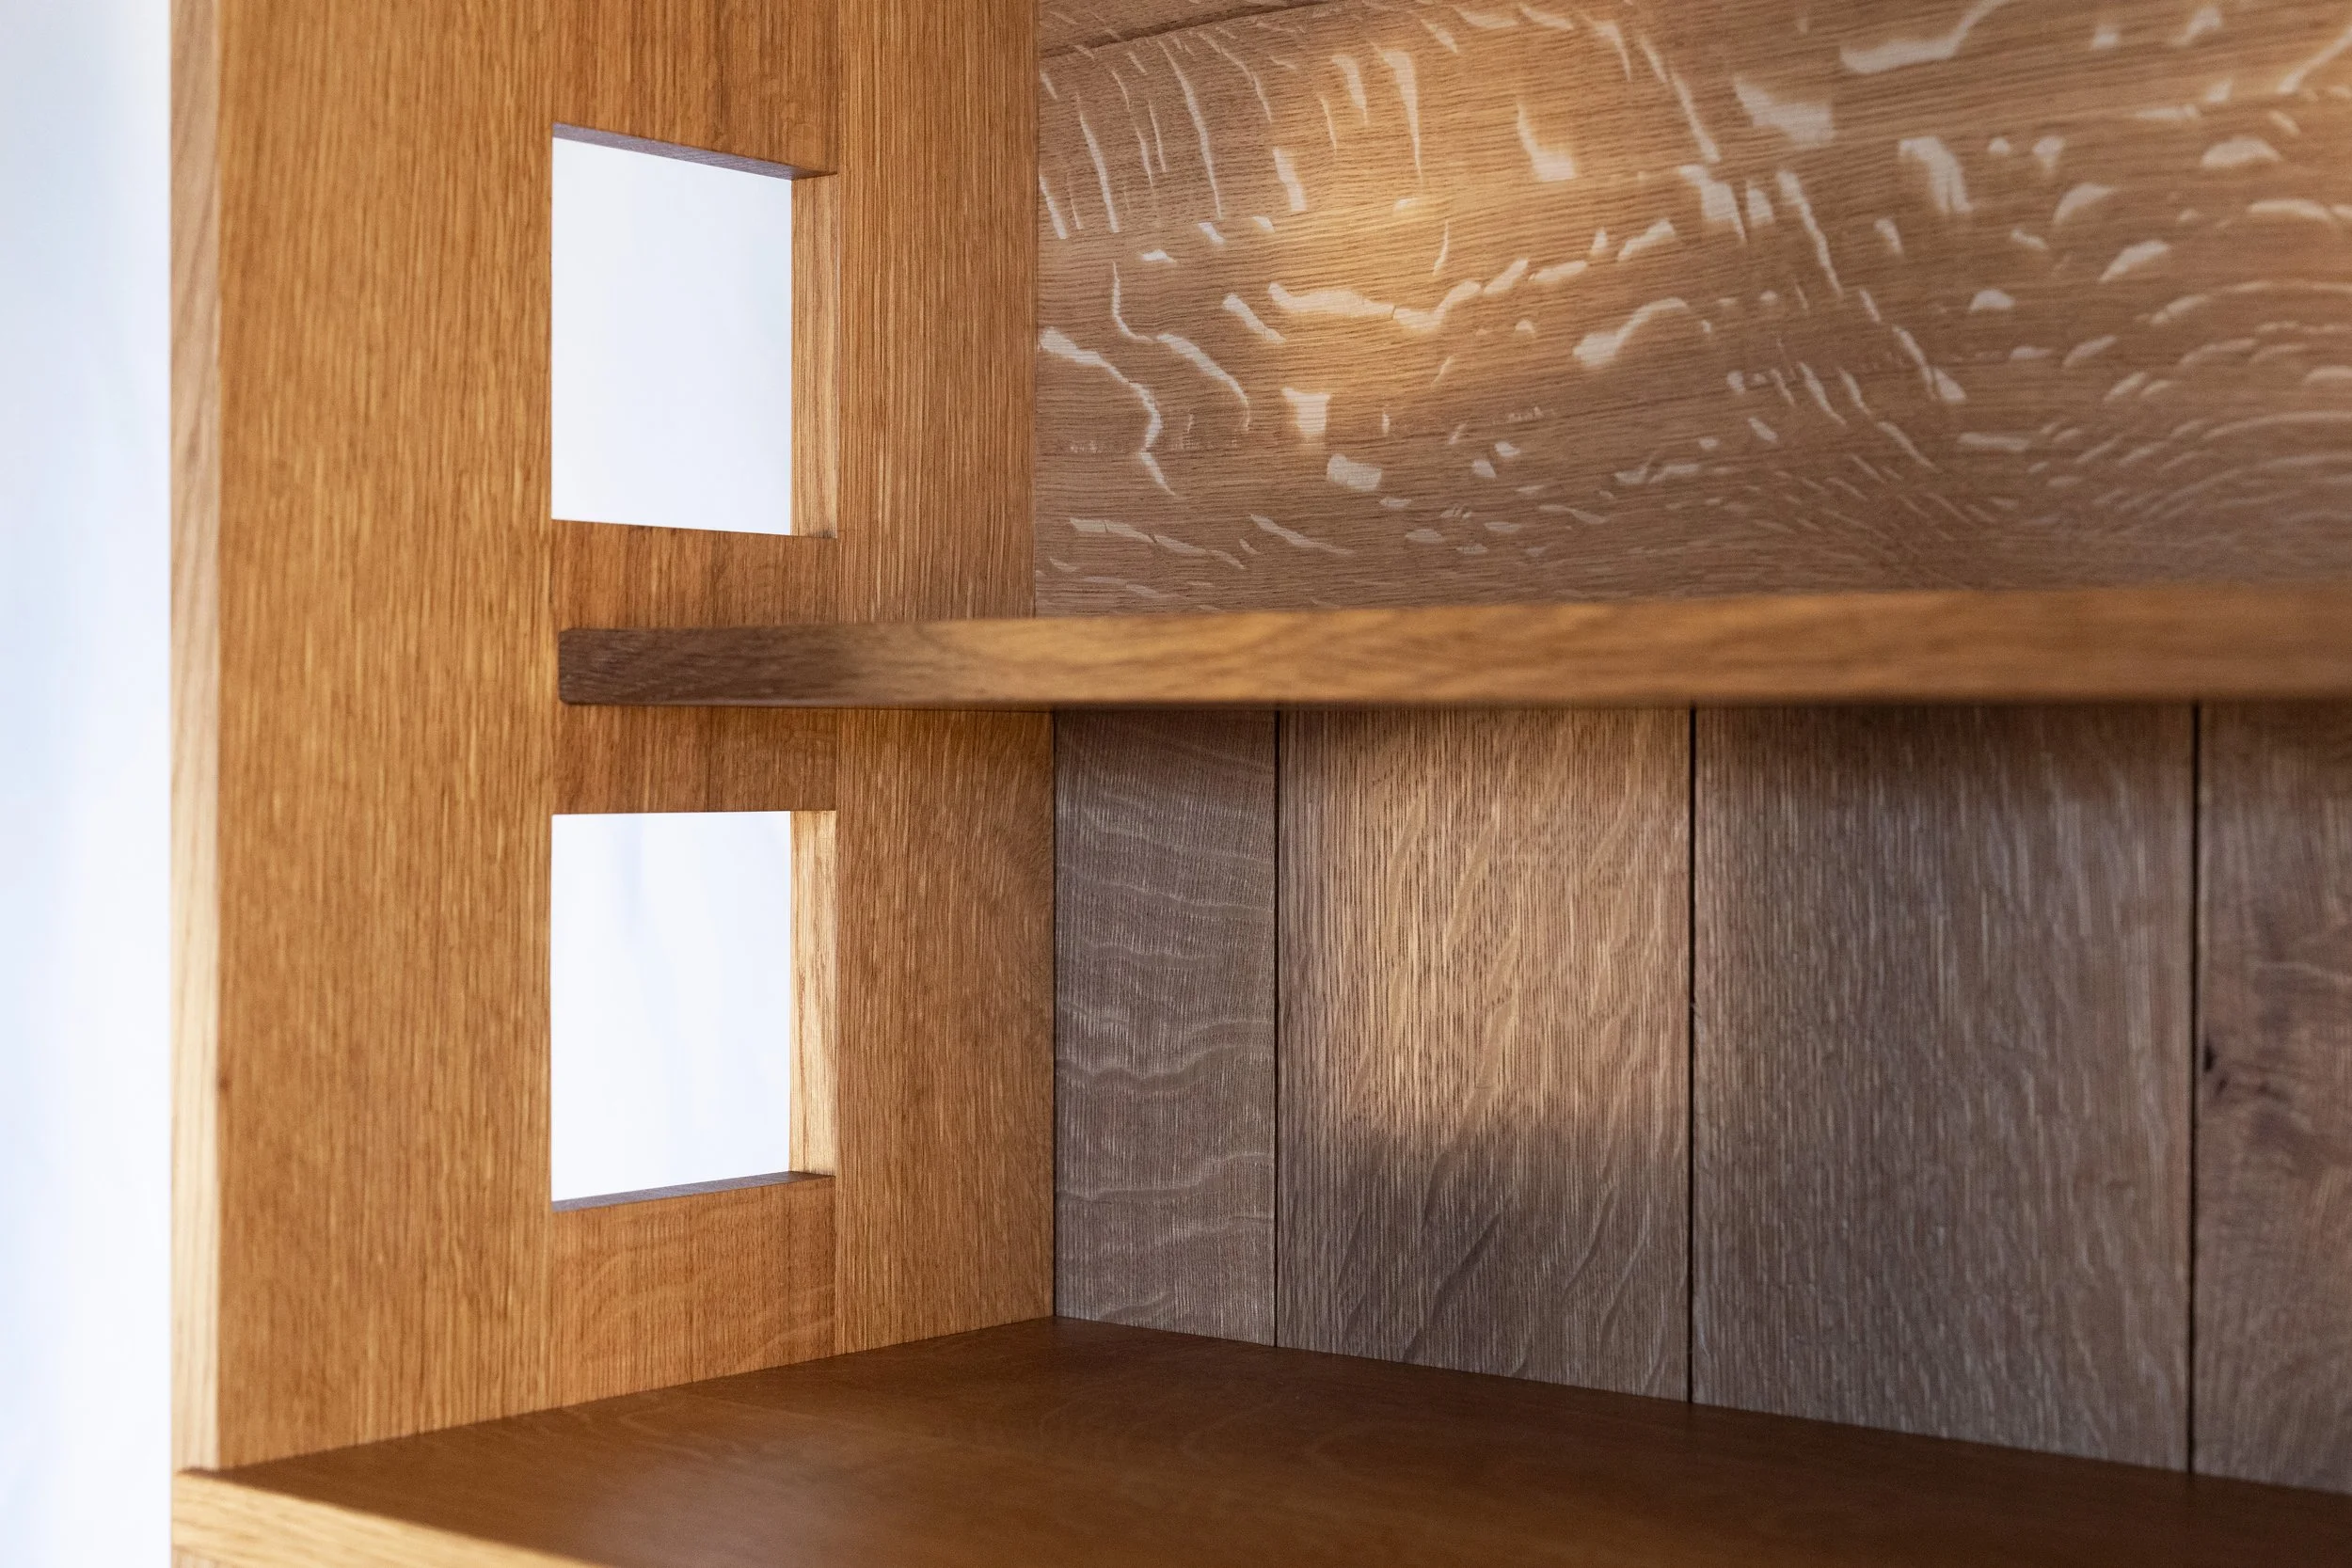
There are dozens of Limbert bookcase designs out there and all would serve my needs. I selected No. 367 because it was simpler than many, and also because it incorporated Limbert’s “cut-outs”. Surely inspired by Charles Rennie Mackintosh’s masterful use of negative space, the four cut-outs along the sides on No. 367 make the piece much more interesting than the typical Arts & Crafts rectangular bookcase.
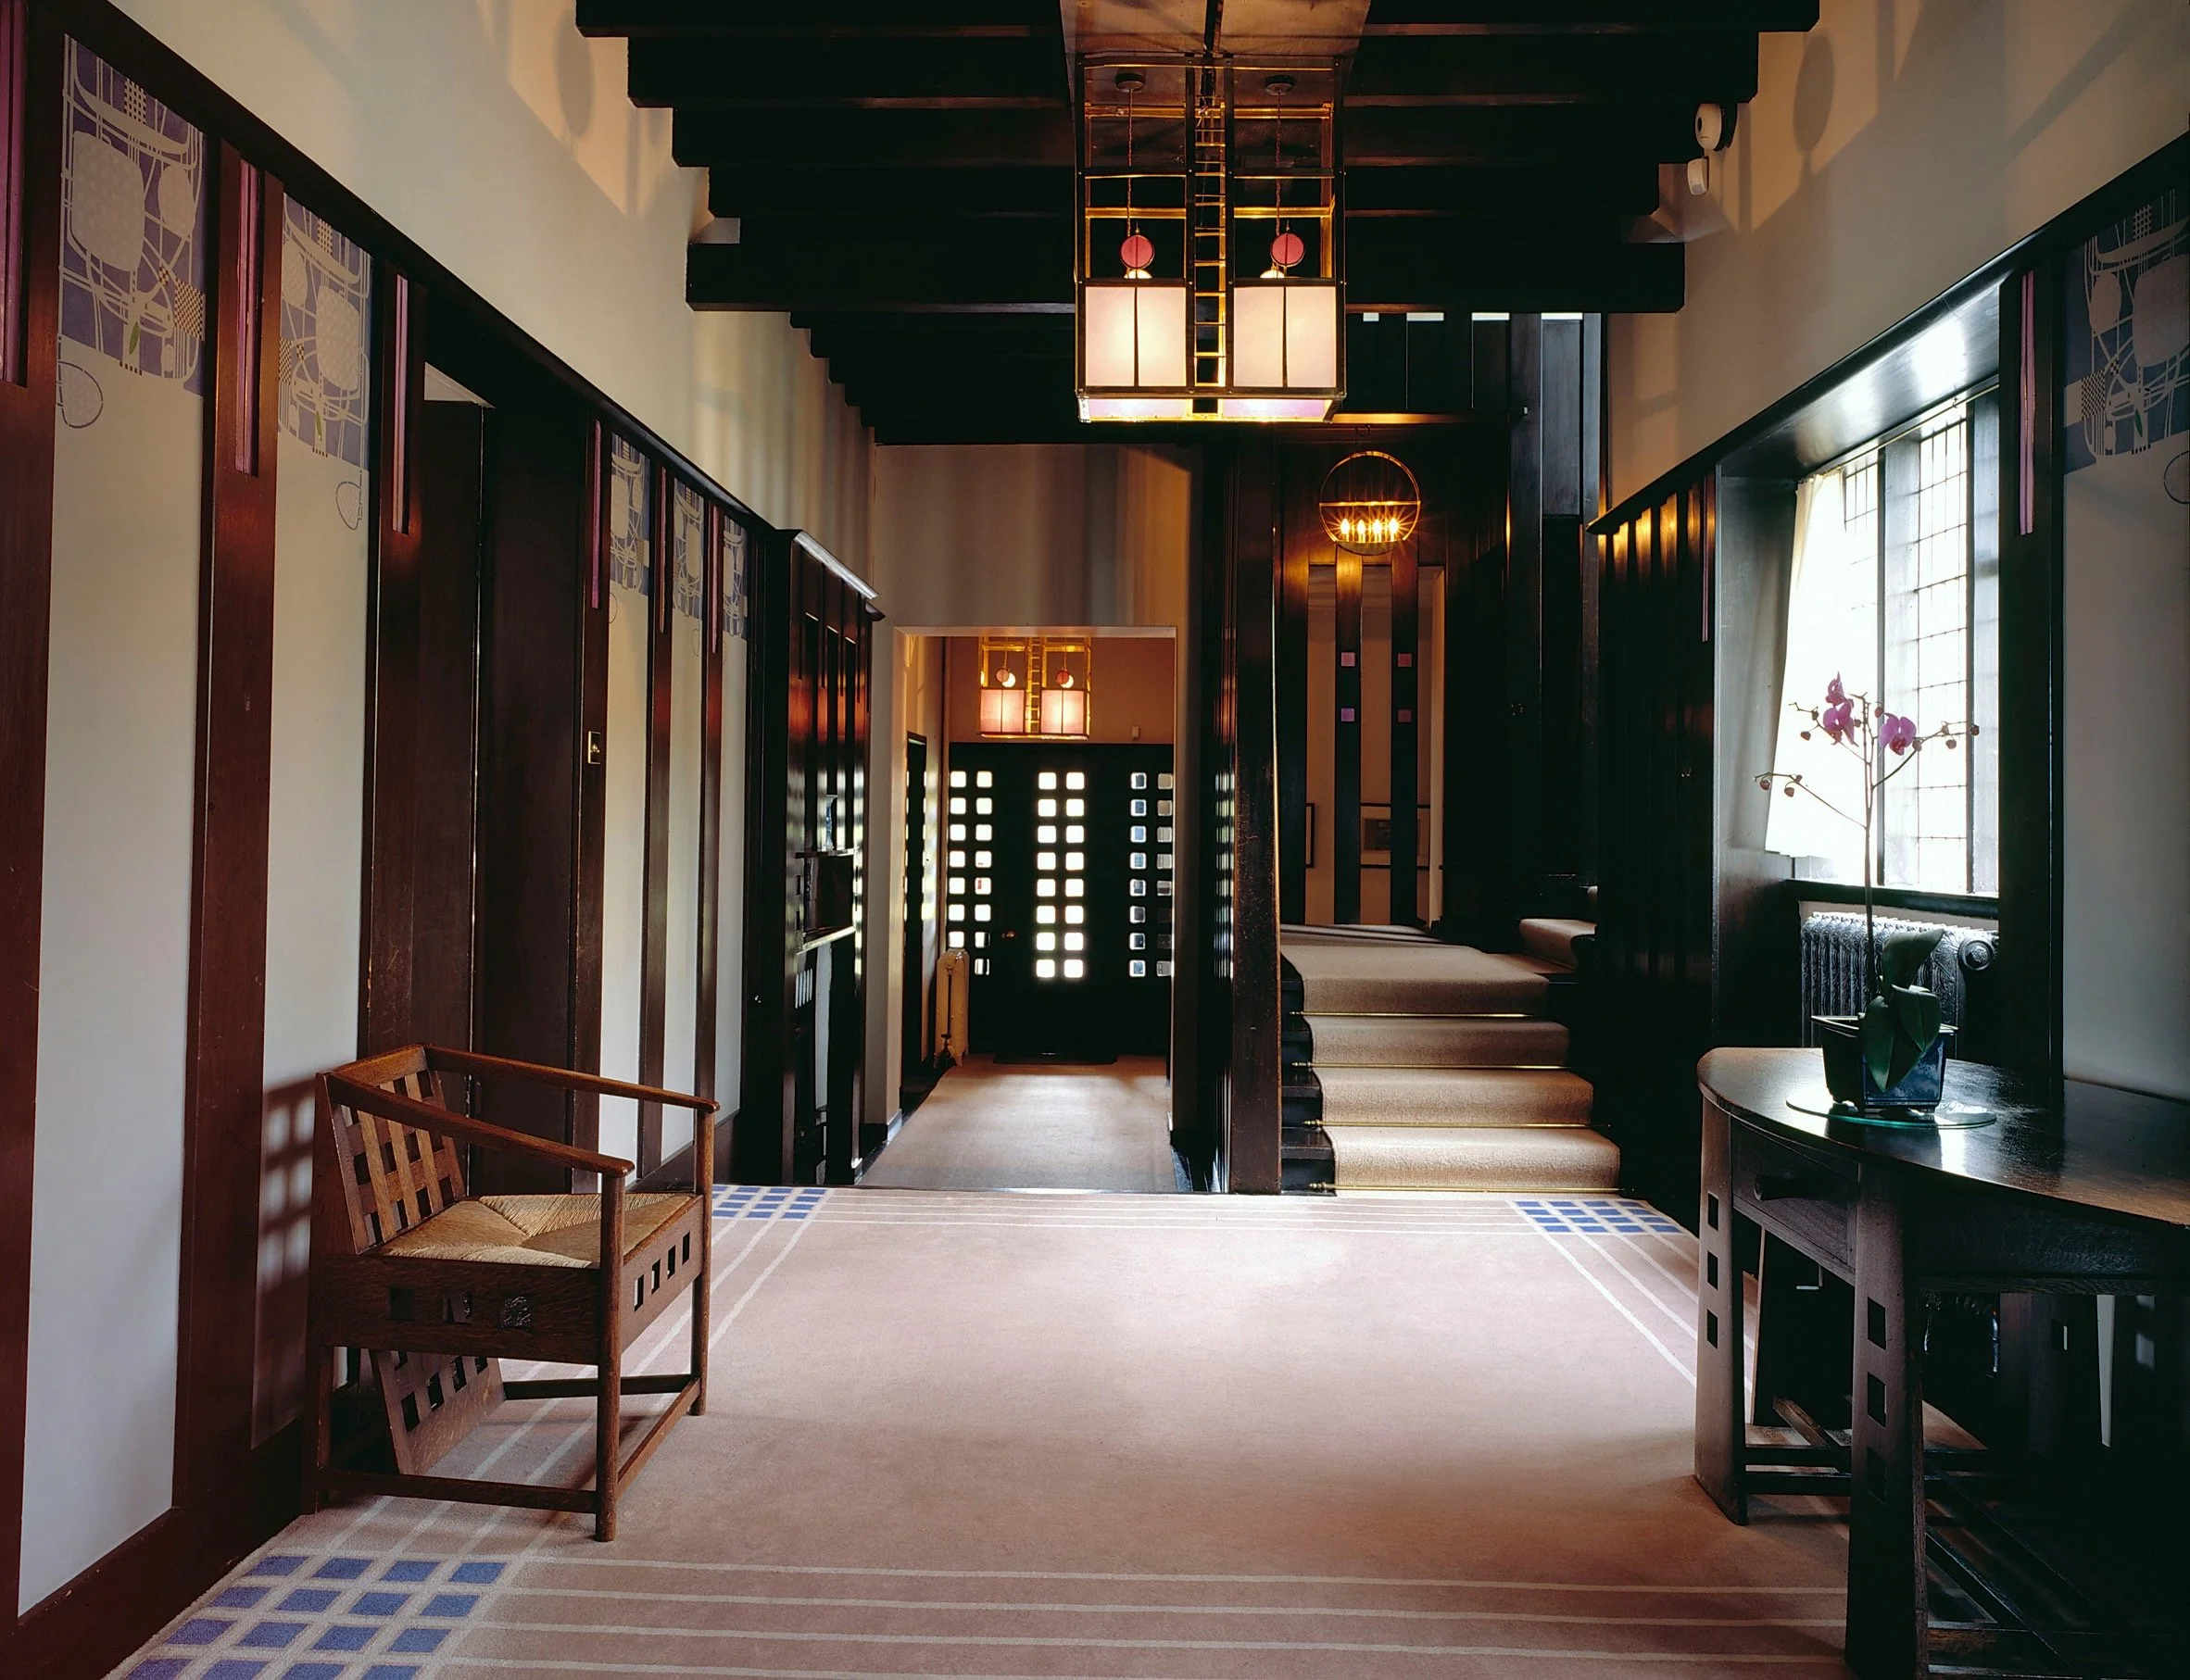
Entrance hall of Hill House, Helensburgh, designed by C.R. Mackintosh in 1902. Note Mackintosh’s use of negative space in the table, chair and entryway.
No. 367 was also attractive because of the availability of construction plans, thanks to Micheal Crow and his valuable book, Building Classic Arts & Crafts Furniture. You see, Limbert built his furniture differently than Stickley - more planar surfaces with less mortise and tenon work. I have a couple other Limbert pieces on the “to make” list and wanted to construct one using authentic joinery as a lesson. Having real plans helps.
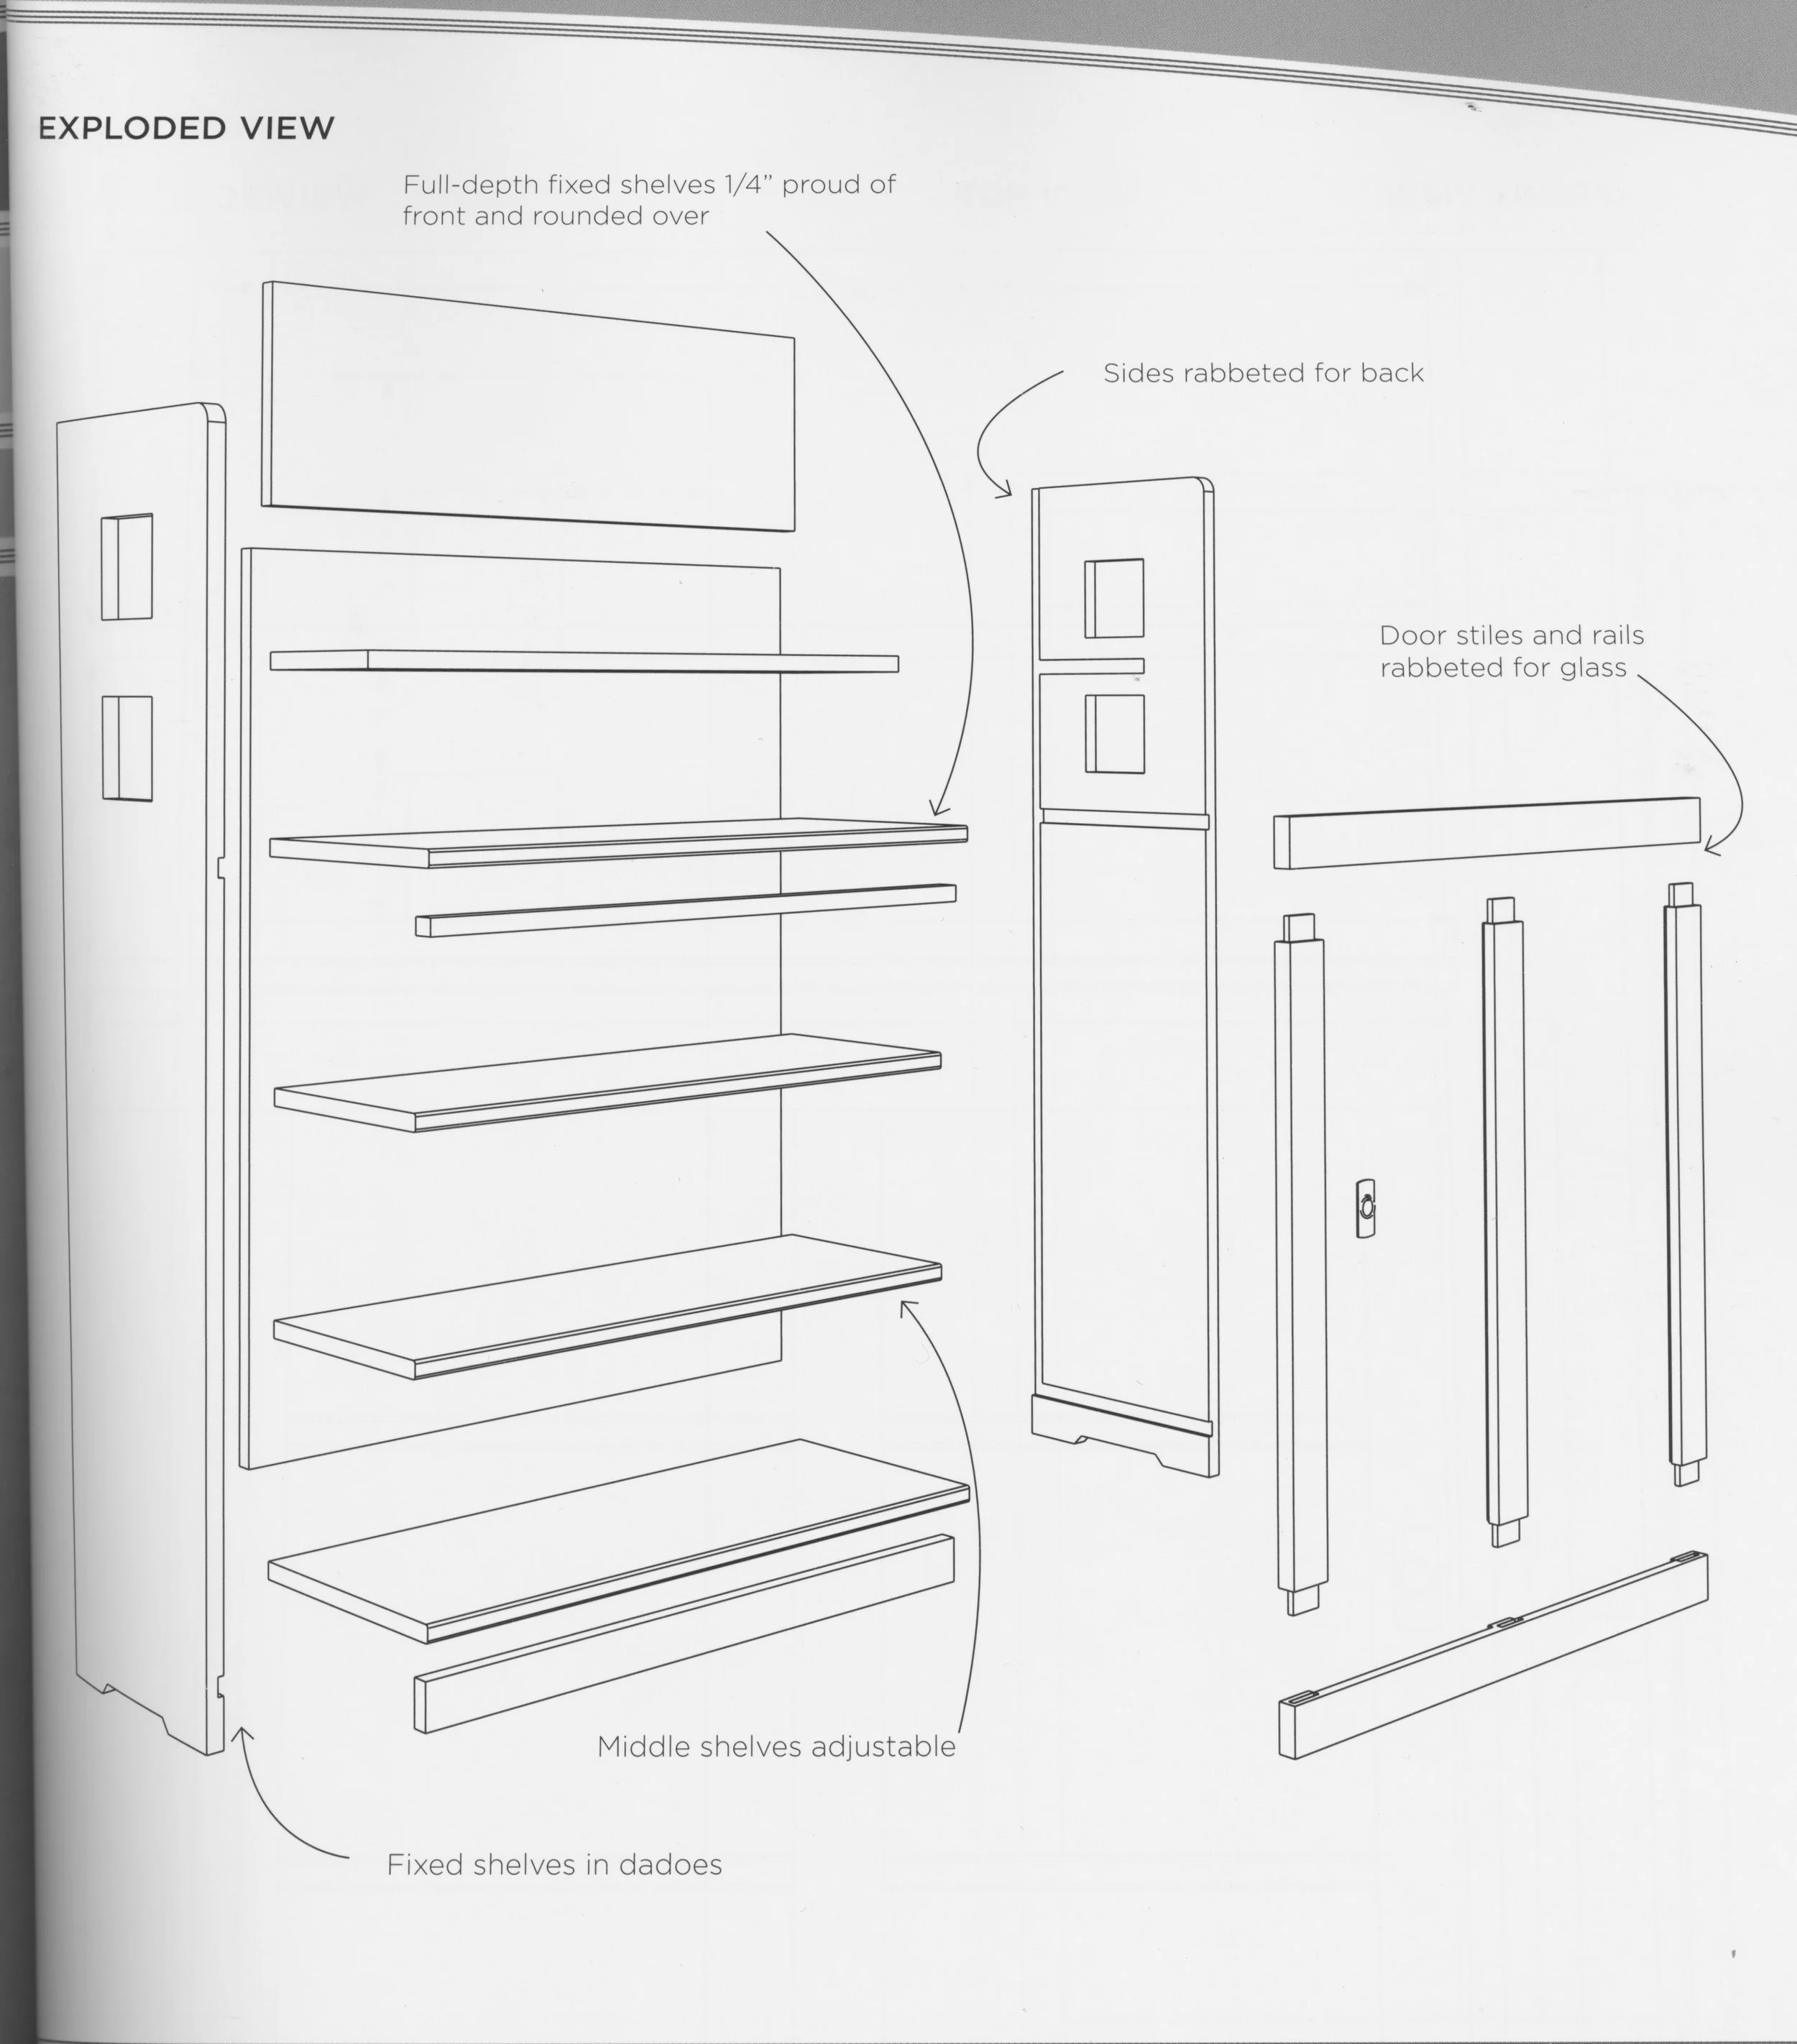
No. 367 exploded view, from Building Classic Arts & Crafts Furniture by Micheal Crow.
Materials
Quarter sawn white oak was used for this build, naturally. I got my 37 bd-ft of rough 4/4 stock at Highland Hardwoods. Its always a color gamble when buying “rough” lumber, but in selecting this material I tried to keep things consistent between boards, not too red and not too yellow.
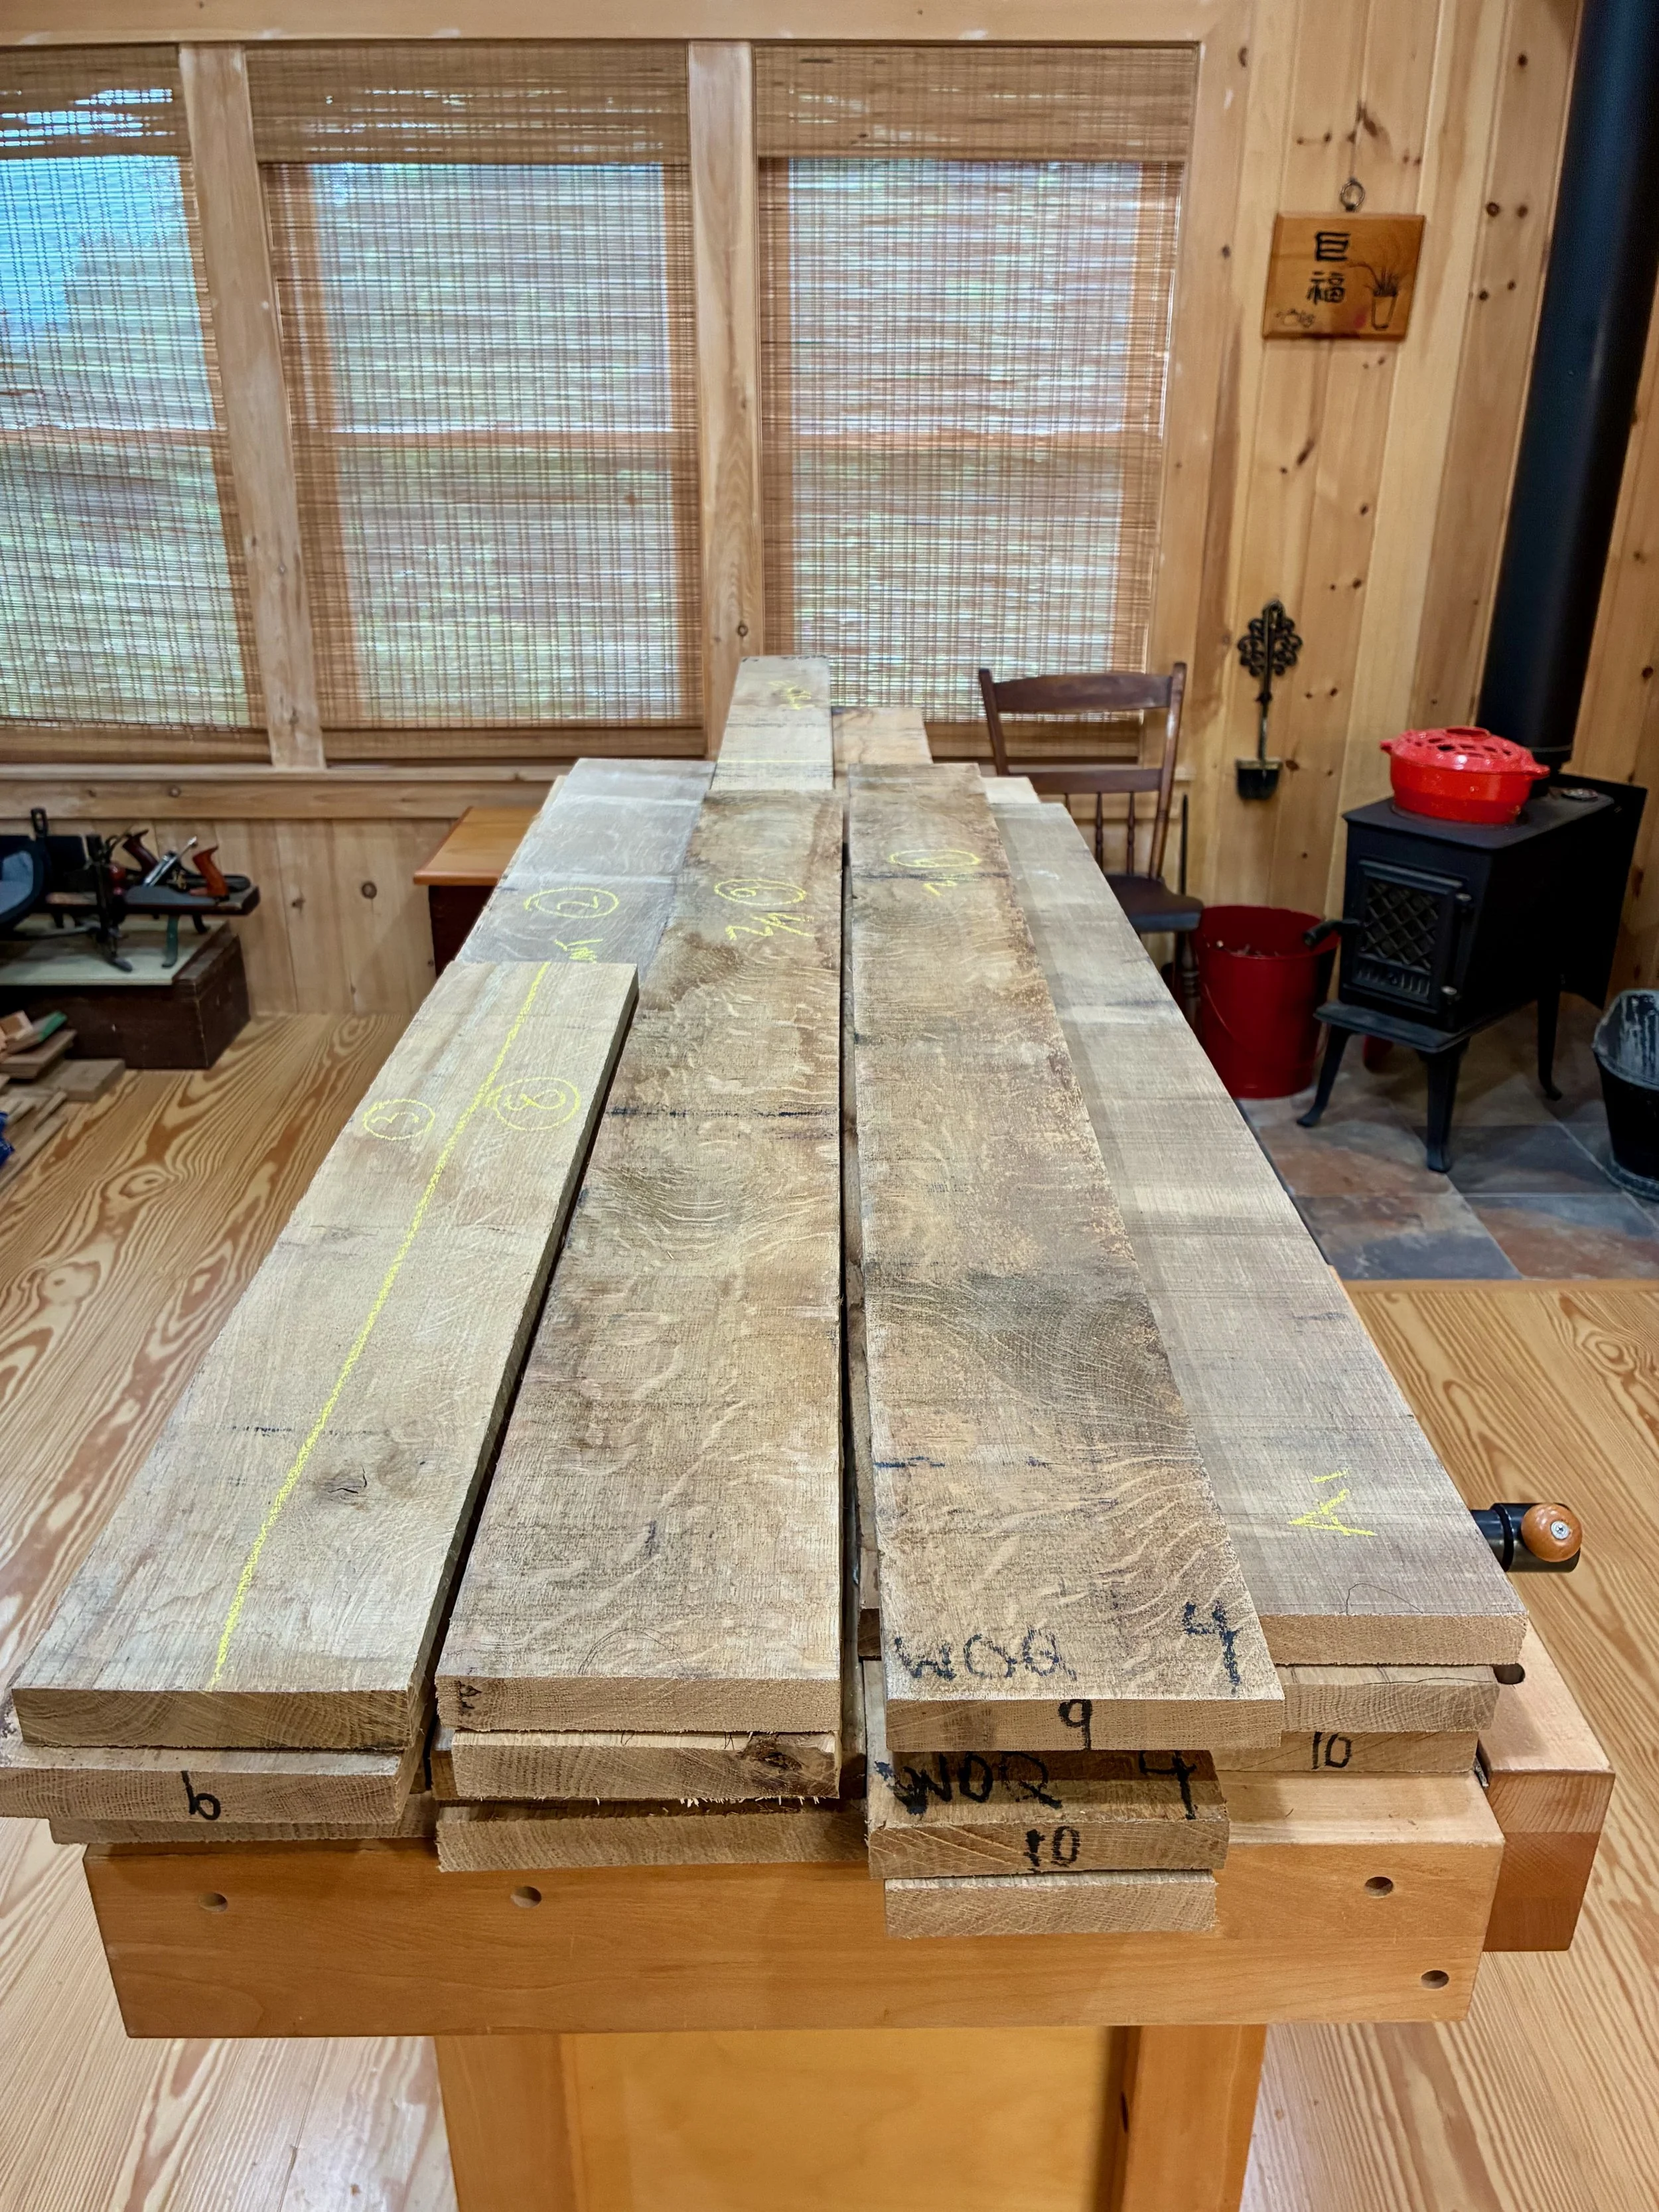
White oak boards
Dimensioning
A summary of this build would be to “edge glue a bunch of prepped boards, create a few housing slots and then glue it all together”. Simple! The case sides are key, and it was during their formation that I first chose to deviate from the plan. At 12 inches wide, the sides would need to be assembled by edge-glueing narrower stock together. The published method, and likely that of Limbert, was to then roughly cut-out the pair of 4×4 inch eponymous openings along each side, followed by clean-up with a shaping tool to make things straight and square. My plan was to use a total of five 4 inch wide boards for the construction of each side and “build-in” the cut-outs during glue-up. Why not?
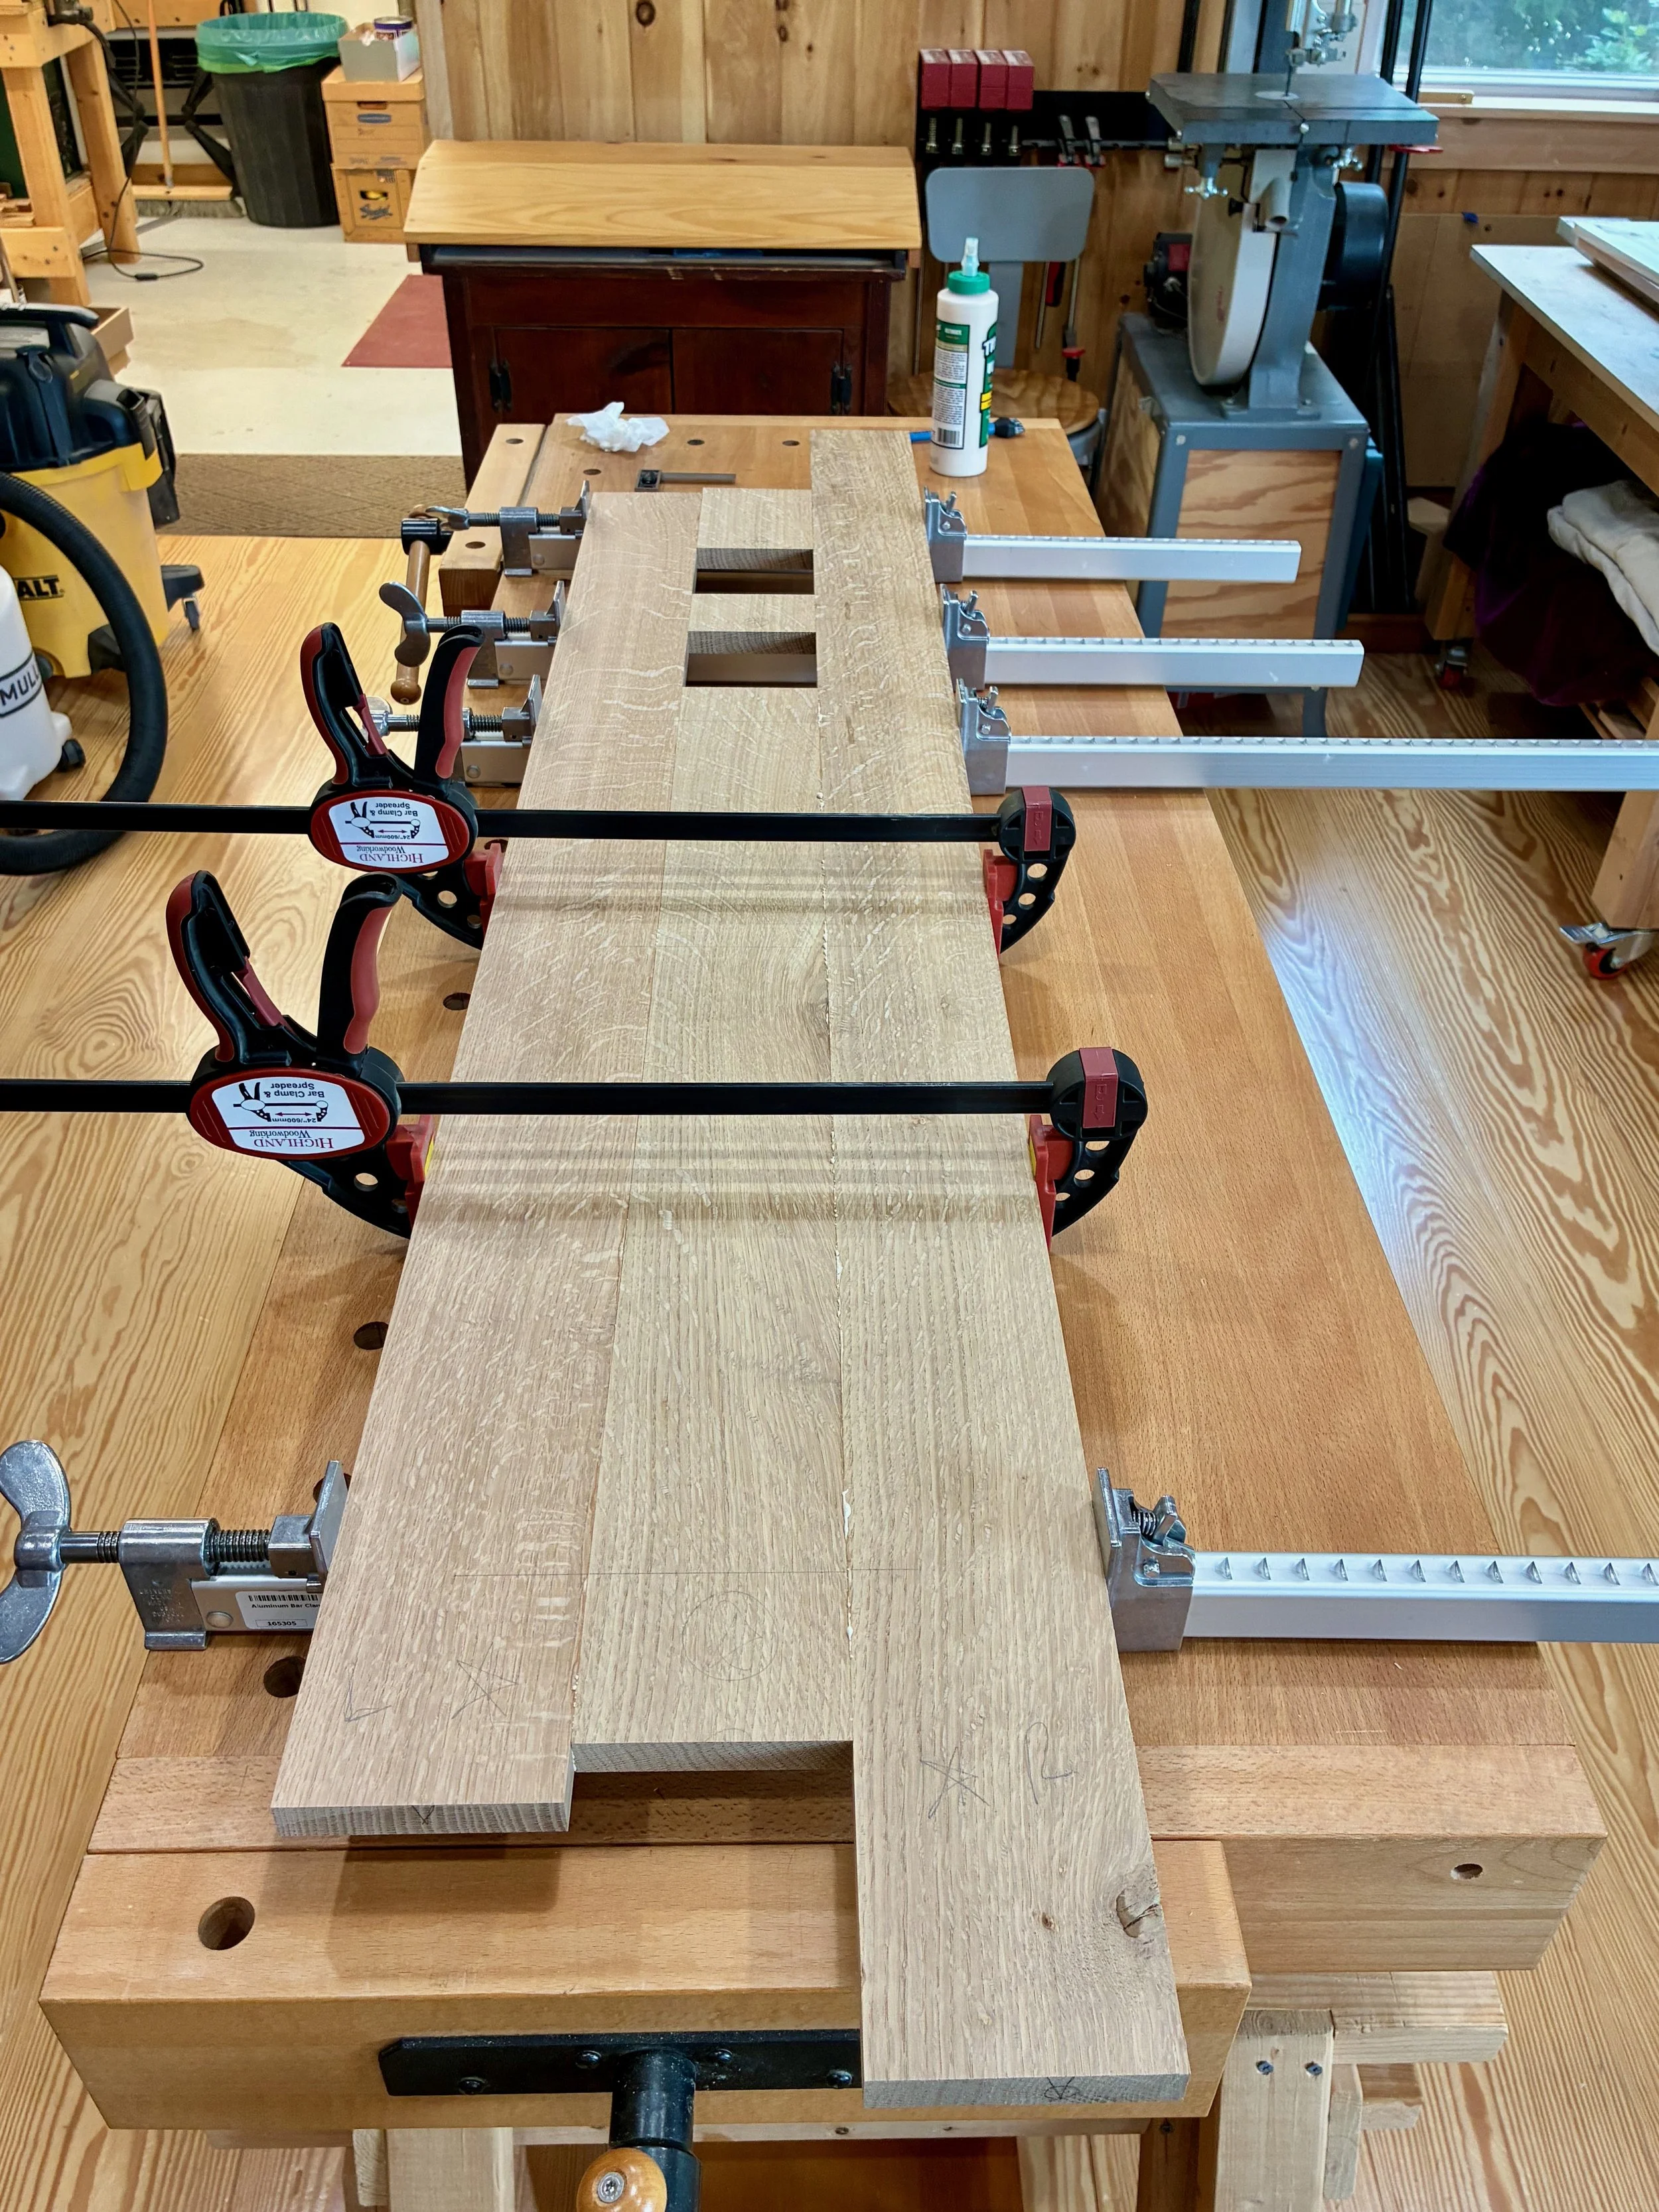
Making holes in a side during glue-up
To complete the sides I ran them, lengthwise, through the table saw, so as to ensure that they were both square and of identical width. I then smoothed the surfaces using a card scraper and sandpaper. Finally, the side parts were cut to their final height dimension in two steps, one at each end: the bottoms were cut-off square using a track saw; and then the tops were chopped at the miter saw.
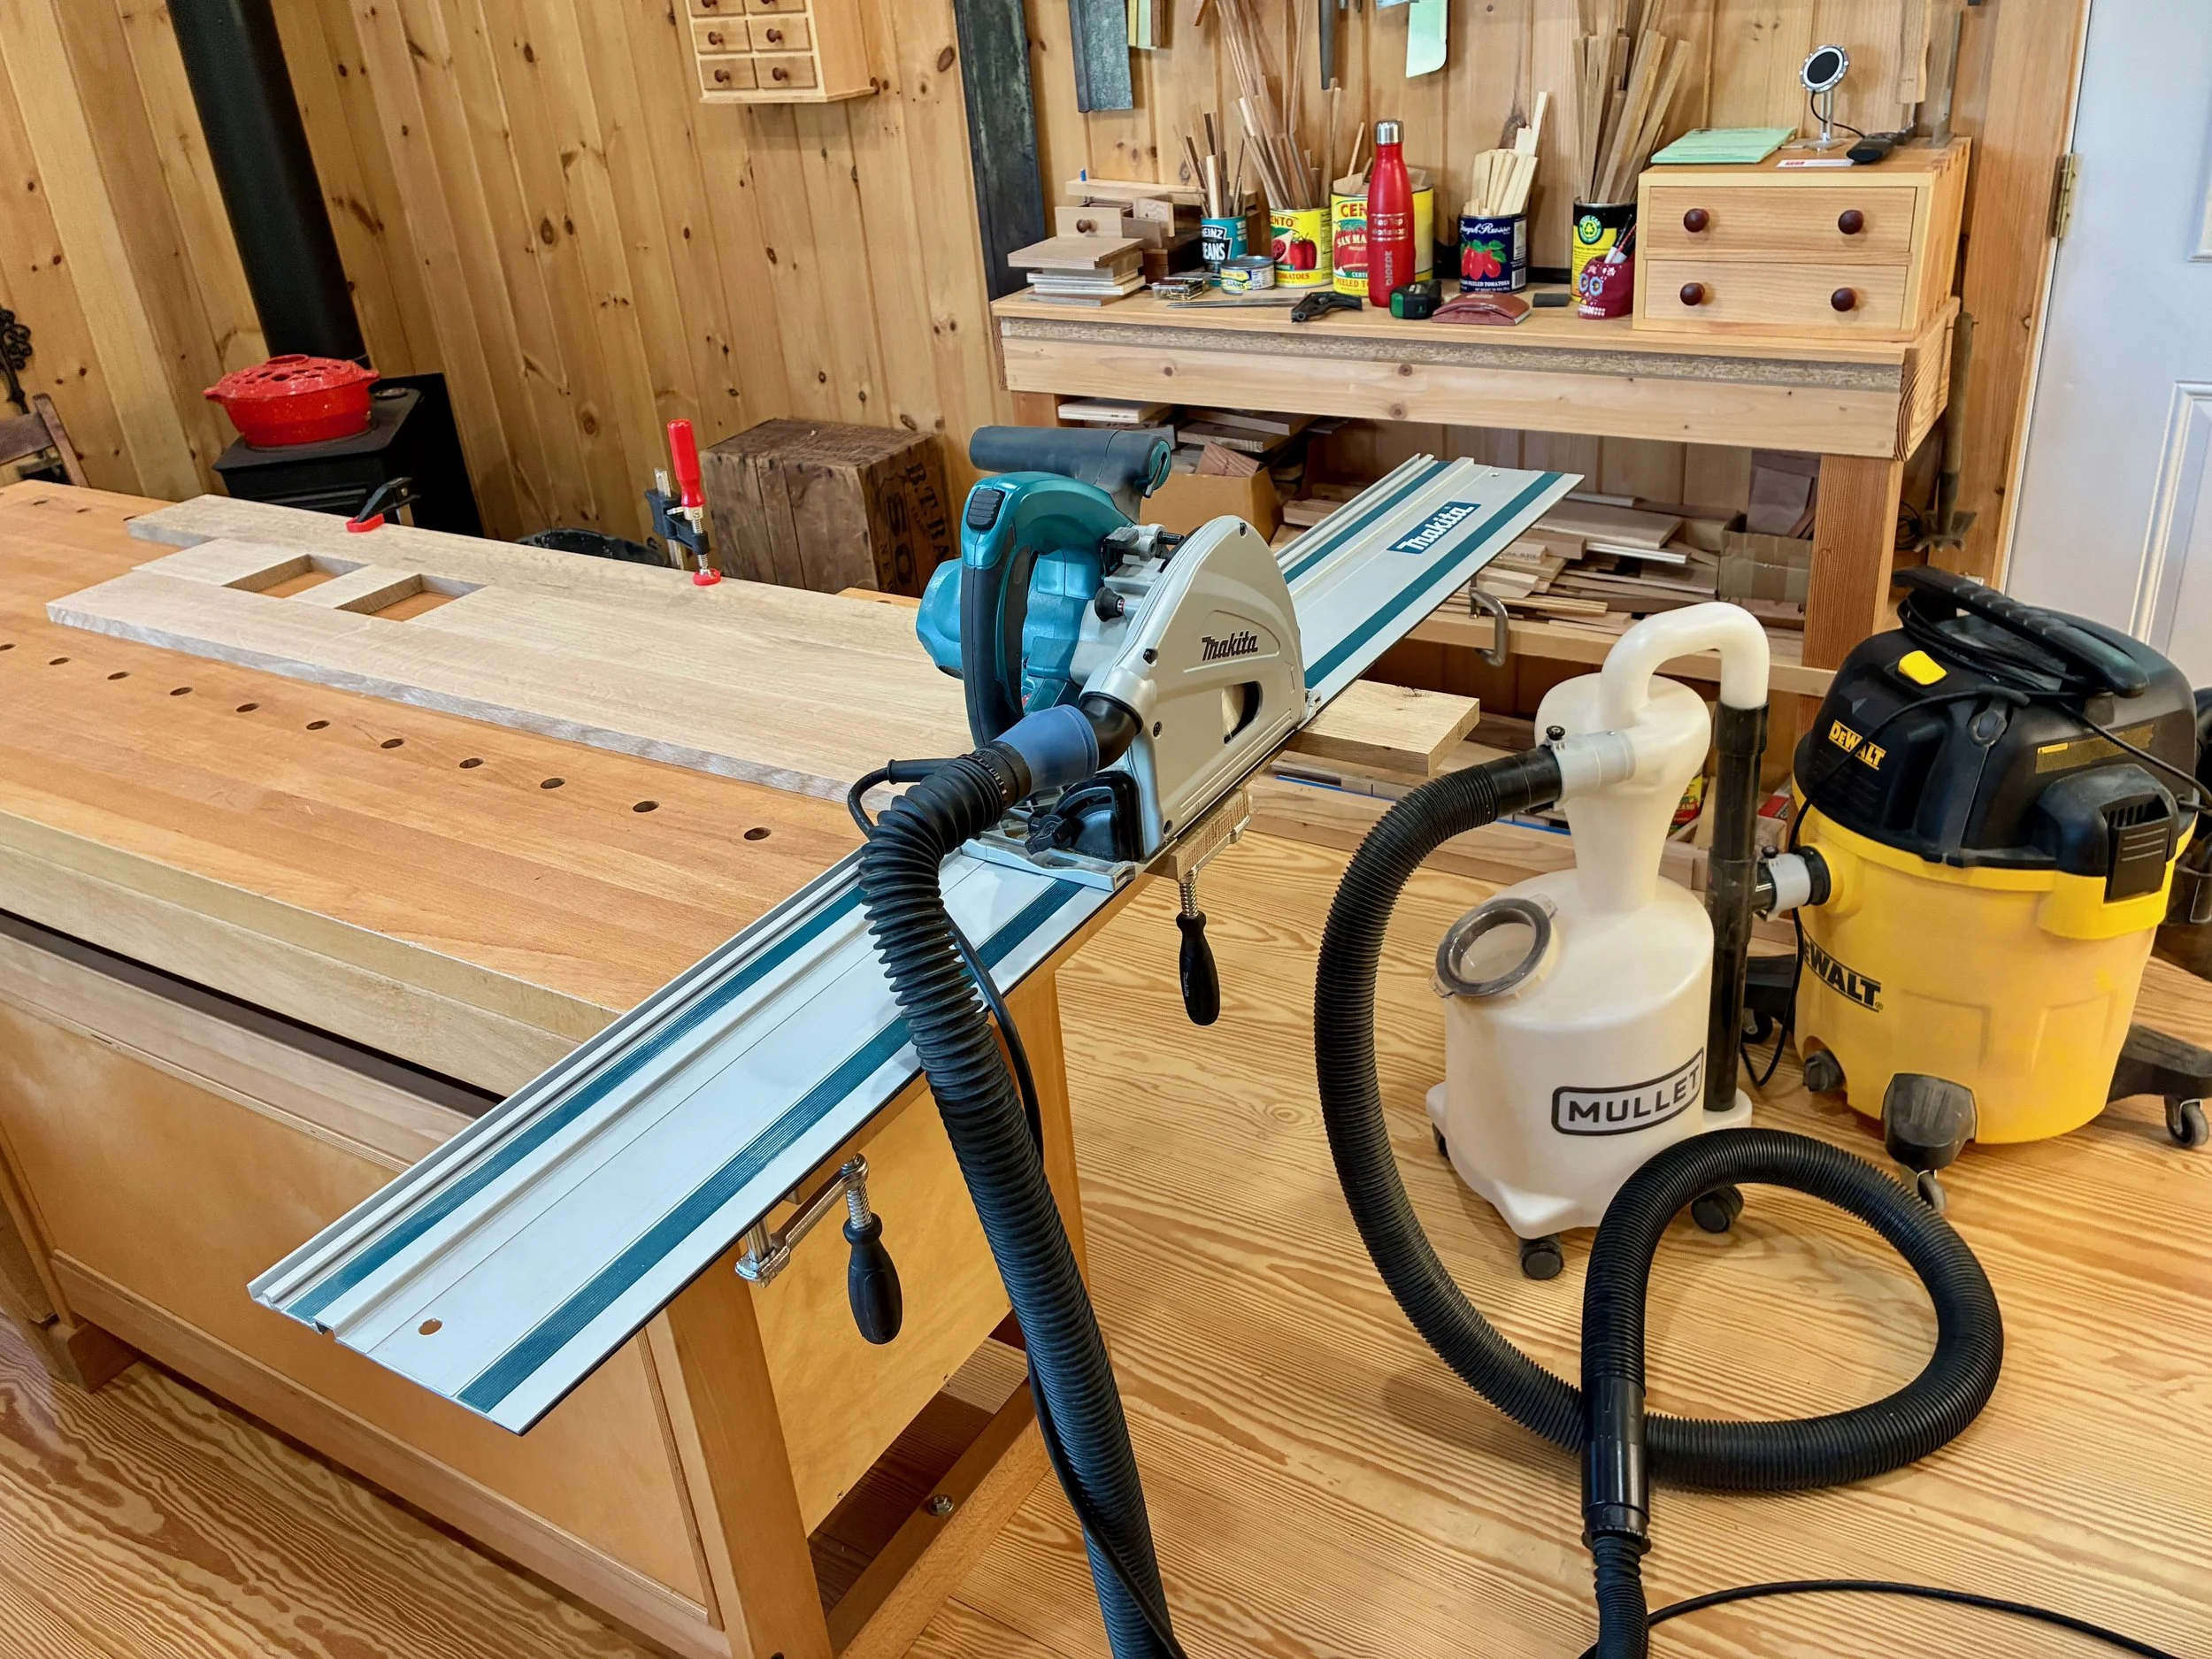
1. Cutting a bottom with the track saw
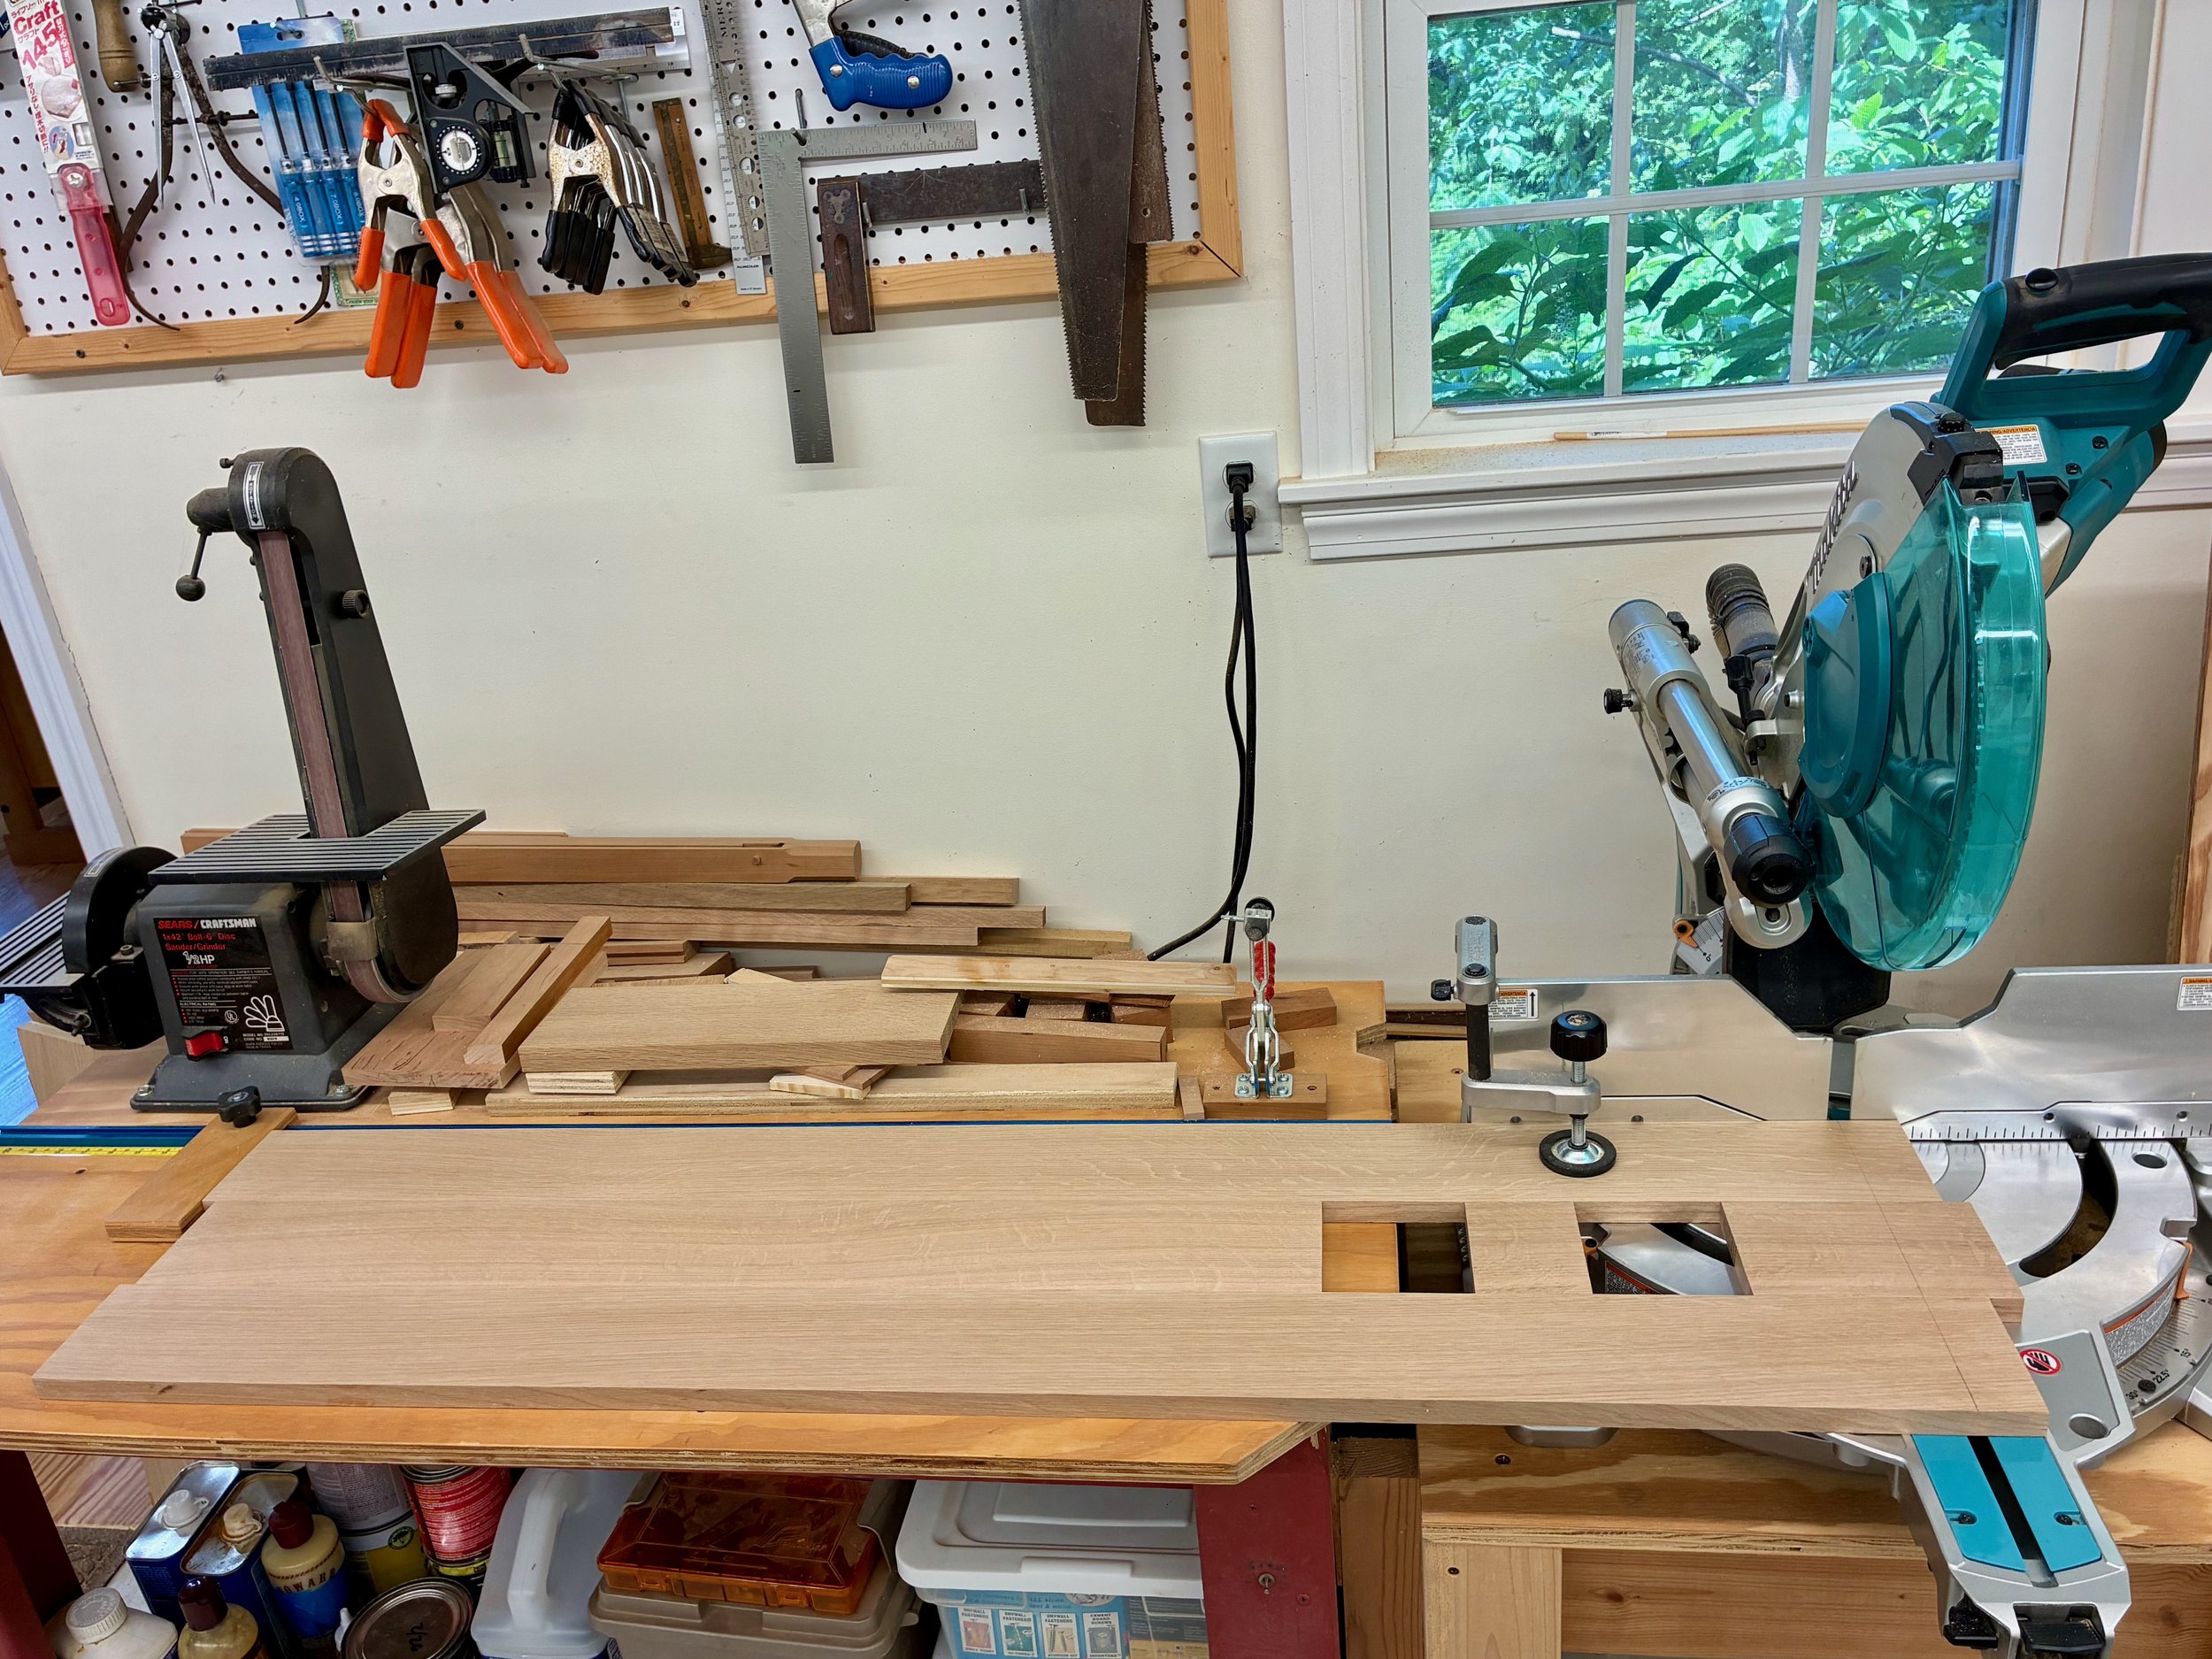
2. Cutting a top at the miter saw
Once the sides were sized I needed to create a few slots and rabbets to house the structural shelves and back. I used a hand-held router for this, assisted by my home made dadoing jig for the slots, and home made “outrigger” for the rabbets. Worked great.
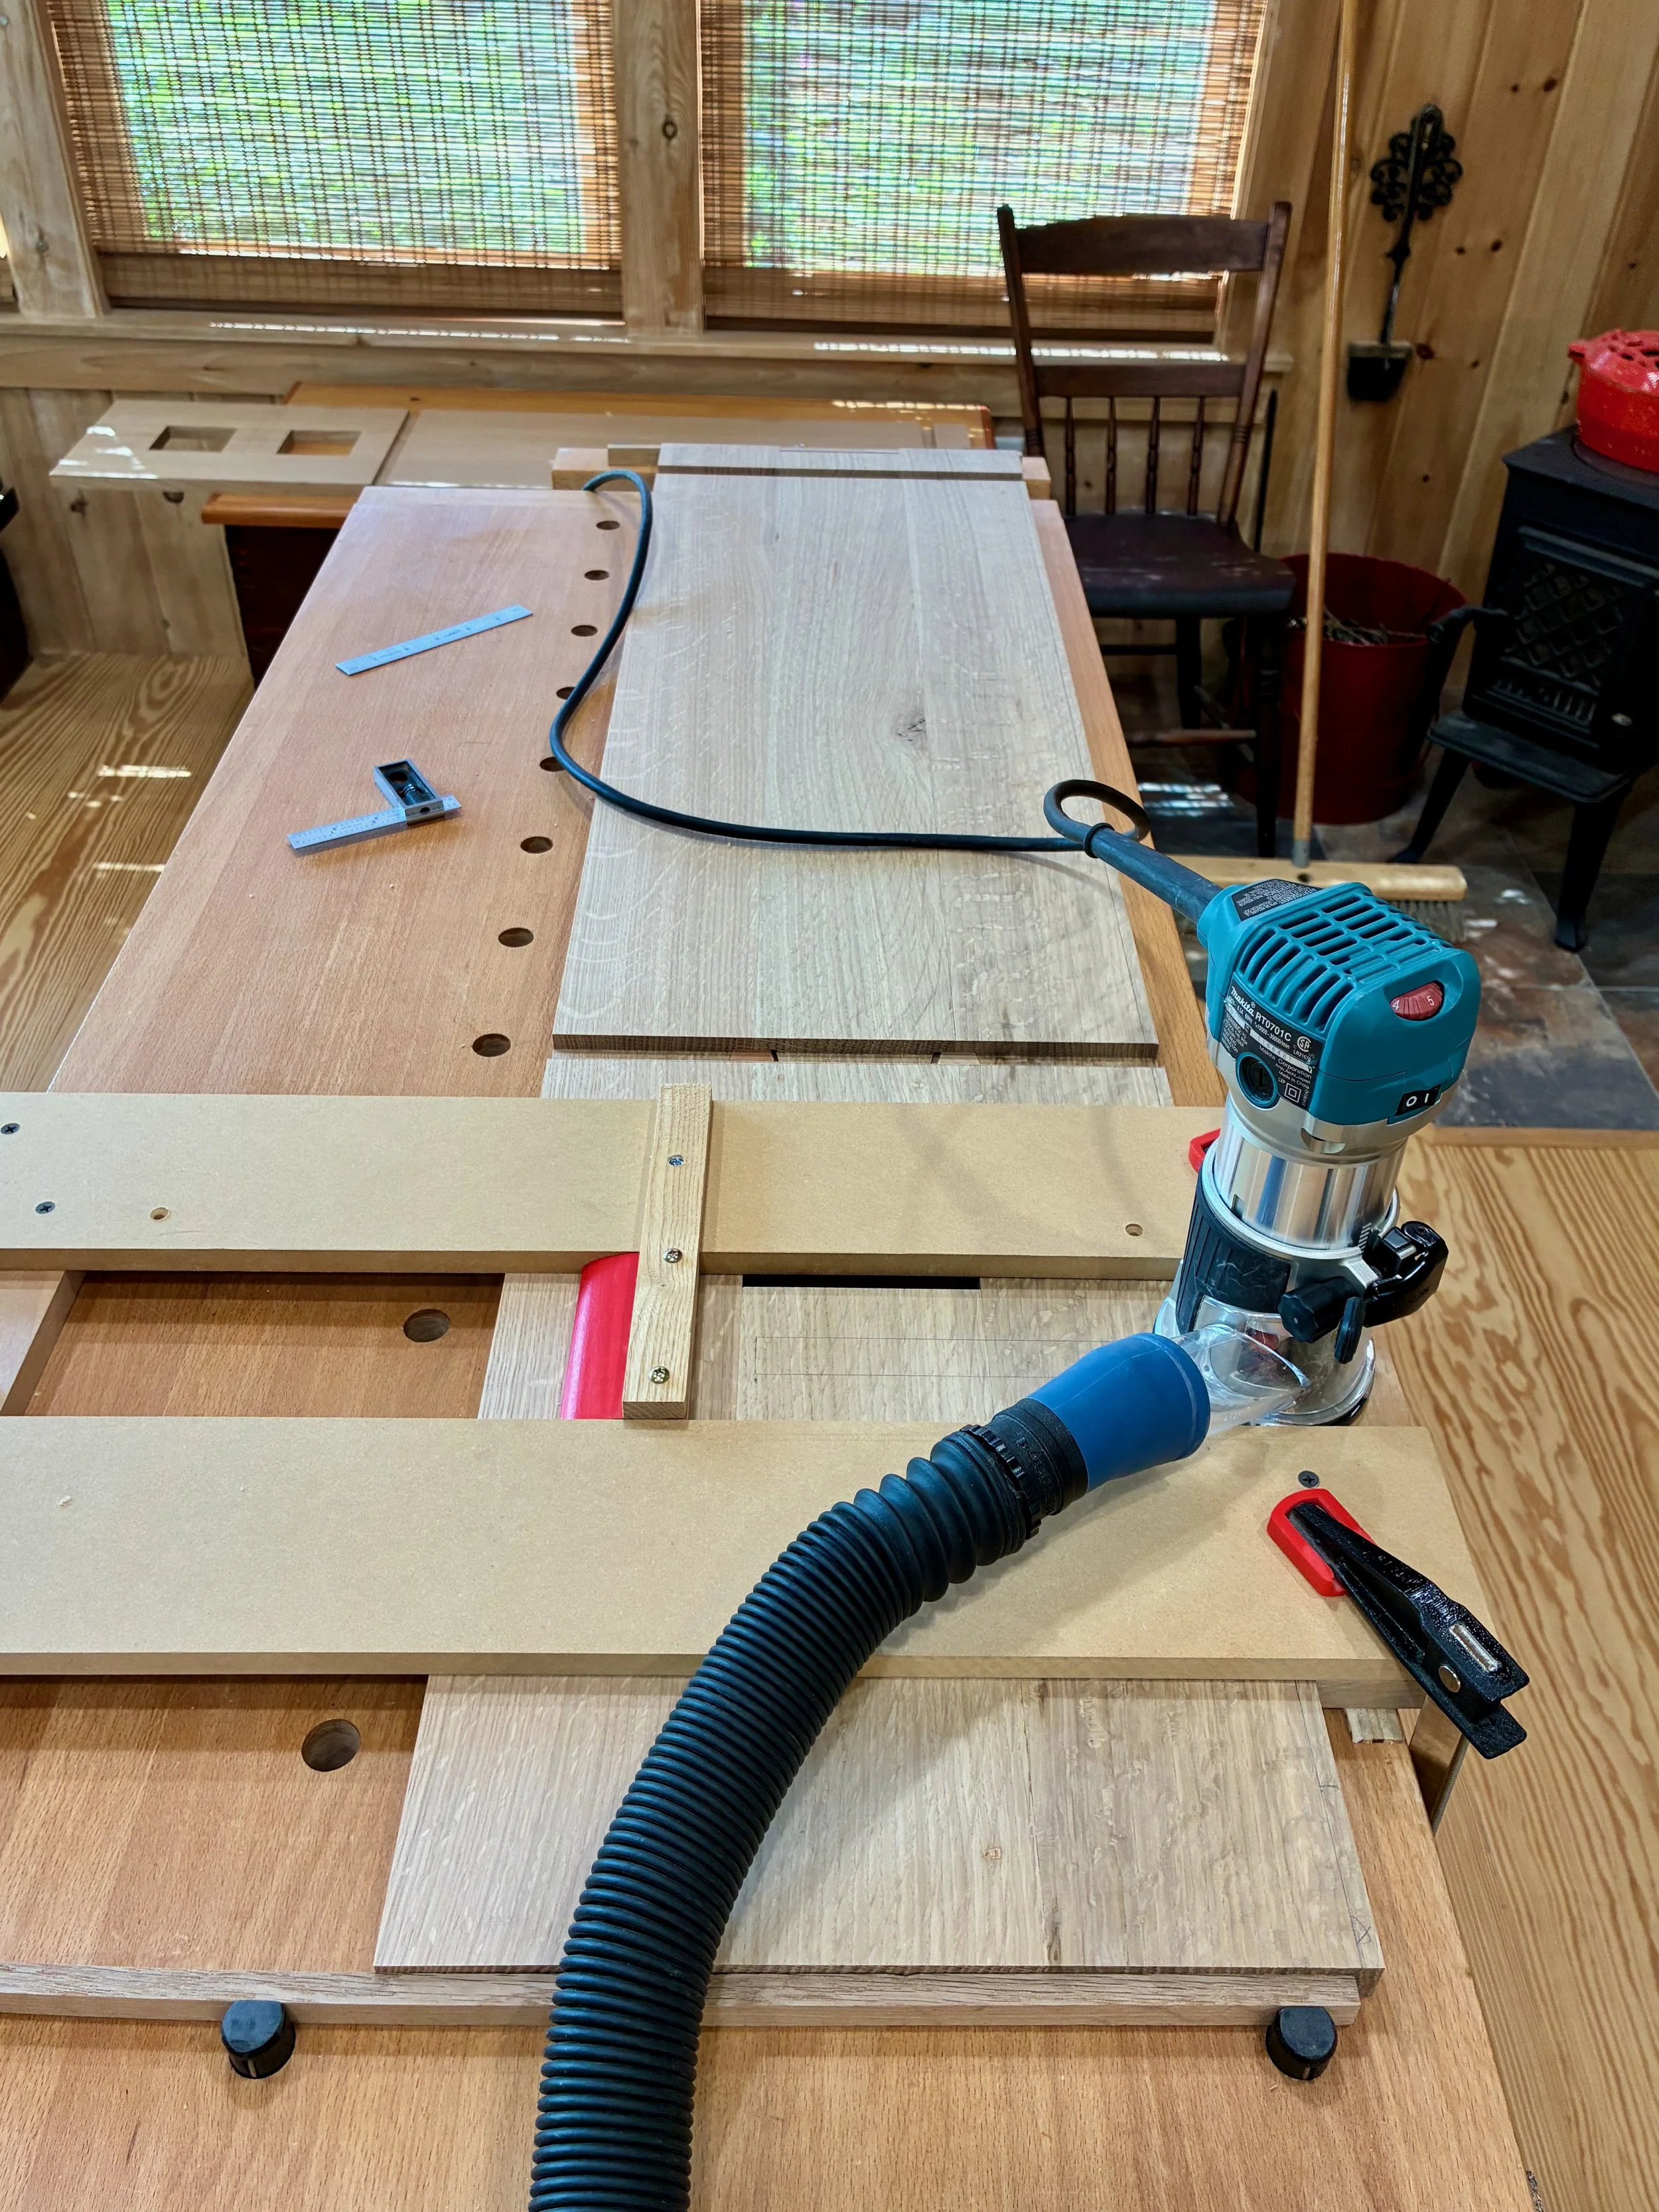
Preparing to cut the third slot using a router and jig
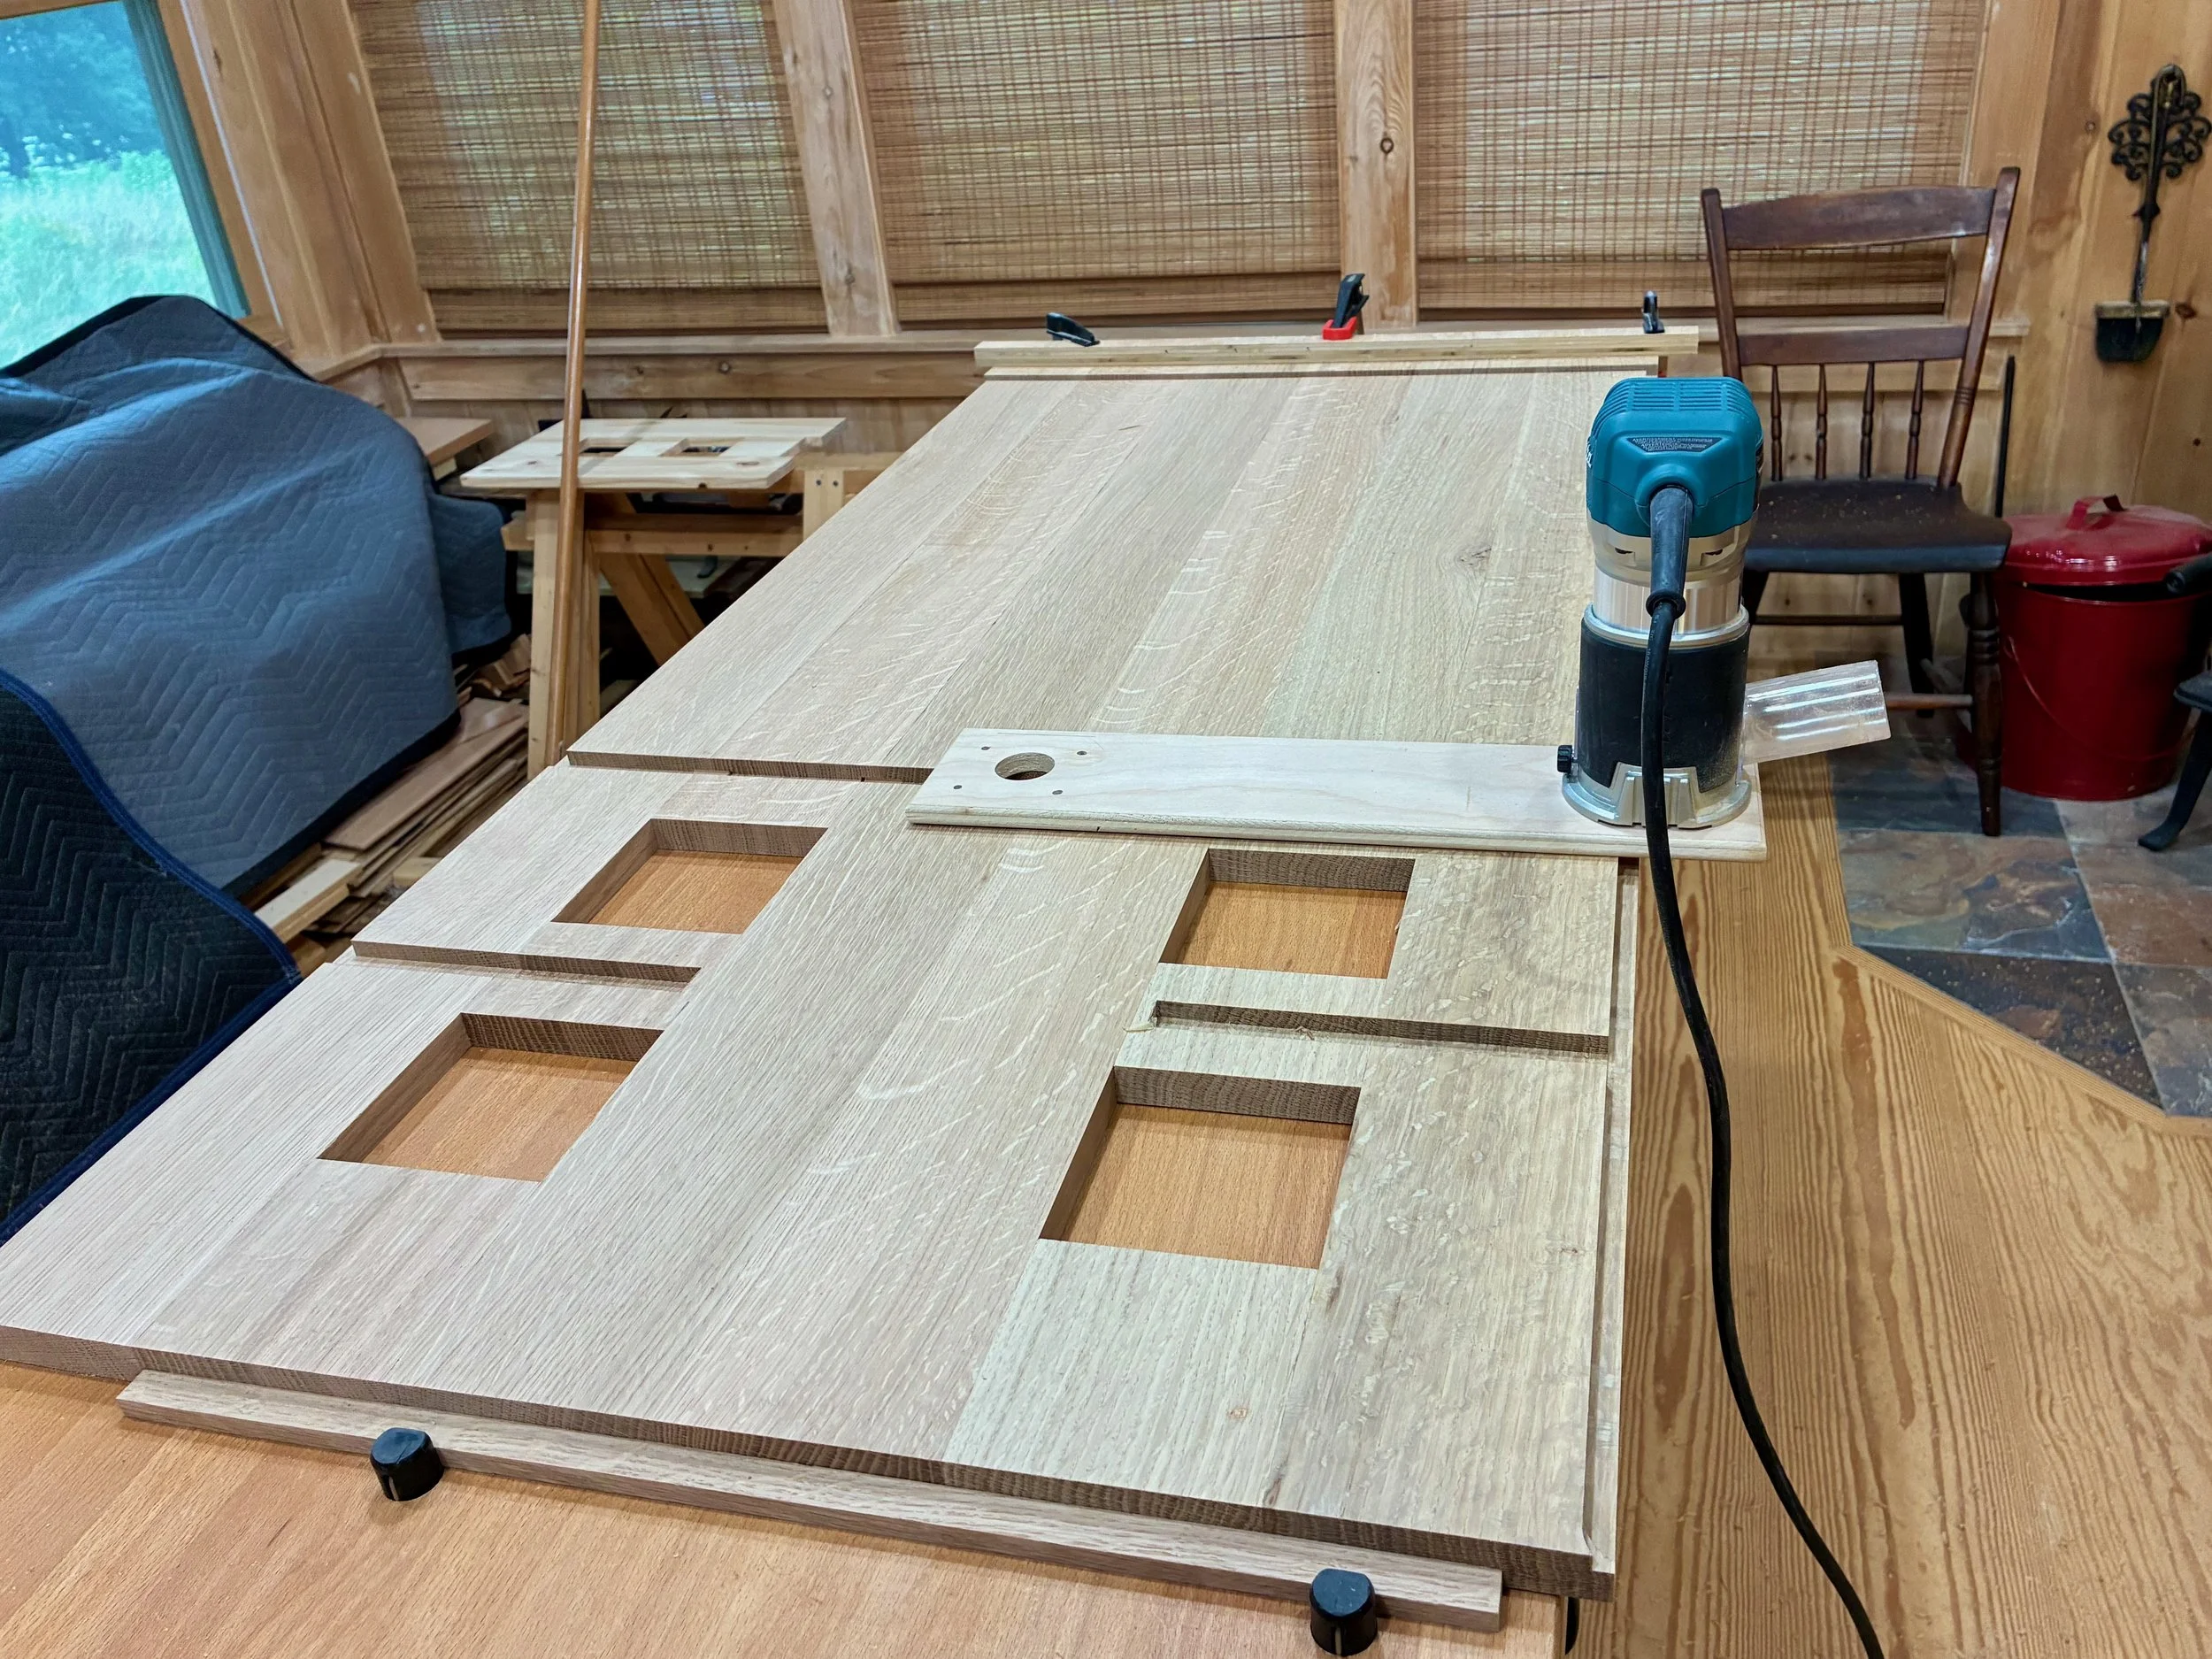
Adding rabbets with the router stabilized by an “outrigger” board
Following a bit of clean-up with the chisel, and cutting the two small mortises that house the toe kick, it was time to make the shelves. Three permanent (i.e., structural) and two adjustable shelves were called for. These were prepared by roughly prepping some narrow boards, edge glueing them in pairs, and then taking them down at the thickness planer to a depth that just squeezed into the ¾ in. slots prepared above, the two largest shelves had to be “thickness-ed” prior to glue up. The toe kick and upper door frame were fashioned in a similar manner. I next used that toe kick to set the cabinet width. At the sliding miter saw, tenons were cut on each end of this part to leave a 28 1/2 inch span in between. That span defines the open width for the doored chamber. The fixed shelves were then cut to their final length = (door span + 2 dadoed slot depths). I left the shelf widths untrimmed until the back of the case was completed. Lastly, some finishing touches were applied to smooth all edges, drill shelf pin holes, and mortises for the door hinges on the right side.
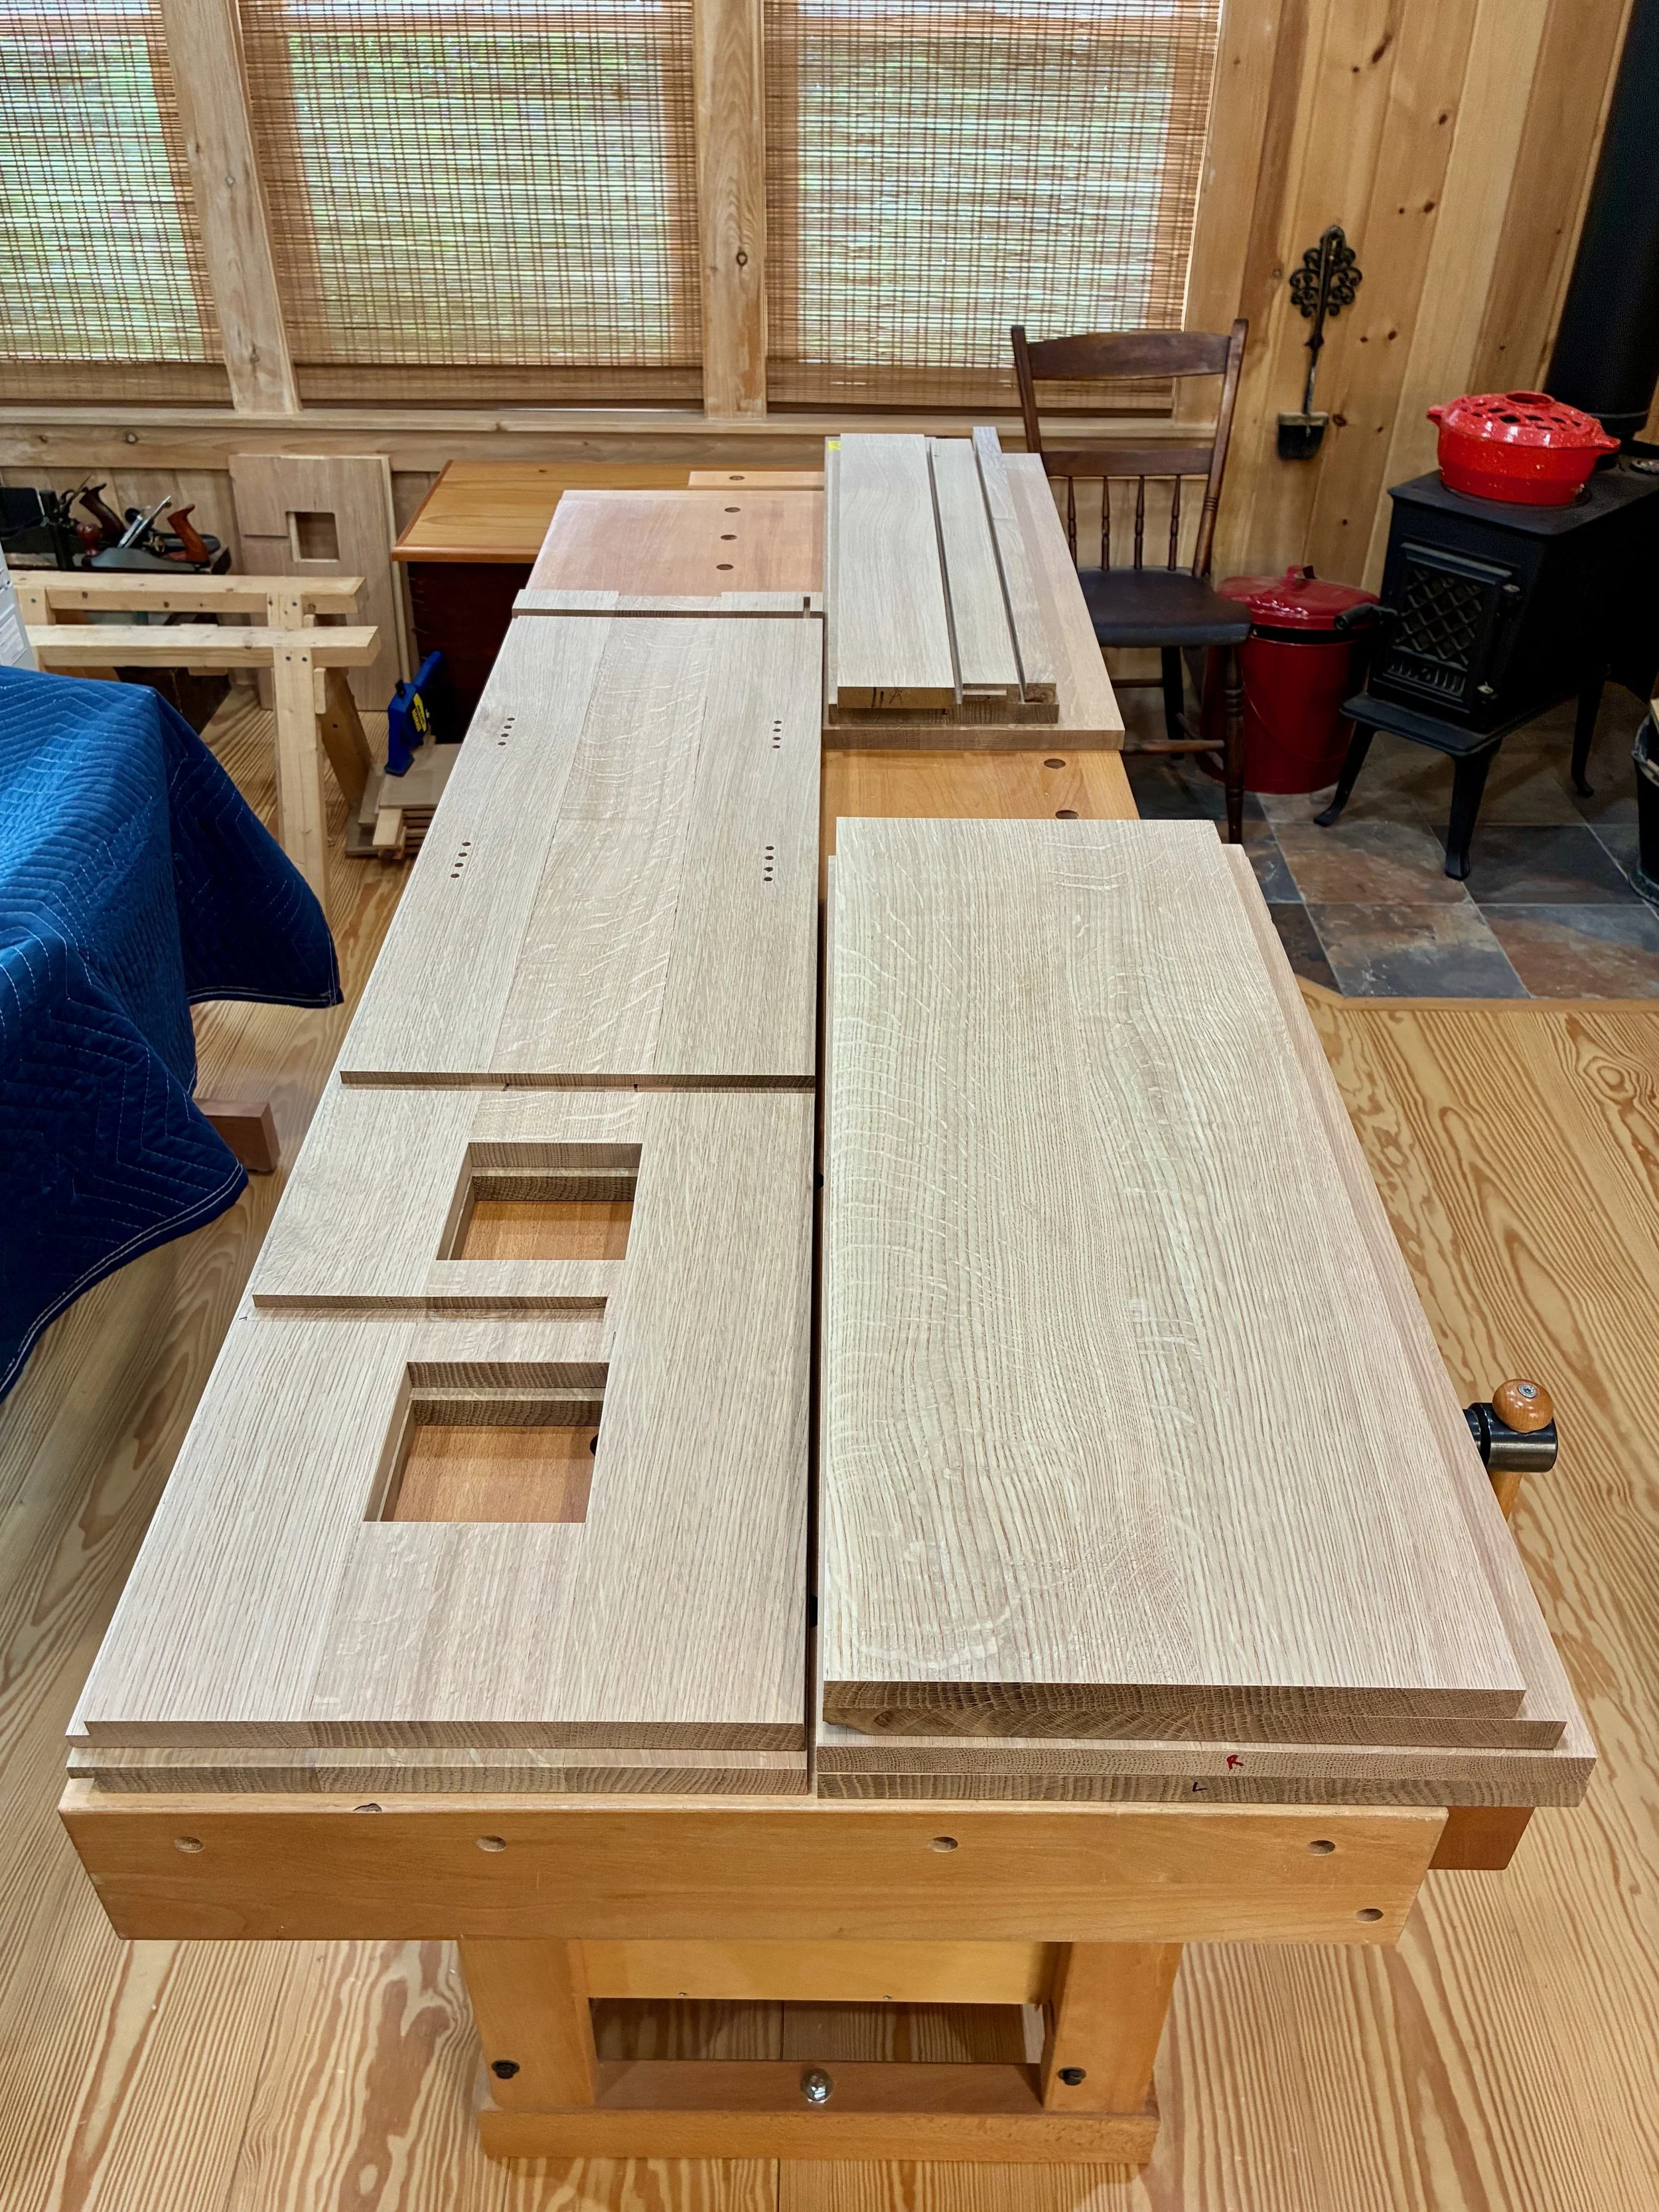
Ten case parts cut to their final lengths
The case now needed a back. The plans call for a finished oak board for that portion above the gallery shelf and a plywood back for the remainder of the case. The “upper” back was prepared from two oak boards, but I chose to make a more substantial back to replace the plywood portion. This was suggested as an alternative in Micheal Crow’s book, but never exemplified. I decided my back would consist of ½ in. thick oak boards, fit together shiplapped-style. The end boards would nestle into that rabbet cut along the back of the sides. This makes the bookcase more substantial and also adds a decorative touch … before the books cover everything up. But we’ll still know its there!
Using a new quarter sawn oak board of 5/4 depth I began by chopping it into thirds and then flattening both sides of each board at the jointer and thickness planer. These were then resawn down the spine at the band saw. Filleting flat boards in this manner instantly relieves the formerly constraining grain mass, which almost always results in a pair of bowed board products. Often this defect can be accommodated, but in this case, even after final thickness planing, I felt the arc was too strong to permit shiplapping to form a flat back. Bummer!
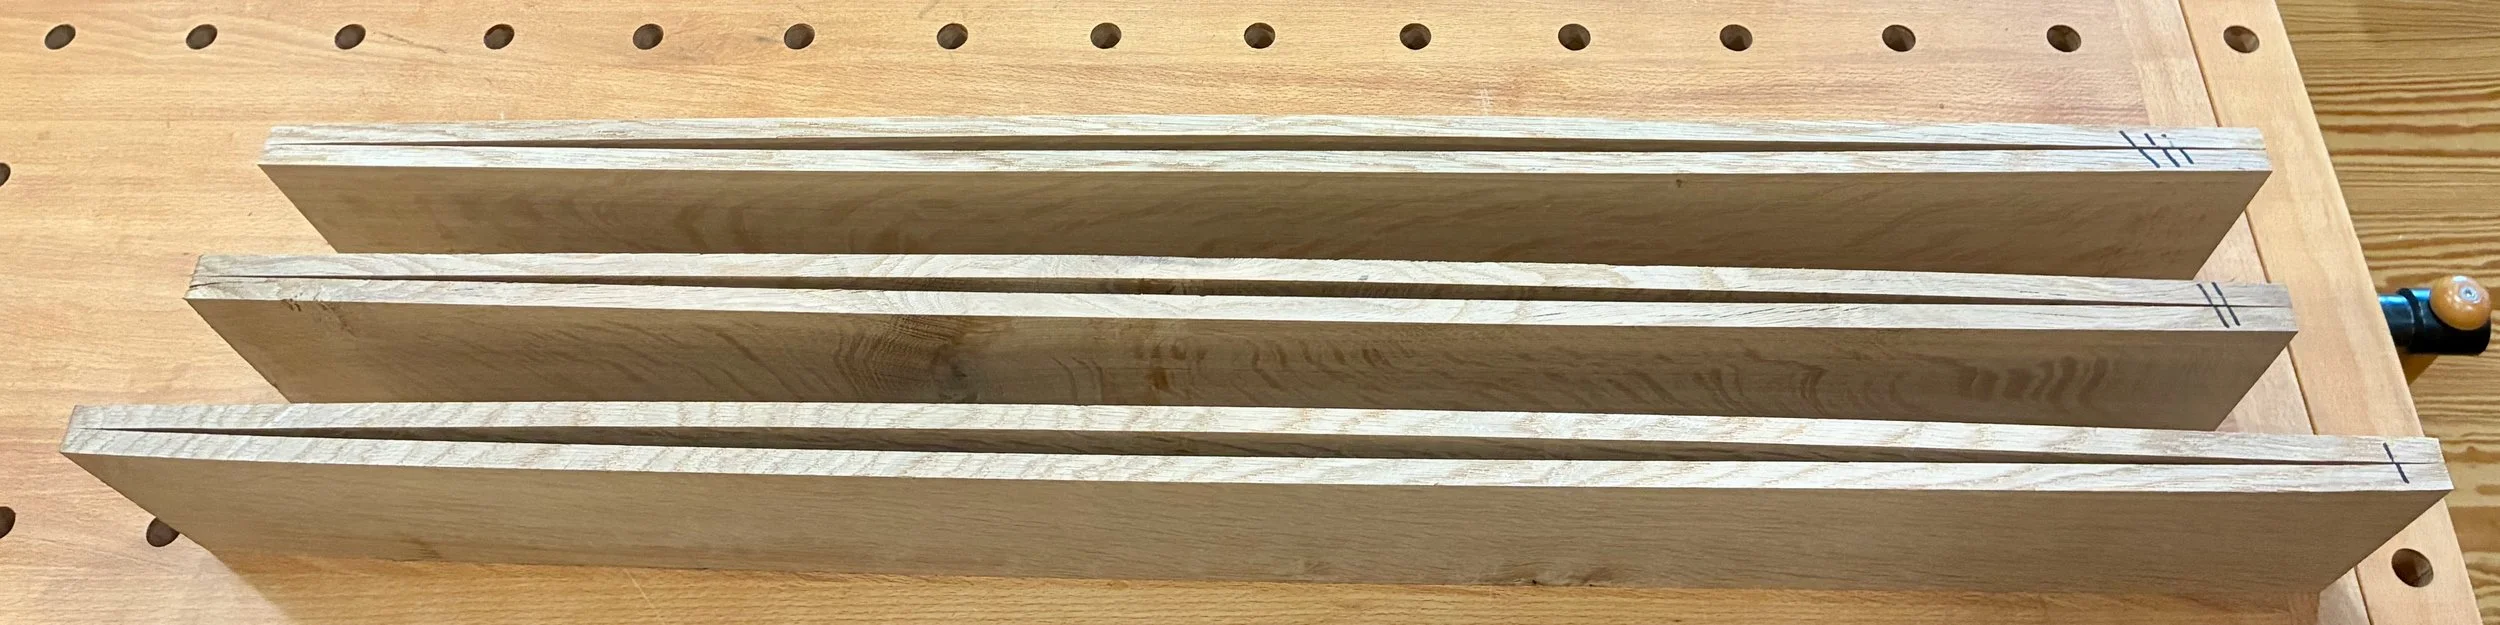
Resawn pairs with bow defects
However, at a cost of $108.80, the only certainty was that that 5/4 oak board would be the back, somehow. My rescue plan was to create a crossing “rail” midway up the case out of an oak scrap. This would allow me to sever the bowed boards at their hump, creating two sets of straight(er) shiplapping members, which could be mounted on either side of this rail. It is another deviation from plan, but one that would not be noticed. I fashioned the new “girdle” at the table saw.
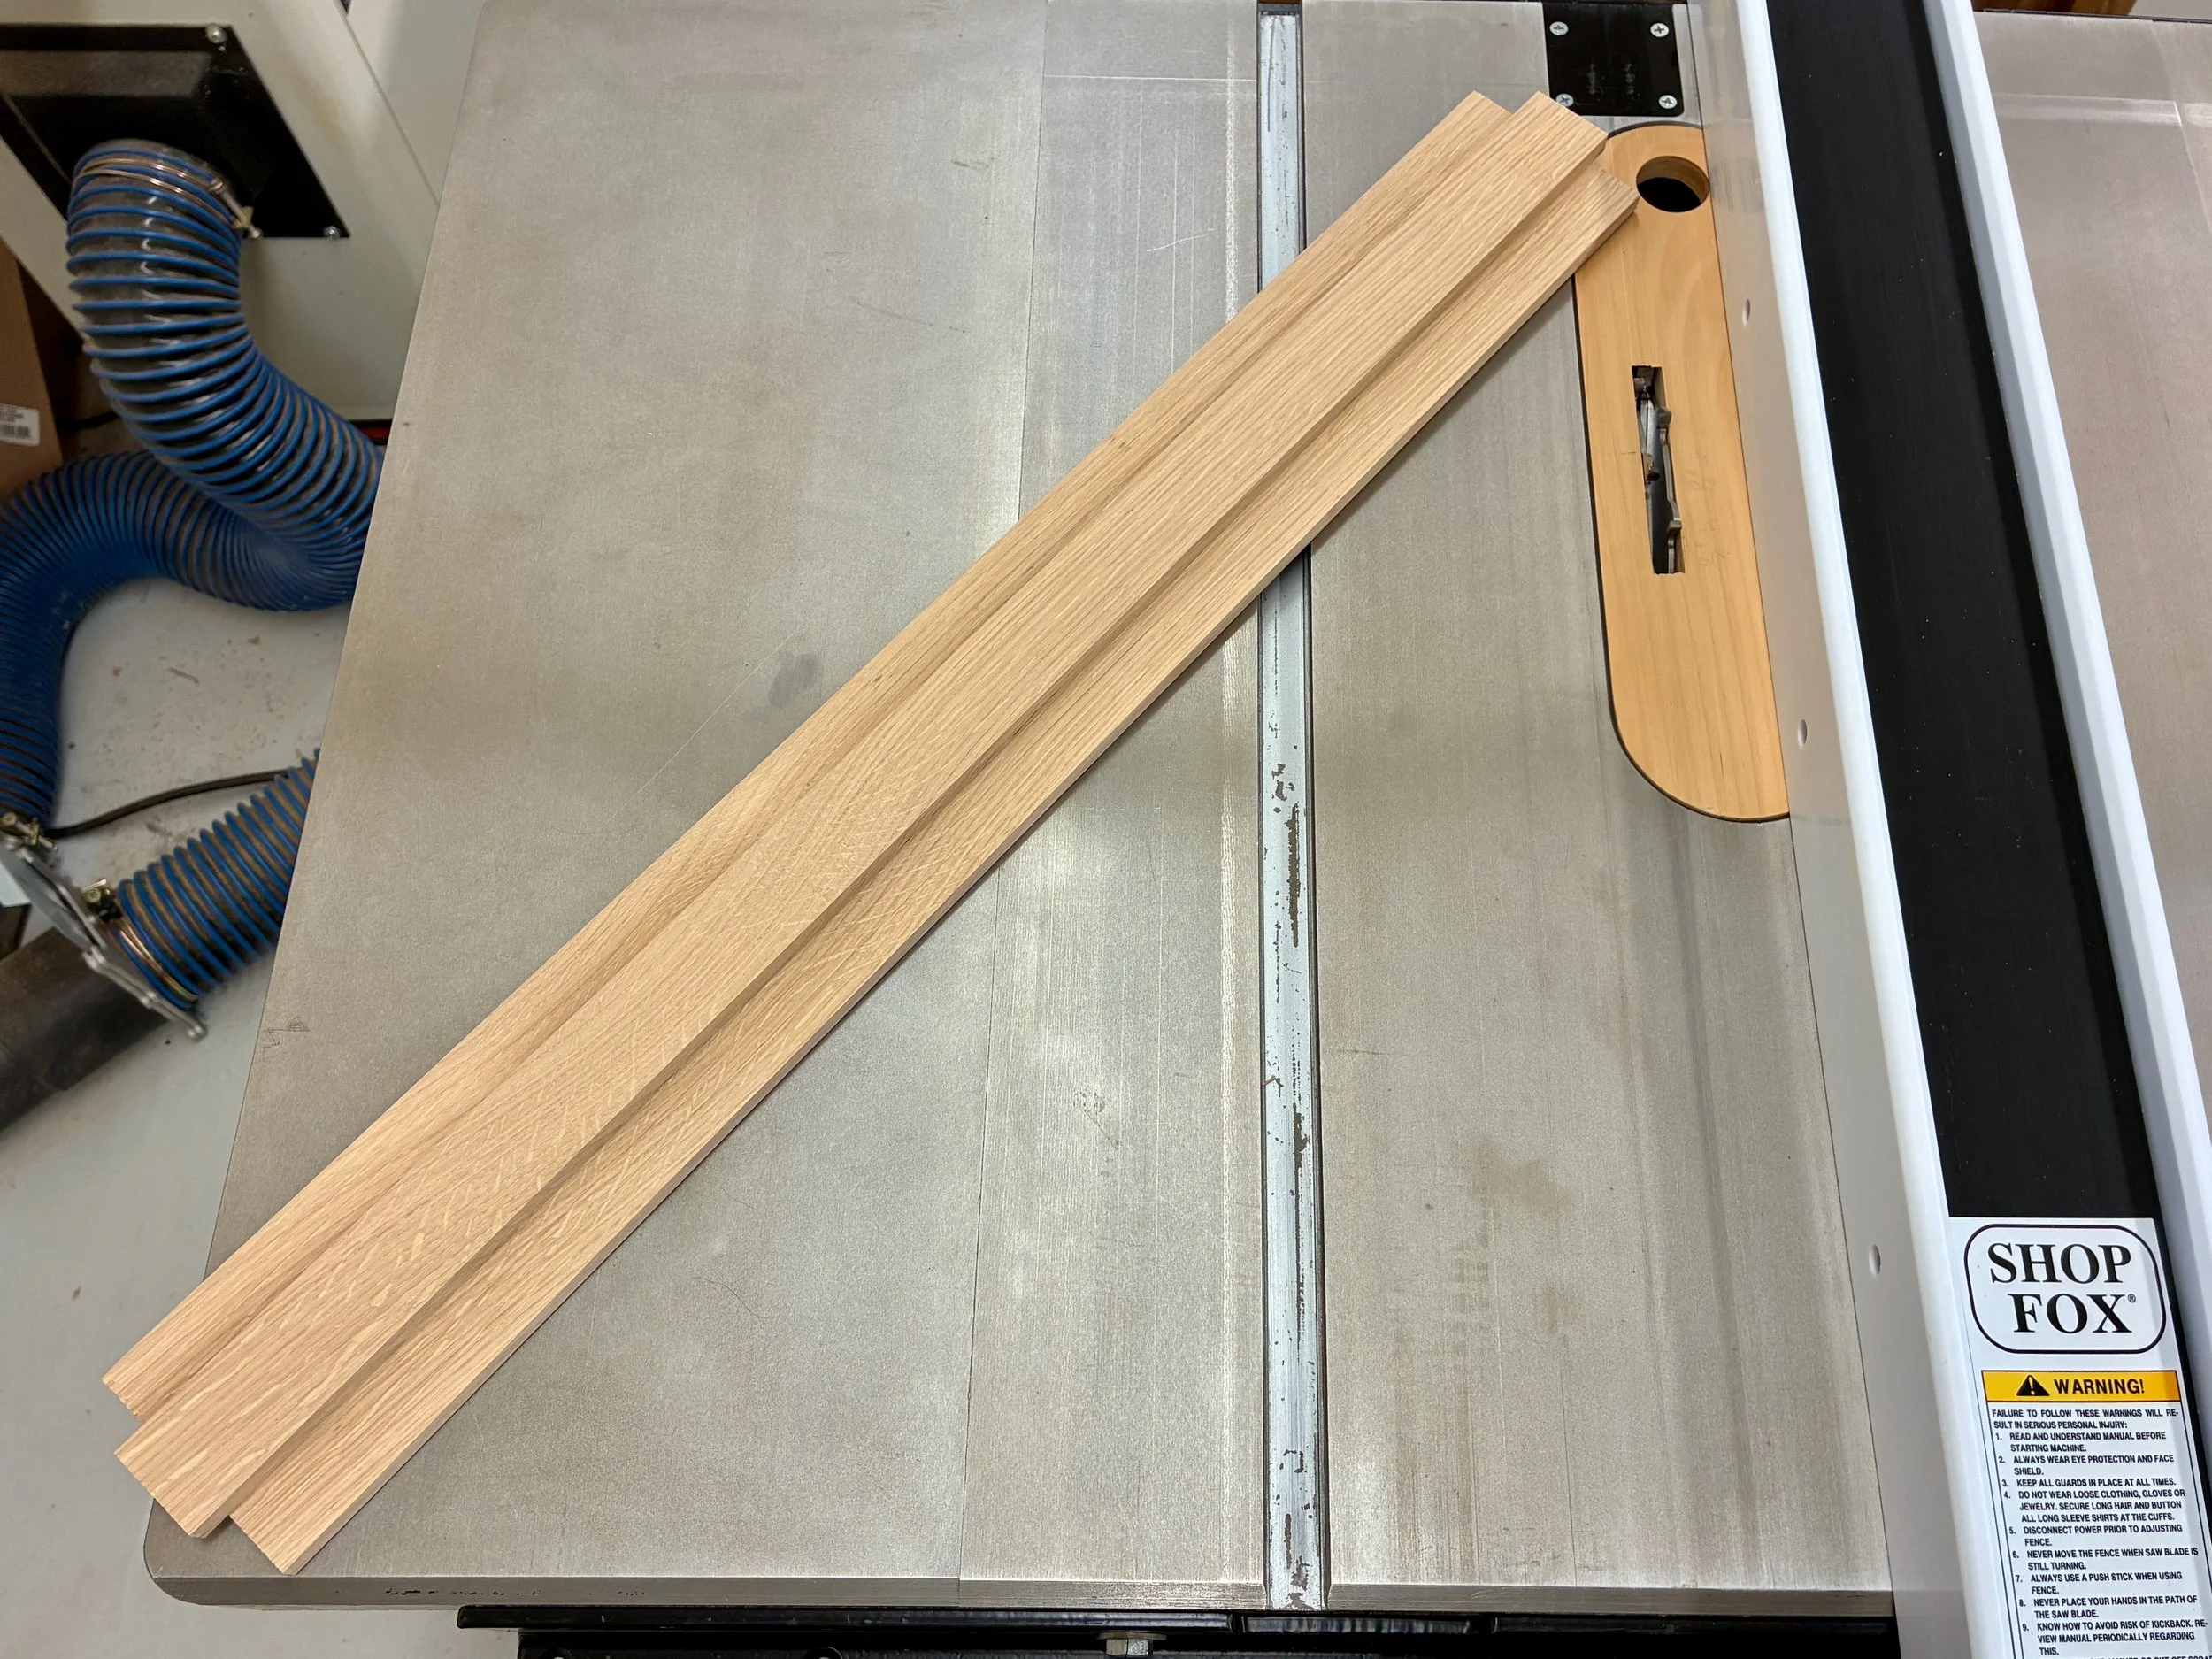
New girdle rail part
Next, the bowed back boards were cross-cut, and then “shiplapped” by creating two 1/2 in. wide rabbets along the opposing faces of each board at the table saw.
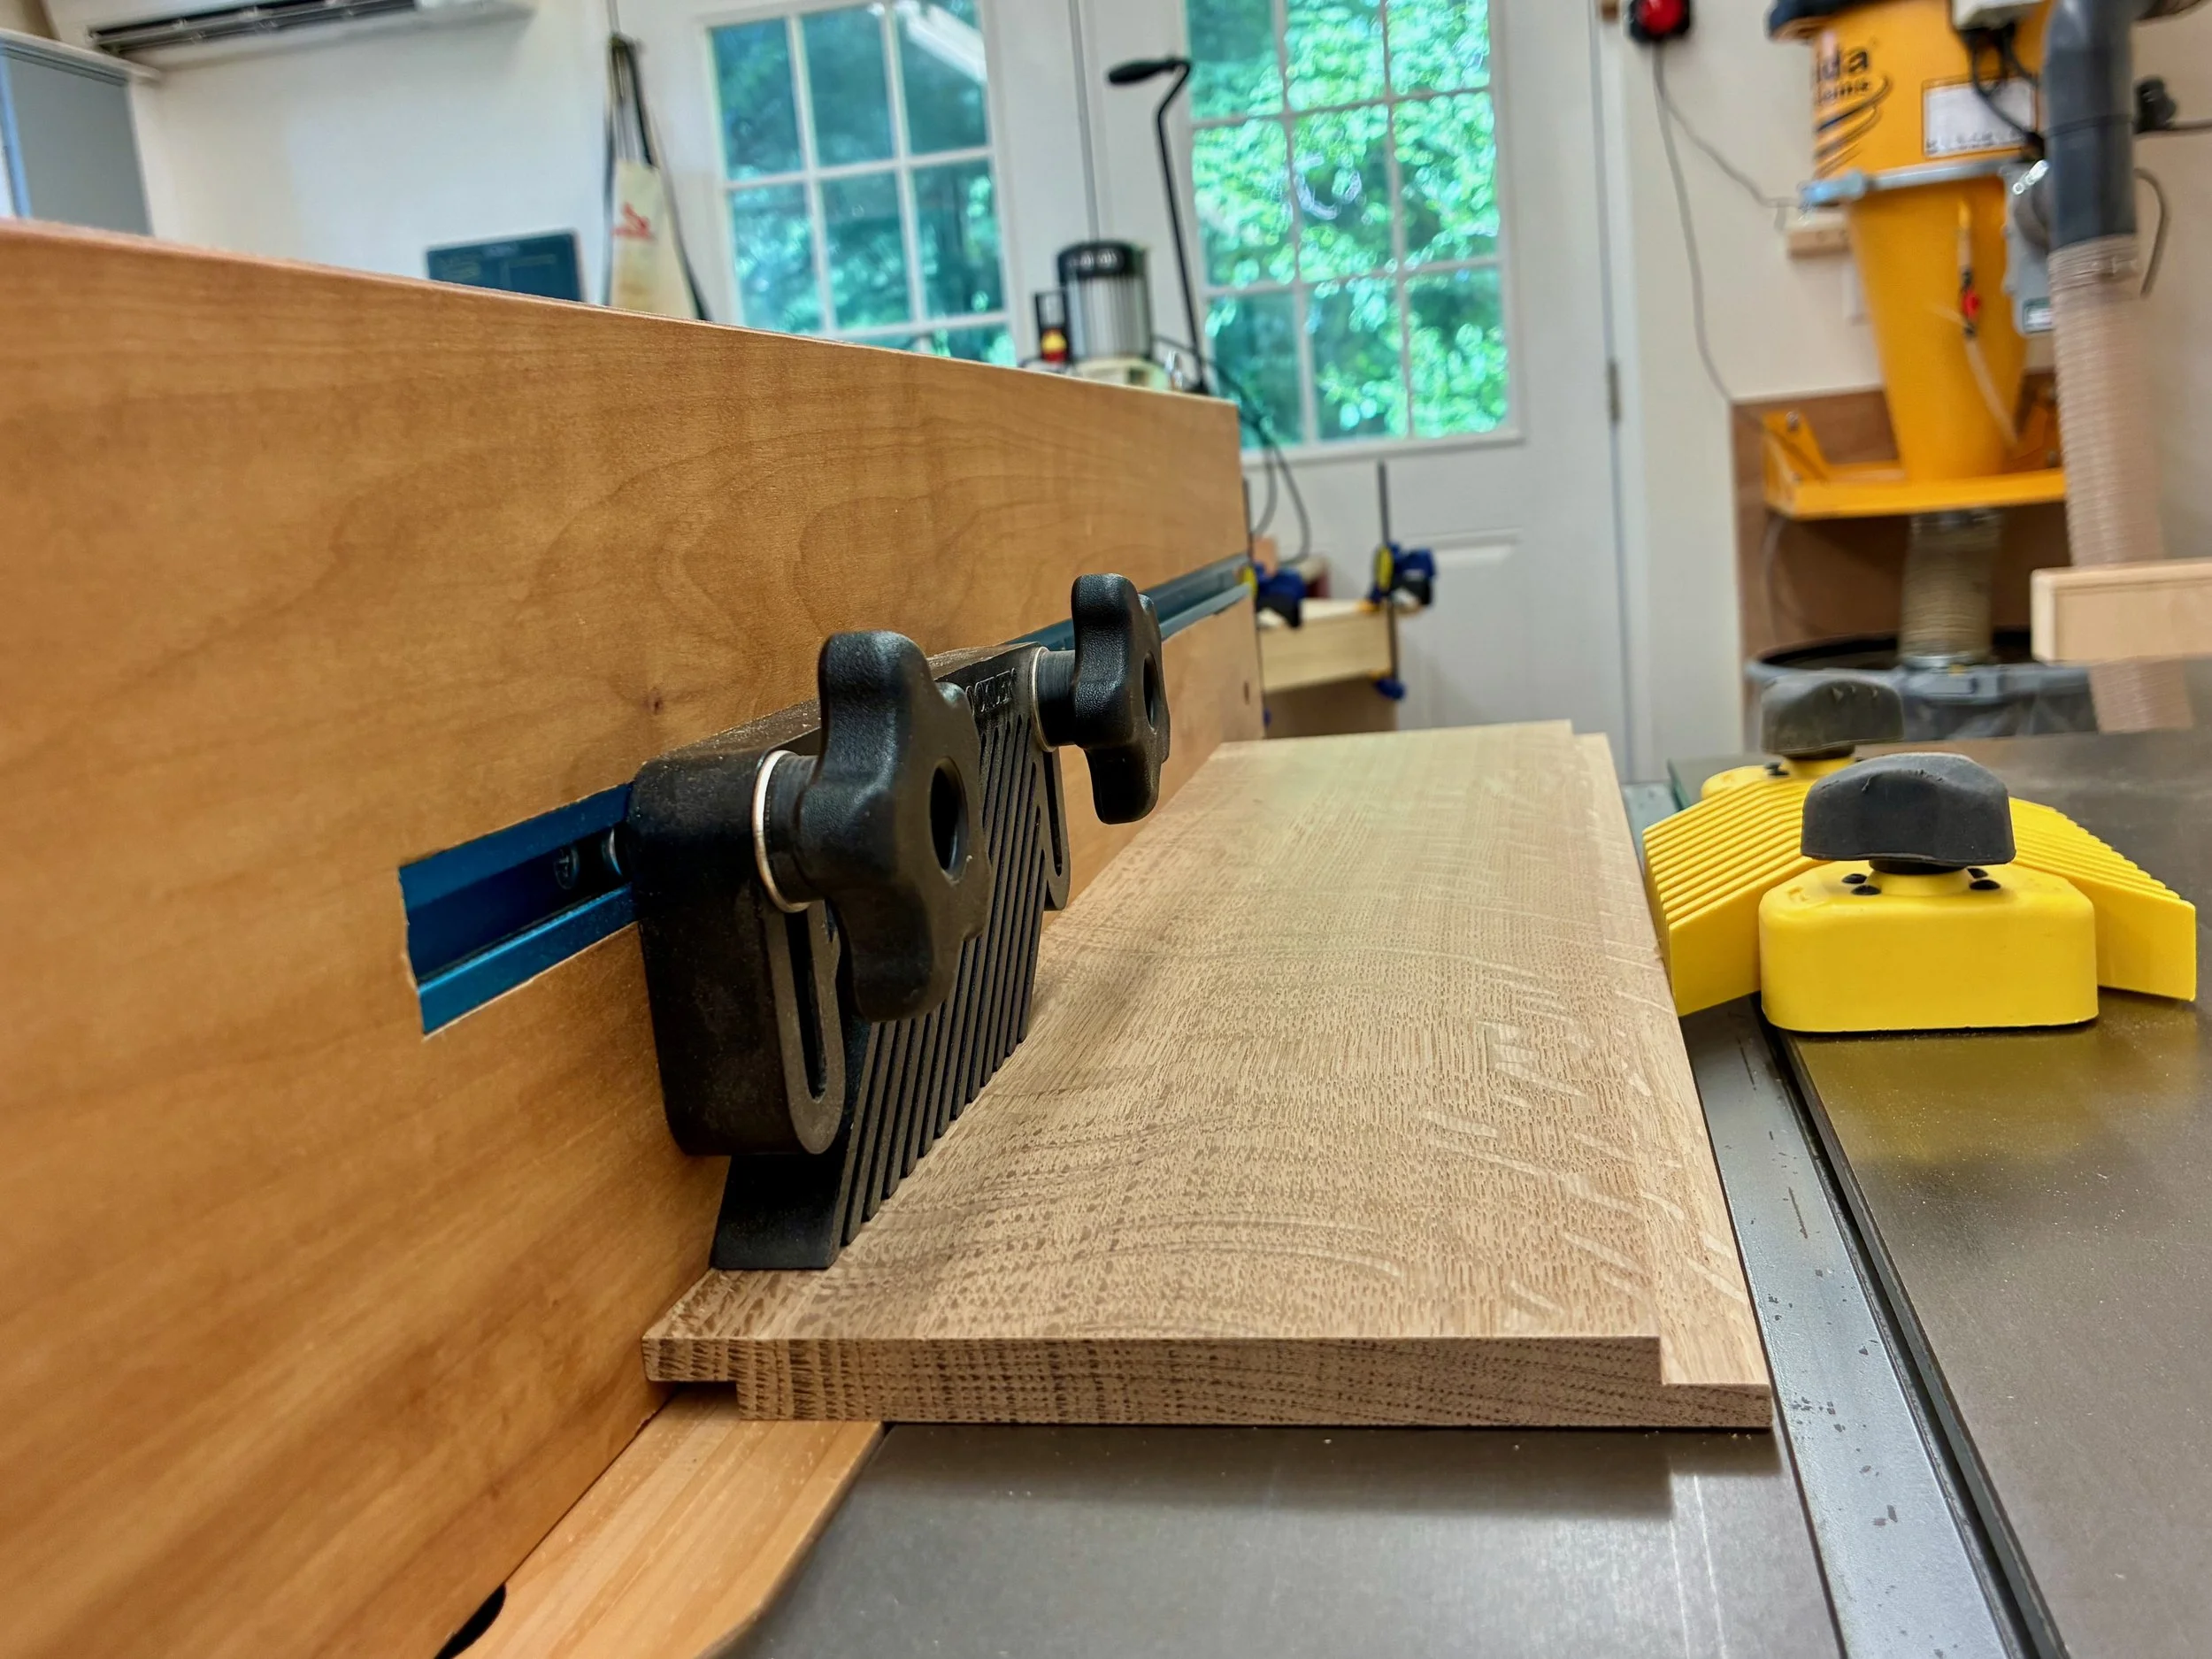
Making shiplapped panels
Finally, the case shelves were ripped to their final widths, and the edges rounded slightly by the action of a hand plane and sandpaper. I also created a radius at the two front corners of the sides using a hand saw and rasp. A dry-fit of the case assured that everything fit together as intended. The back was also dry-fit, horizontally, in order to size and then rip the end pieces and achieve the final width.
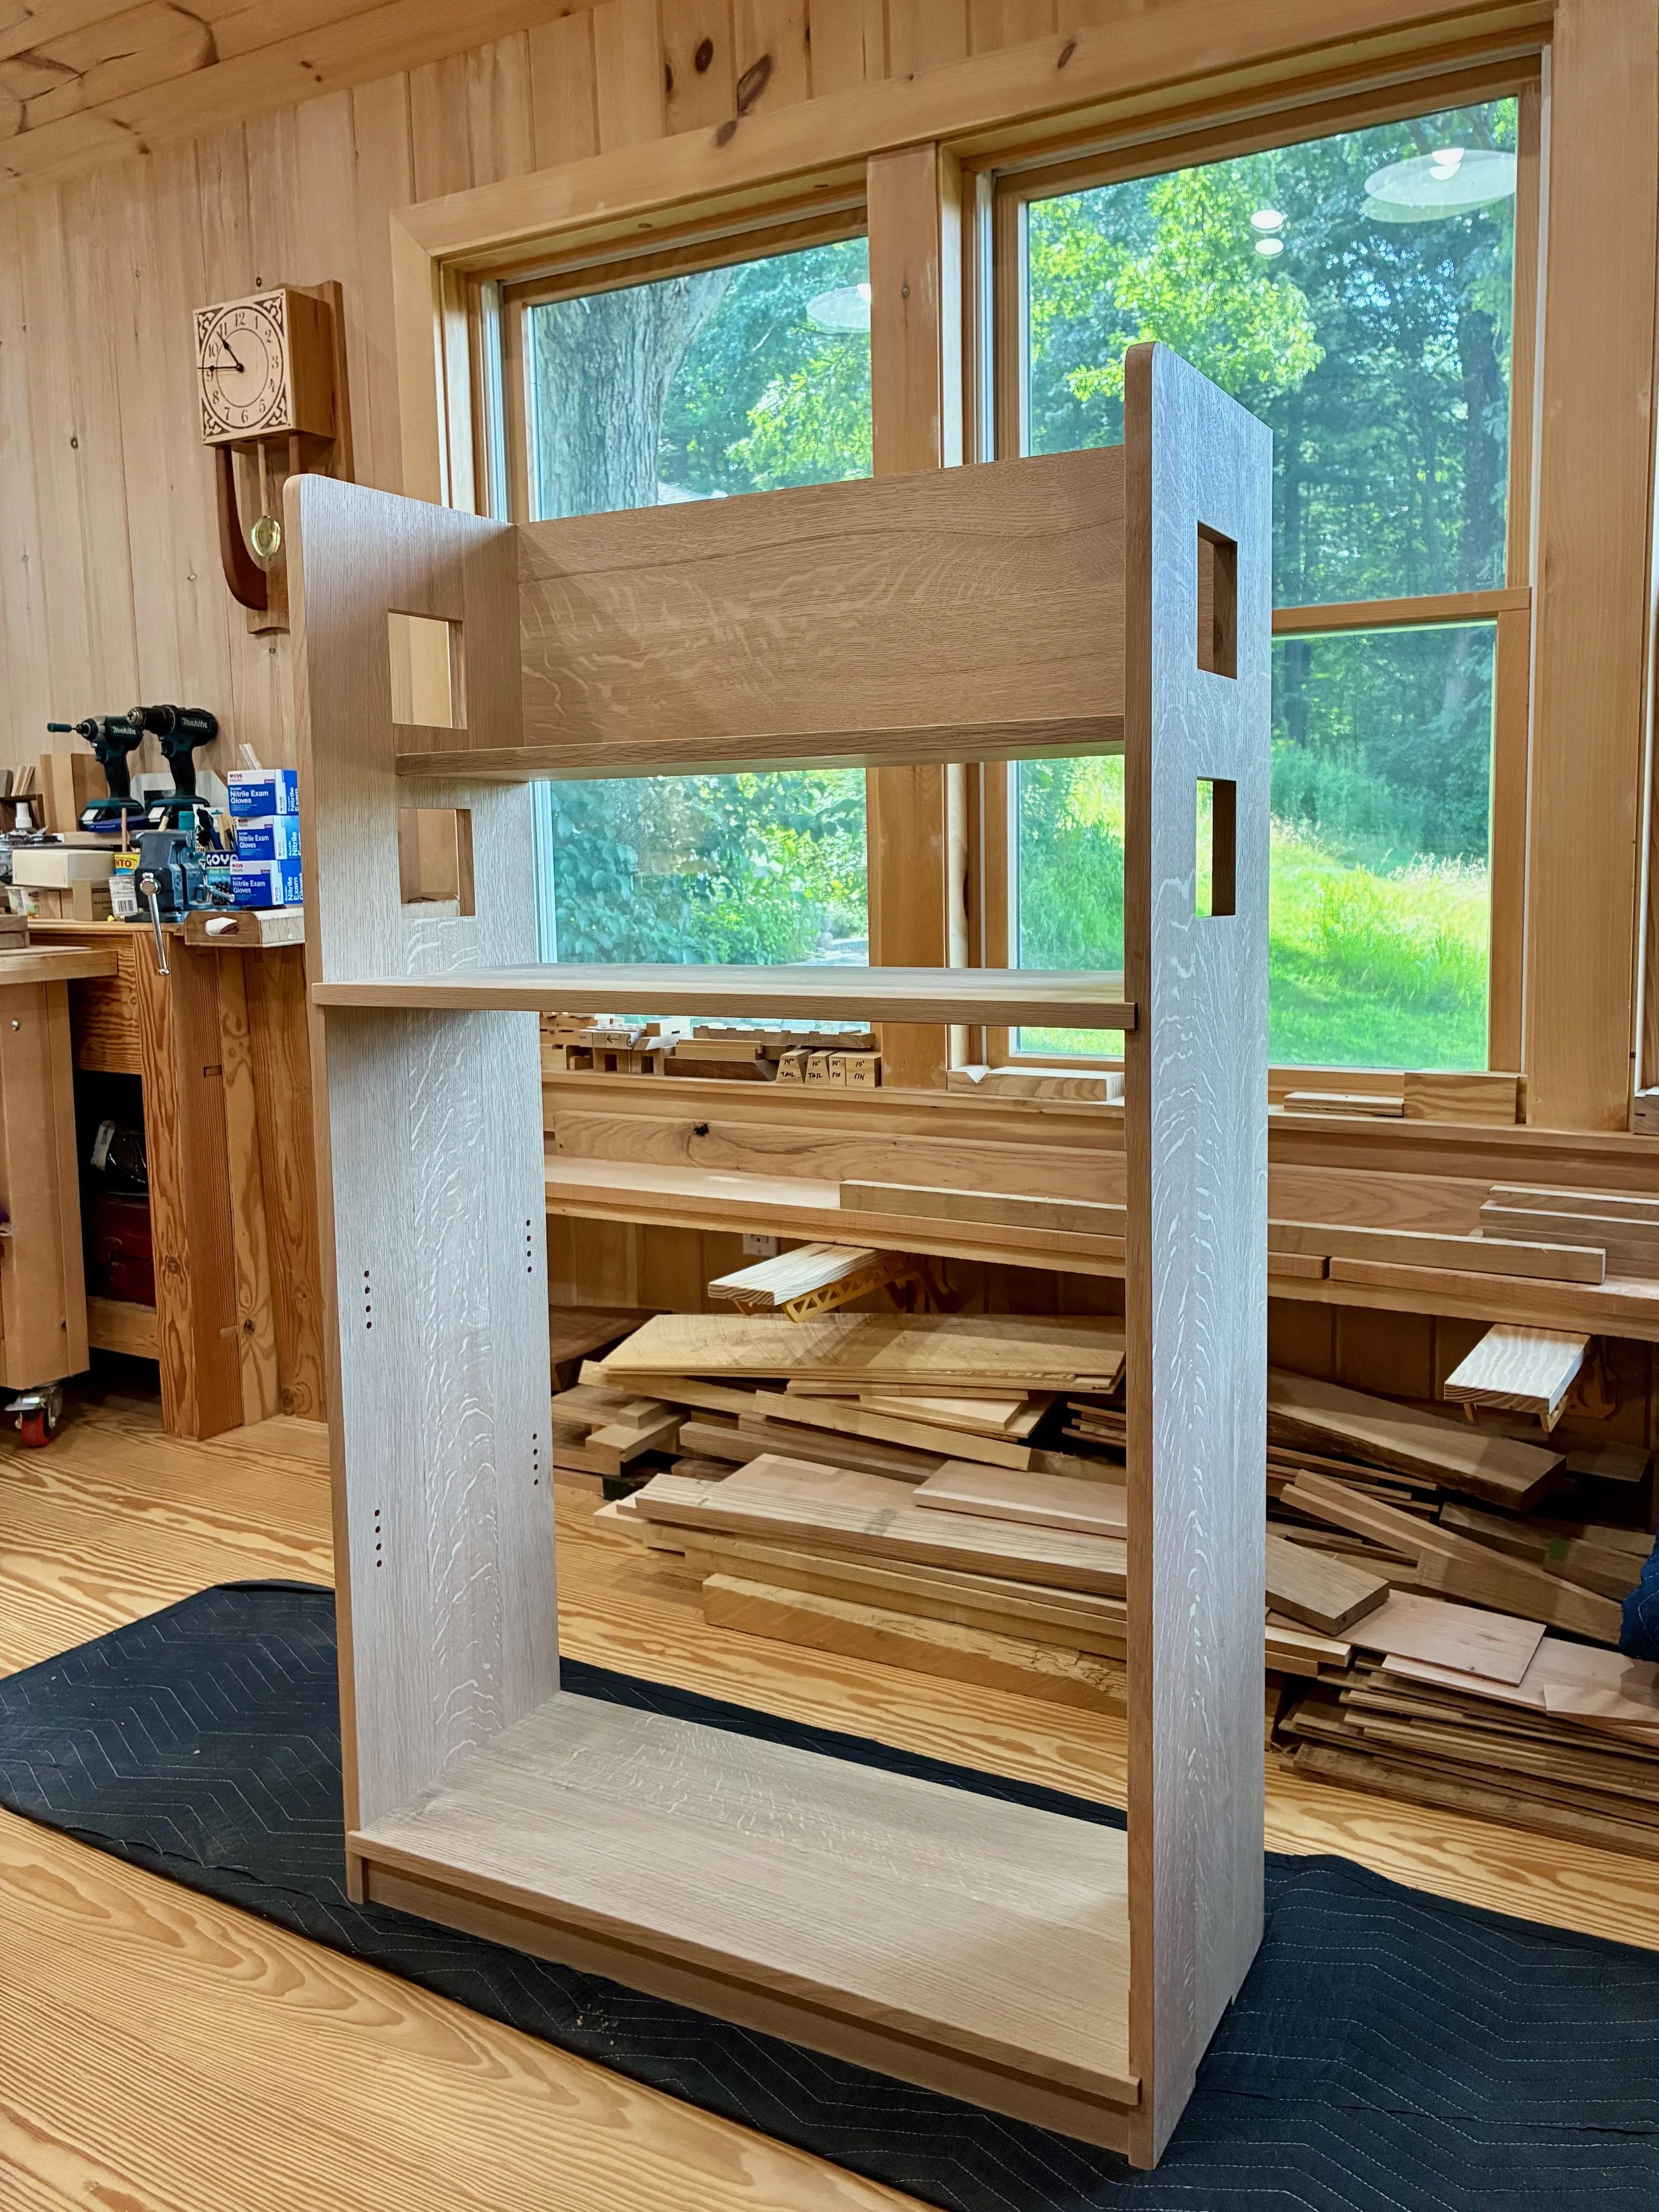
Dry-fit carcass
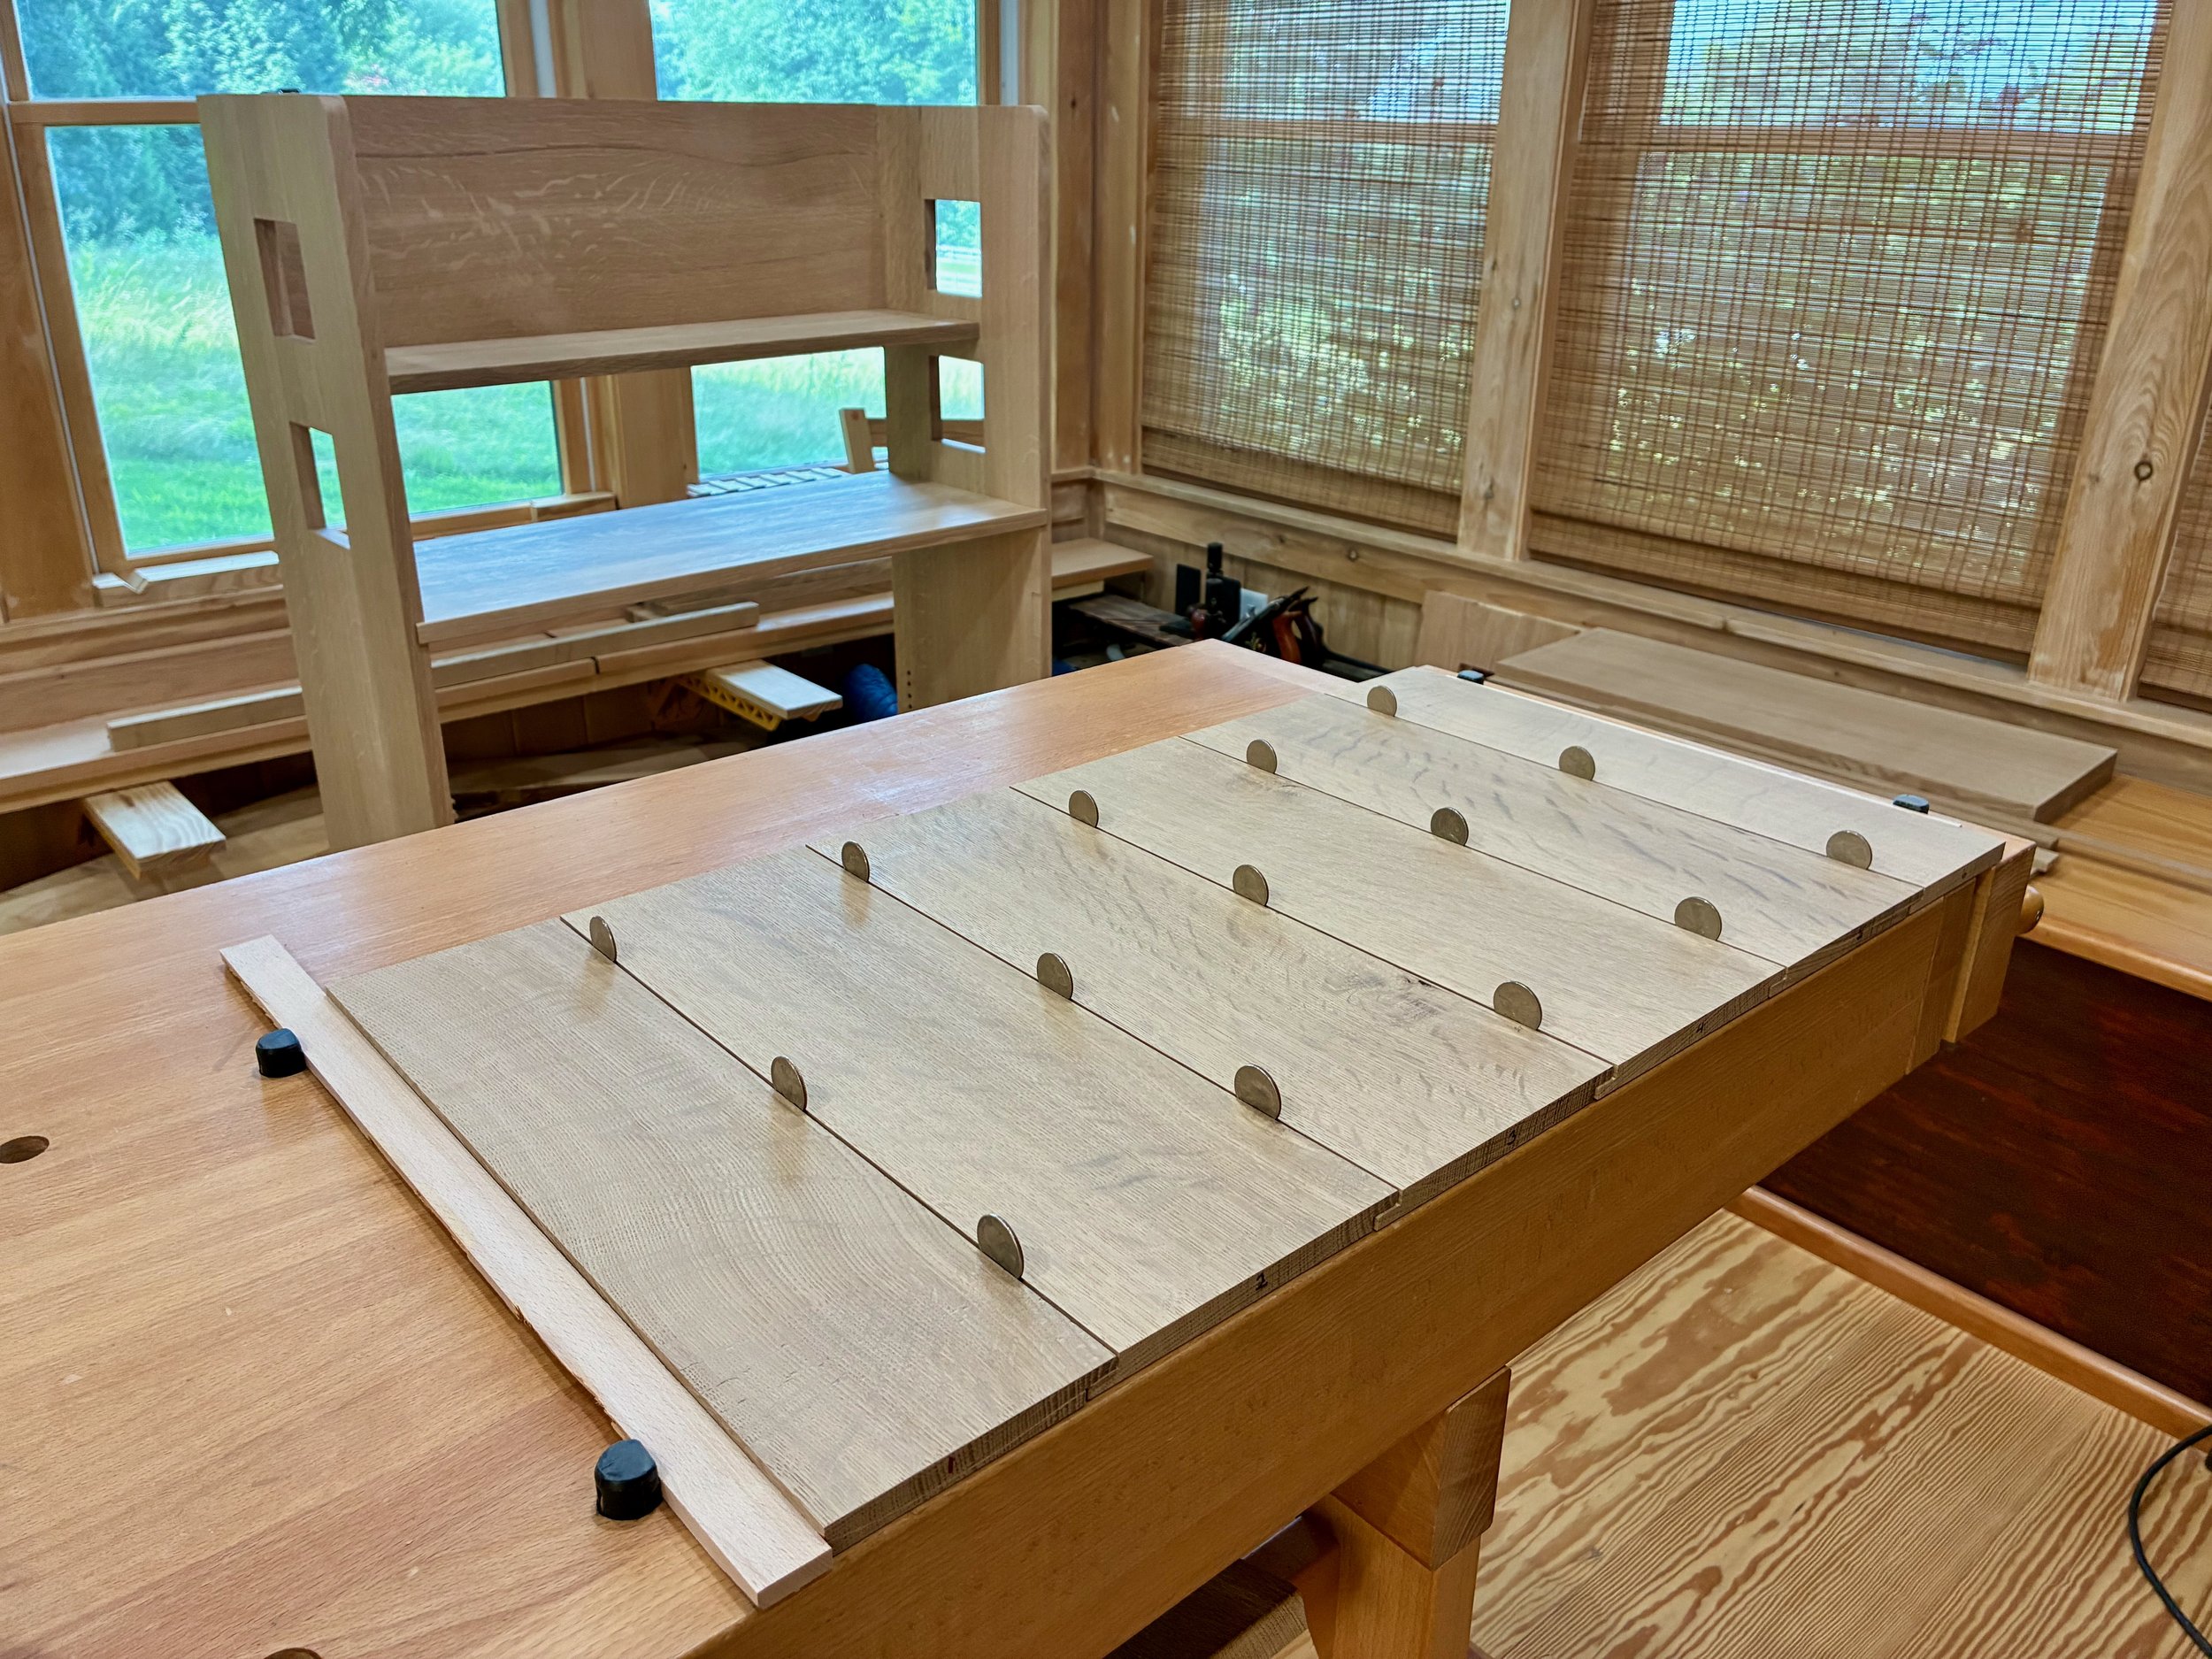
Dry-fitting a portion of the shiplapped back using US quarters as spacers
Assembly & Finish
Disassembly was followed be reassembly, using glue, and the whole thing was then clamped square and tight.
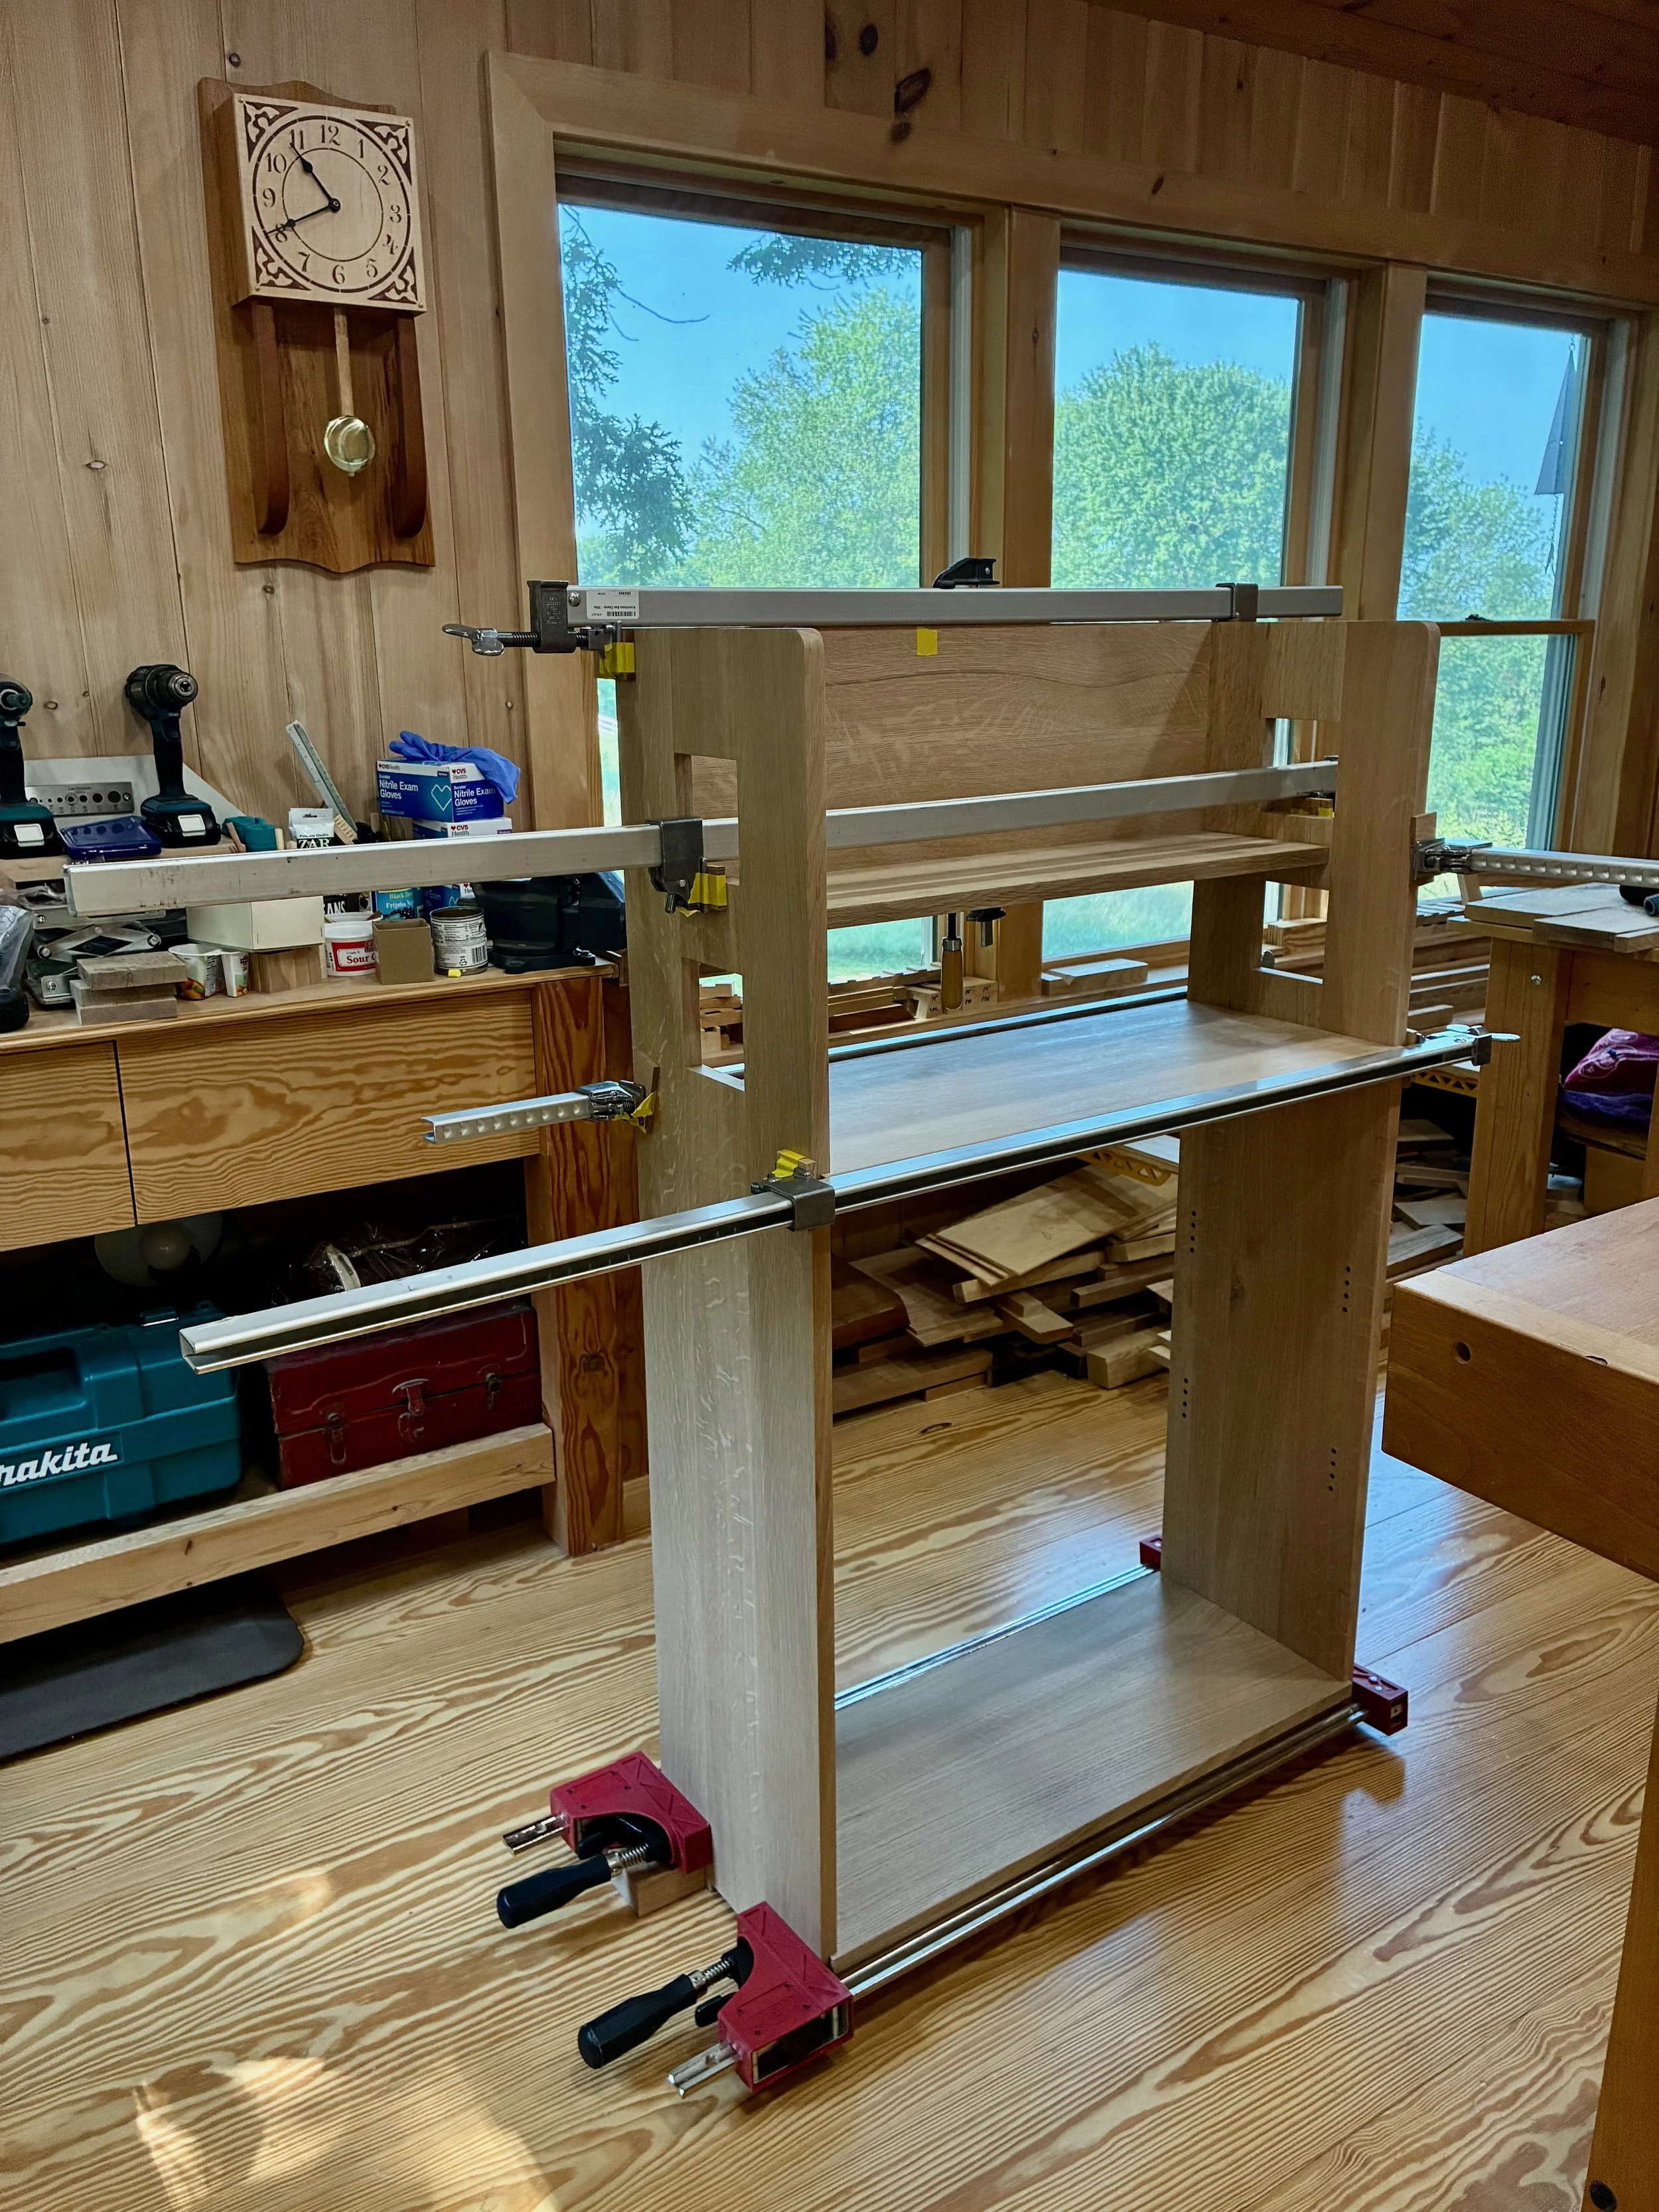
Case glue-up
I wanted to apply finish to the wood prior to attaching the back, but before all of that I needed to construct the door. The door described in the plans (above) is rather unique, in that the top and bottom rails extend for the entire width, effectively housing the stiles. The rails of most doors (including that “authentic” example pictured earlier) have rails sandwiched in between the stiles. Curious! This may be evidence that furniture from that era, constructed partly by machine and partly by handwork, could be readily “tweaked” for whatever reason and still be sold by the same item number. Some Stickley pieces show similar variations. It’s likely that the conventional door rail design is, in fact, more durable, prompting the switch, but I chose to go with the oversized rails version, anyway. Two of these, along with three identically sized stiles were fashioned from 4/4 stock. The woodworking here involved creating mortises along the rails, tenons at the stile’s ends, and then, following assembly and a final fitting, rabbeting a seat for the glass in between.
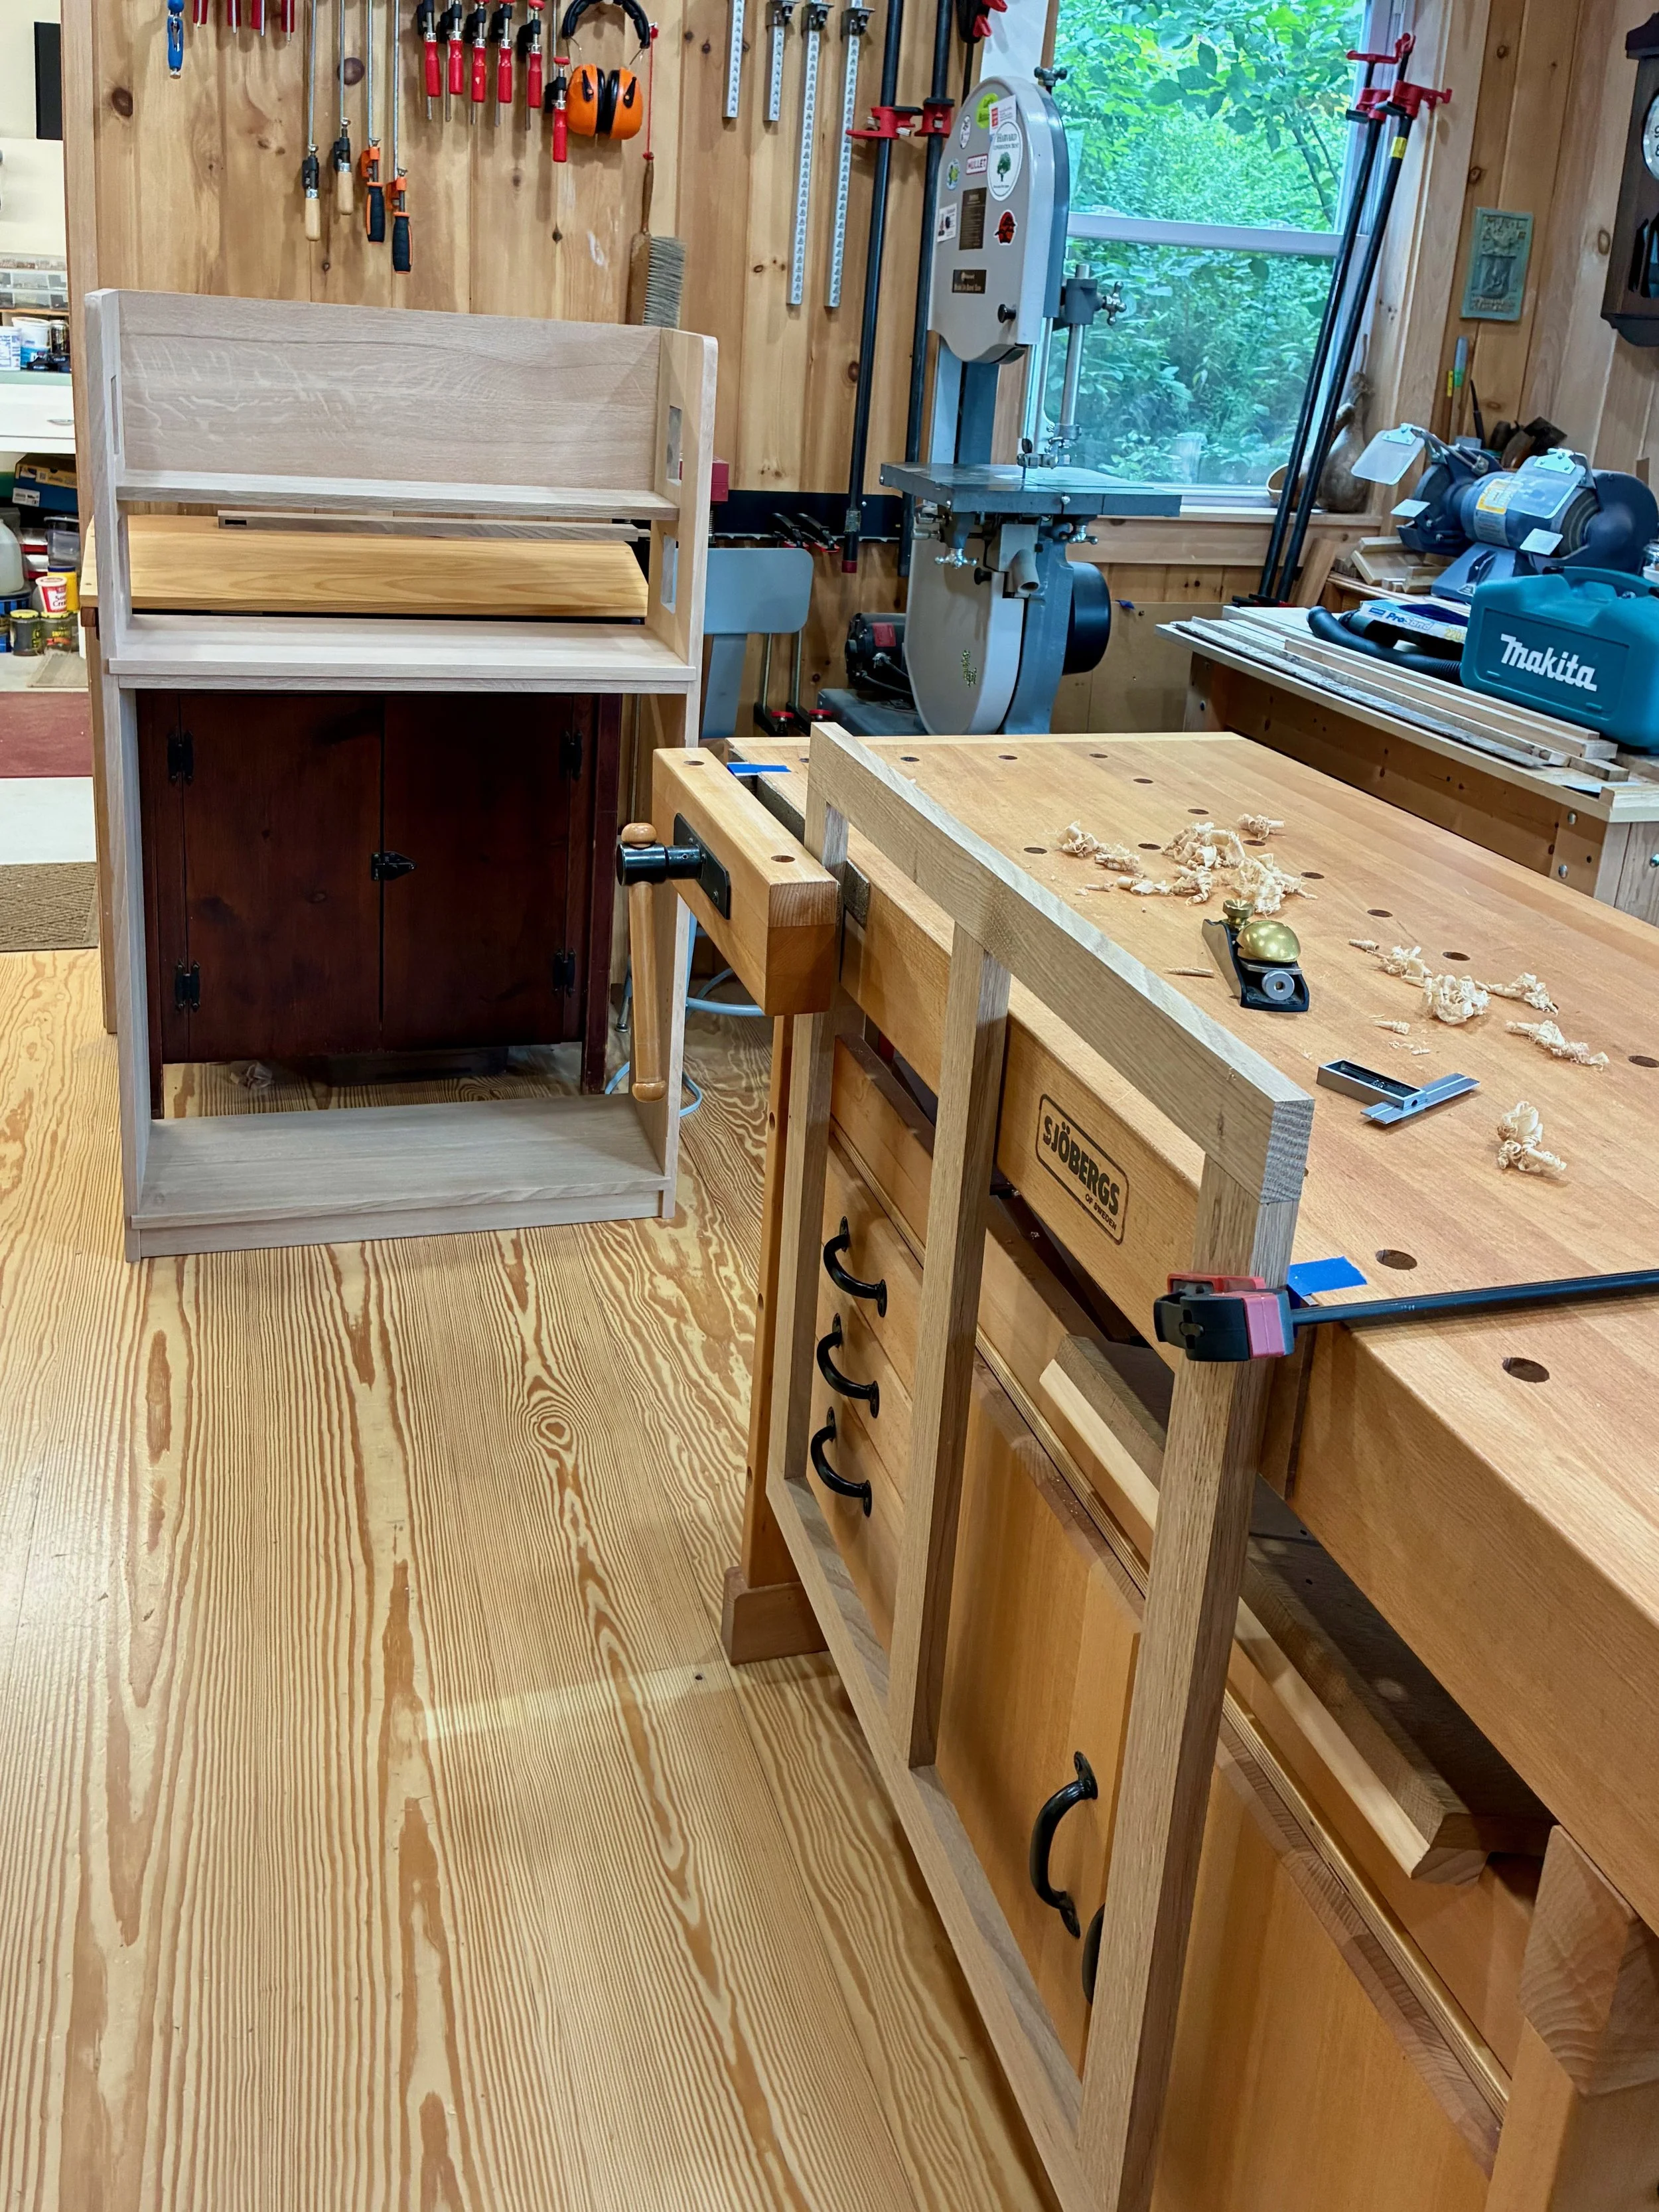
Fitting the assembled door to the cavity using a hand plane
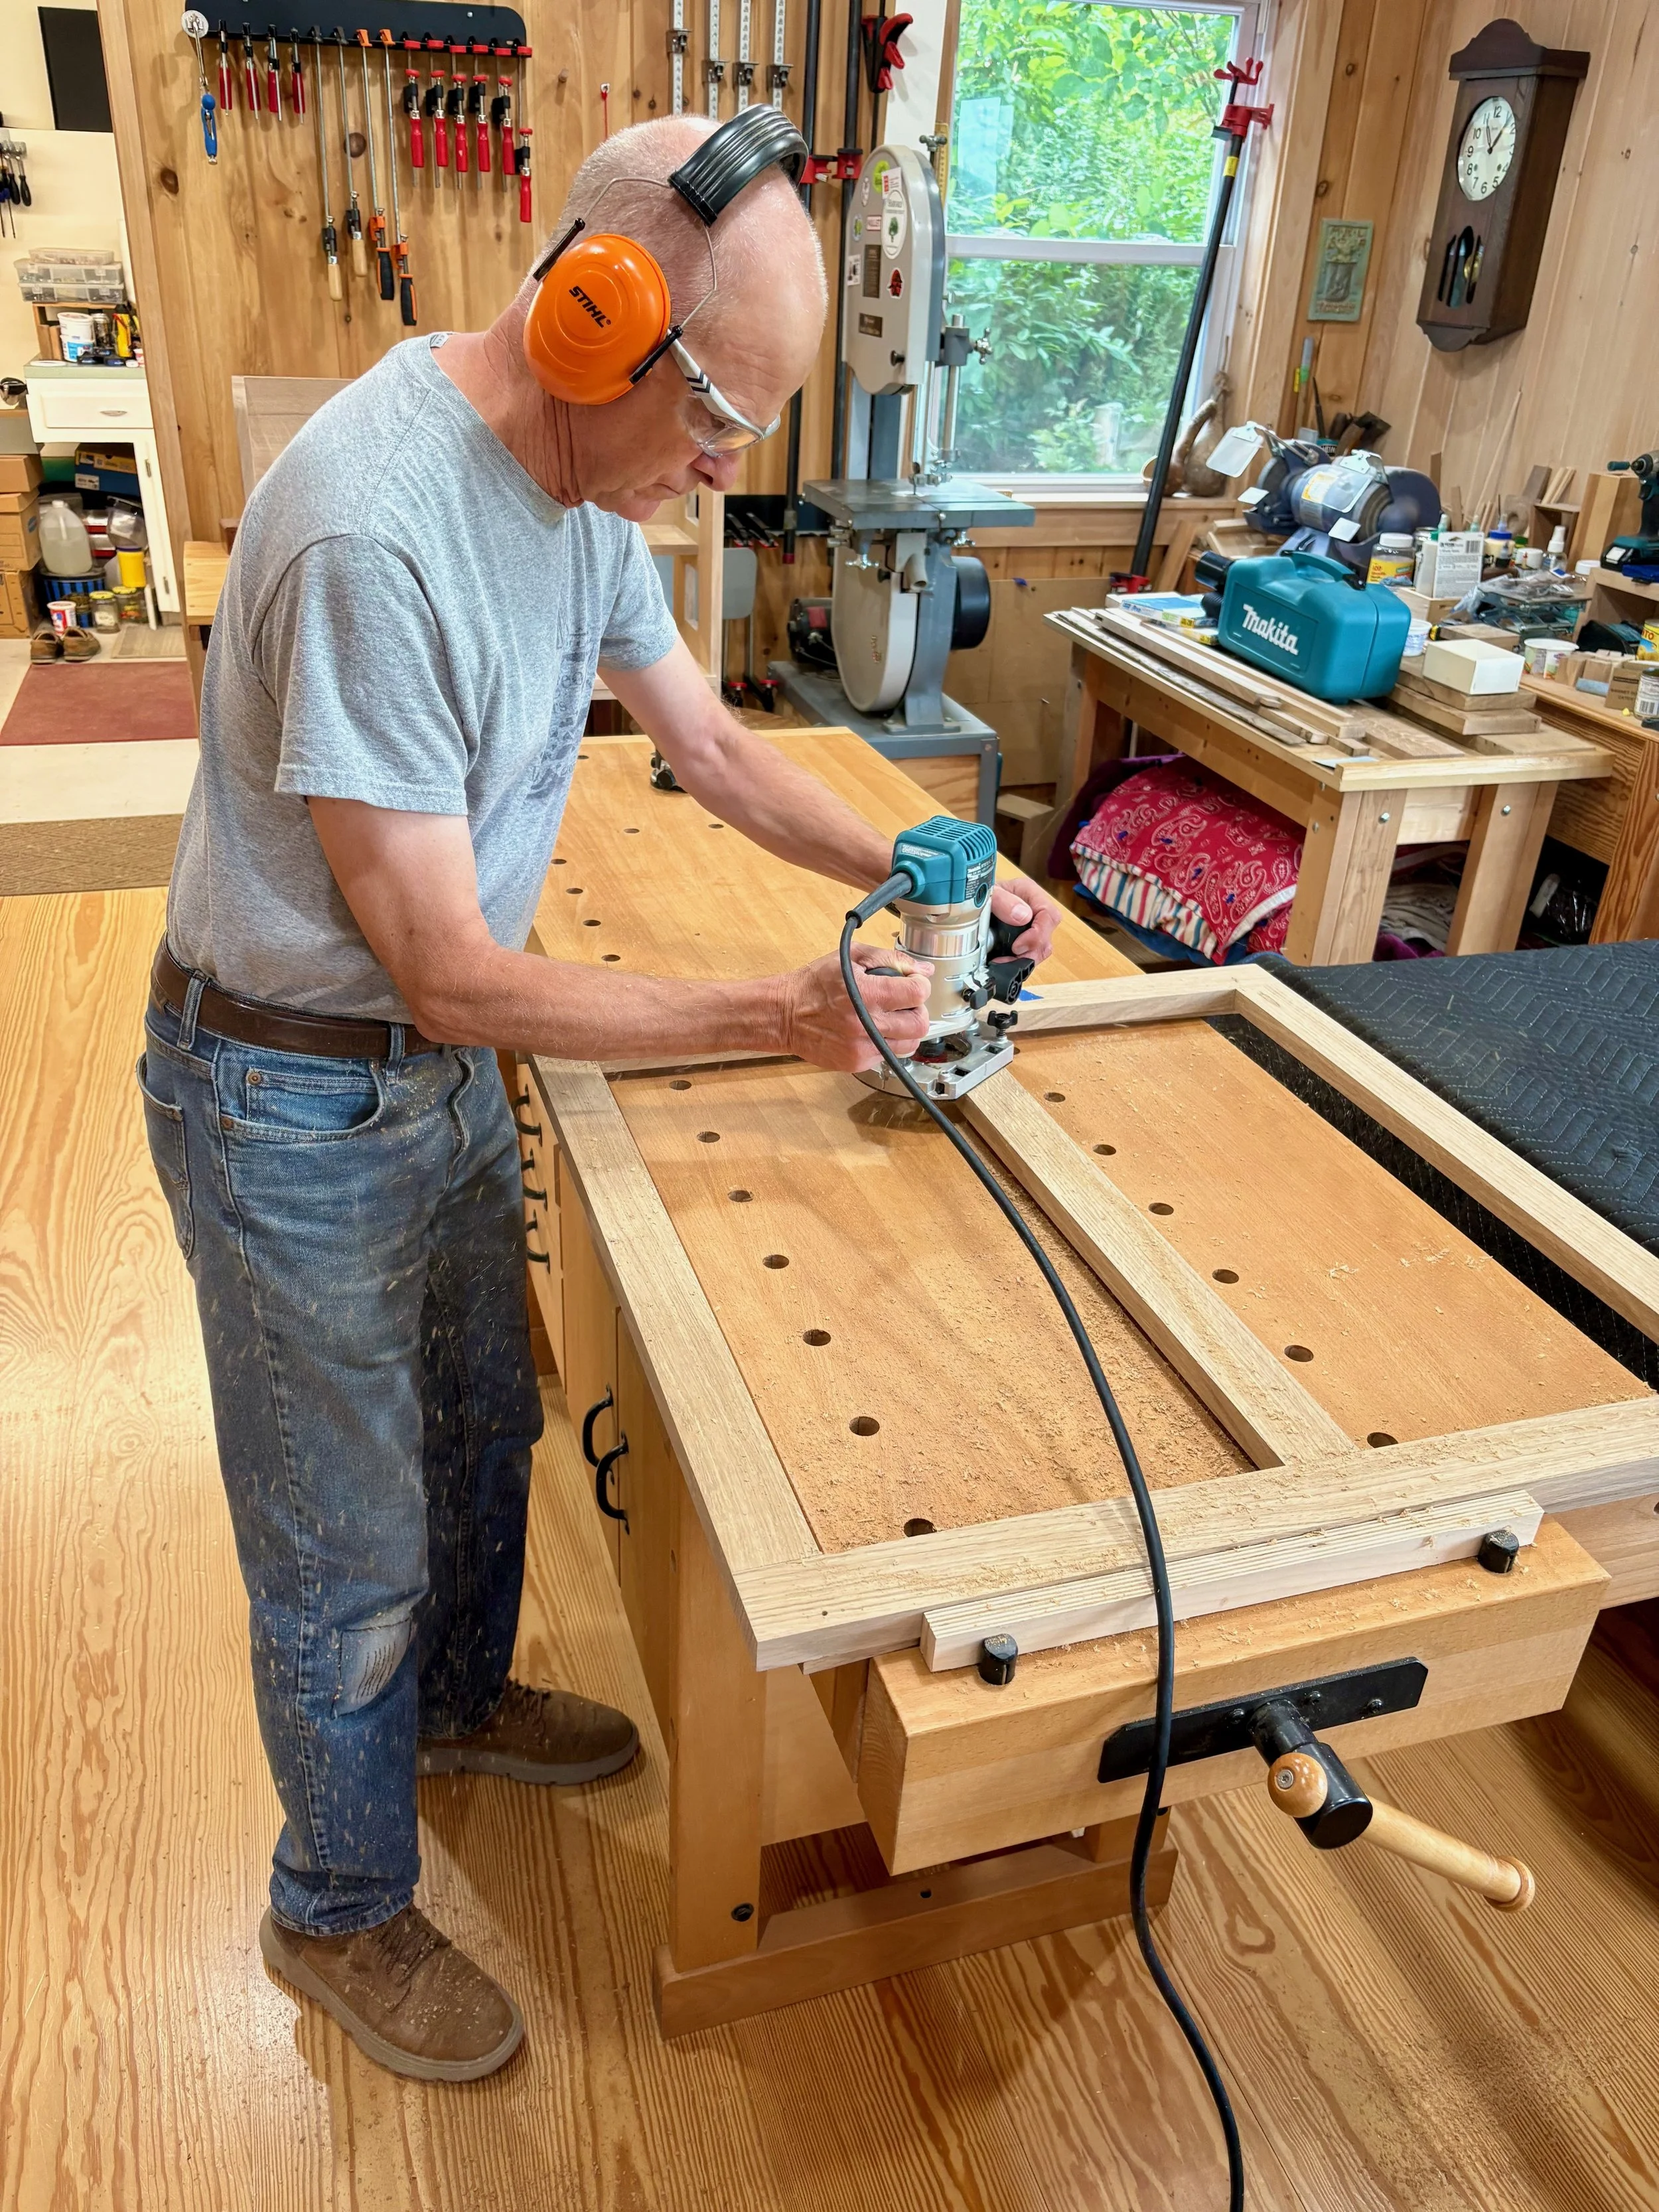
Rabbeting a seat for the glass
The last steps involved some chisel work to square-off the rabbets and to create mortises along the door side for the hinges.
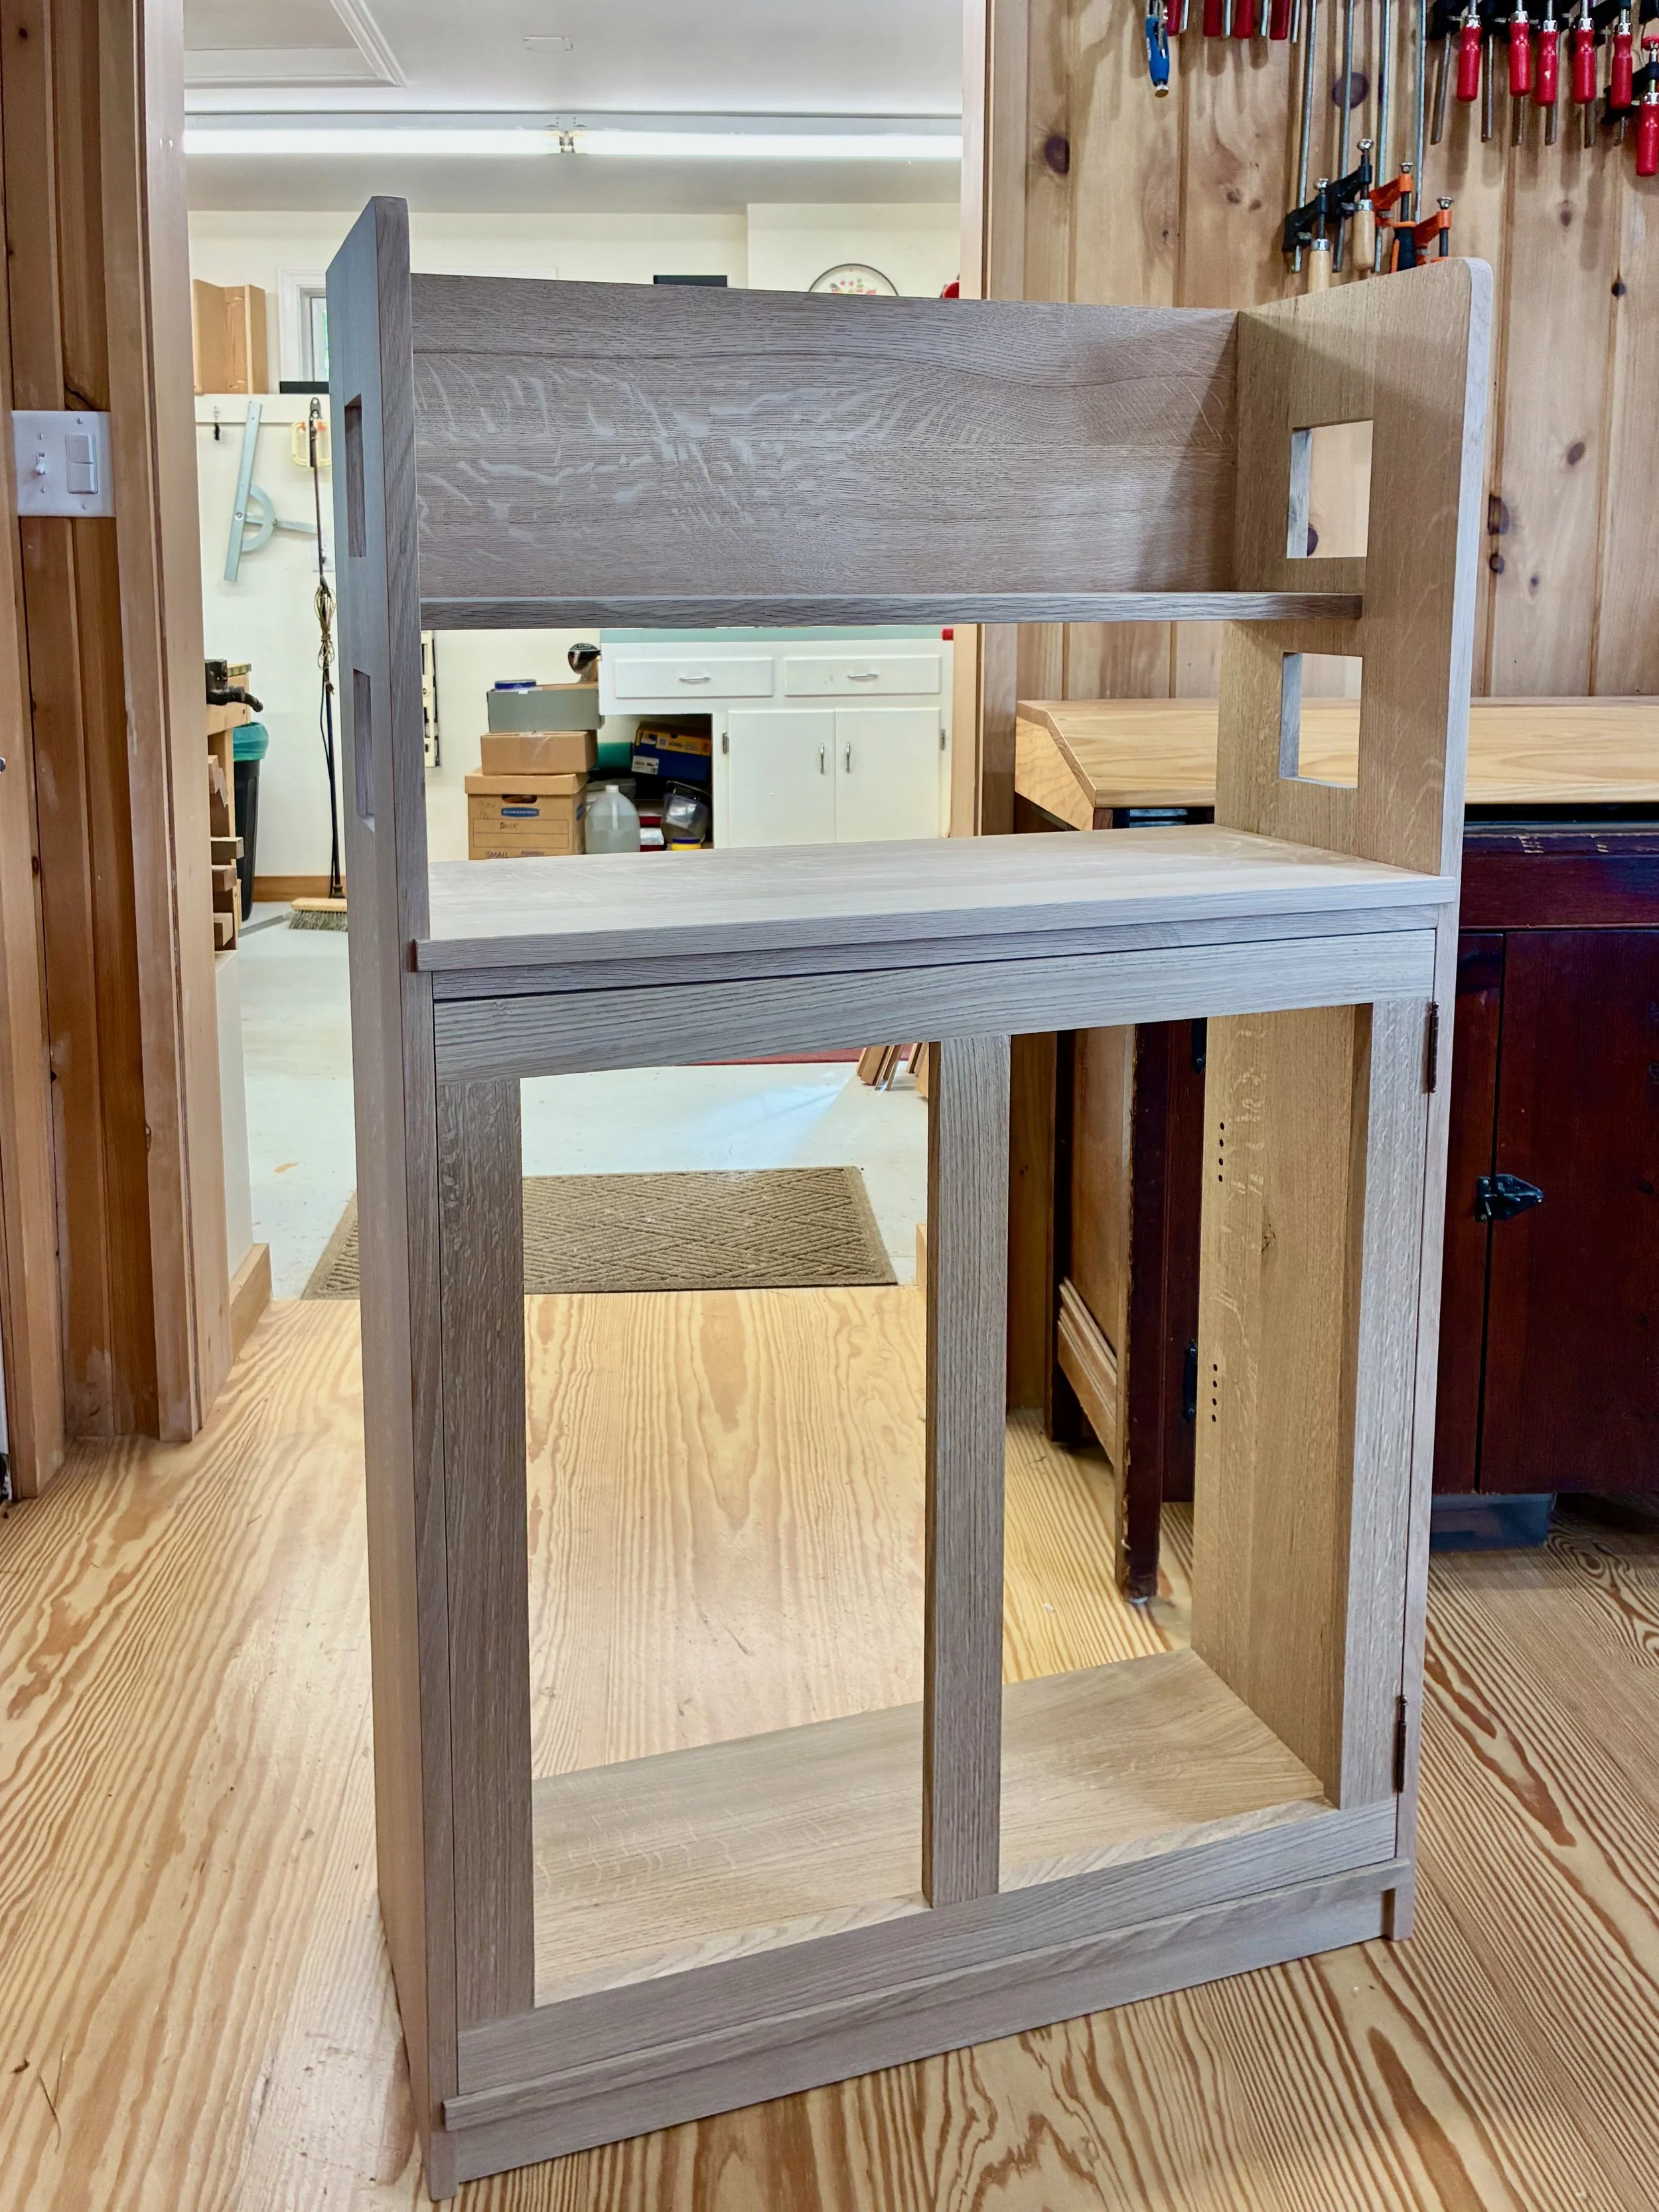
Door hung
Next came the wood finish. I did the usual experimenting on scrap pieces, attempting to darken the wood, and even found a couple of schemes that looked good. I tested my favorite on the case back, but was disappointed in the results there. Too much color contrast between the light medullary rays and the darker porous grain - things just looked dirty, in the end. And so it was decided to forego dying in favor of boiled linseed oil (BLO) and a simple finishing wax. The wood for the shiplapped boards in back was already considerably darker than the case and so they just received a coat of WATCO Danish oil followed by a rubdown with Howards Feed-N-Wax. For the case, the door hinges were removed and the carcass, shelves and door were all treated liberally with BLO. After a 5 day cure, those parts were then given a single coating of Danish oil finish, followed by Feed-N-Wax and then buffing after 20 minutes with a cotton diaper.
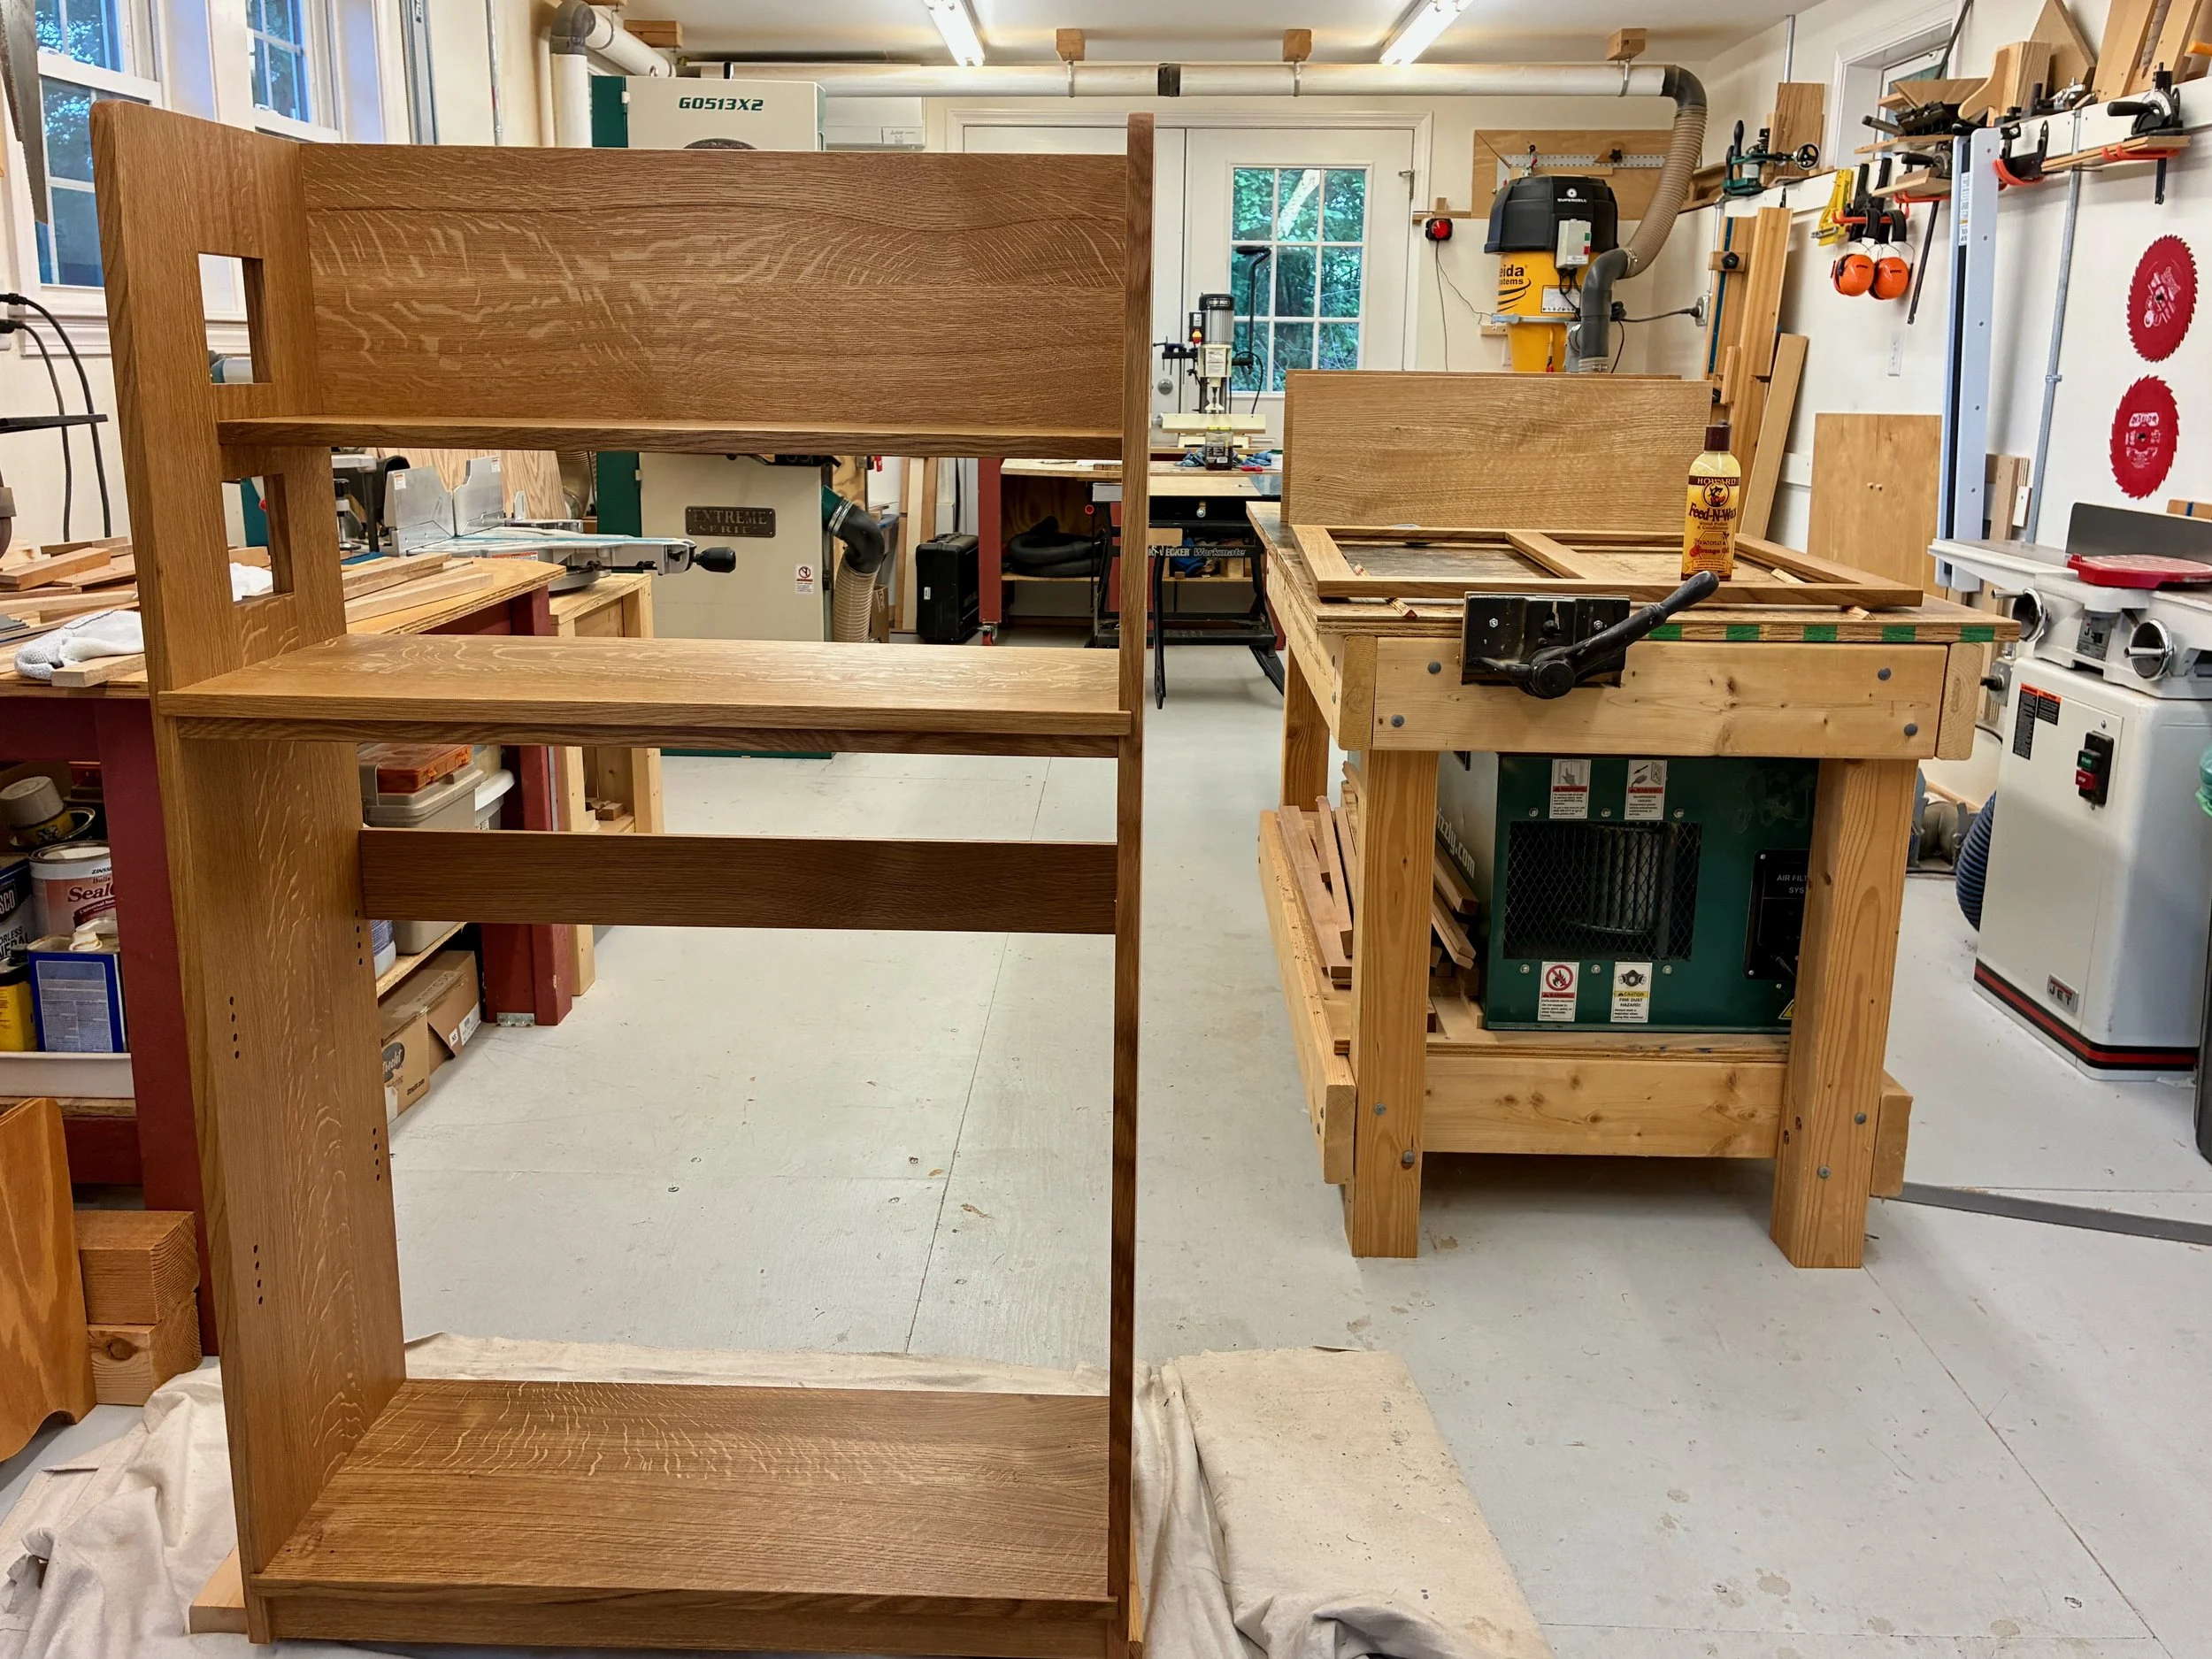
Applying the finish
One final task was to purchase and install the door glass. I relied on the skills of Sean at Country Glass for this and he did a marvelous job. The two panes were secured to the door using ¼ in. square moldings that I had prepped and oiled beforehand.
Final assembly involved attaching the shiplapped back panels, and for this I used brass screws centered in each panel. The central point of attachment allows the individual boards to move horizontally in response to humidity changes, and screws were preferred over typical nail fasteners, which could split the wood near the ends.
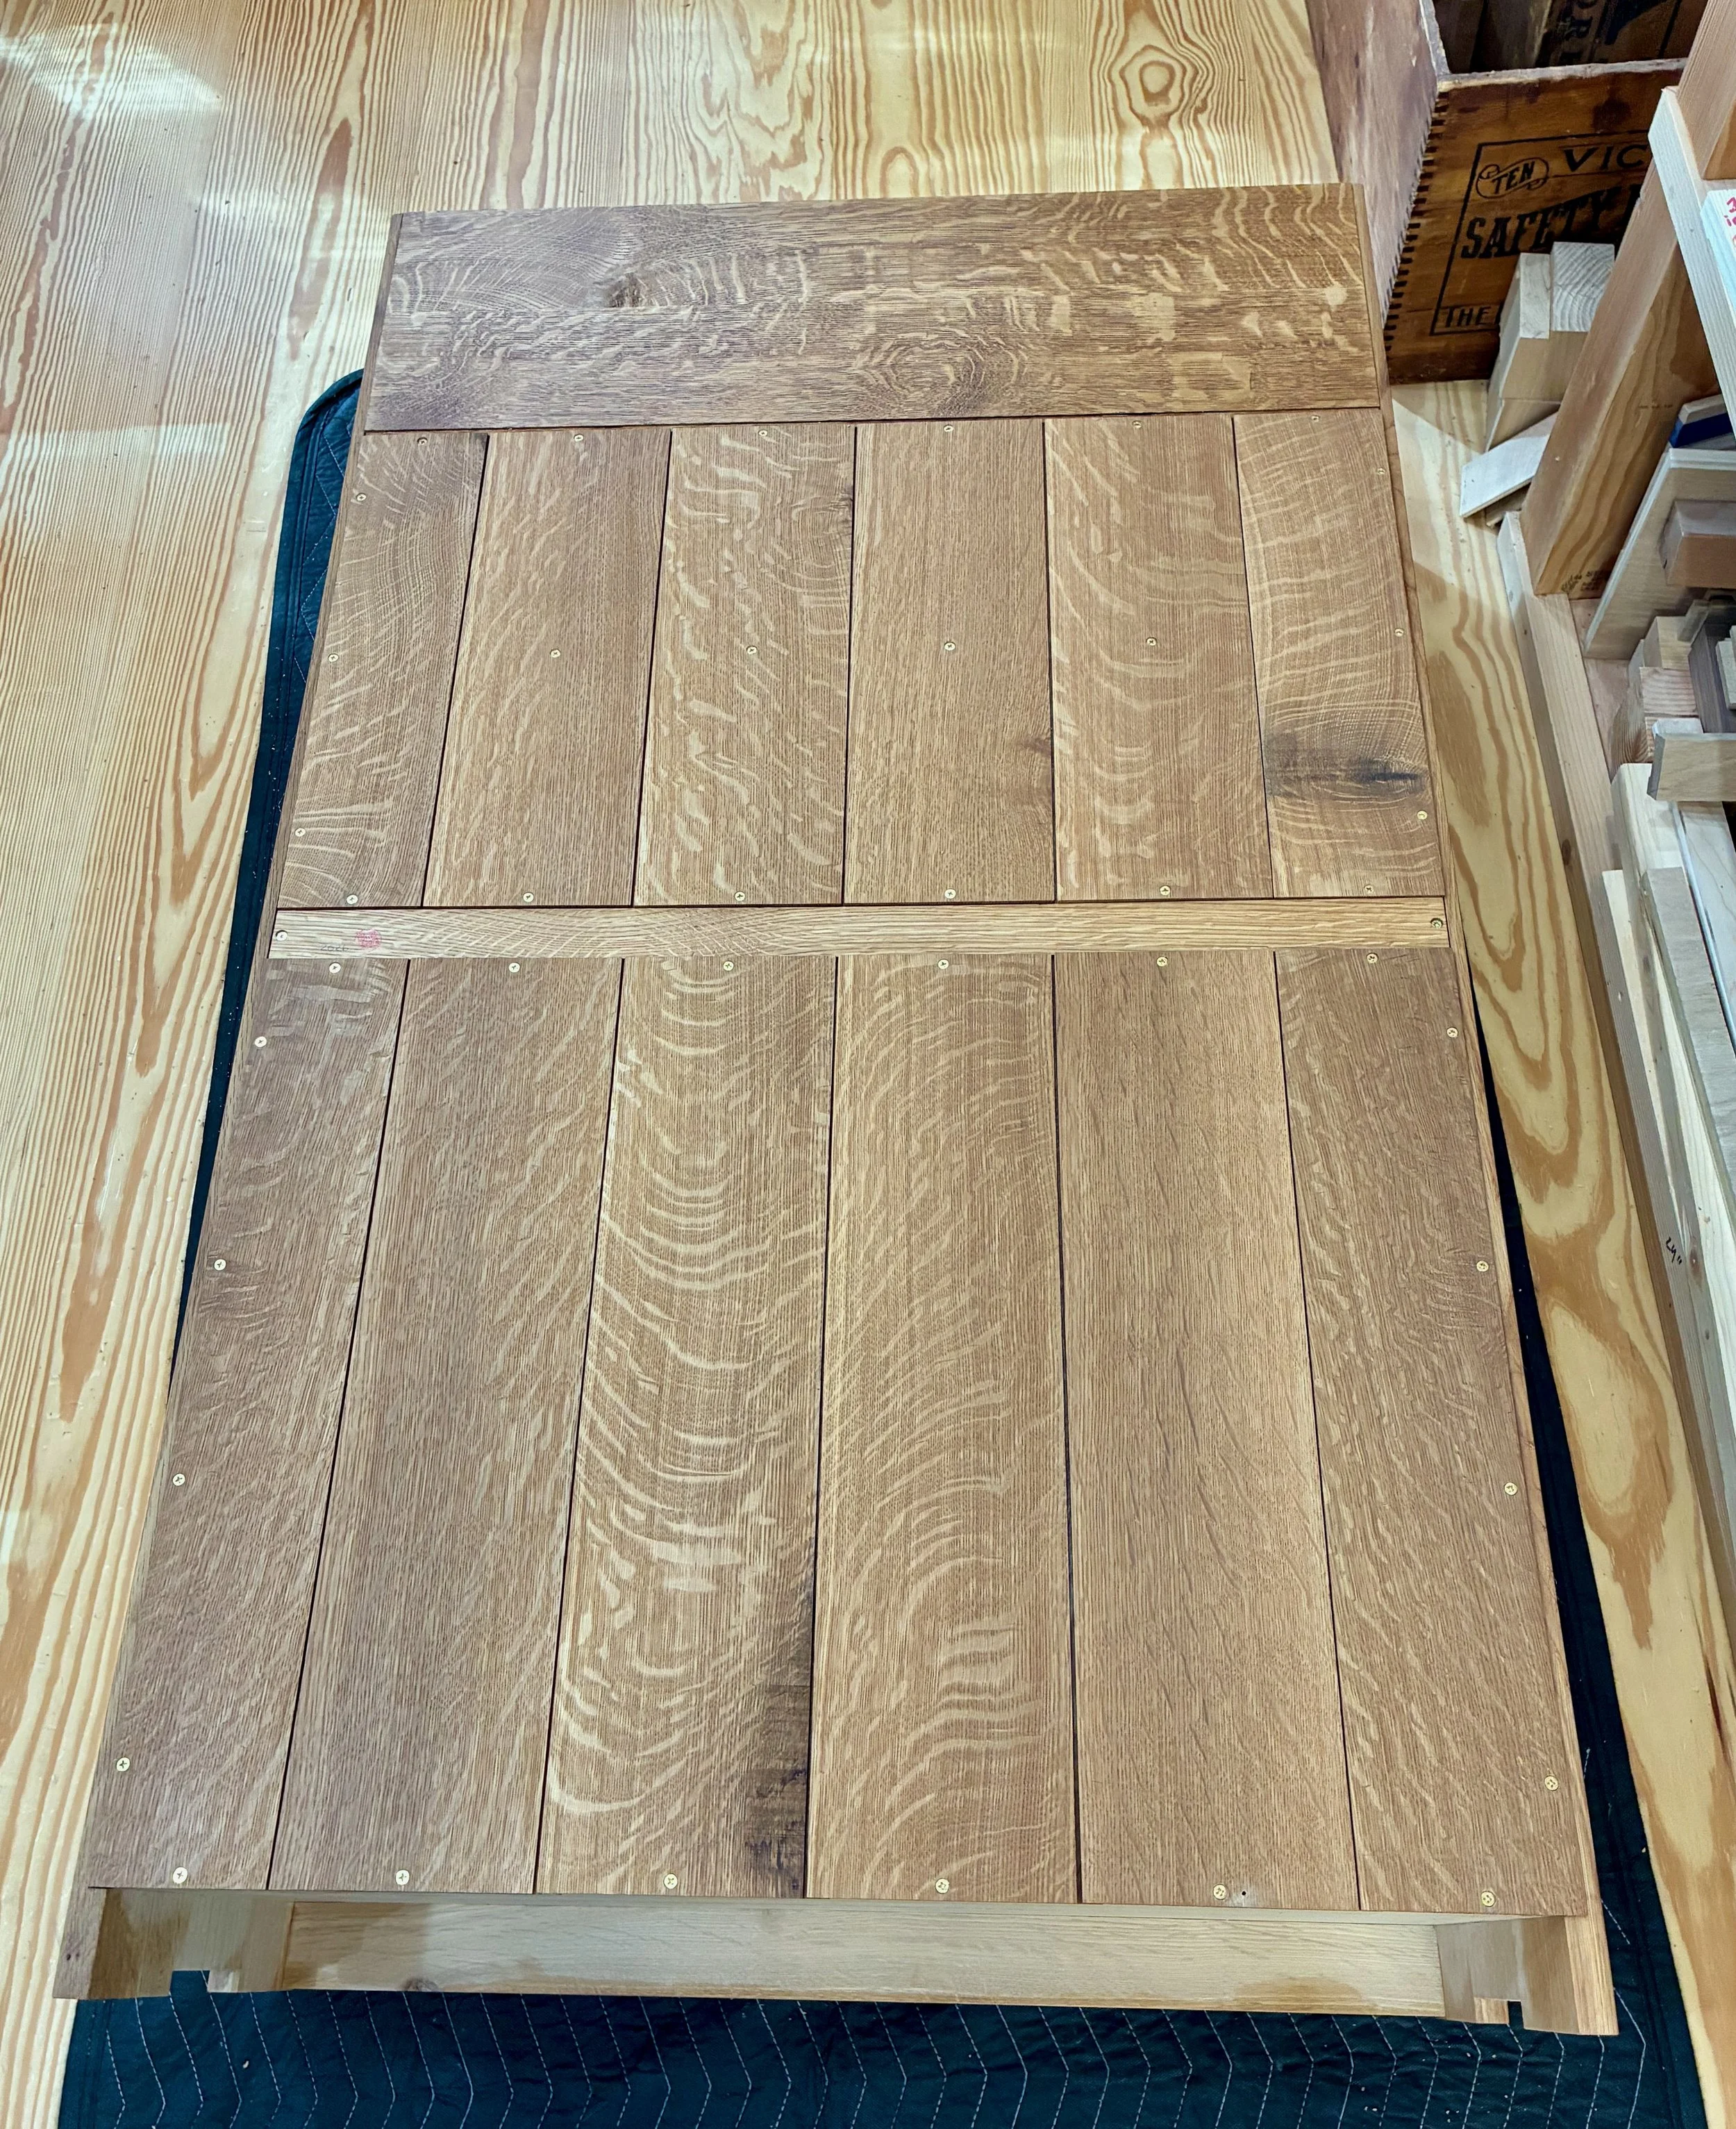
Attaching the back panels
Lastly, the hinge leaves were re-attached to the frame and door, the door pull and catches affixed, and then the door was mounted and the hinge pins knocked-in. Insertion of the two adjustable shelves completes this newest copy of Limbert’s No. 367. It’s time to house some books!
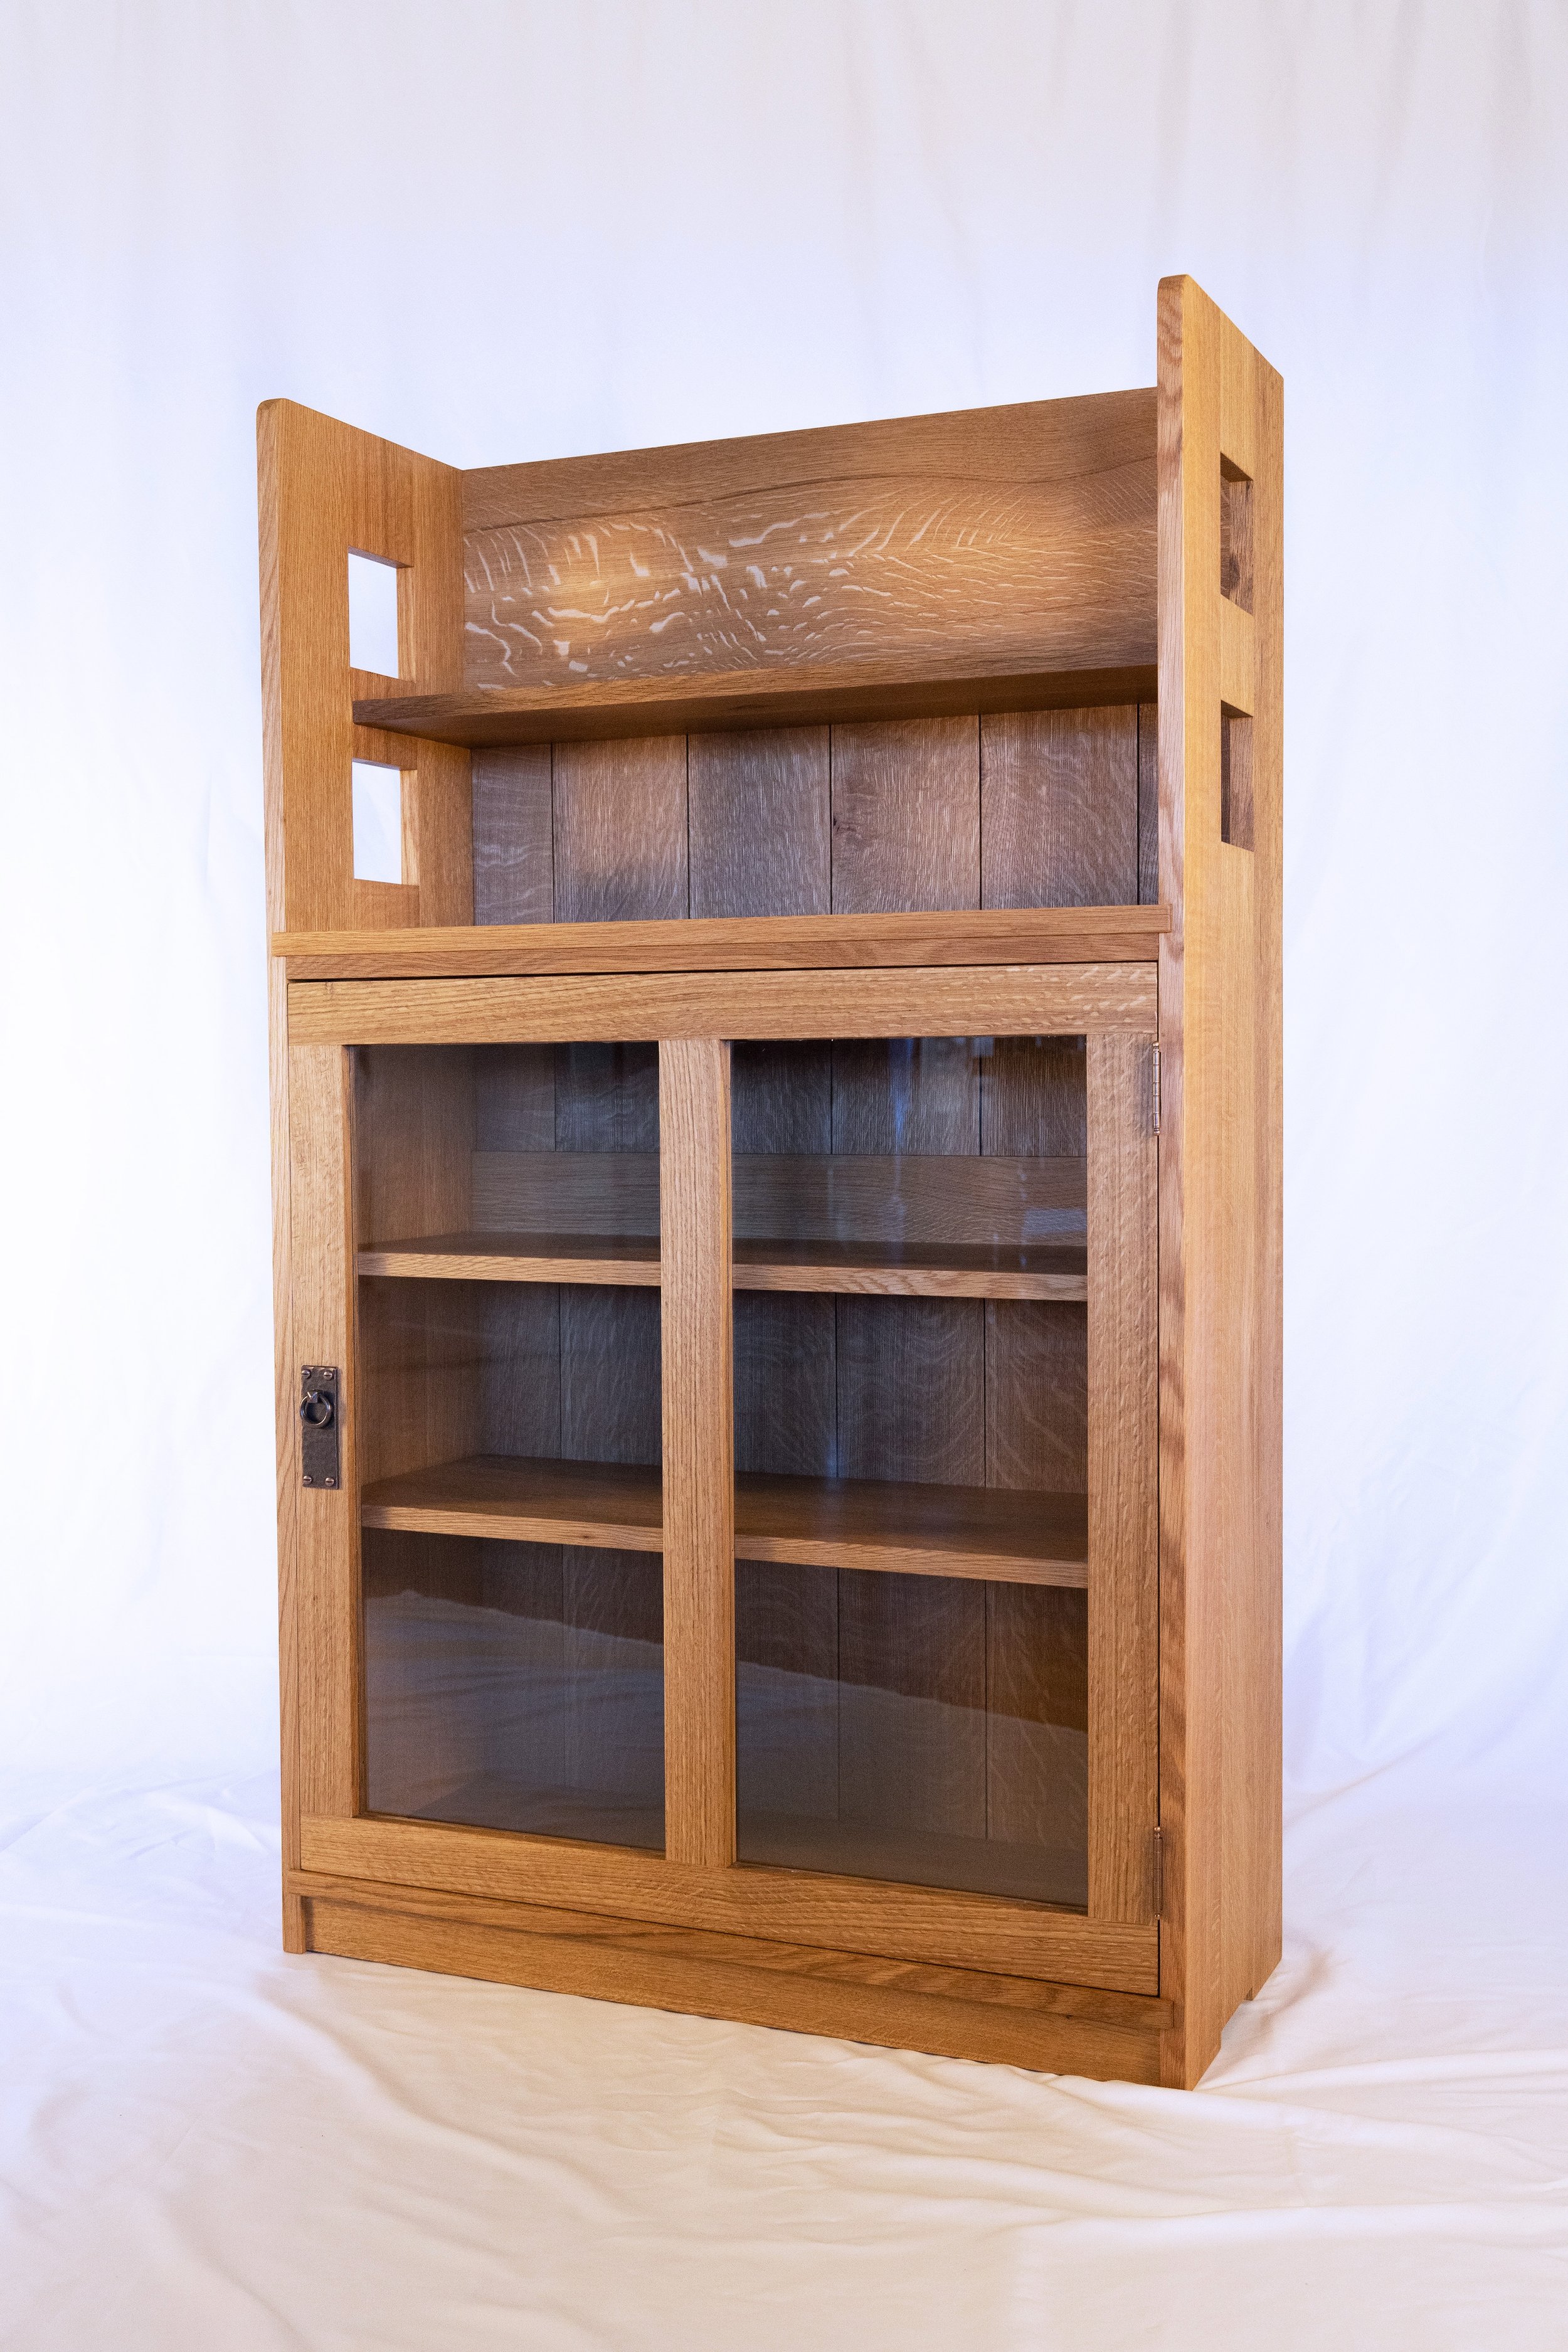
My No. 367 bookcase
