

Bonsai Toolbox
Here’s another bonsai build; not for trees but for tools!
Much like woodworking, the bonsai “gardening art” relies on a special set of tools to clip, shape and otherwise maintain small trees. Those tools, beautiful objects themselves, are a joy to use but they also require maintenance. One important responsibility is to keep them stored where you can find them and out of harm’s way when not in use. There, the analogy to woodworking also applies, but I have yet to encounter a purpose-built bonsai “toolbox”. That seemed like a miss, and one that I intended to rectify while my tools were still in mint condition.
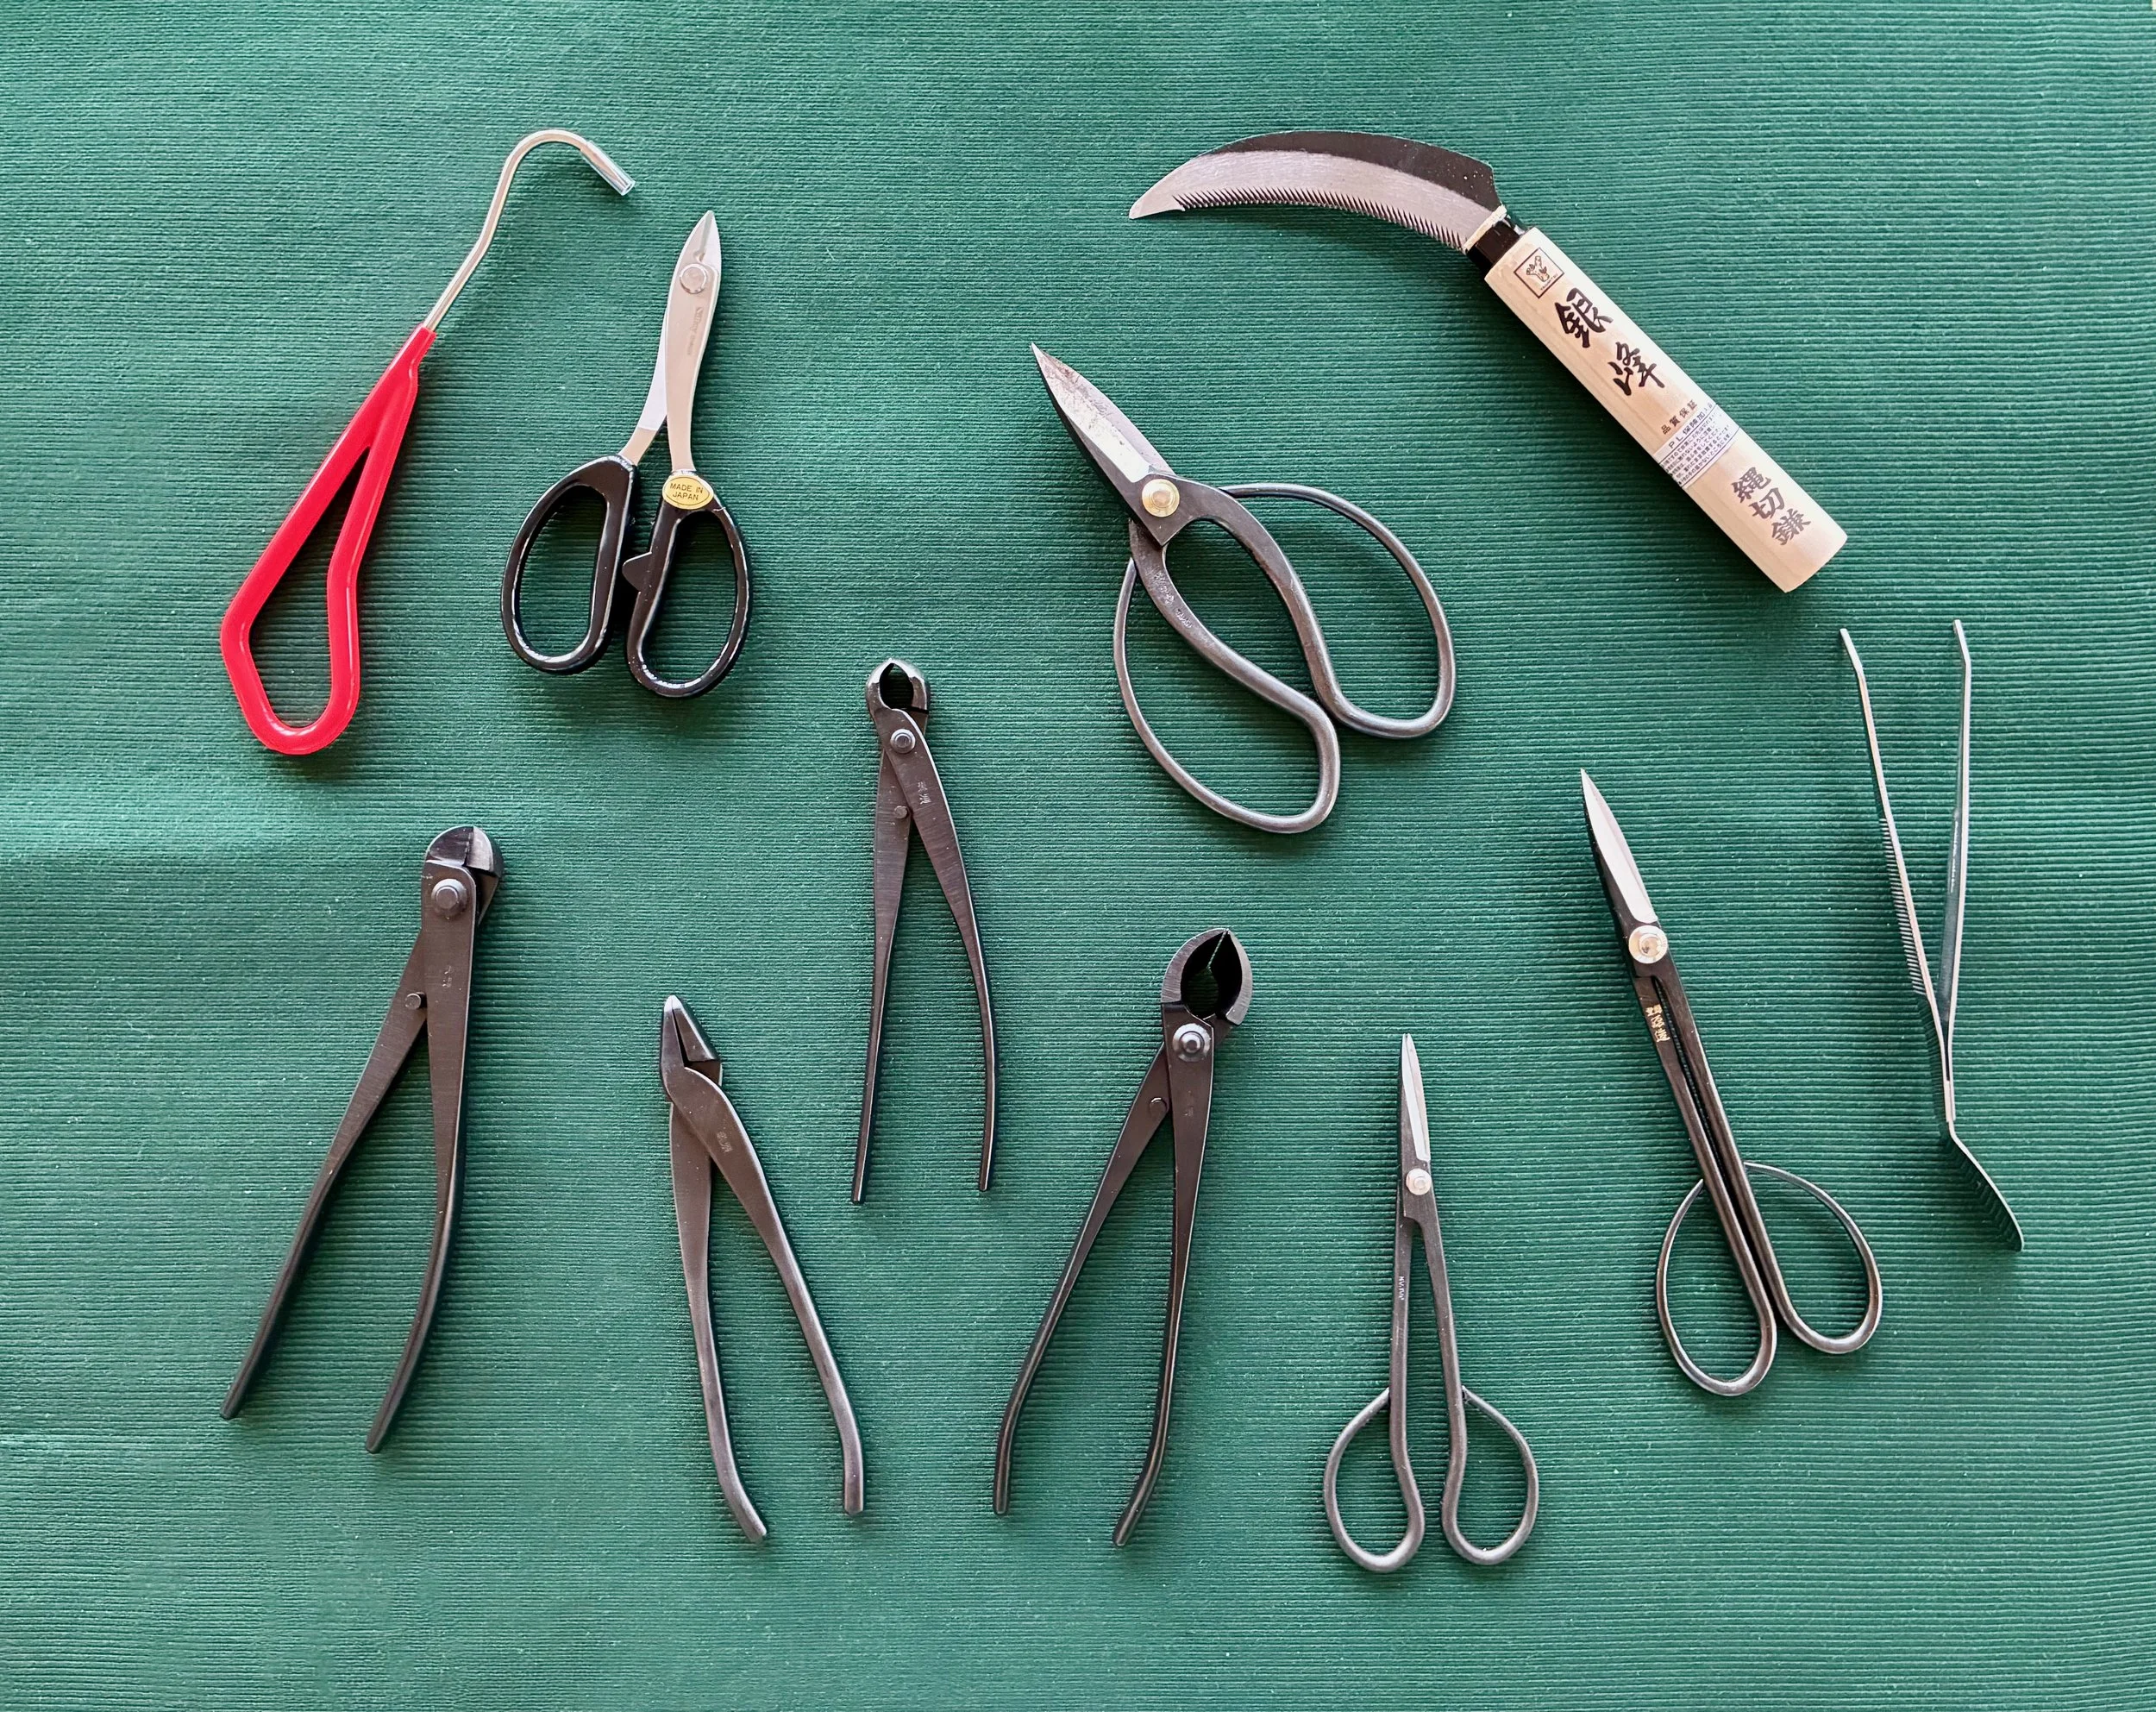
My bonsai tools
Design
Thinking historically, I found a canonical Japanese carpentry toolbox, made of wood with traditional joinery, that was my first design idea. However, intended to store saws and hand planes, it is a much larger box than I require. I spent some time scaling the dimensions back, but, on paper anyway, this no longer appealed. Too utilitarian, somehow.
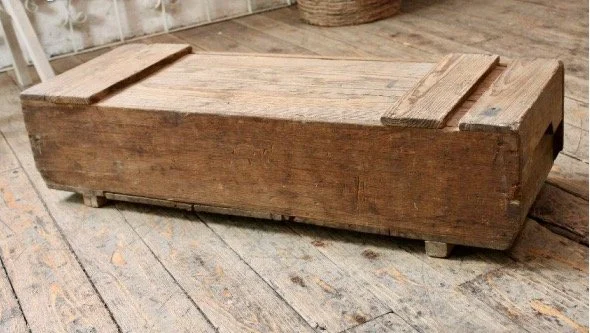
Example Japanese tool box
It was about this time that I received the Oct/Nov 2025 issue of Fine Woodworking. The featured project for this issue was a beautifully crafted jewelry chest that one could imagine might also serve as a box for bonsai tools. Inspiration arrives through the mail.
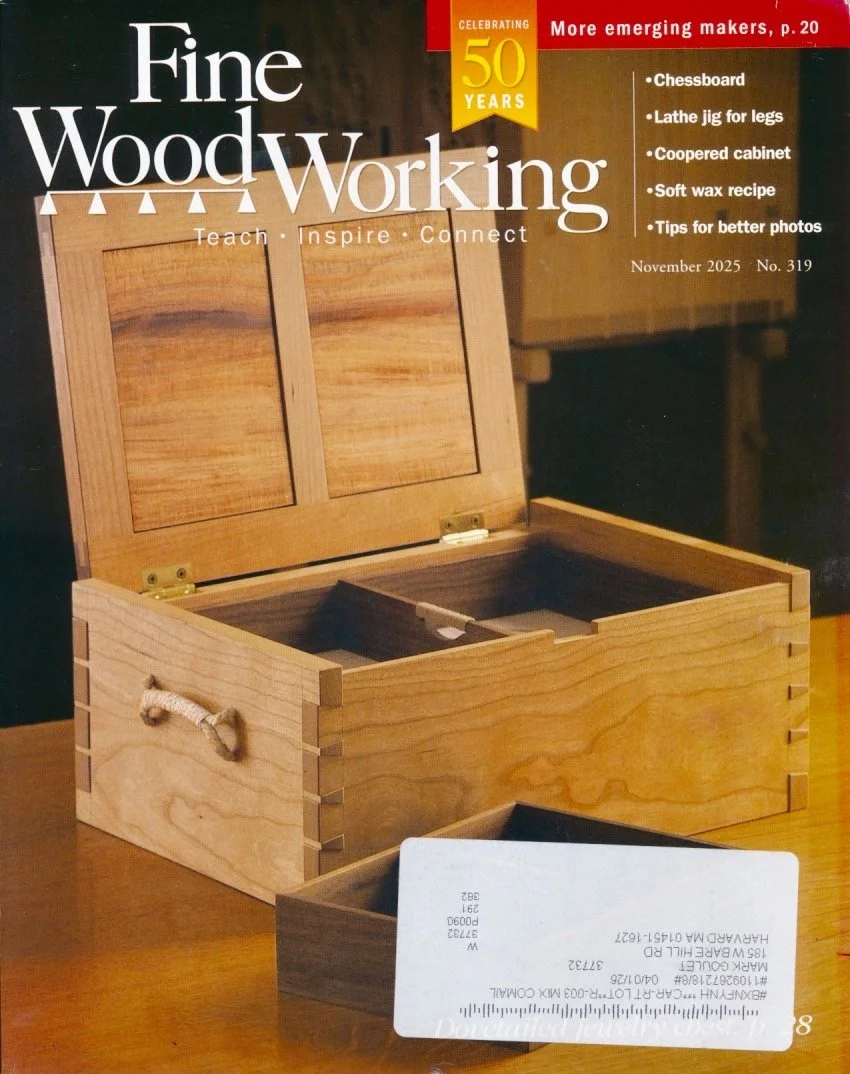
Timely issue: Fine Woodworking, No. 319, Nov. 2025.
This chest, made and described by Michael Pekovich, looked more appealing to me and, while I had some modifications in mind, the overall dimensions seemed perfect. Thus, the beautifully rendered plans, created by John Hartman, were photocopied and taken out to the shop.
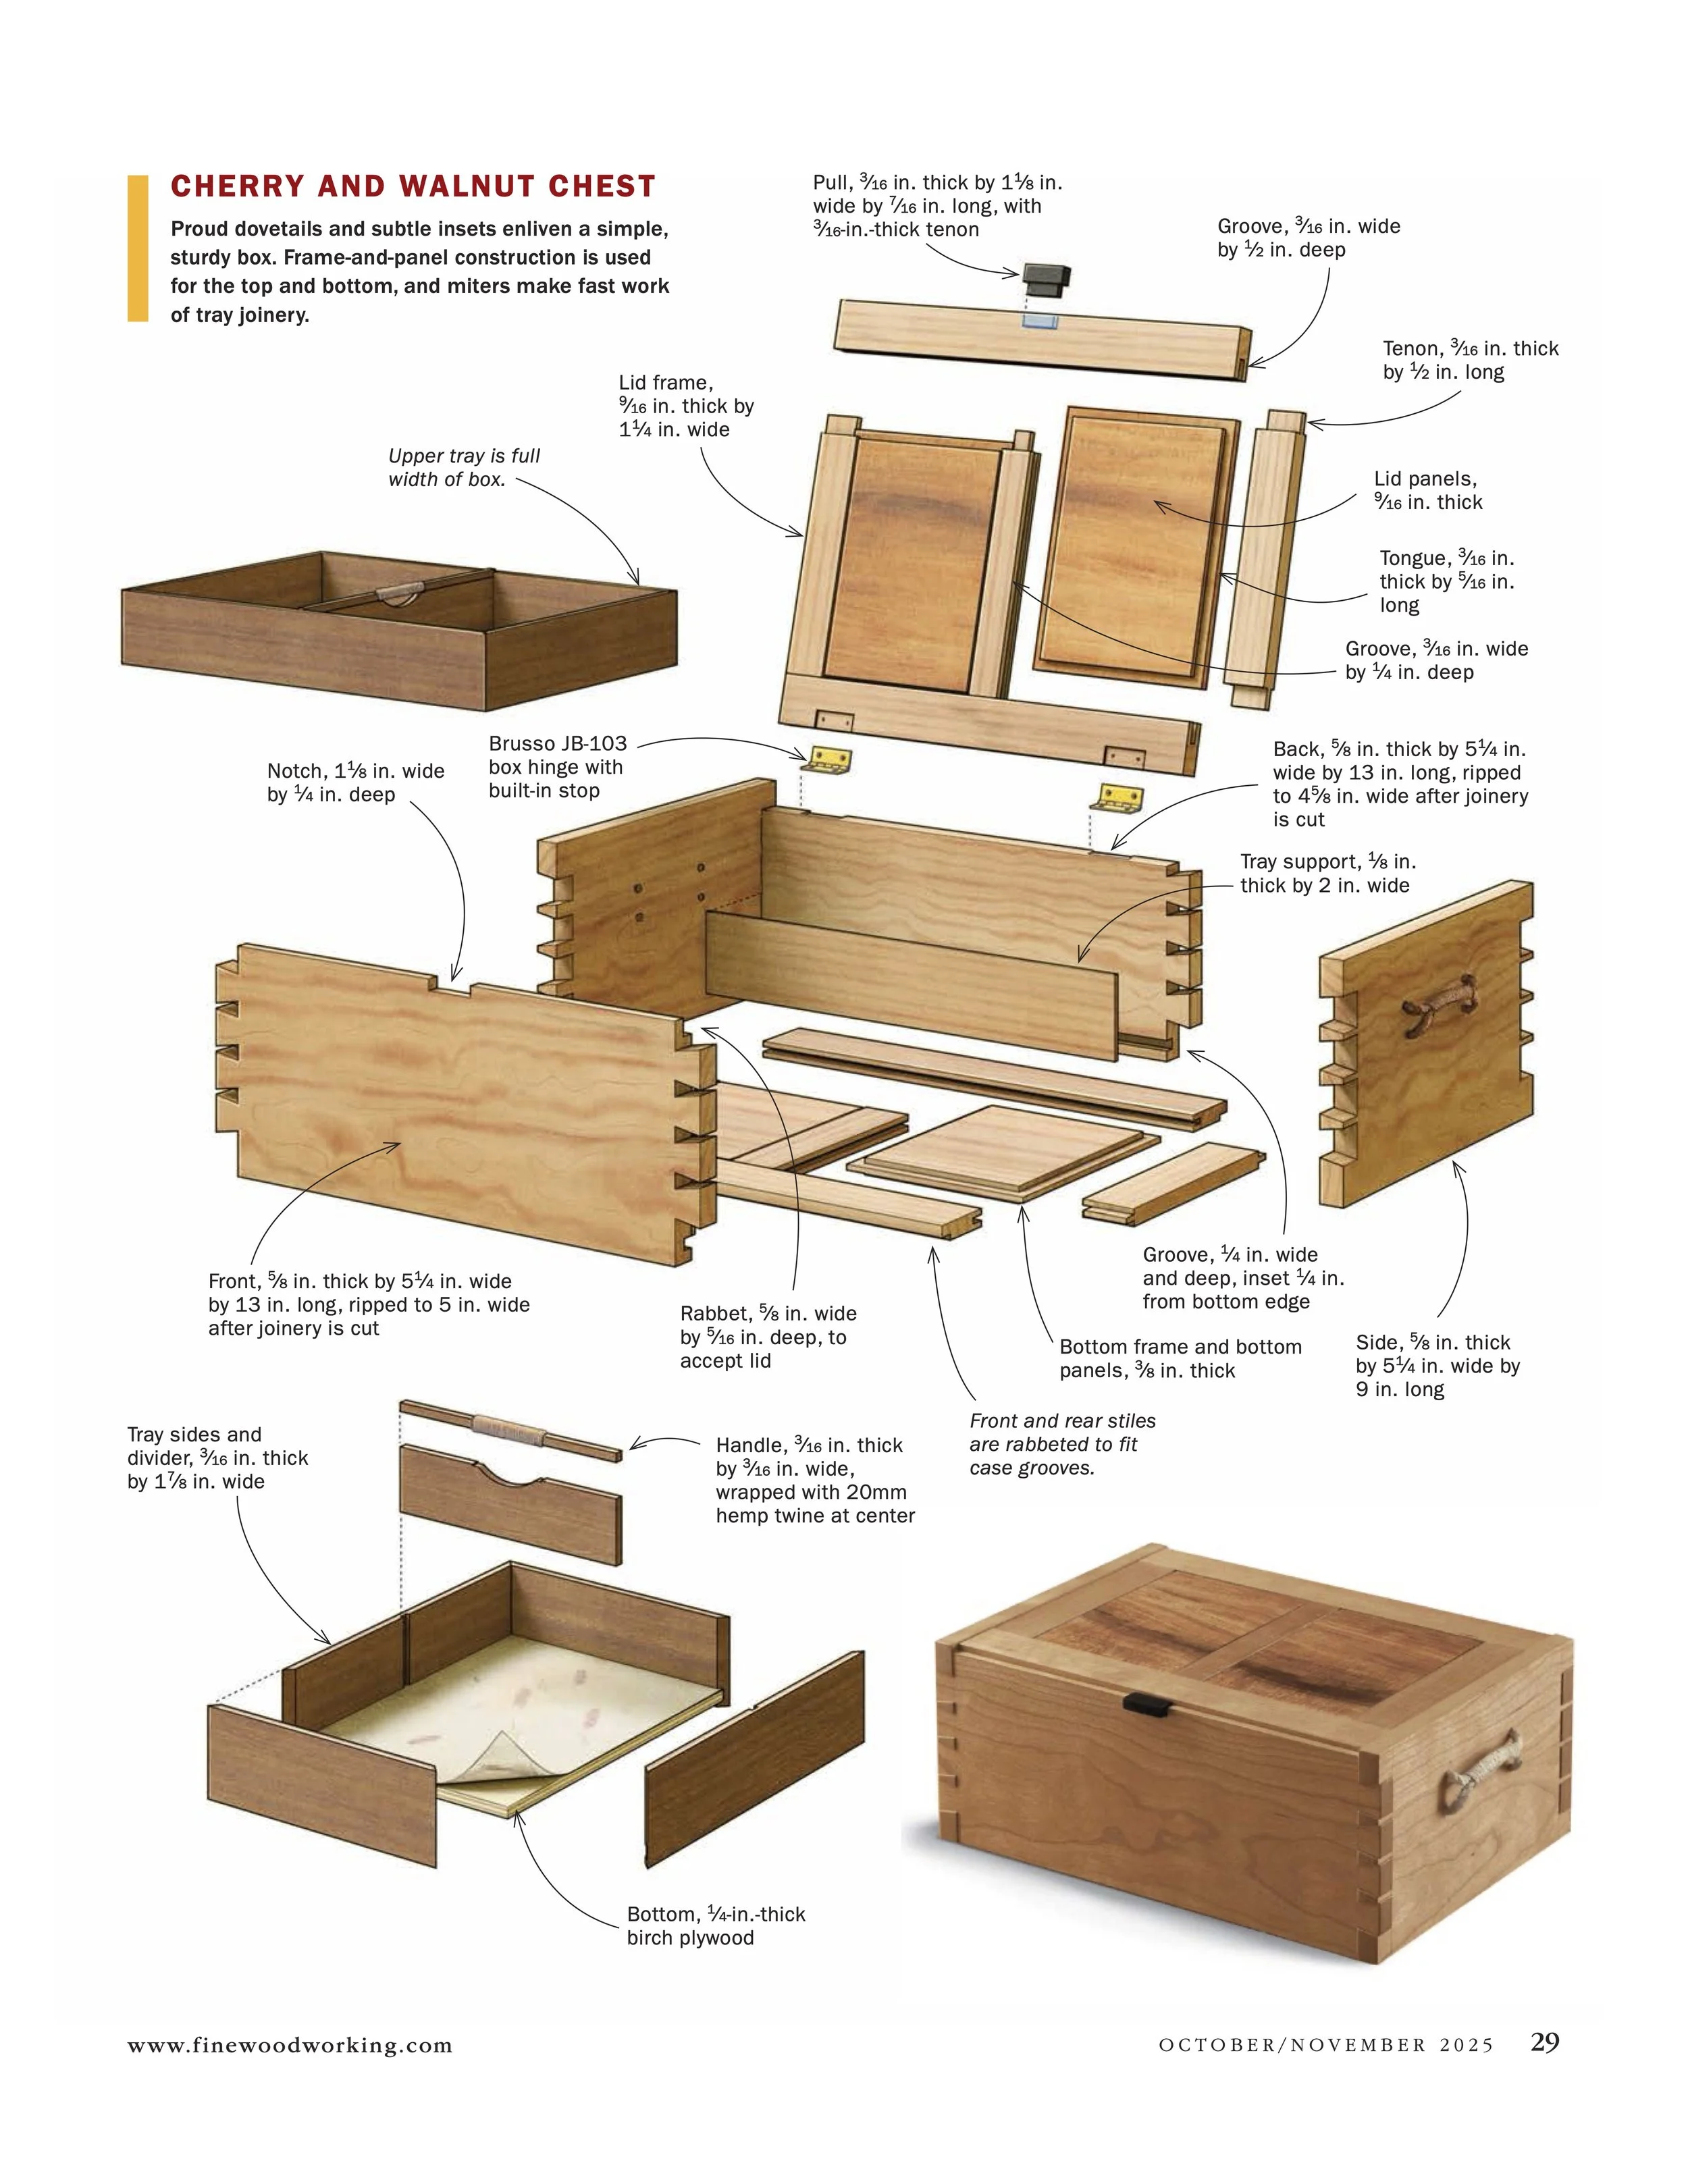
Exquisite and detailed plans help a lot!
Materials
The FWW jewelry chest was made of cherry and walnut but I chose European beech as the wood for my box. Tools call for workaday wood. I already had a plank on my rack that would serve for the frame parts and planned to pick up a wider board when it came time to make the lid.
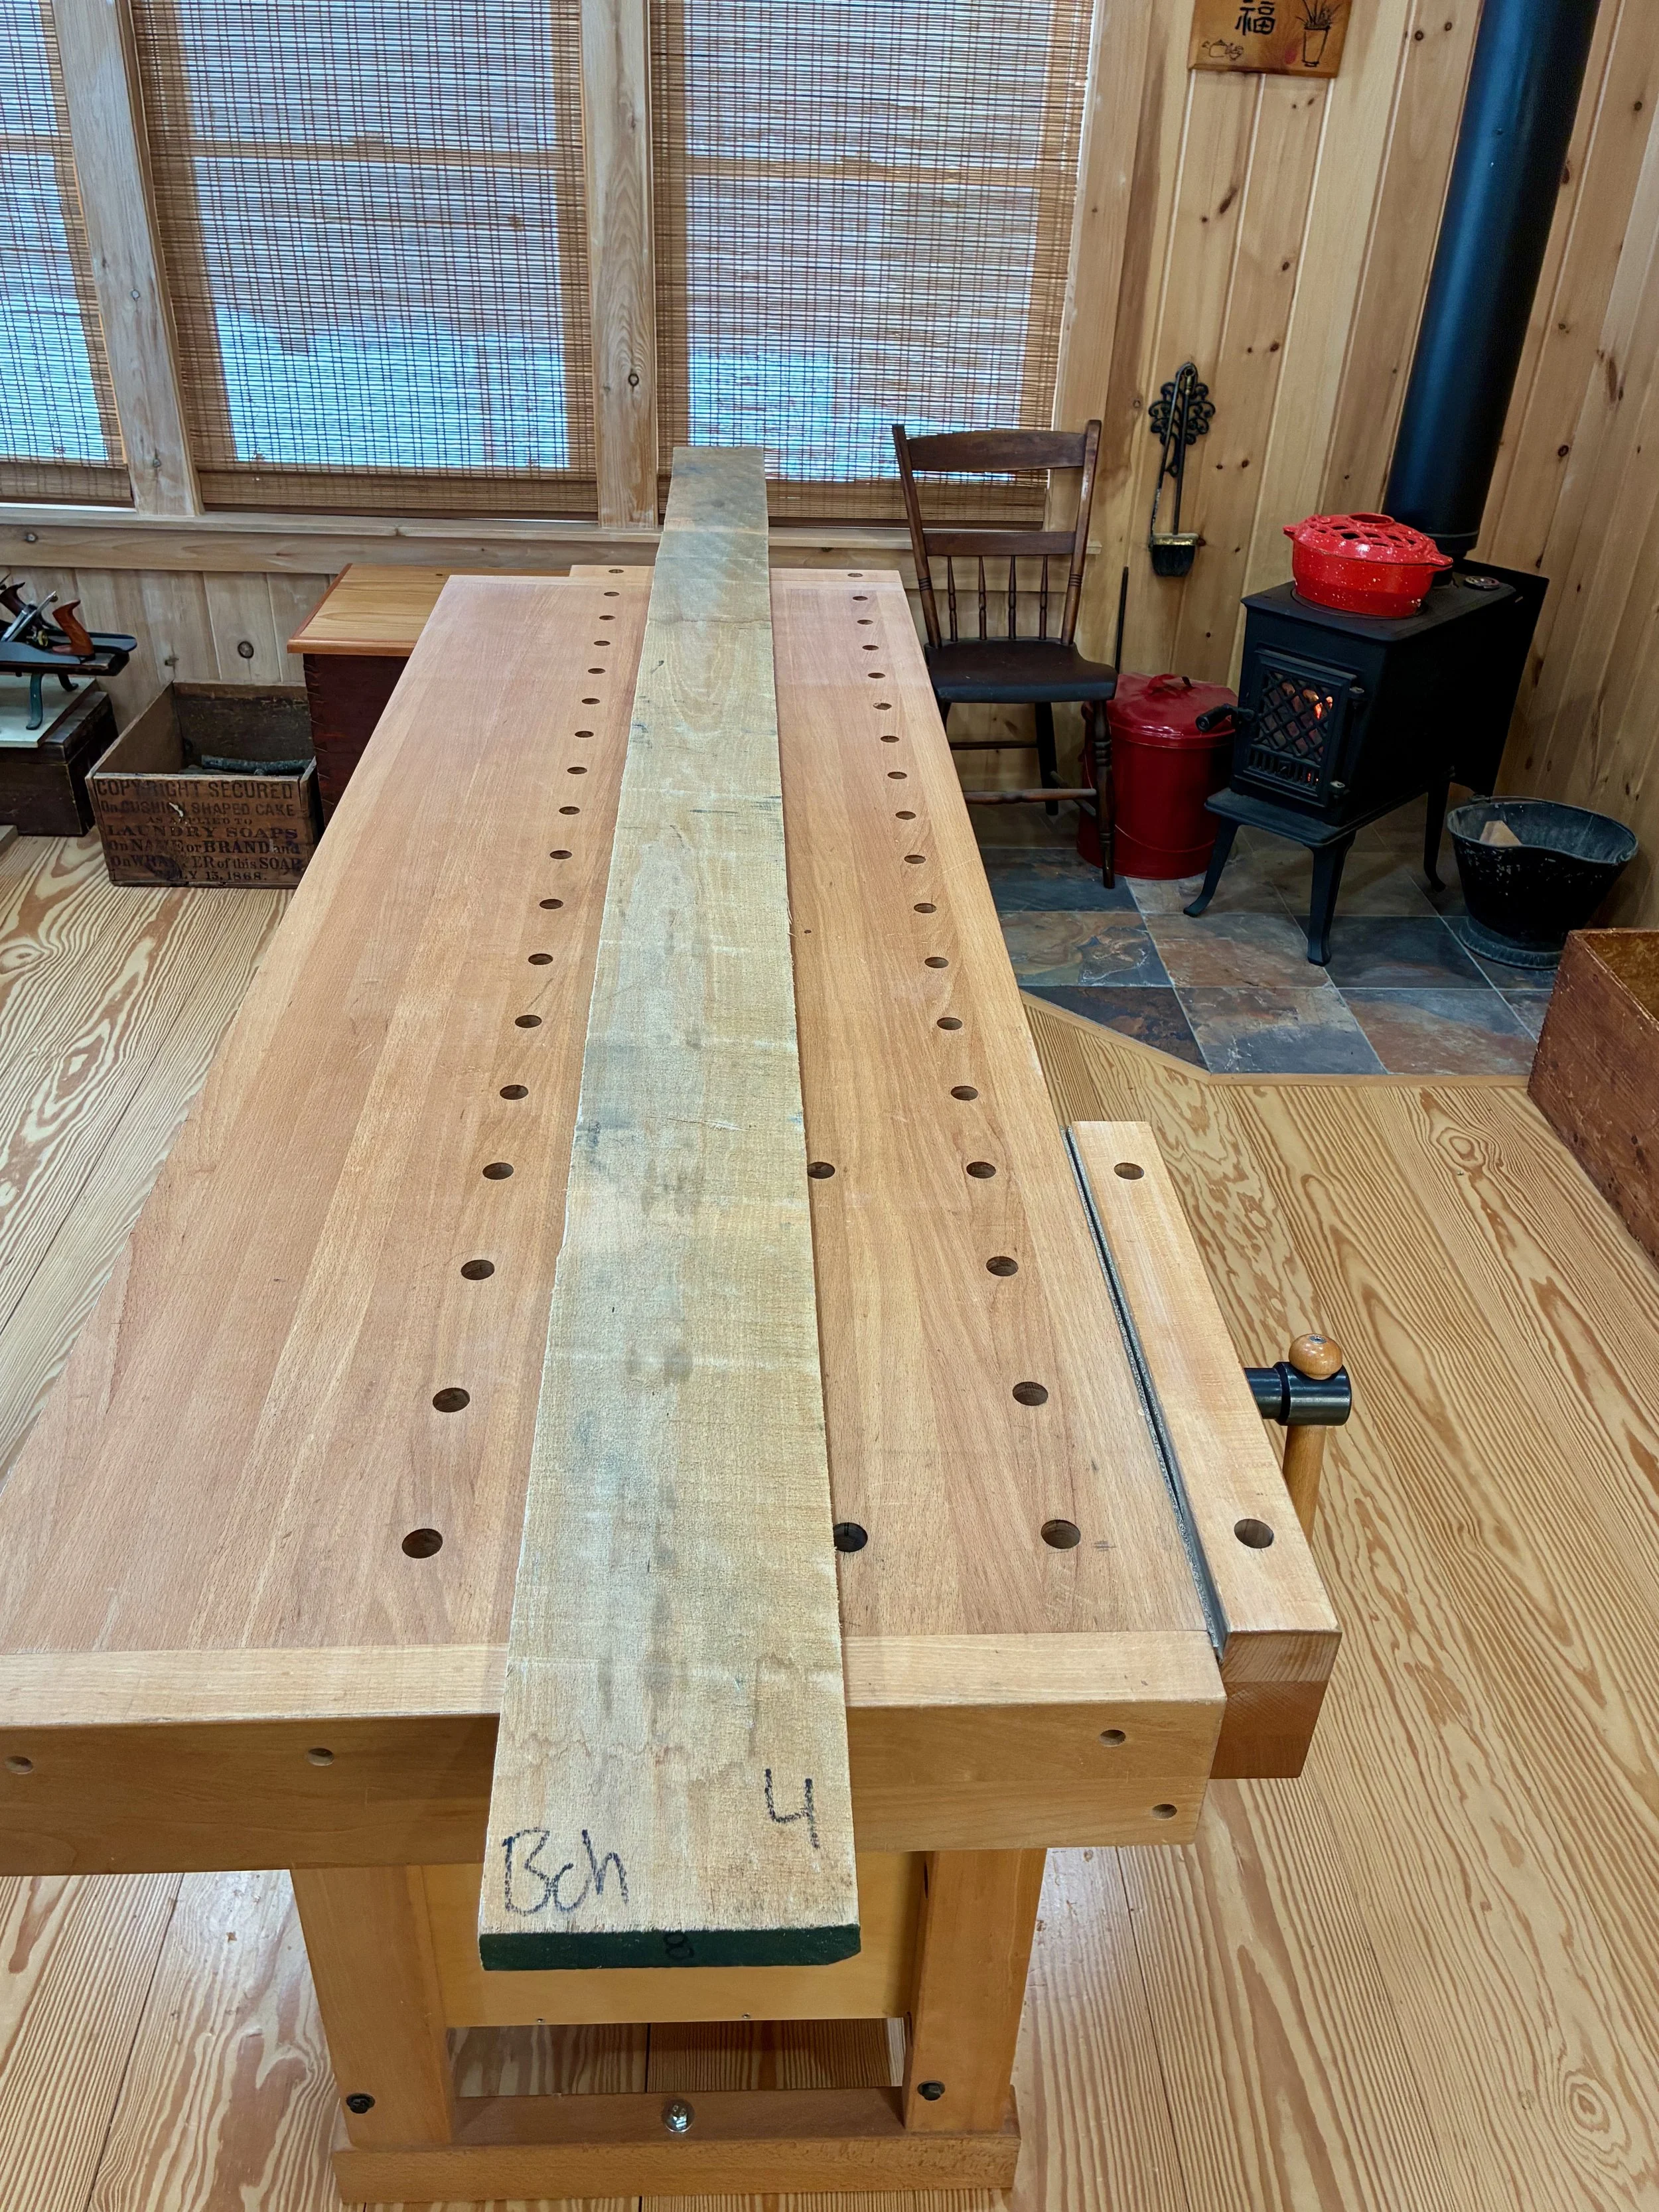
4/4 European beech
Dimensioning
That rough plank was readily chopped up, jointed flat & square, thickness planed to 5/8 in. and then trimmed to final dimensions in preparation for dovetail work.

Box side material
Making the dovetail joints came next. The plans called for creating proud dovetails as a means of adding dimensional character to the chest. They would look lovely on this small piece, but I decided to go with conventional dovetails so as not to distract from an idea I had for highlighting the lid. As such, the parts were marked for a “tails first” approach and then sawn and chiseled to fruition. I show a couple pictures of the process, below.
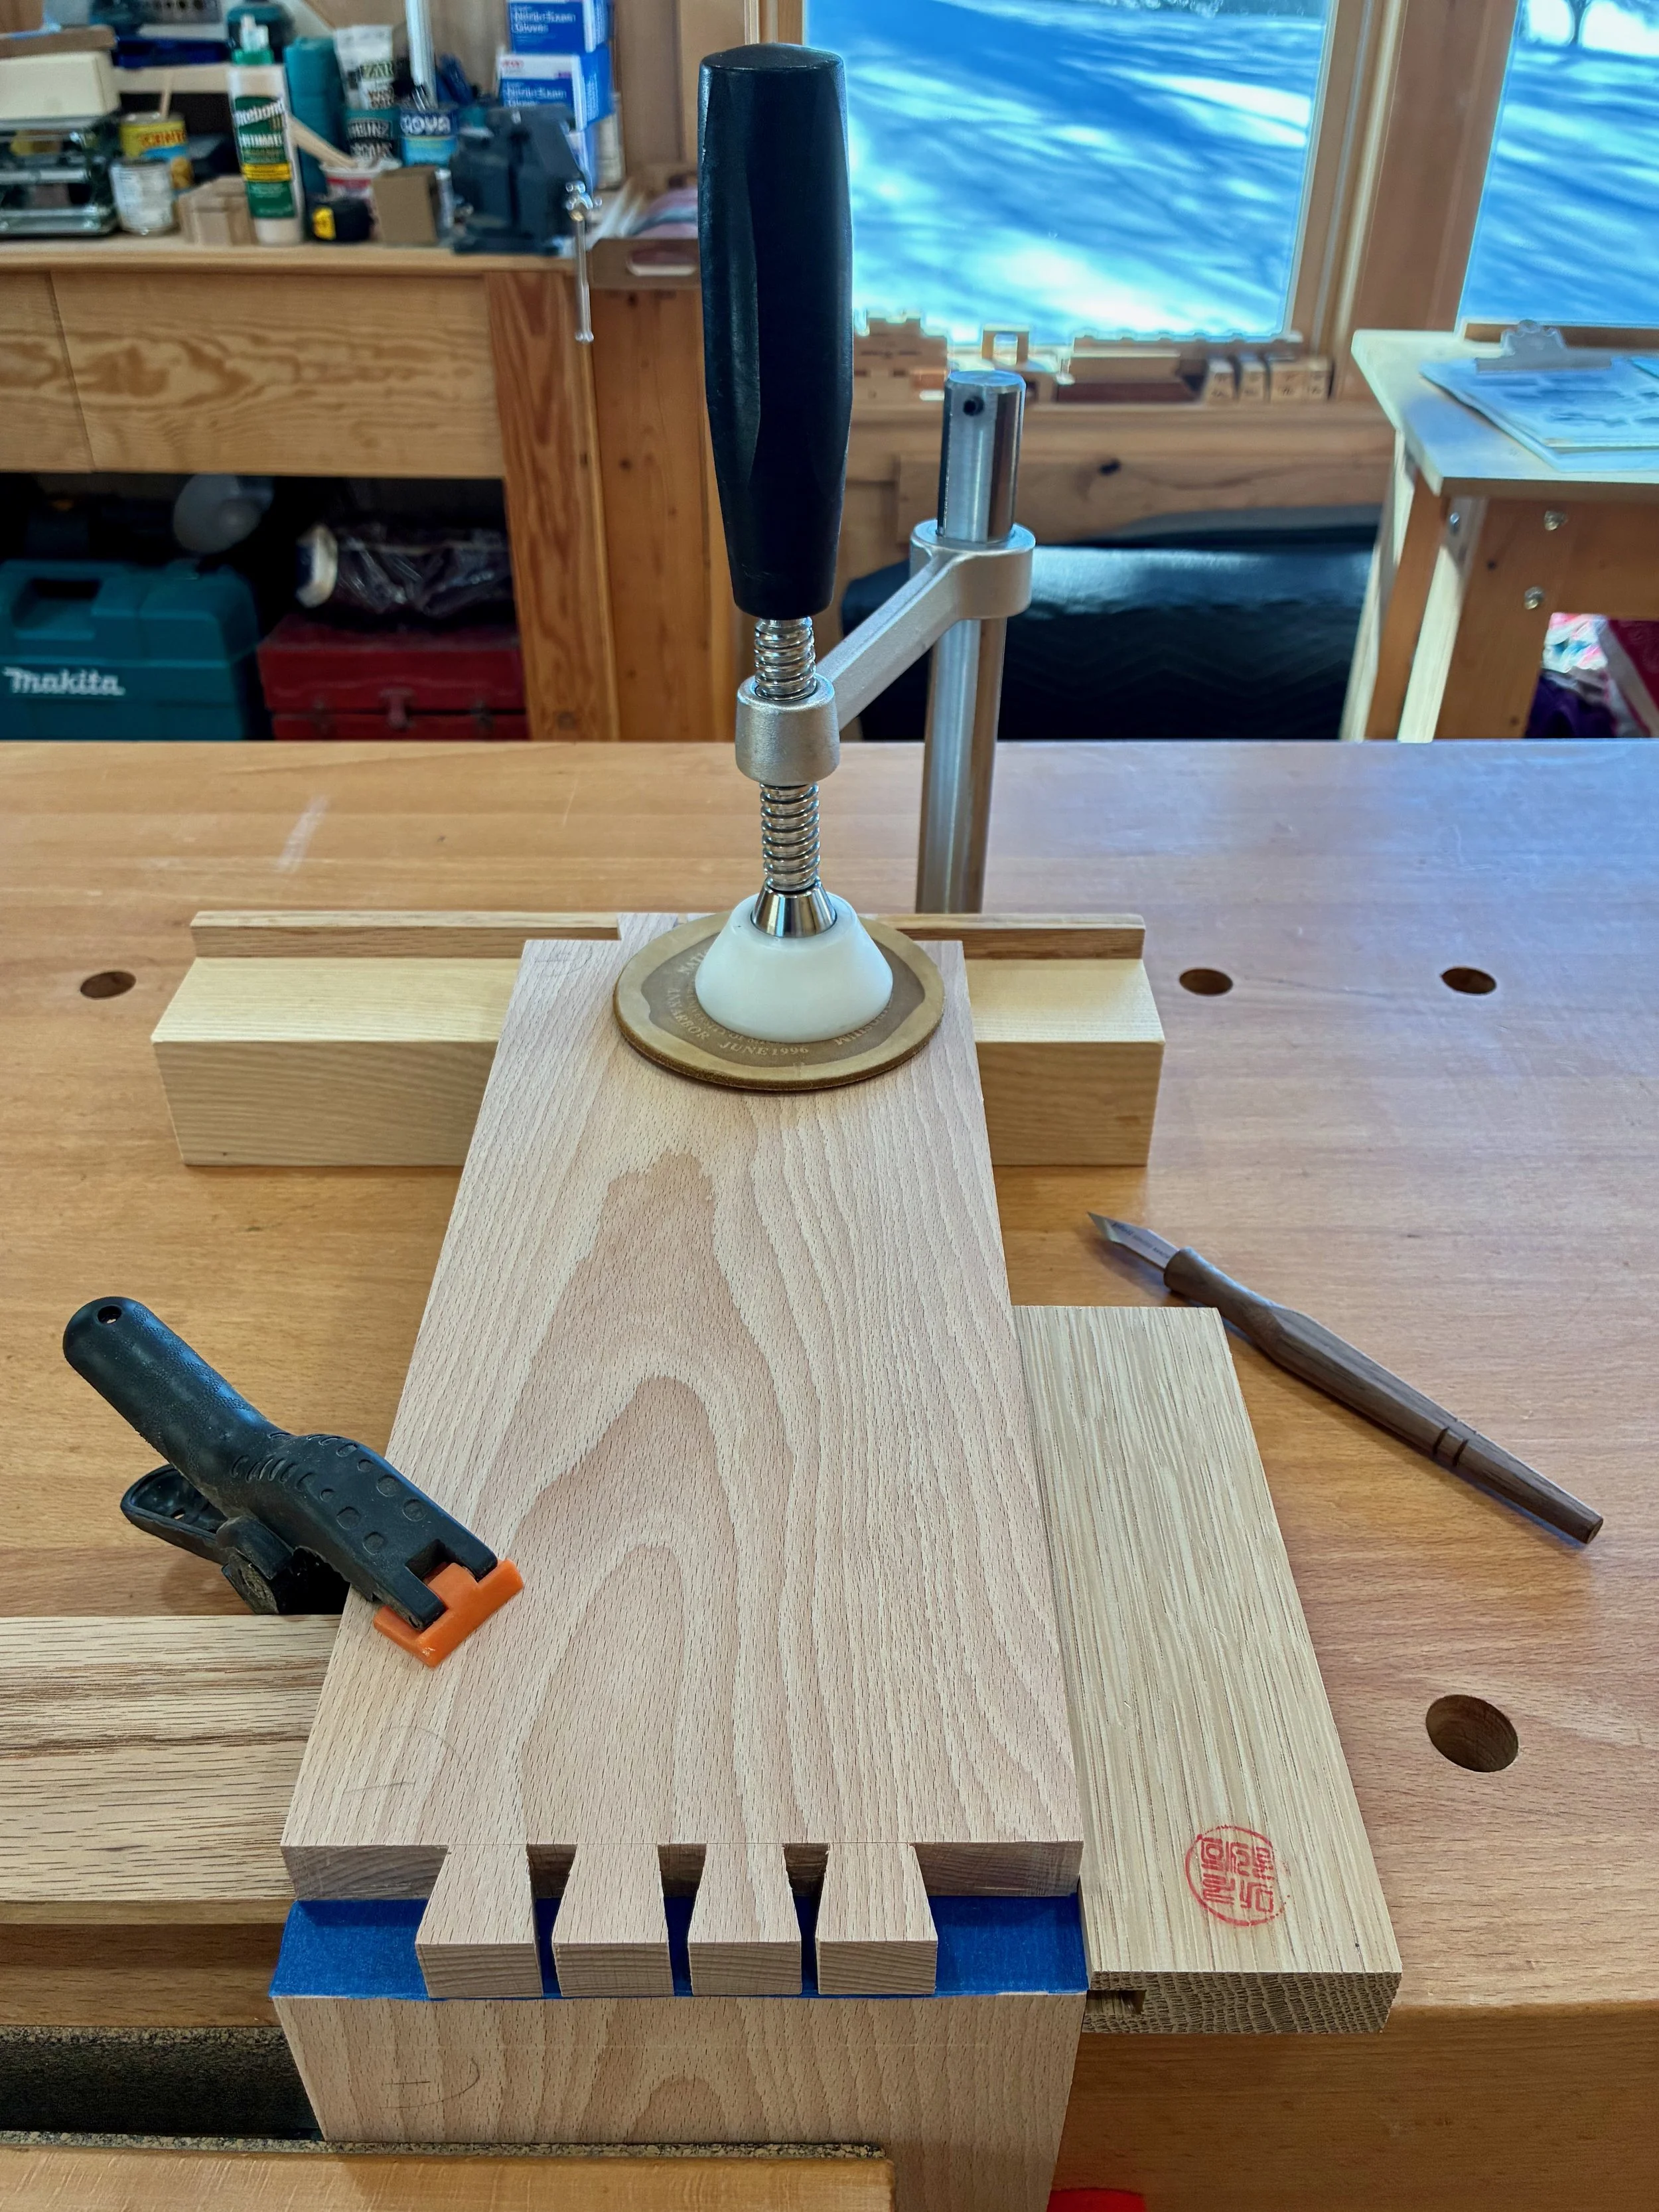
Once the tails are sawn and chopped-out, the pin shapes are scored onto painter’s tape with a knife
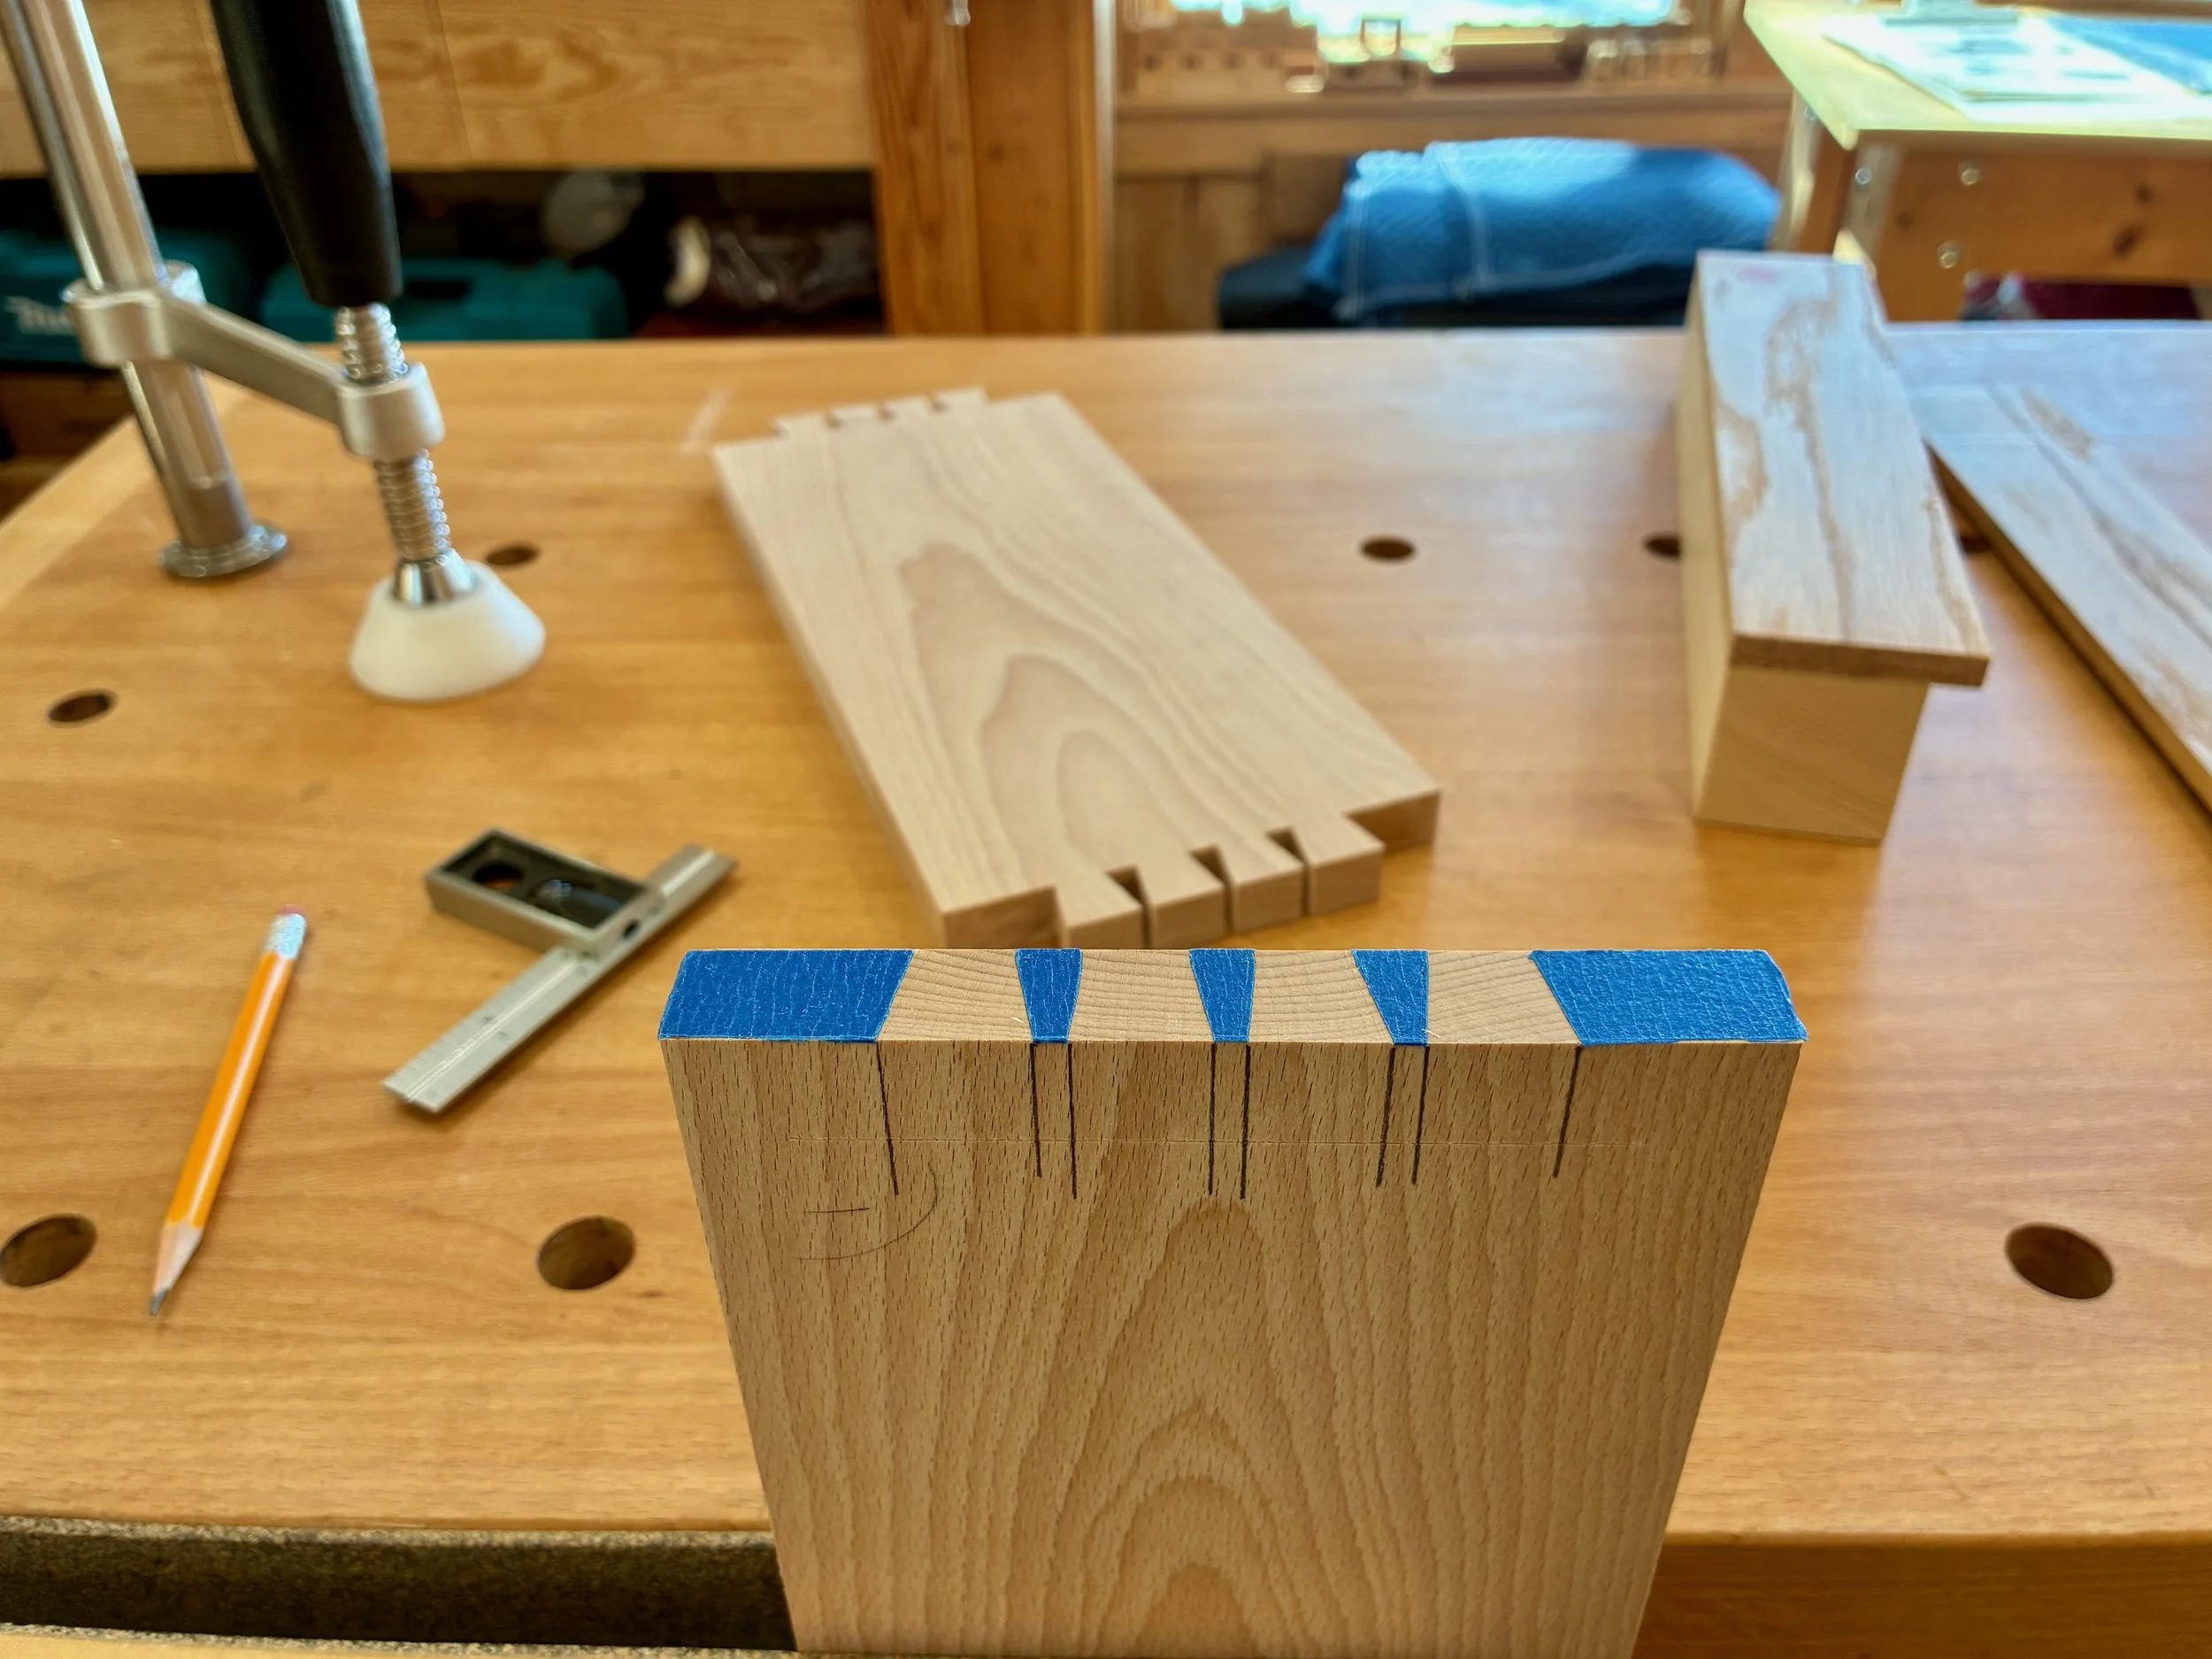
Removal of the tape sections and penciling the verticals define the next cuts
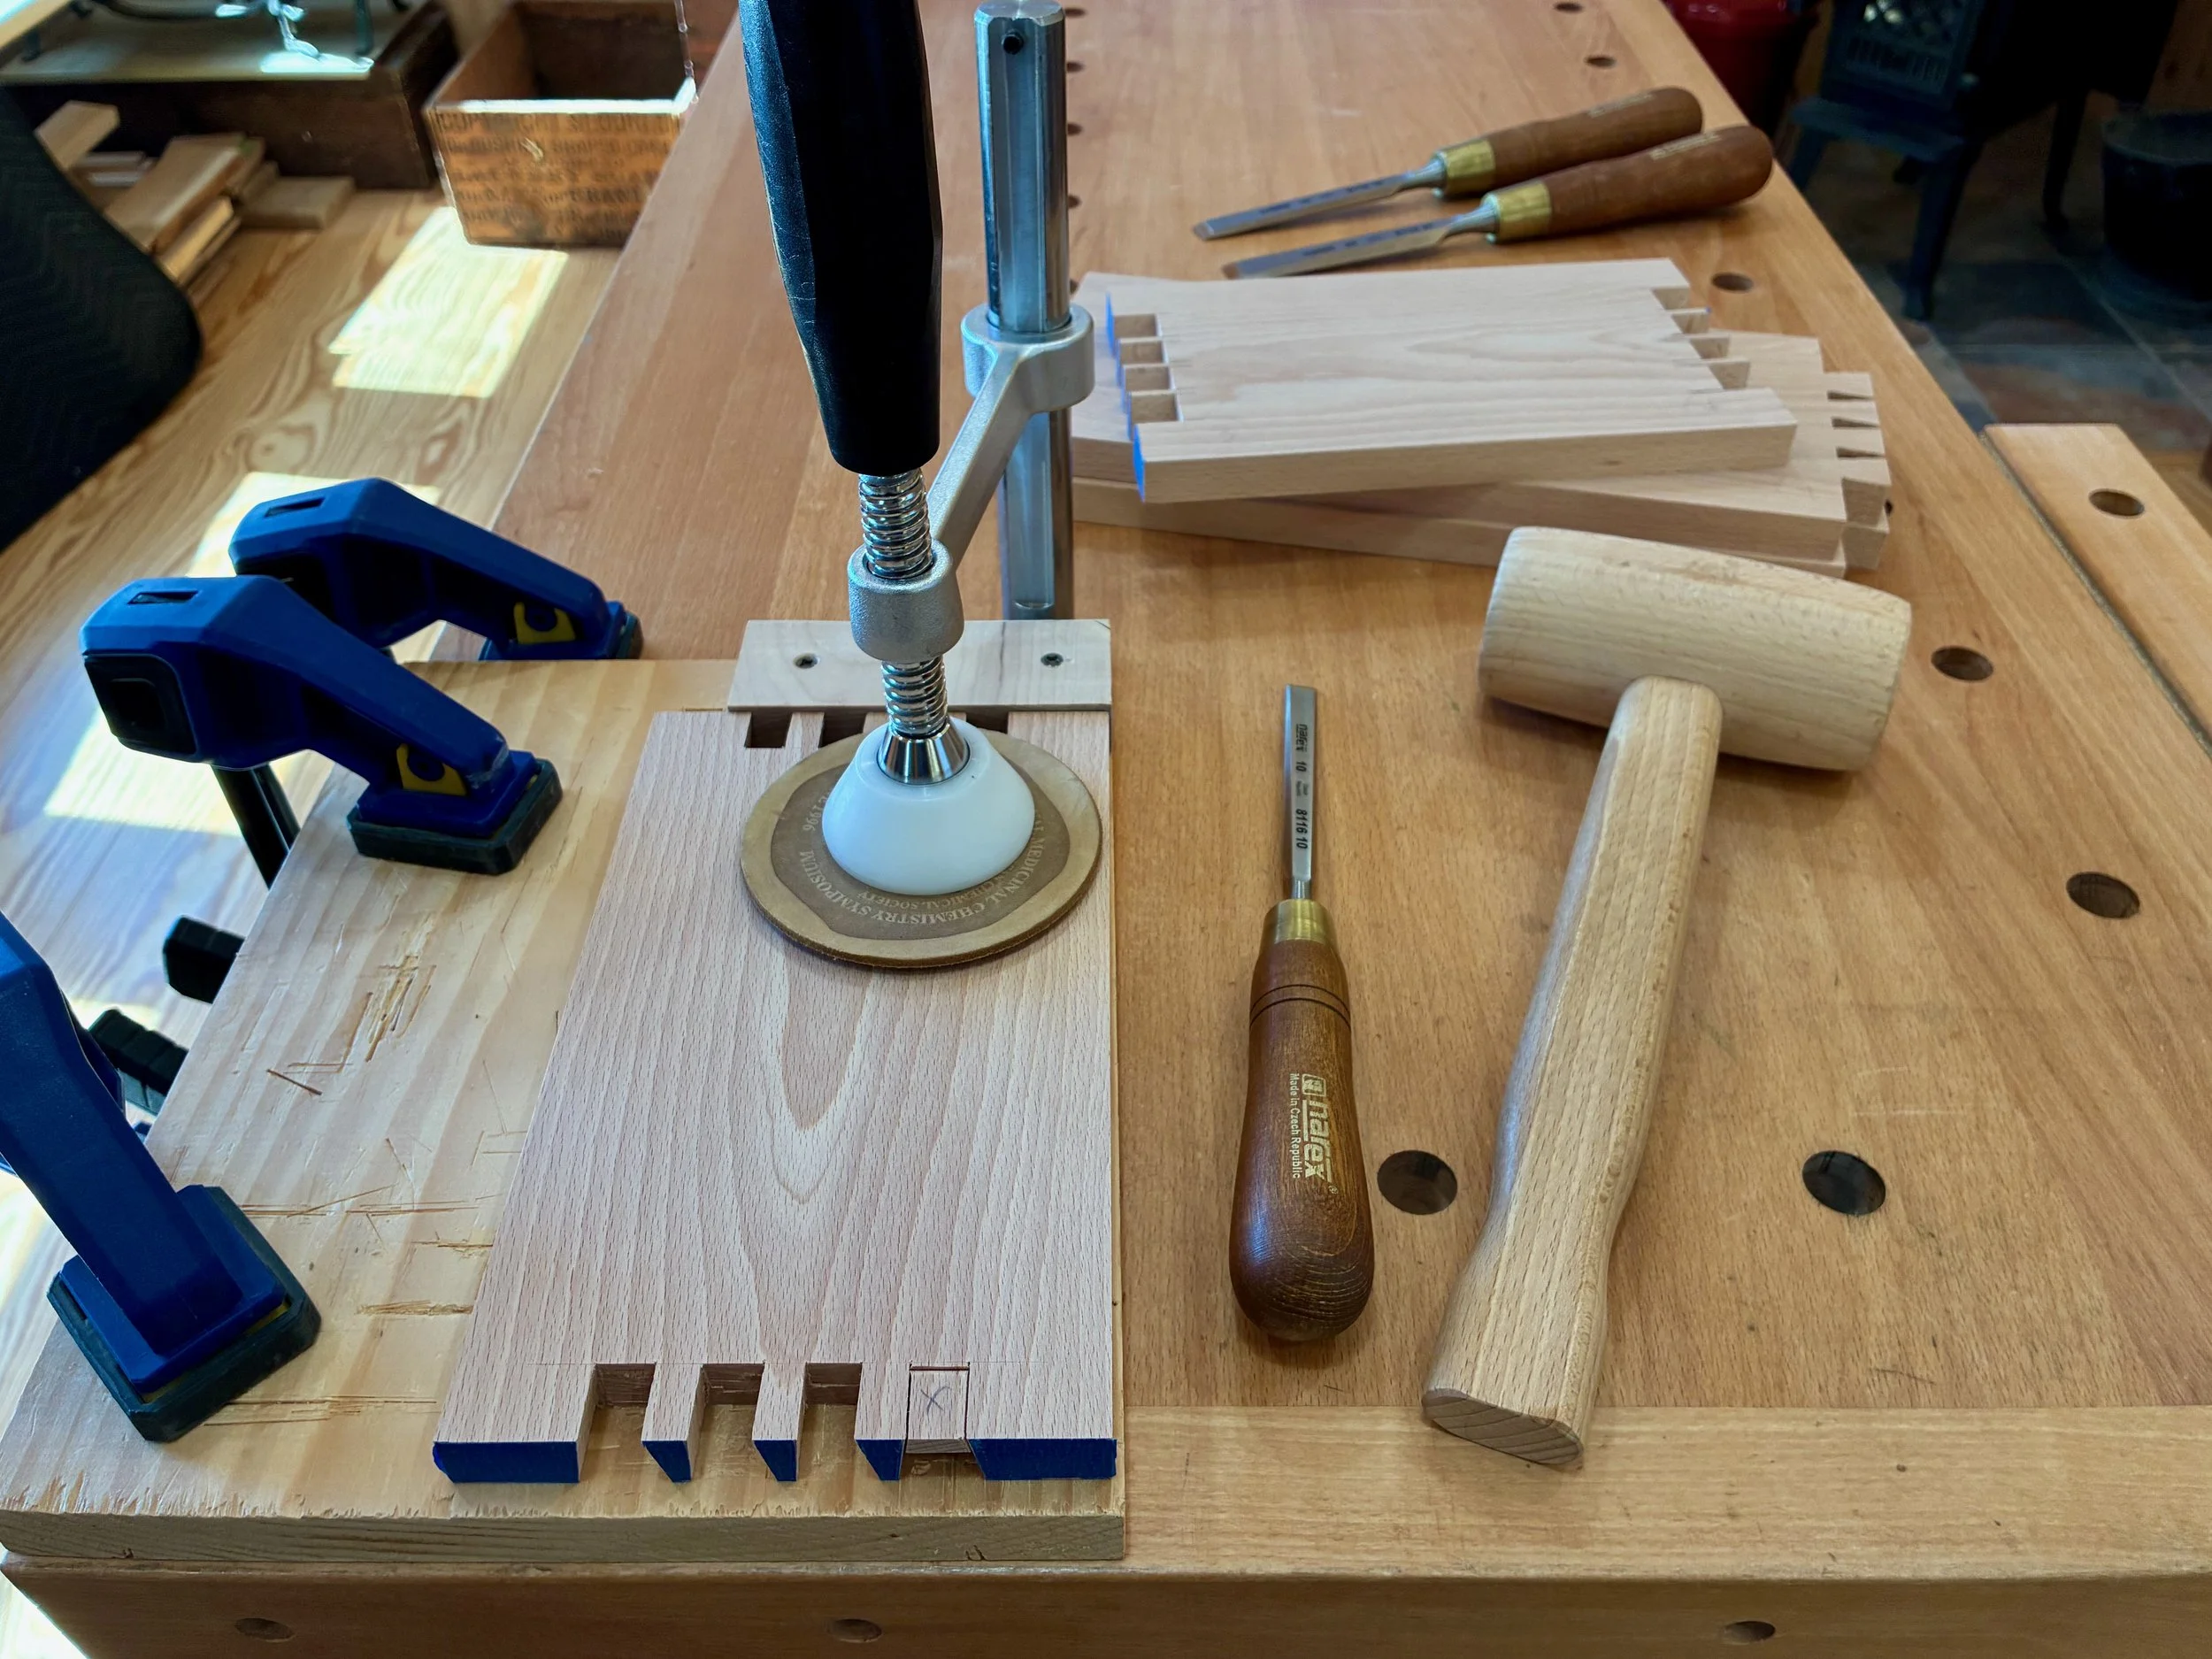
Following the saw cuts, waste is removed with a chisel to reveal the pins
One needn’t be a lover of wabi-sabi, that Japanese admiration for the imperfect, to appreciate my dovetails, but it might help. It took me a long time to trim and pare the pins on this one so that they could actually fit within the tails and, in the process, gaps developed. Beech is stiff, but I blame it on a poor job cutting the tails. More practice required.

Dry-fit box
Anyway, with the box joints completed I could now dado and trim the side parts, as called for, at the table saw. Upon disassembly, a groove for the floor was cut near the bottoms of the long box sides. These sides were then trimmed and rabbeted as specified in the plan before pounding things back together again, dry.
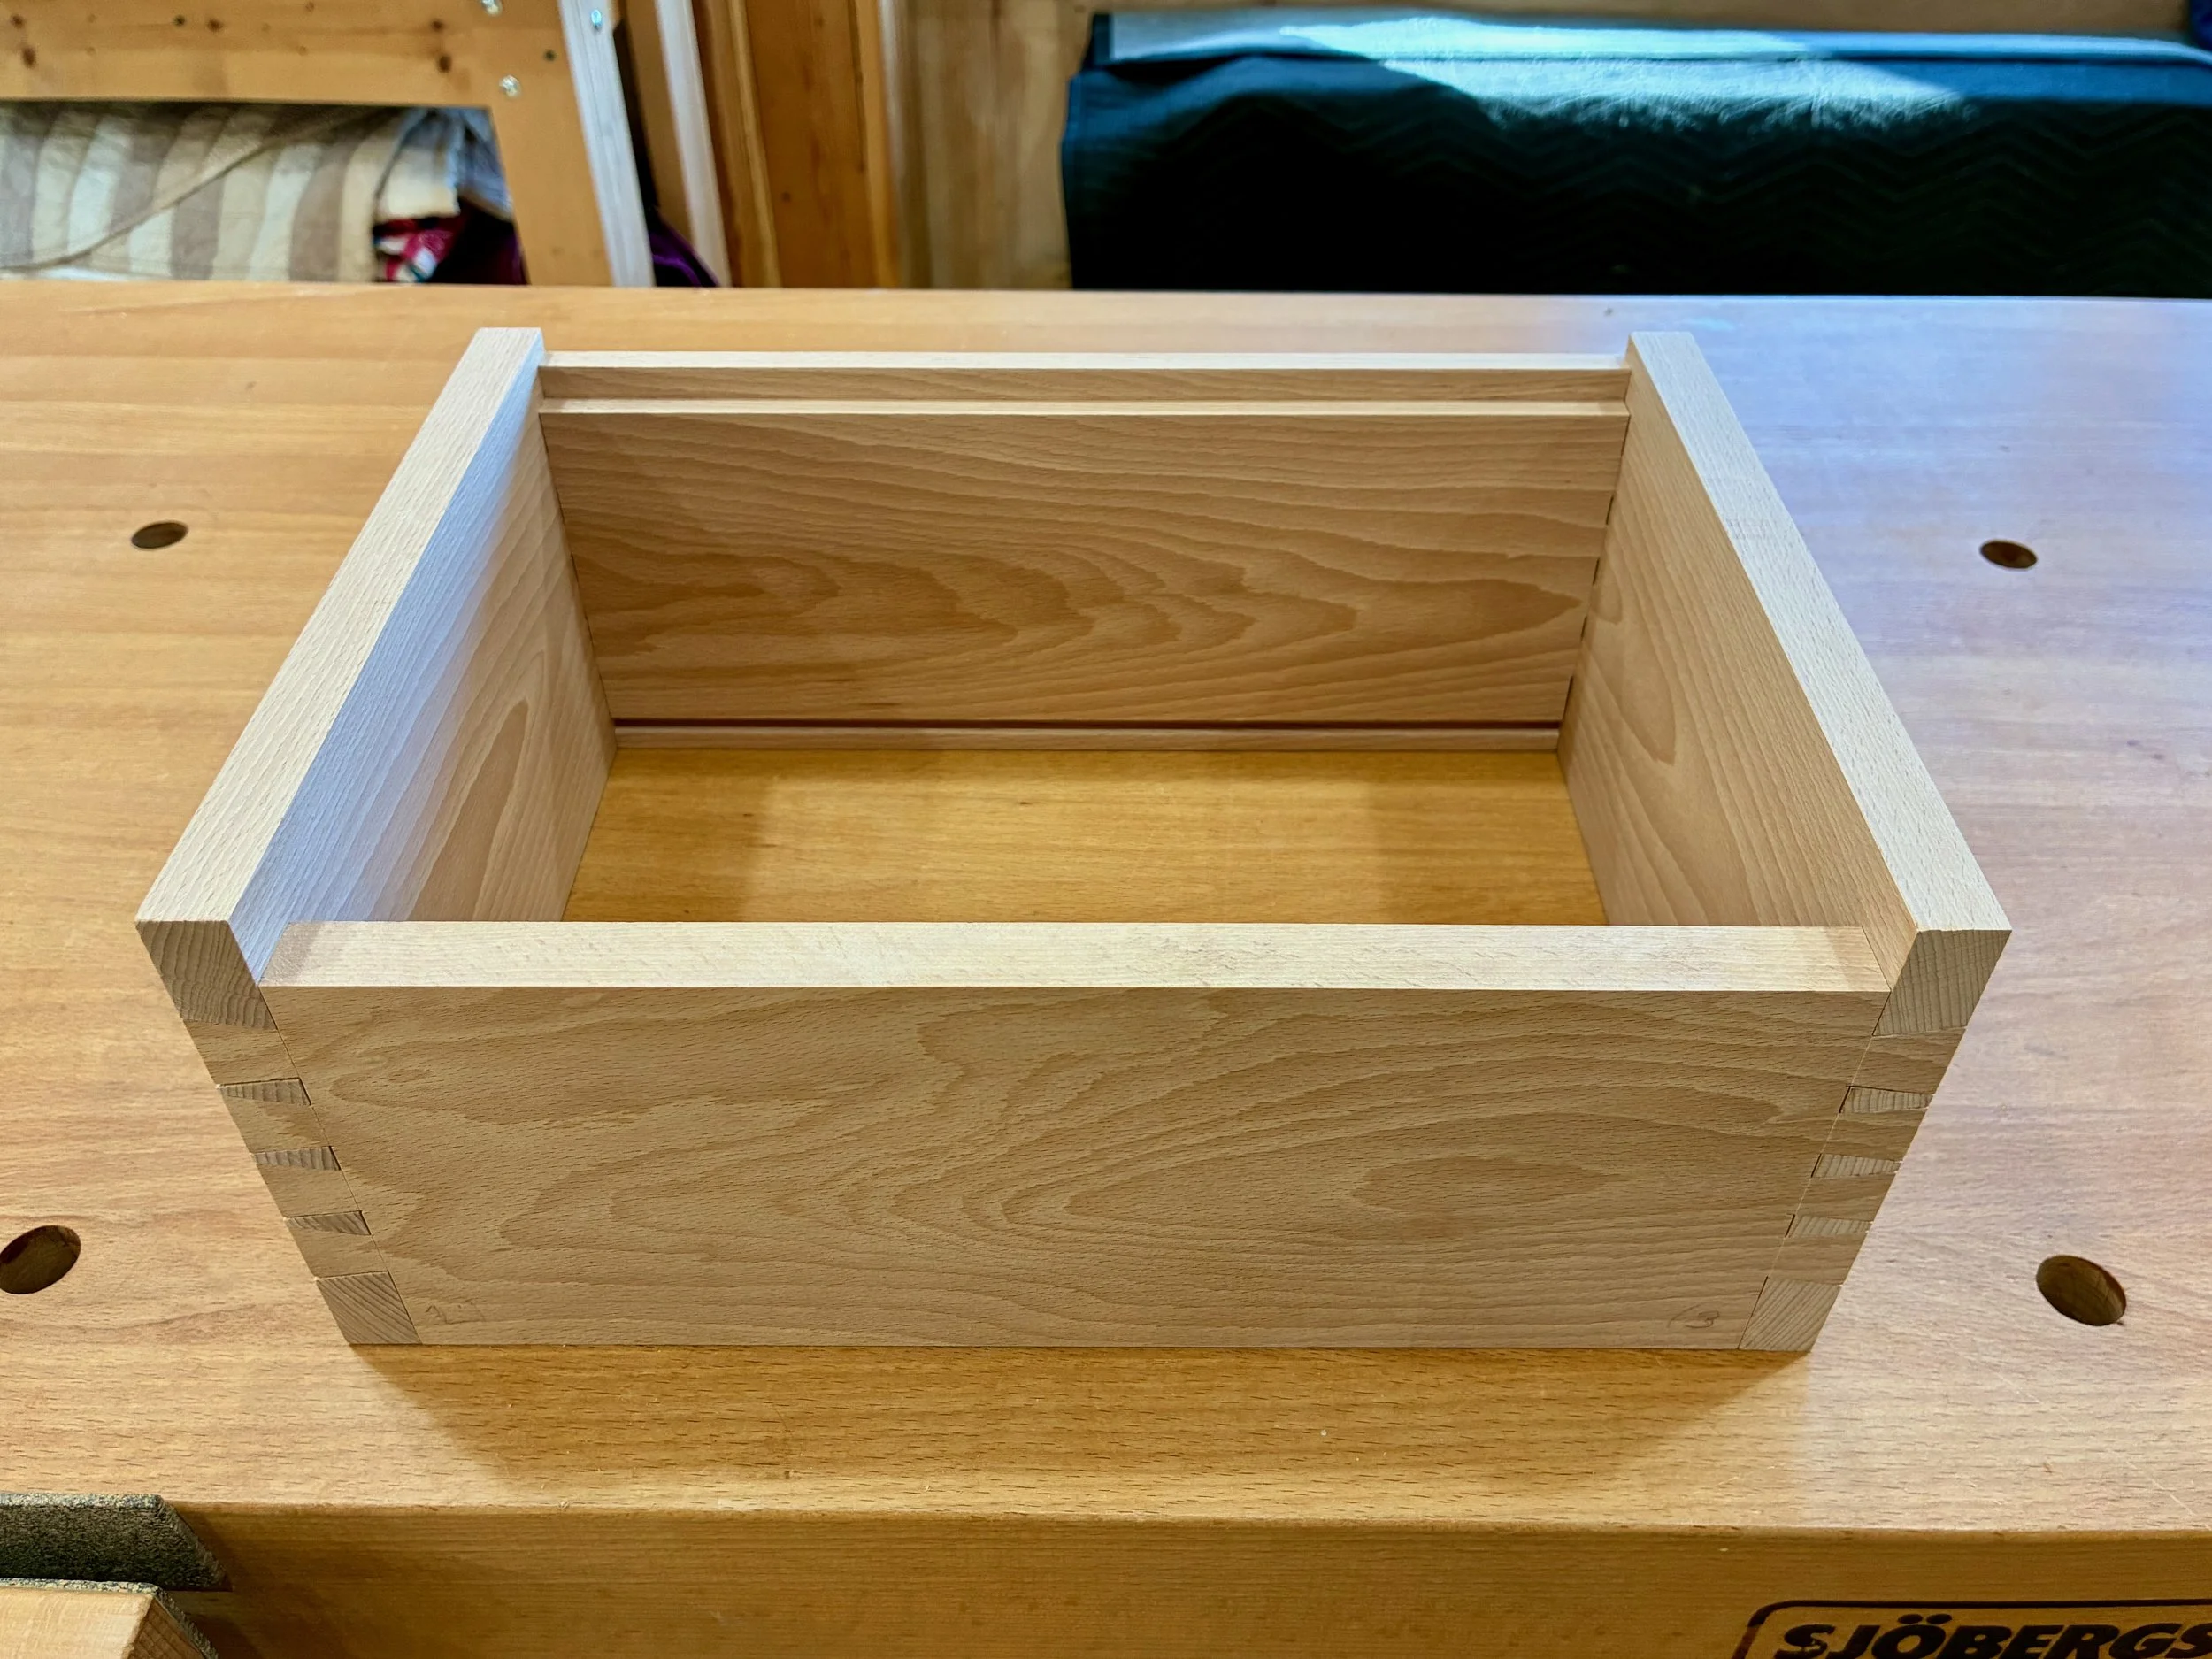
Modified box
Next, the box lid was prepared and it was here that I chose to deviate from the plans. I had an idea to enhance the top by carving the image of a bonsai tree into the surface. Now, I do not carve. But I do, on occasion, leave the workshop to communicate with people on the outside, and it was through on of these excursions that I got connected with a highly skilled woodcarver in central Massachusetts named Don Chartier. Like me, Don has retired from his initial calling to pursue passion work full-time. He is a trained wood carver and a self taught painter who does amazing work. We struck up a pen pal relationship and, before ever meeting in-person, concocted a plan whereby I would lend him a bare piece of beech and he would return it, beautified, with the image of a bonsai carved into the surface. What a deal! First I needed to prepare the lid.
I used remnants of the beech stock to create the stile and rail lid parts. The 1¼ in. wide members were ripped from a prepped board, grooved along one edge at the table saw and then chopped to length. Next, tenons were formed at the rail ends. Finally, a wider European beech board was prepared for use as a single panel. Once flattened and smoothed, a tongue was rabbeted along all four edges to mate with the frame parts. The dry-fit construct was then sanded smoothed to level the joints.
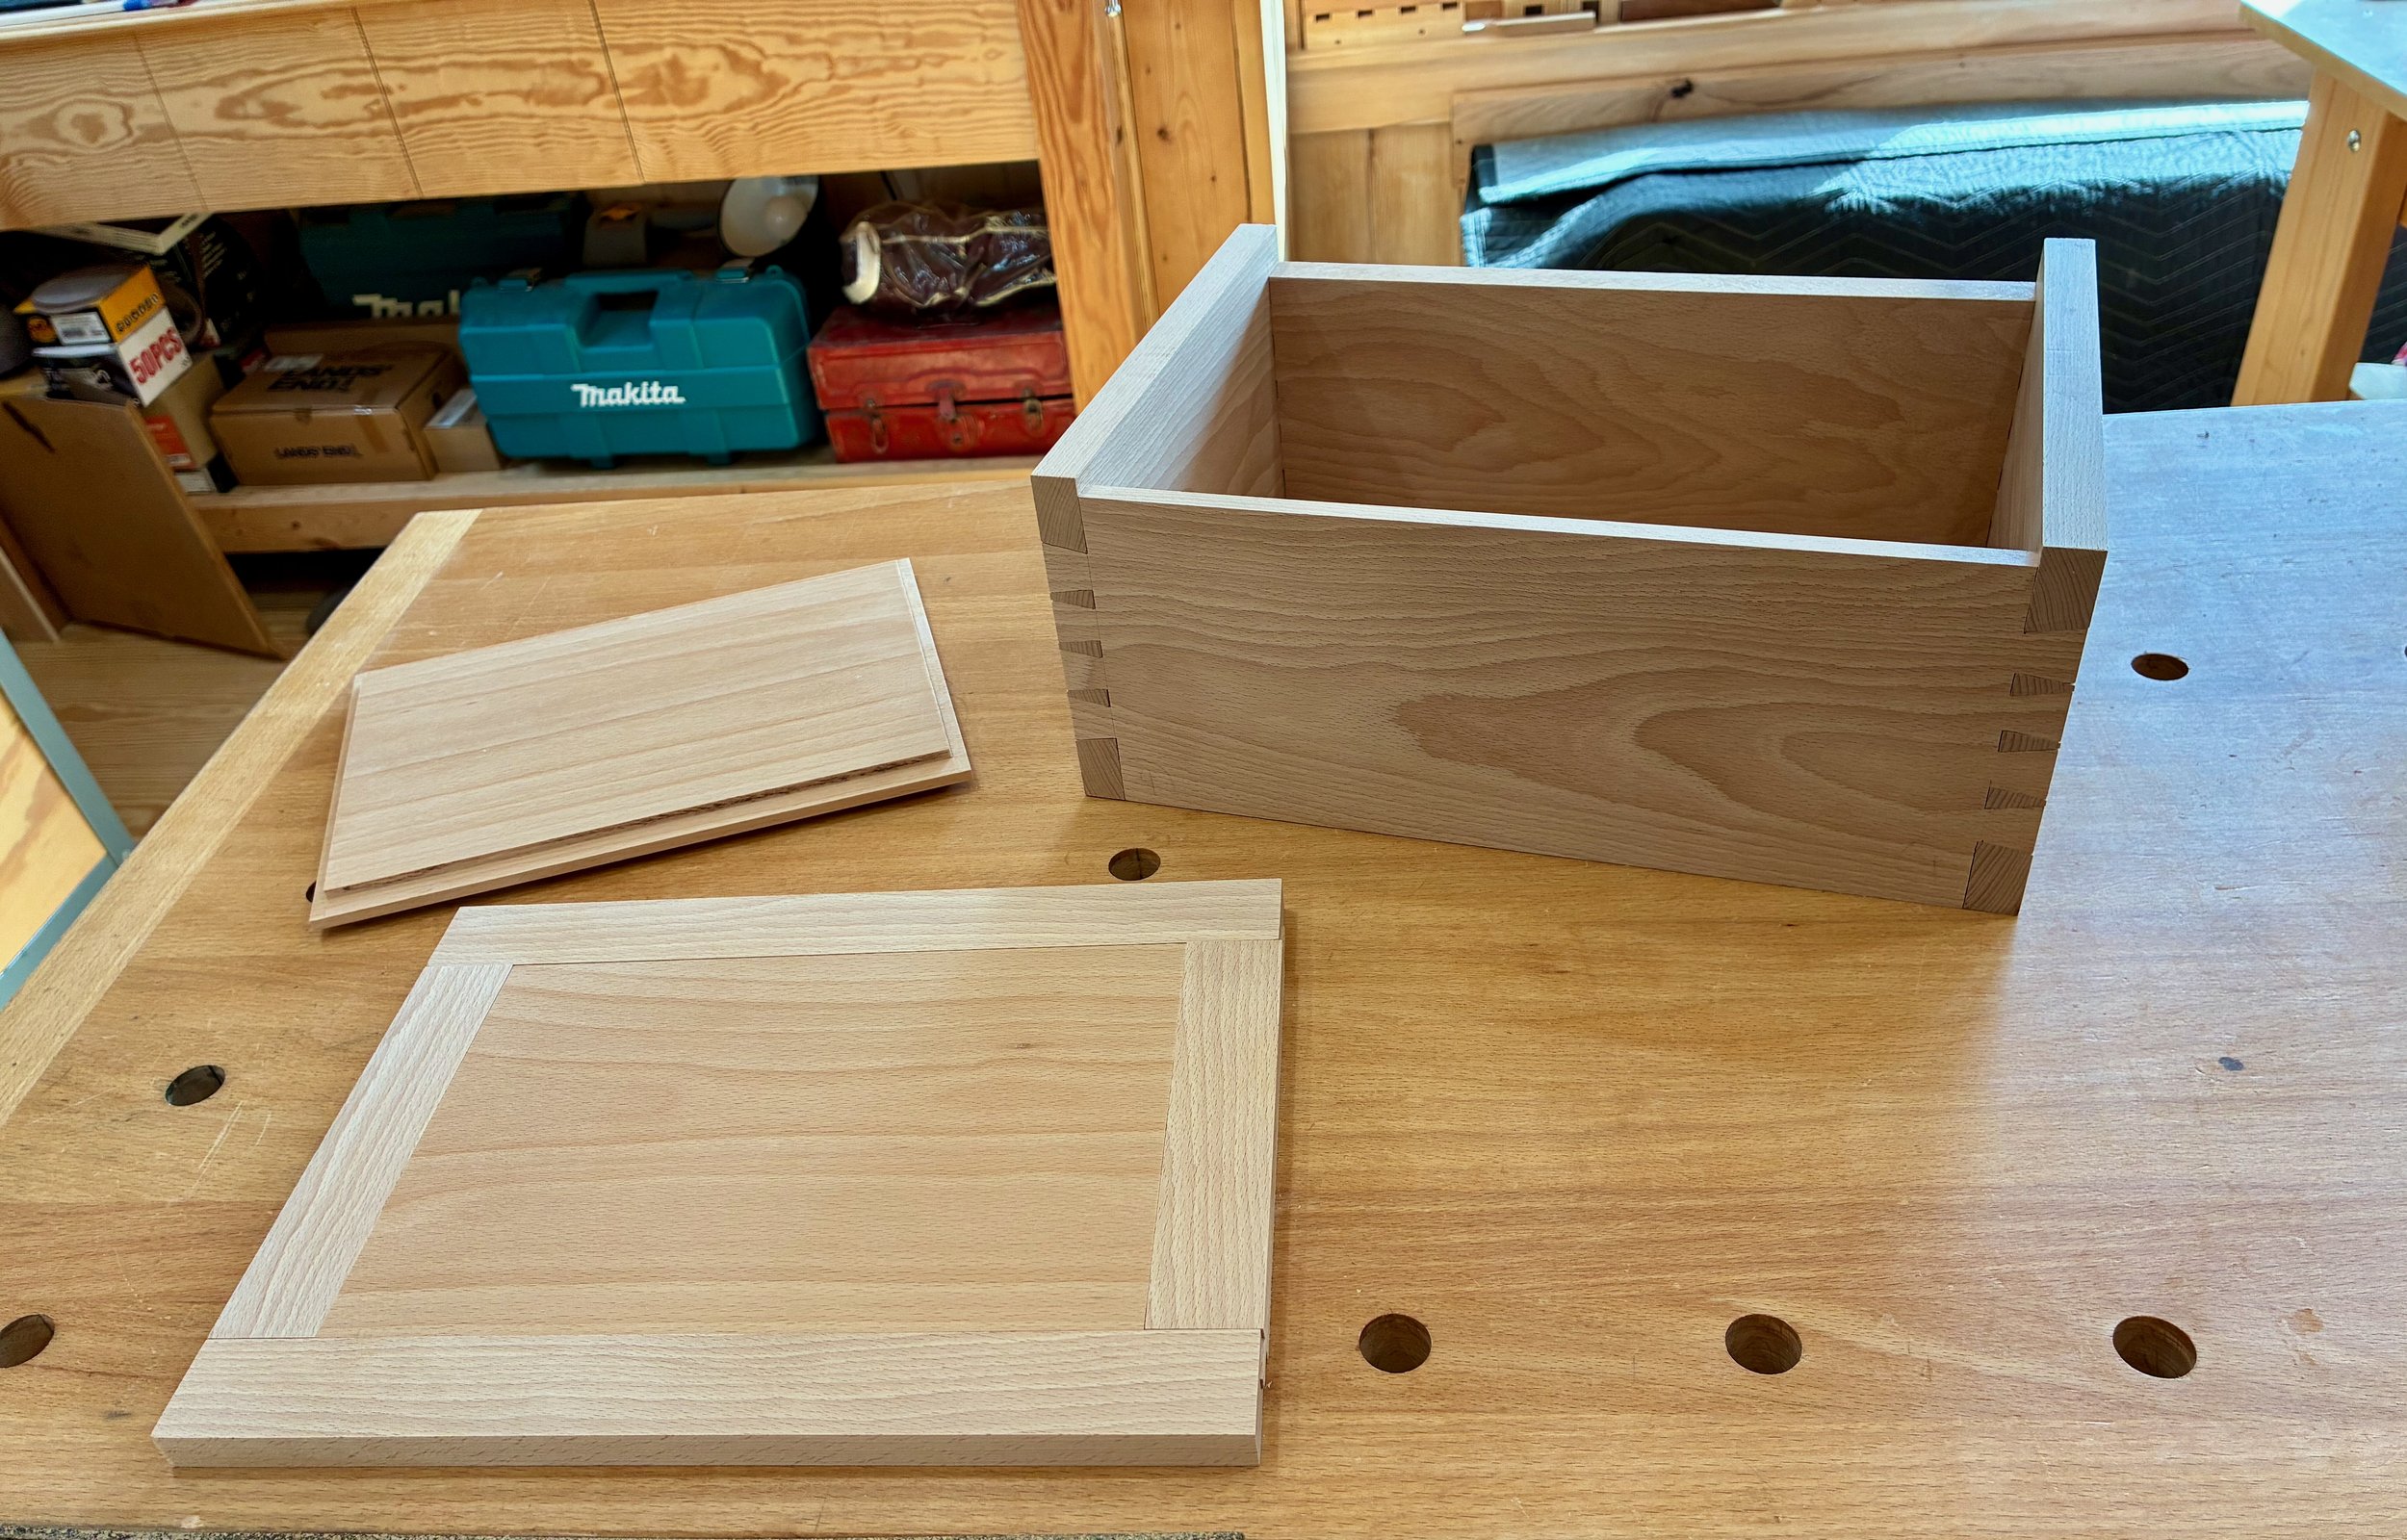
Dry fit lid and spare
Before beginning the carving we needed to settle on a subject tree. I have no mature bonsais, at present, and so I downloaded images from the internet and fired them away in emails for consideration by Don, the artist. We settled on the informal upright maple tree (below) as the subject. It has the right dimensions and features for a carved image to inspire a budding bonsaiist.
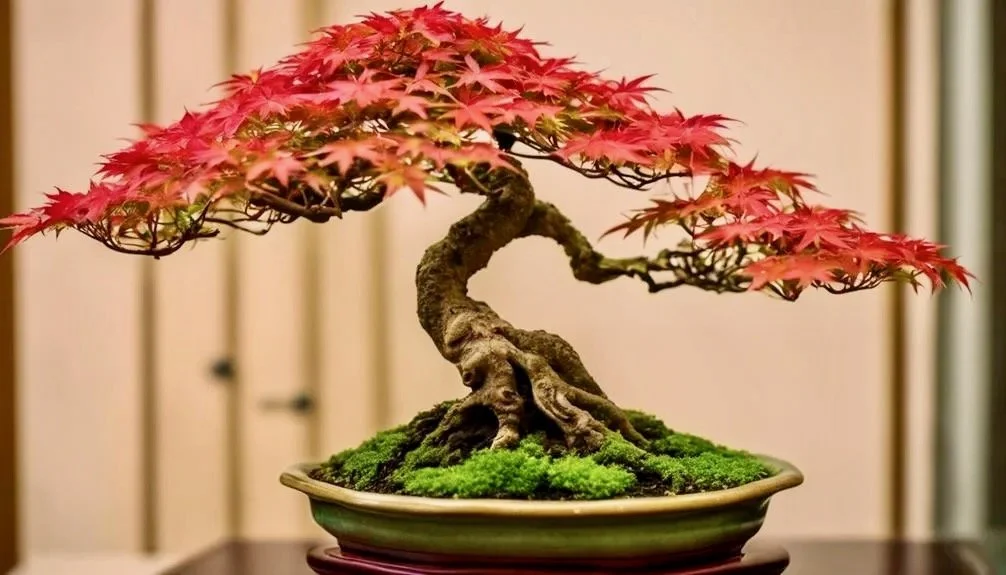
Model maple
Carving
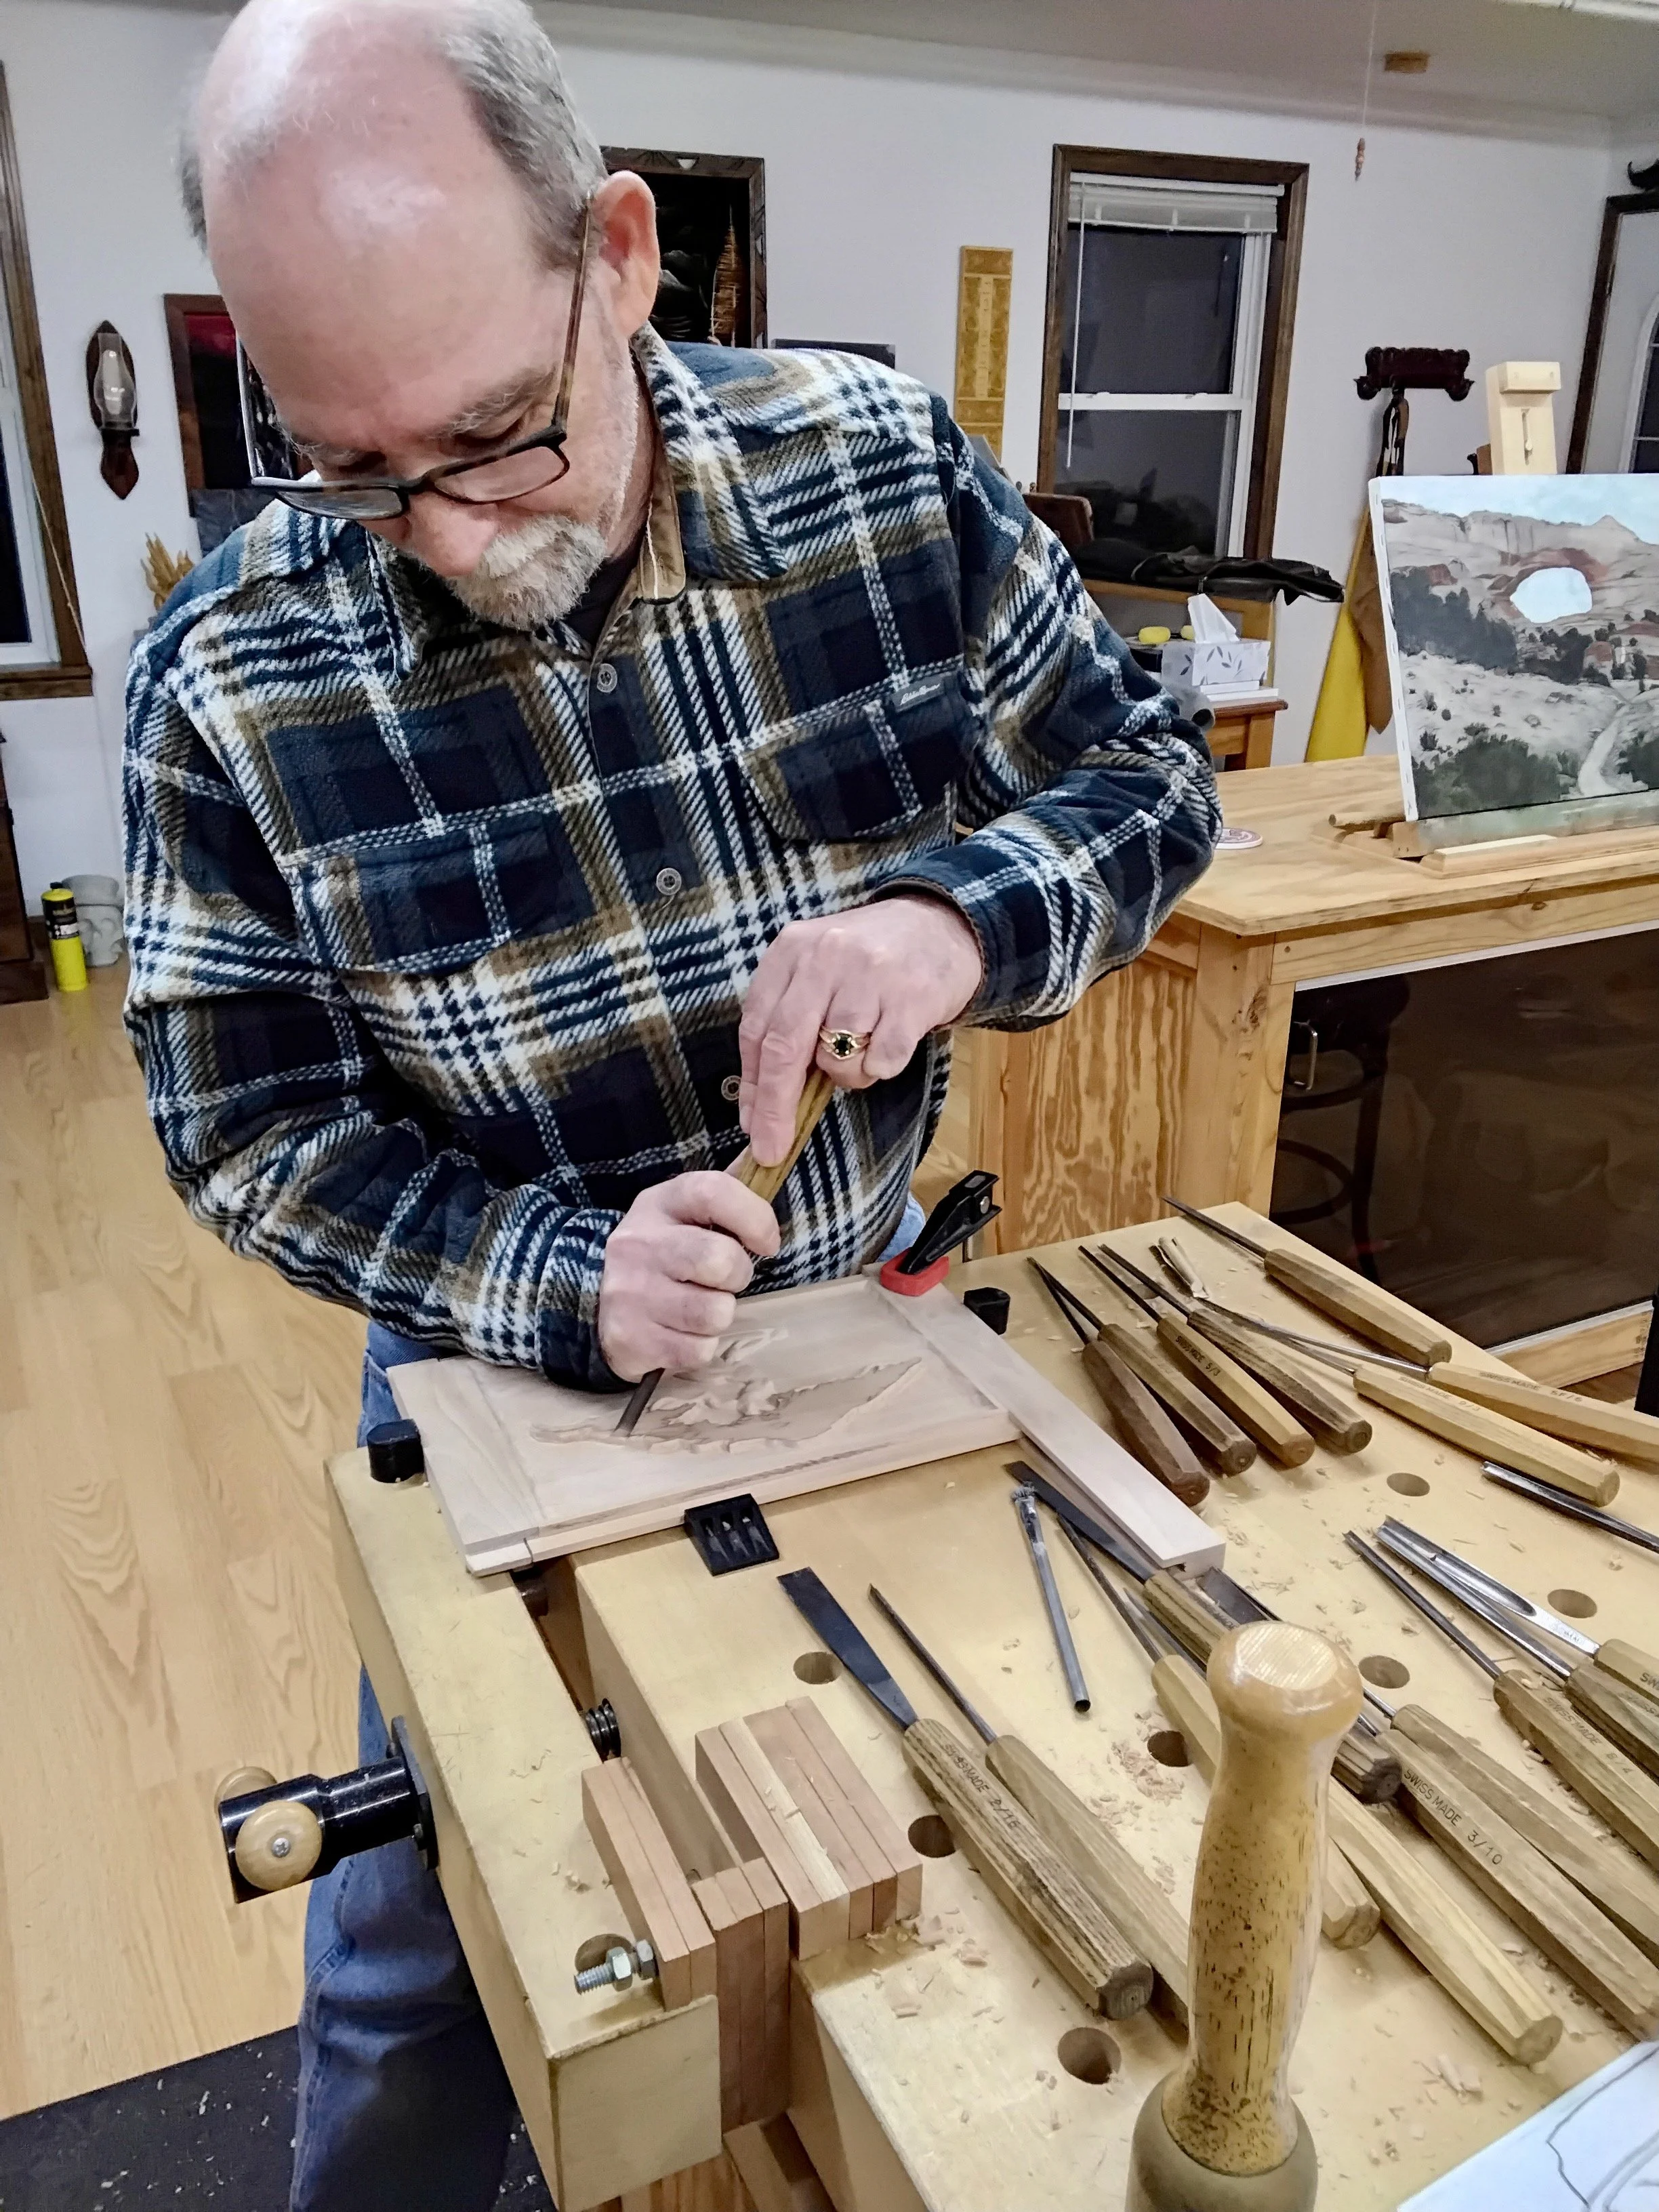
I asked Don if he might take us through the carving process and he graciously provided the description and pictures, below.
Don Chartier: I will start with a quick explanation of the carving tools. The chisels are numbered from 1 to 12. A number 1 chisel is perfectly straight. The number 2 chisel is slightly curved and so on up to the number 11 chisel which is a u-shaped chisel. The number 12 is a V-shaped chisel.
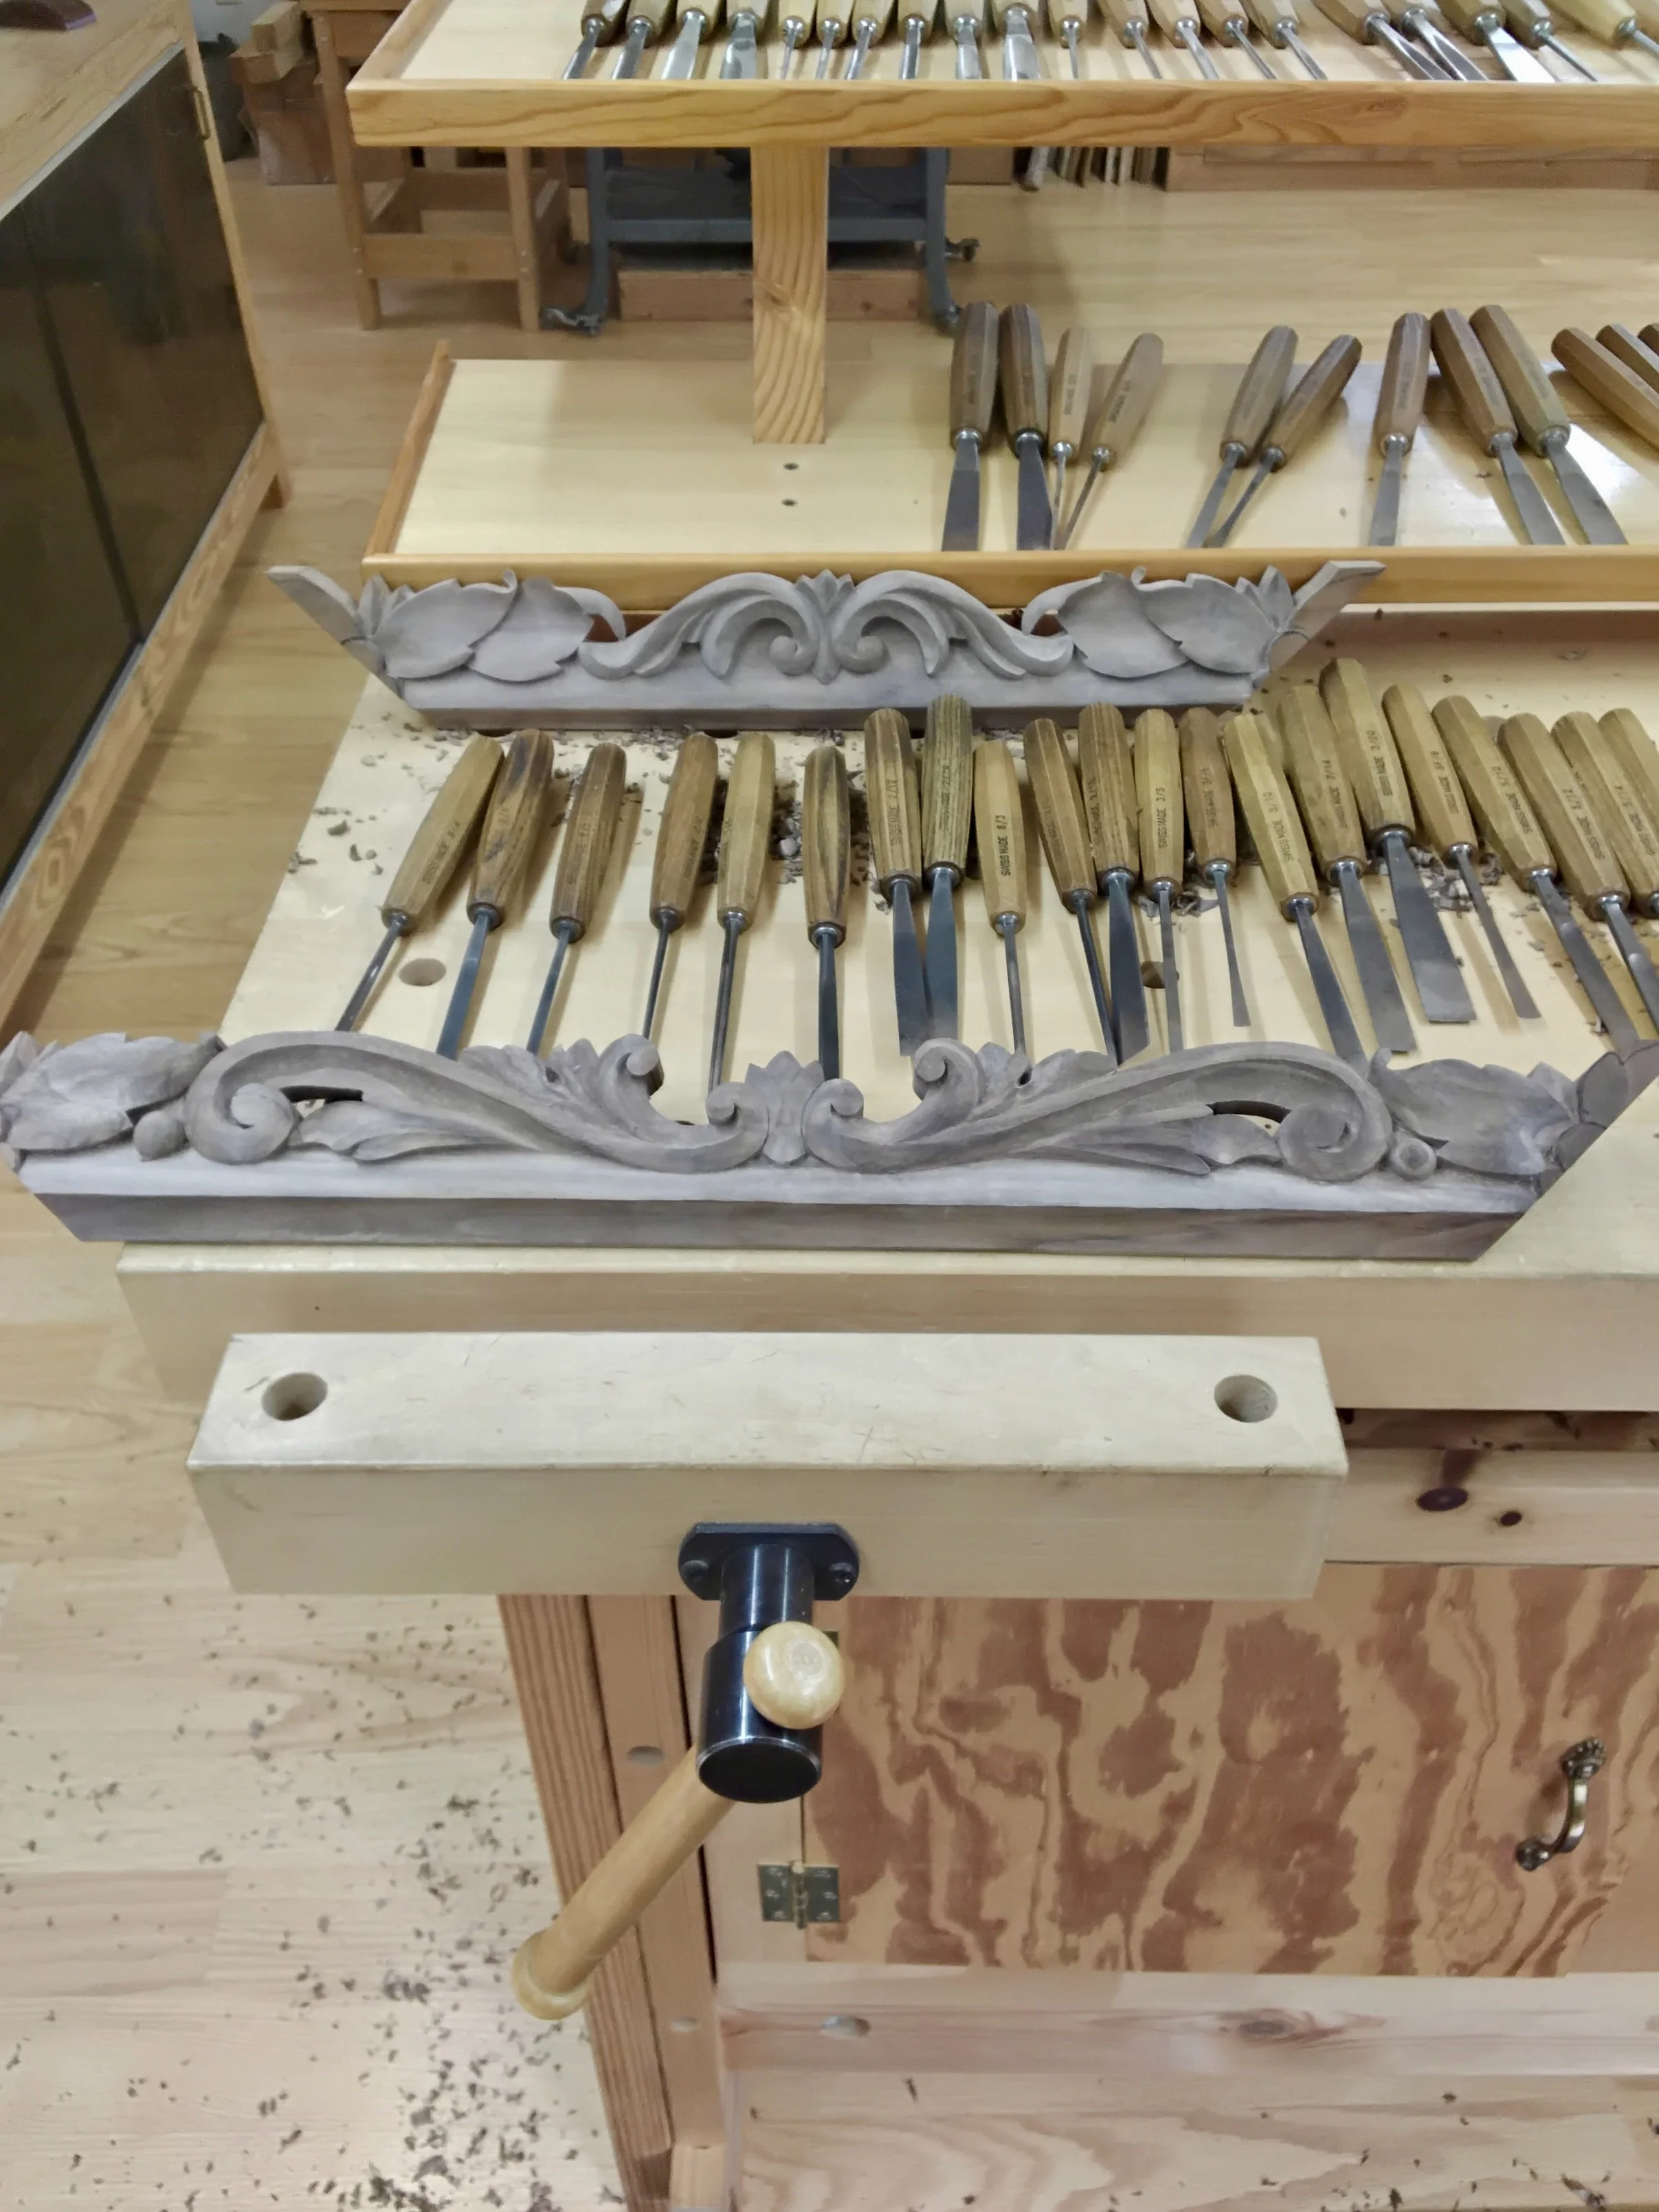
A selection of Don’s chisels and a walnut picture frame in-progress
To begin a carving I start with a drawing and transfer that to the wood using carbon paper.
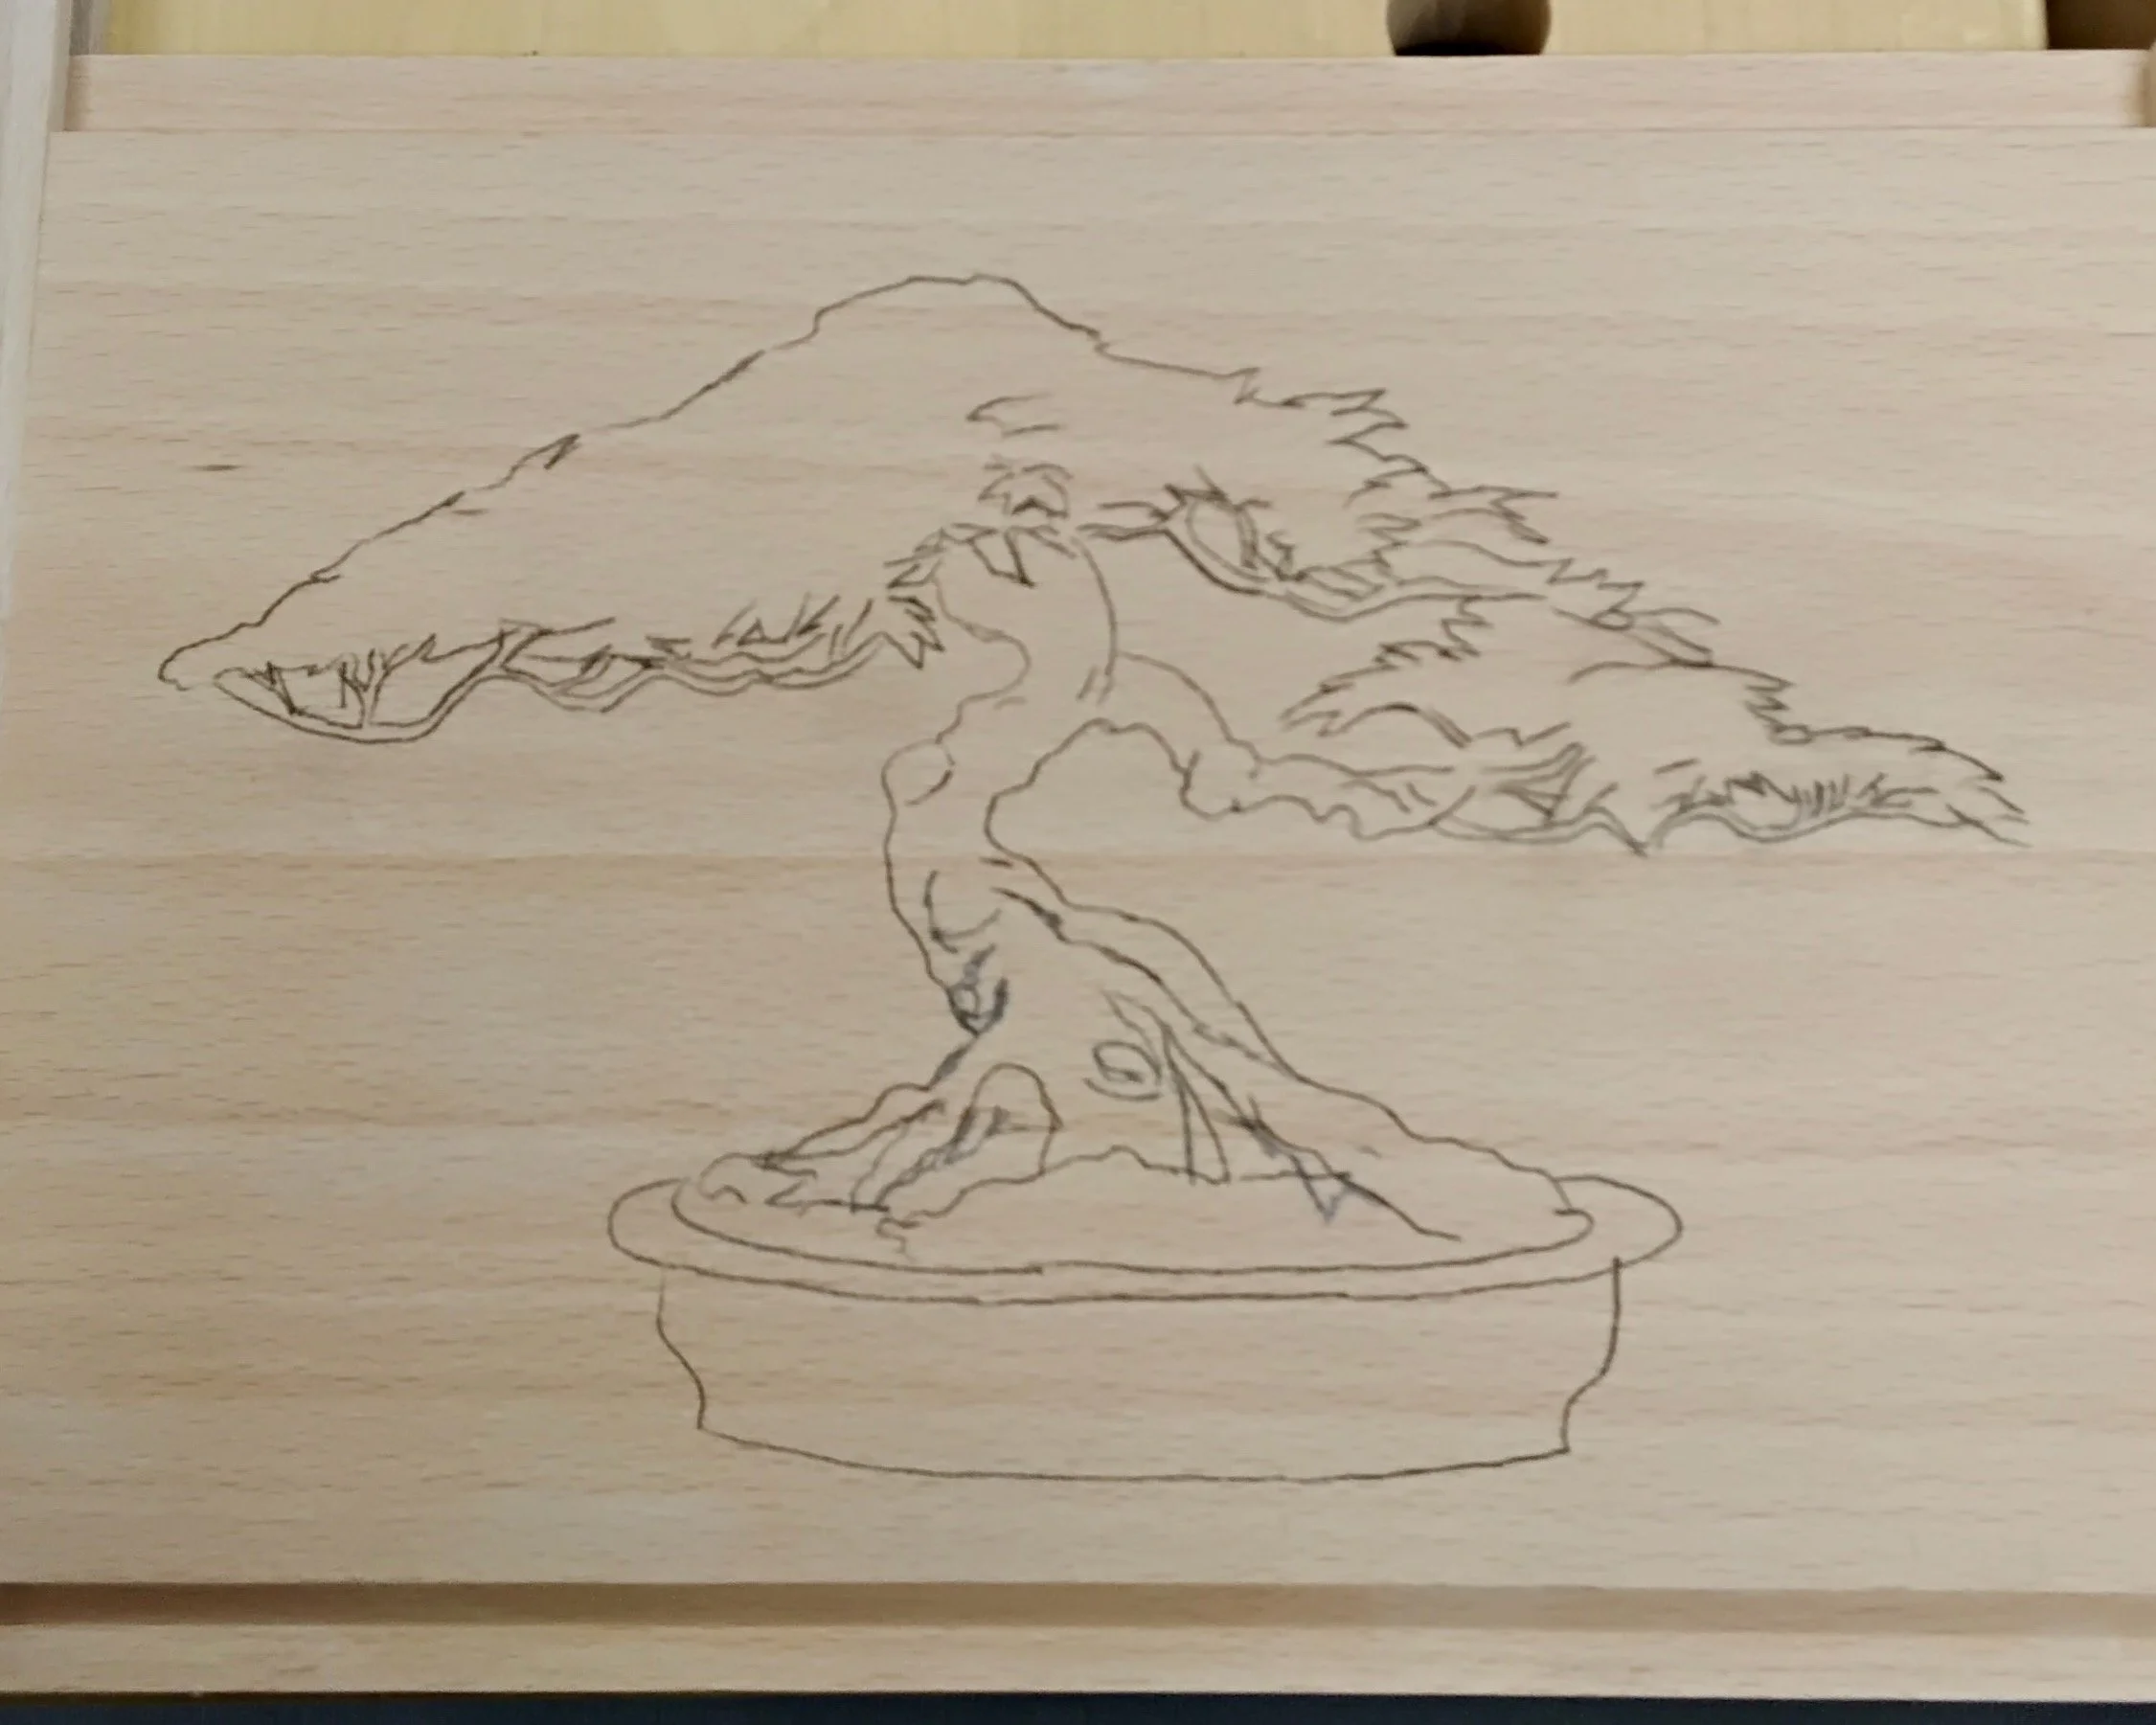
Bonsai figure rendered on the beech panel
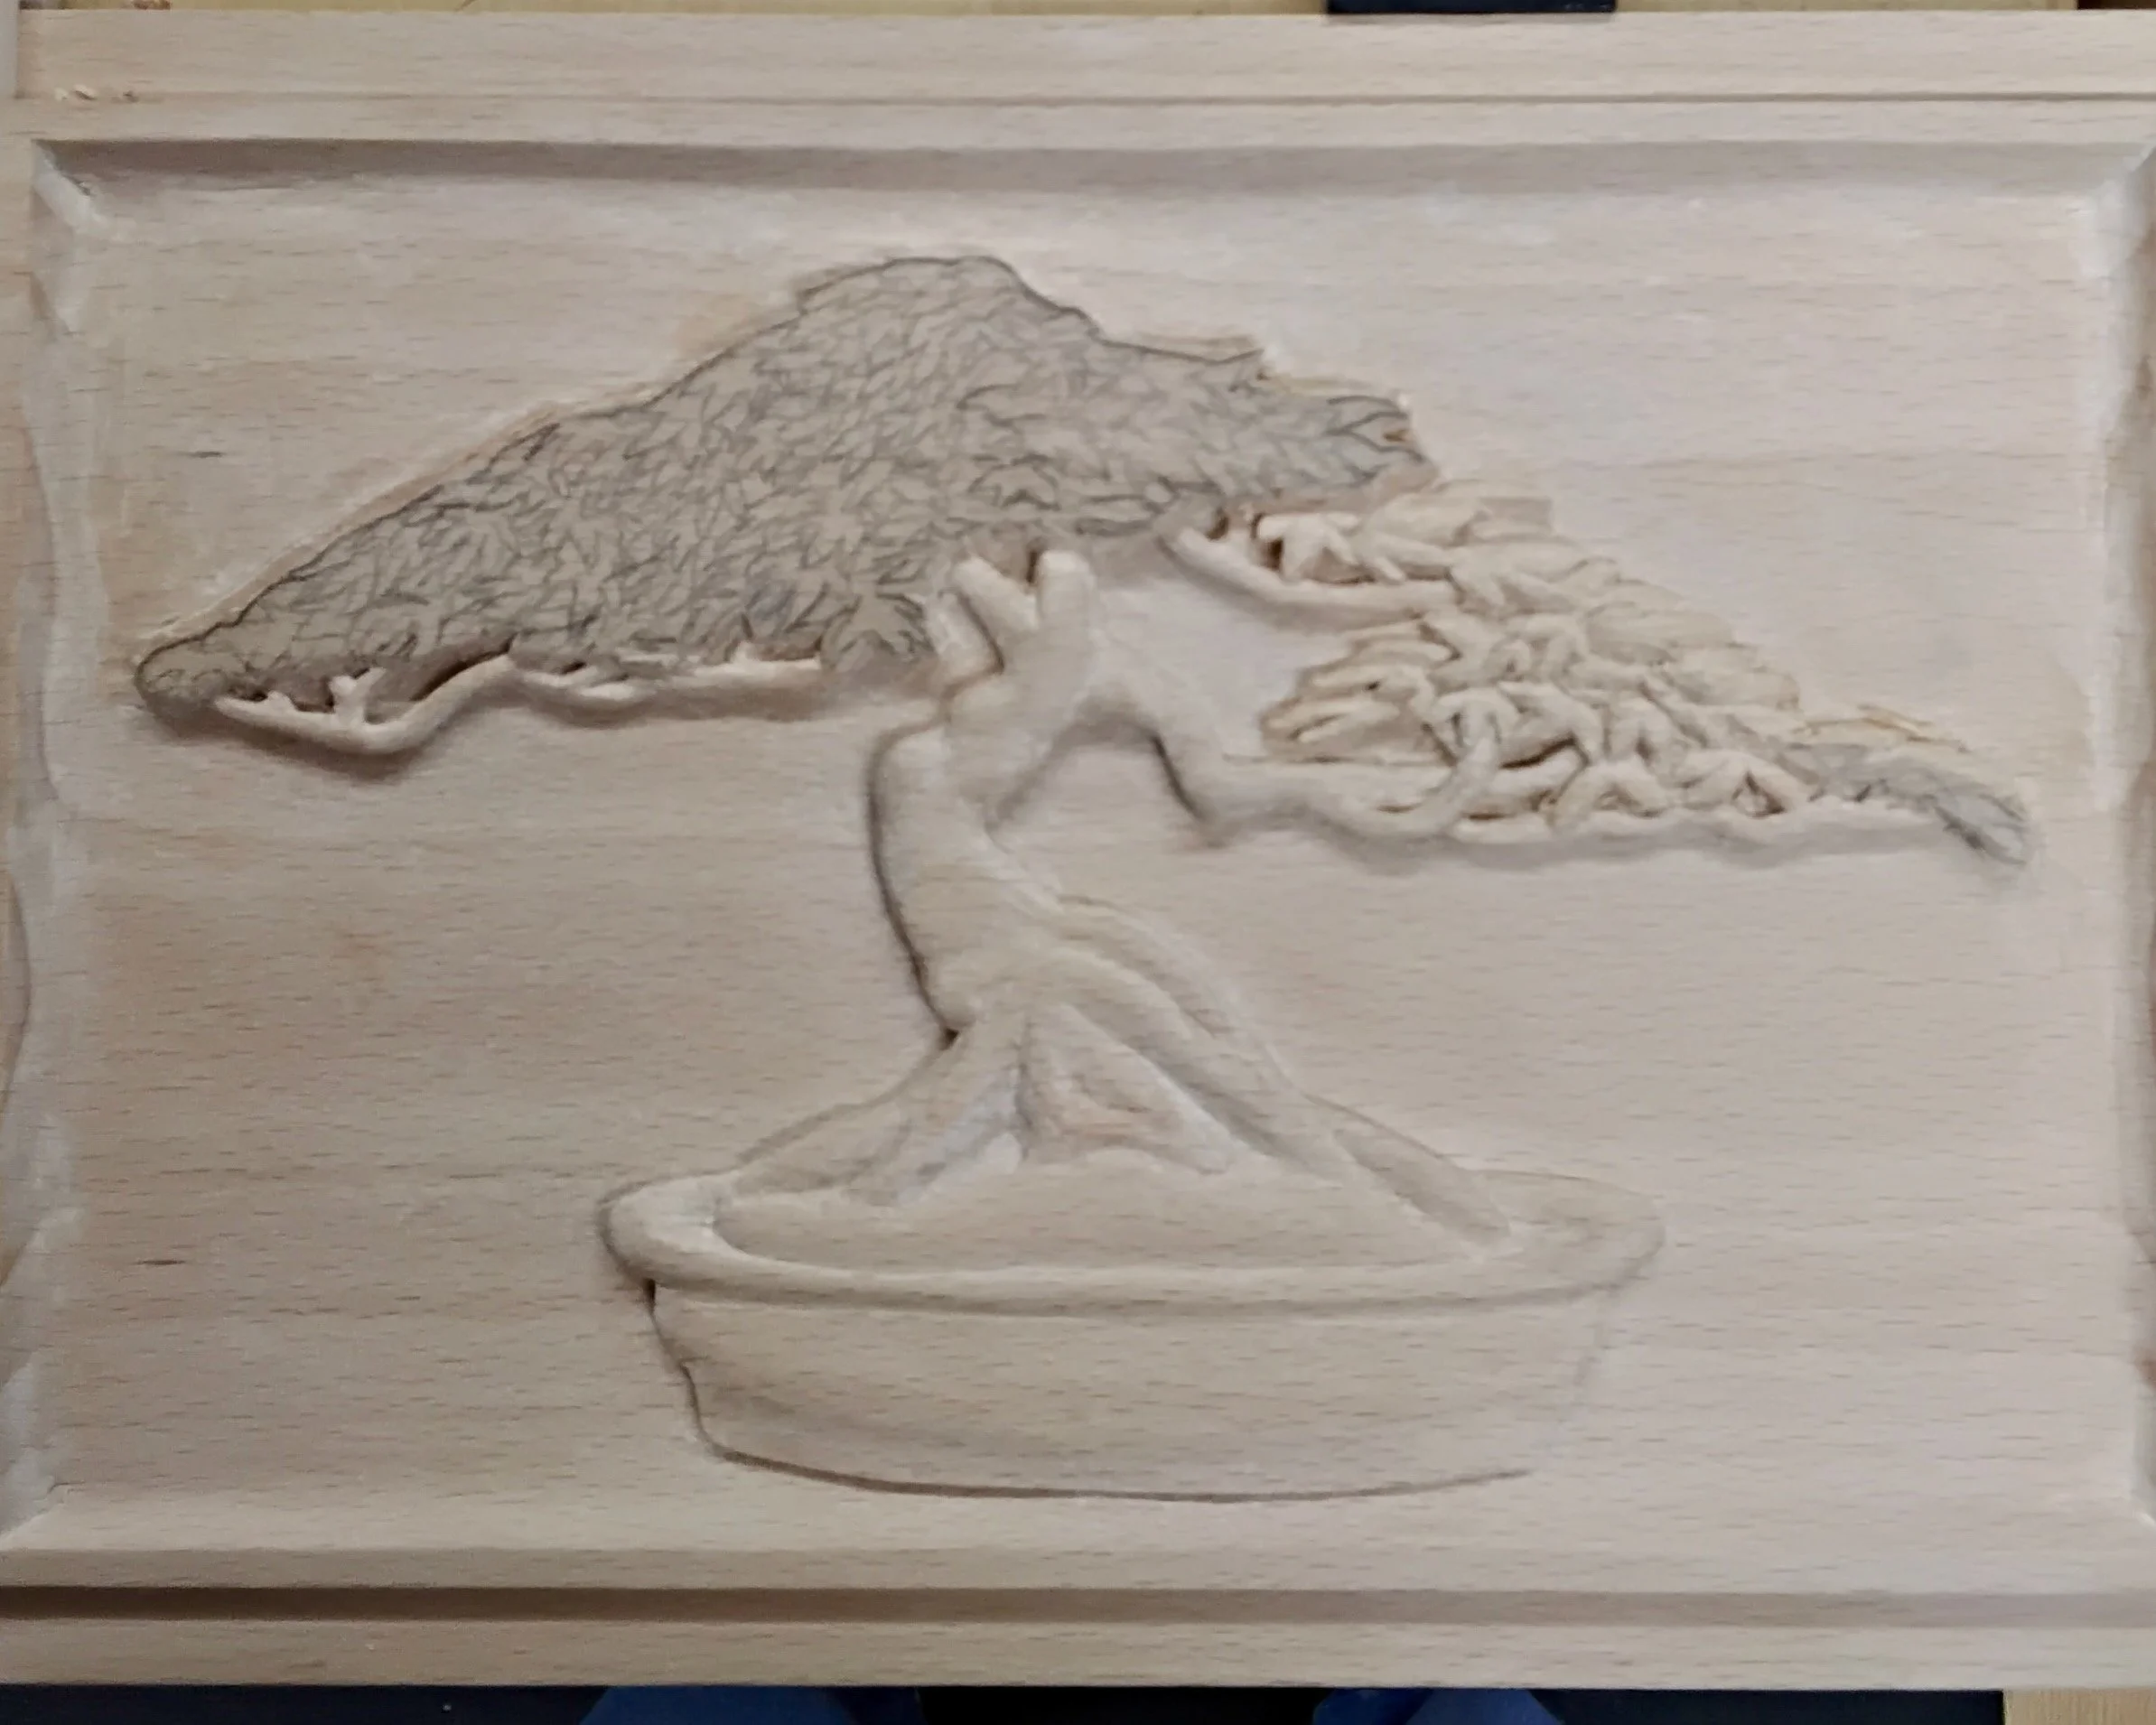
The next step is to use a v-chisel. For this carving I used a 6 millimeter because it is approximately the same depth as the background will be. With the v-chisel and mallet I cut around the outline of the stencil. I stay about a 16th of an inch away from the stencil for now and will refine it later. I also cut a groove around the edge but stay approximately 3/8ths of an inch away because the edge will be a cove and not a straight edge. Next I used a 6 millimeter number 7 chisel to cut the cove around the edge. The next step is to remove the background. For this I used a few different widths of a number 2 chisels ranging from 16 millimeters to 2 millimeters depending on how wide or narrow an area I am removing. As with the groove I cut around the pattern, staying slightly above where the finished depth will be. With the background now removed, I will now square up the edges around the pattern using a variety of different chisels carefully matching the chisels with the curves of the pattern. Once this is completed I will begin shaping the tree trunk and pot, again using a variety of different chisels.
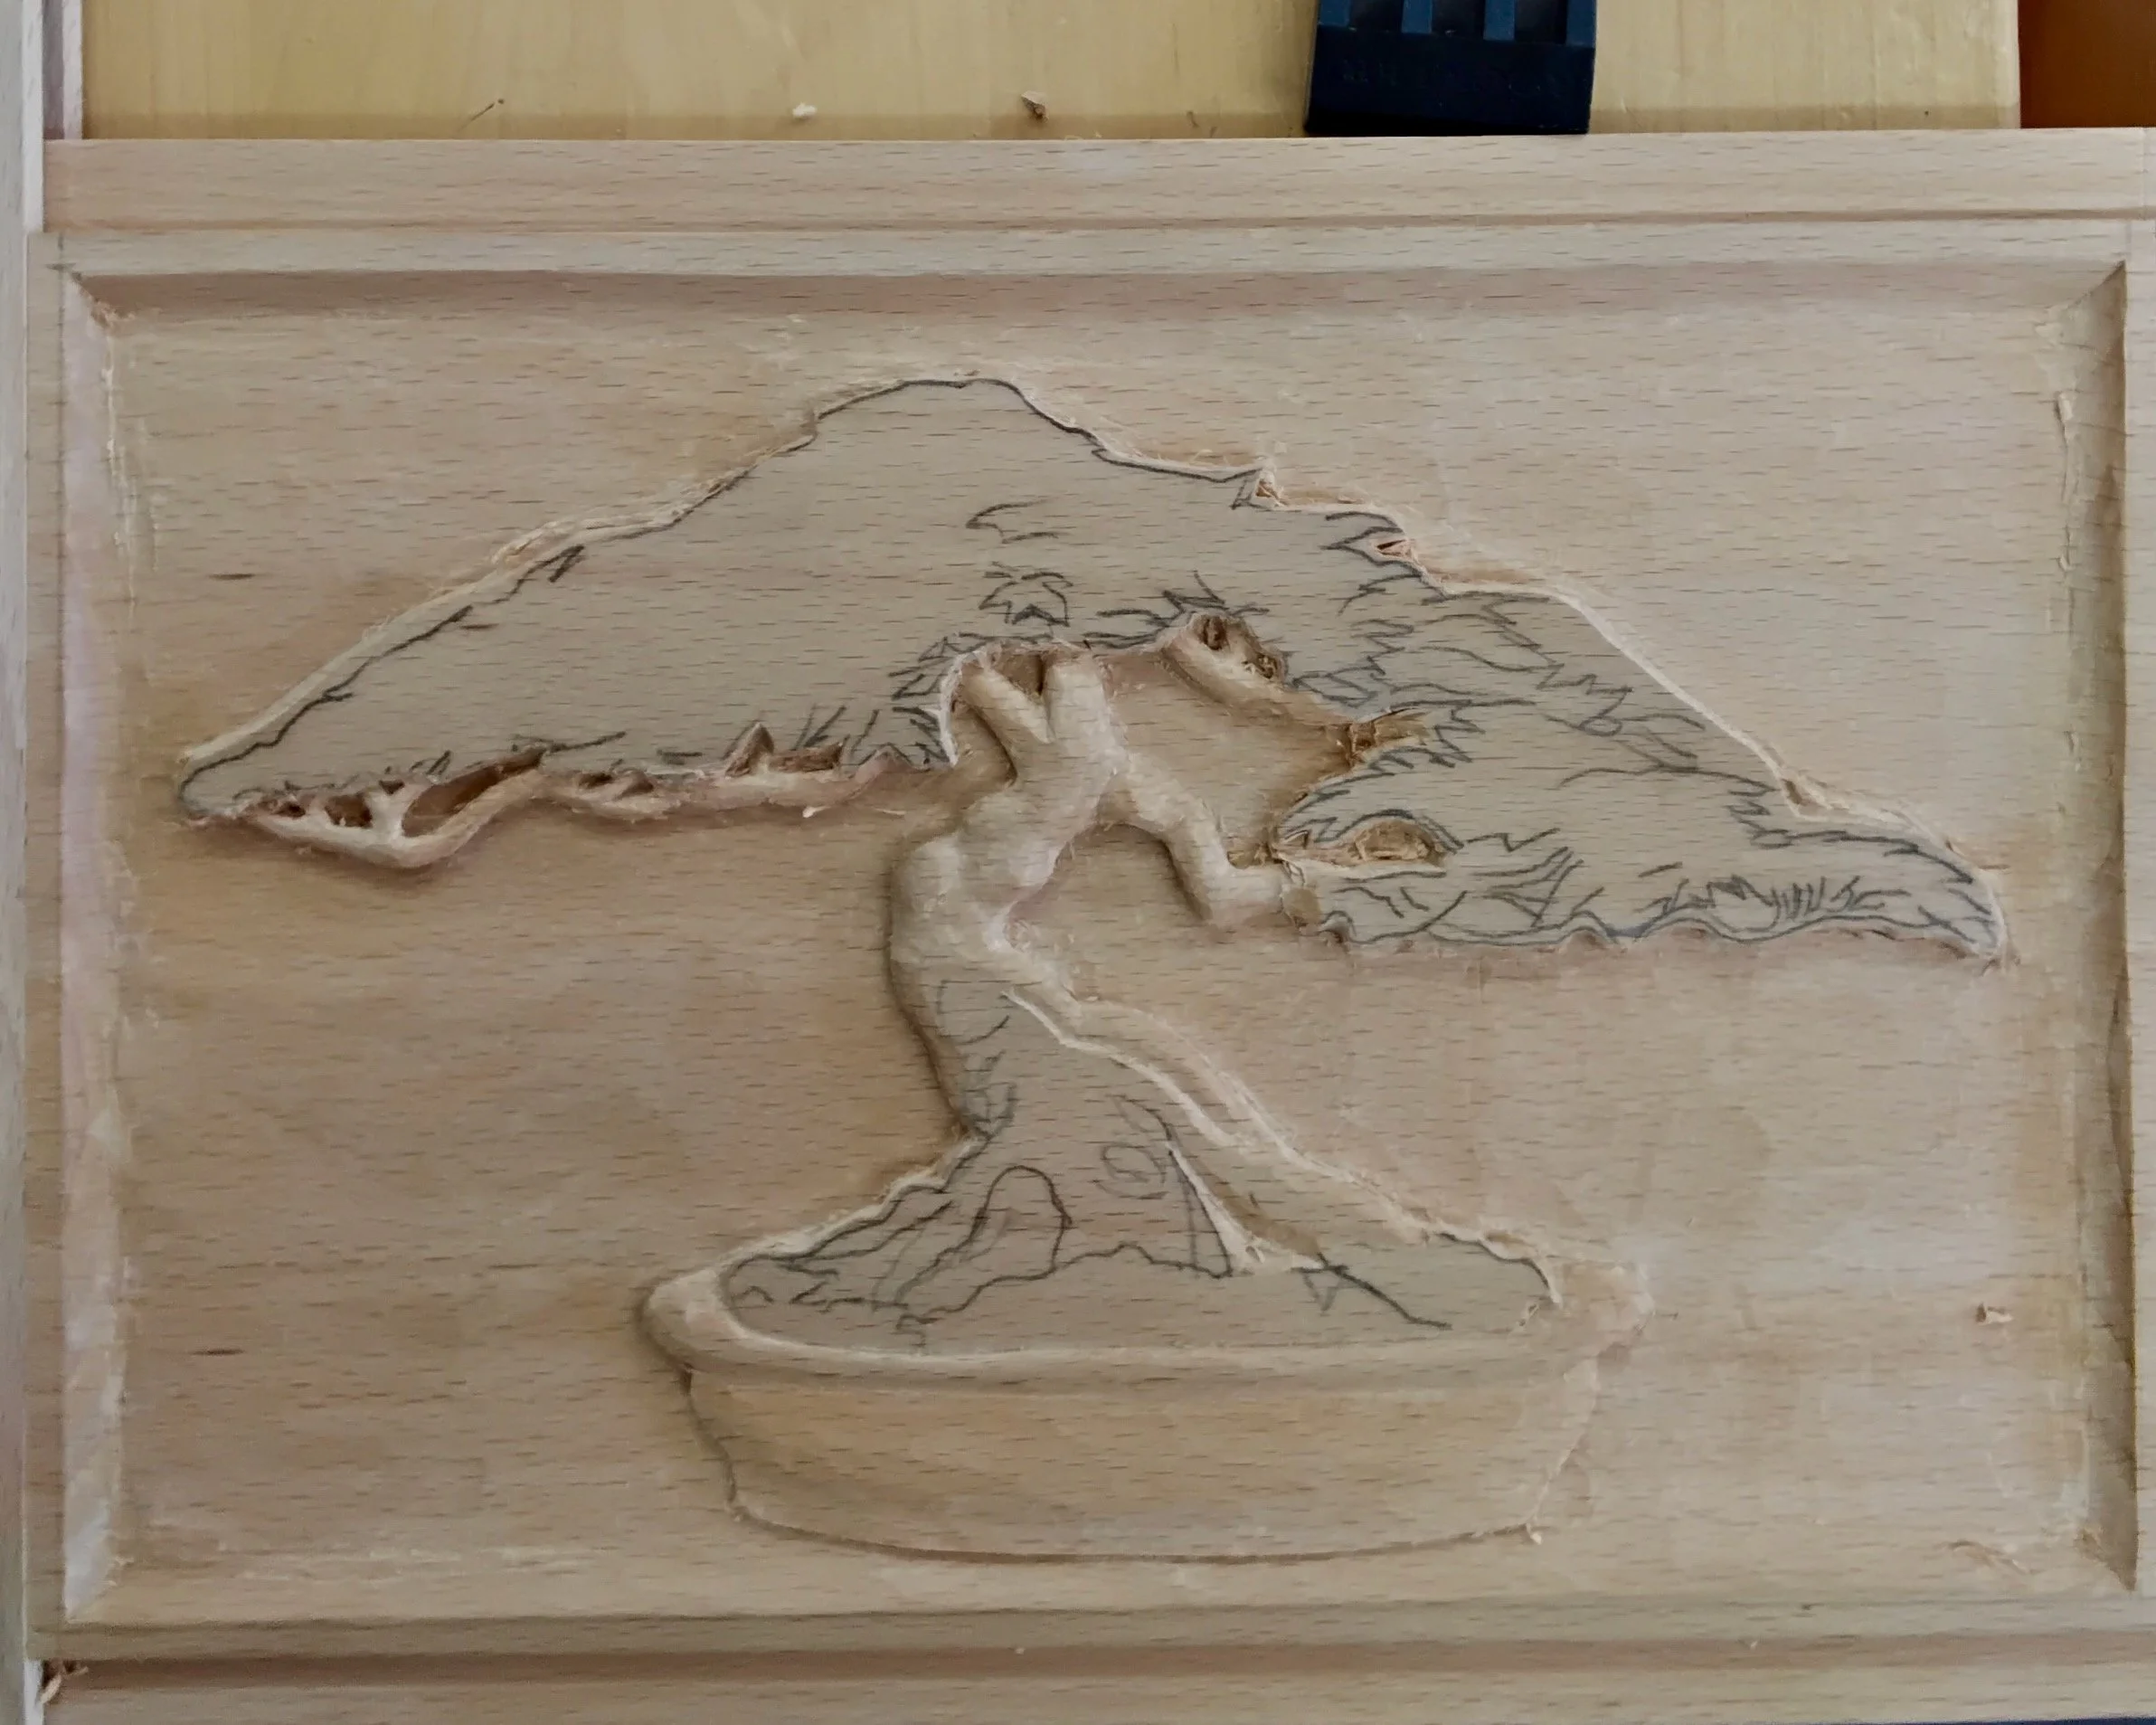
Edges defined, pot and trunk taking shape
As I complete this section I will now carve all the way down to the finished depth. I next turn to the leaves. I begin by hand drawing in the leaves. I didn't transfer this section with the carbon paper because it is easier for me to draw them in.
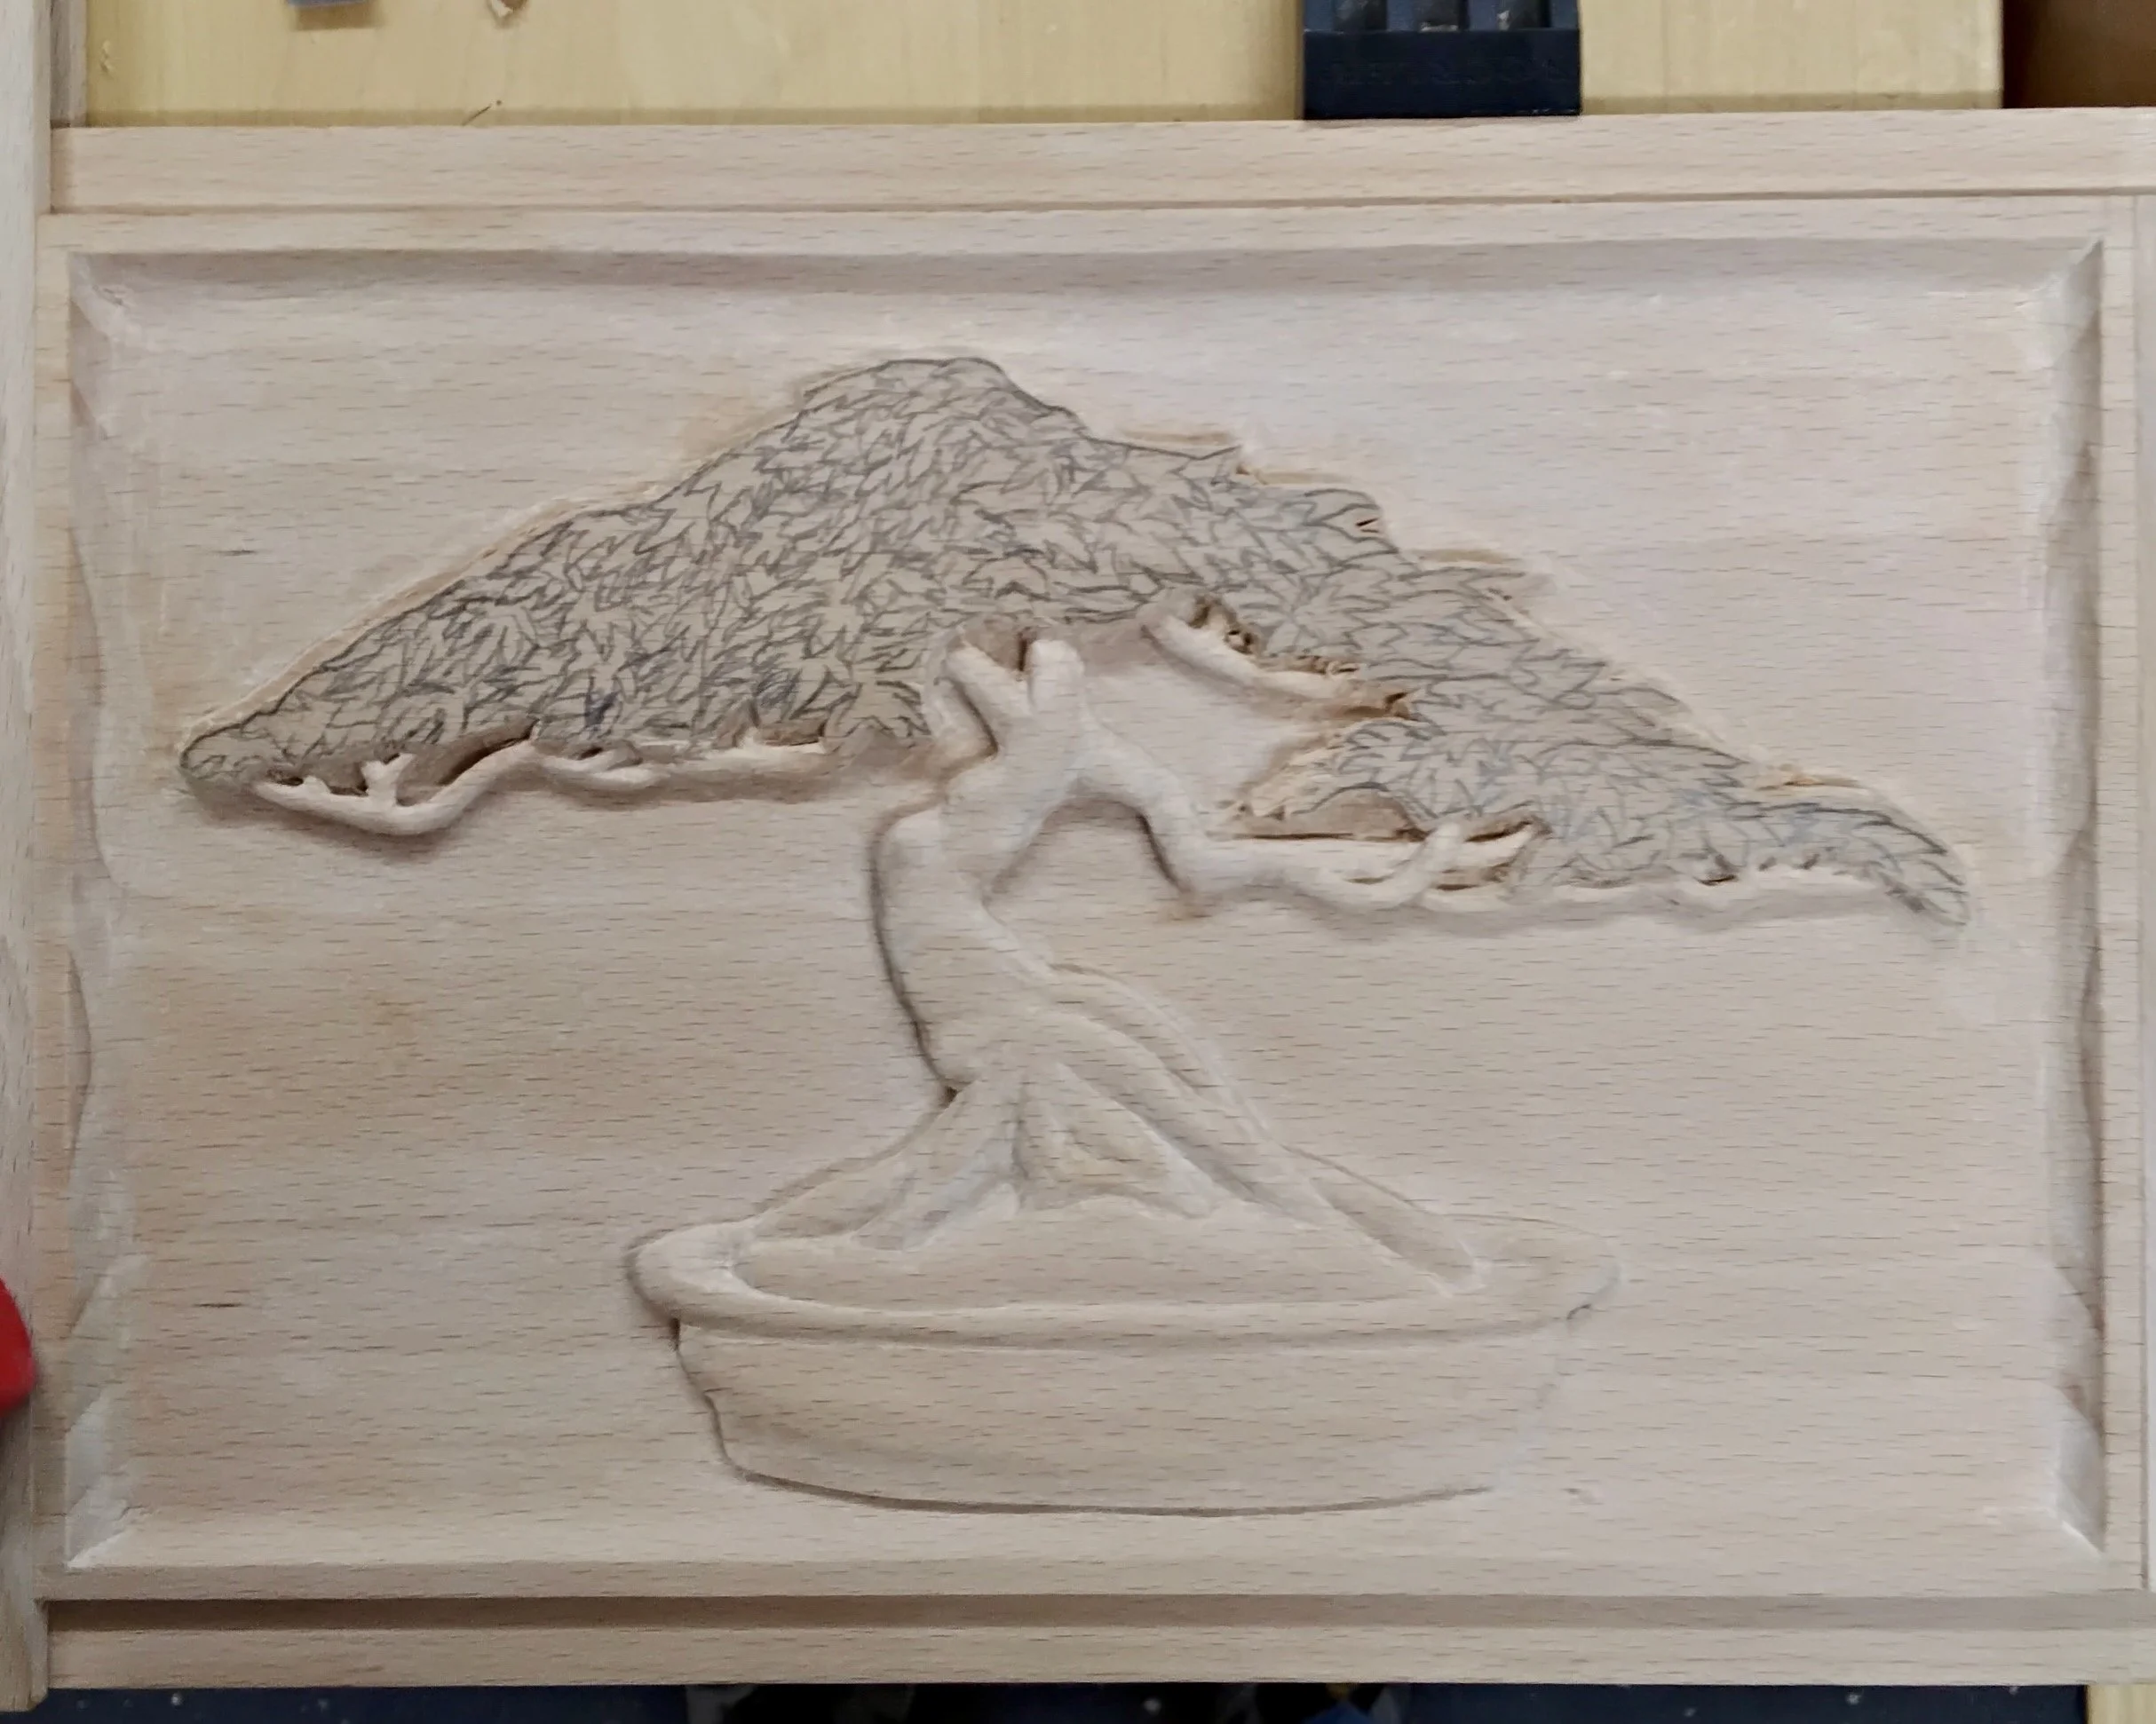
Leaf patterns added by hand
The leaves are the most intricate part of this carving requiring many different chisels.
Preparing for the leaf work
(also, note Don’s latest painting in the background of his studio)
Canopy taking shape
With the majority of the carving done, I will now do the final carving to clean up all the edges and rough spots.
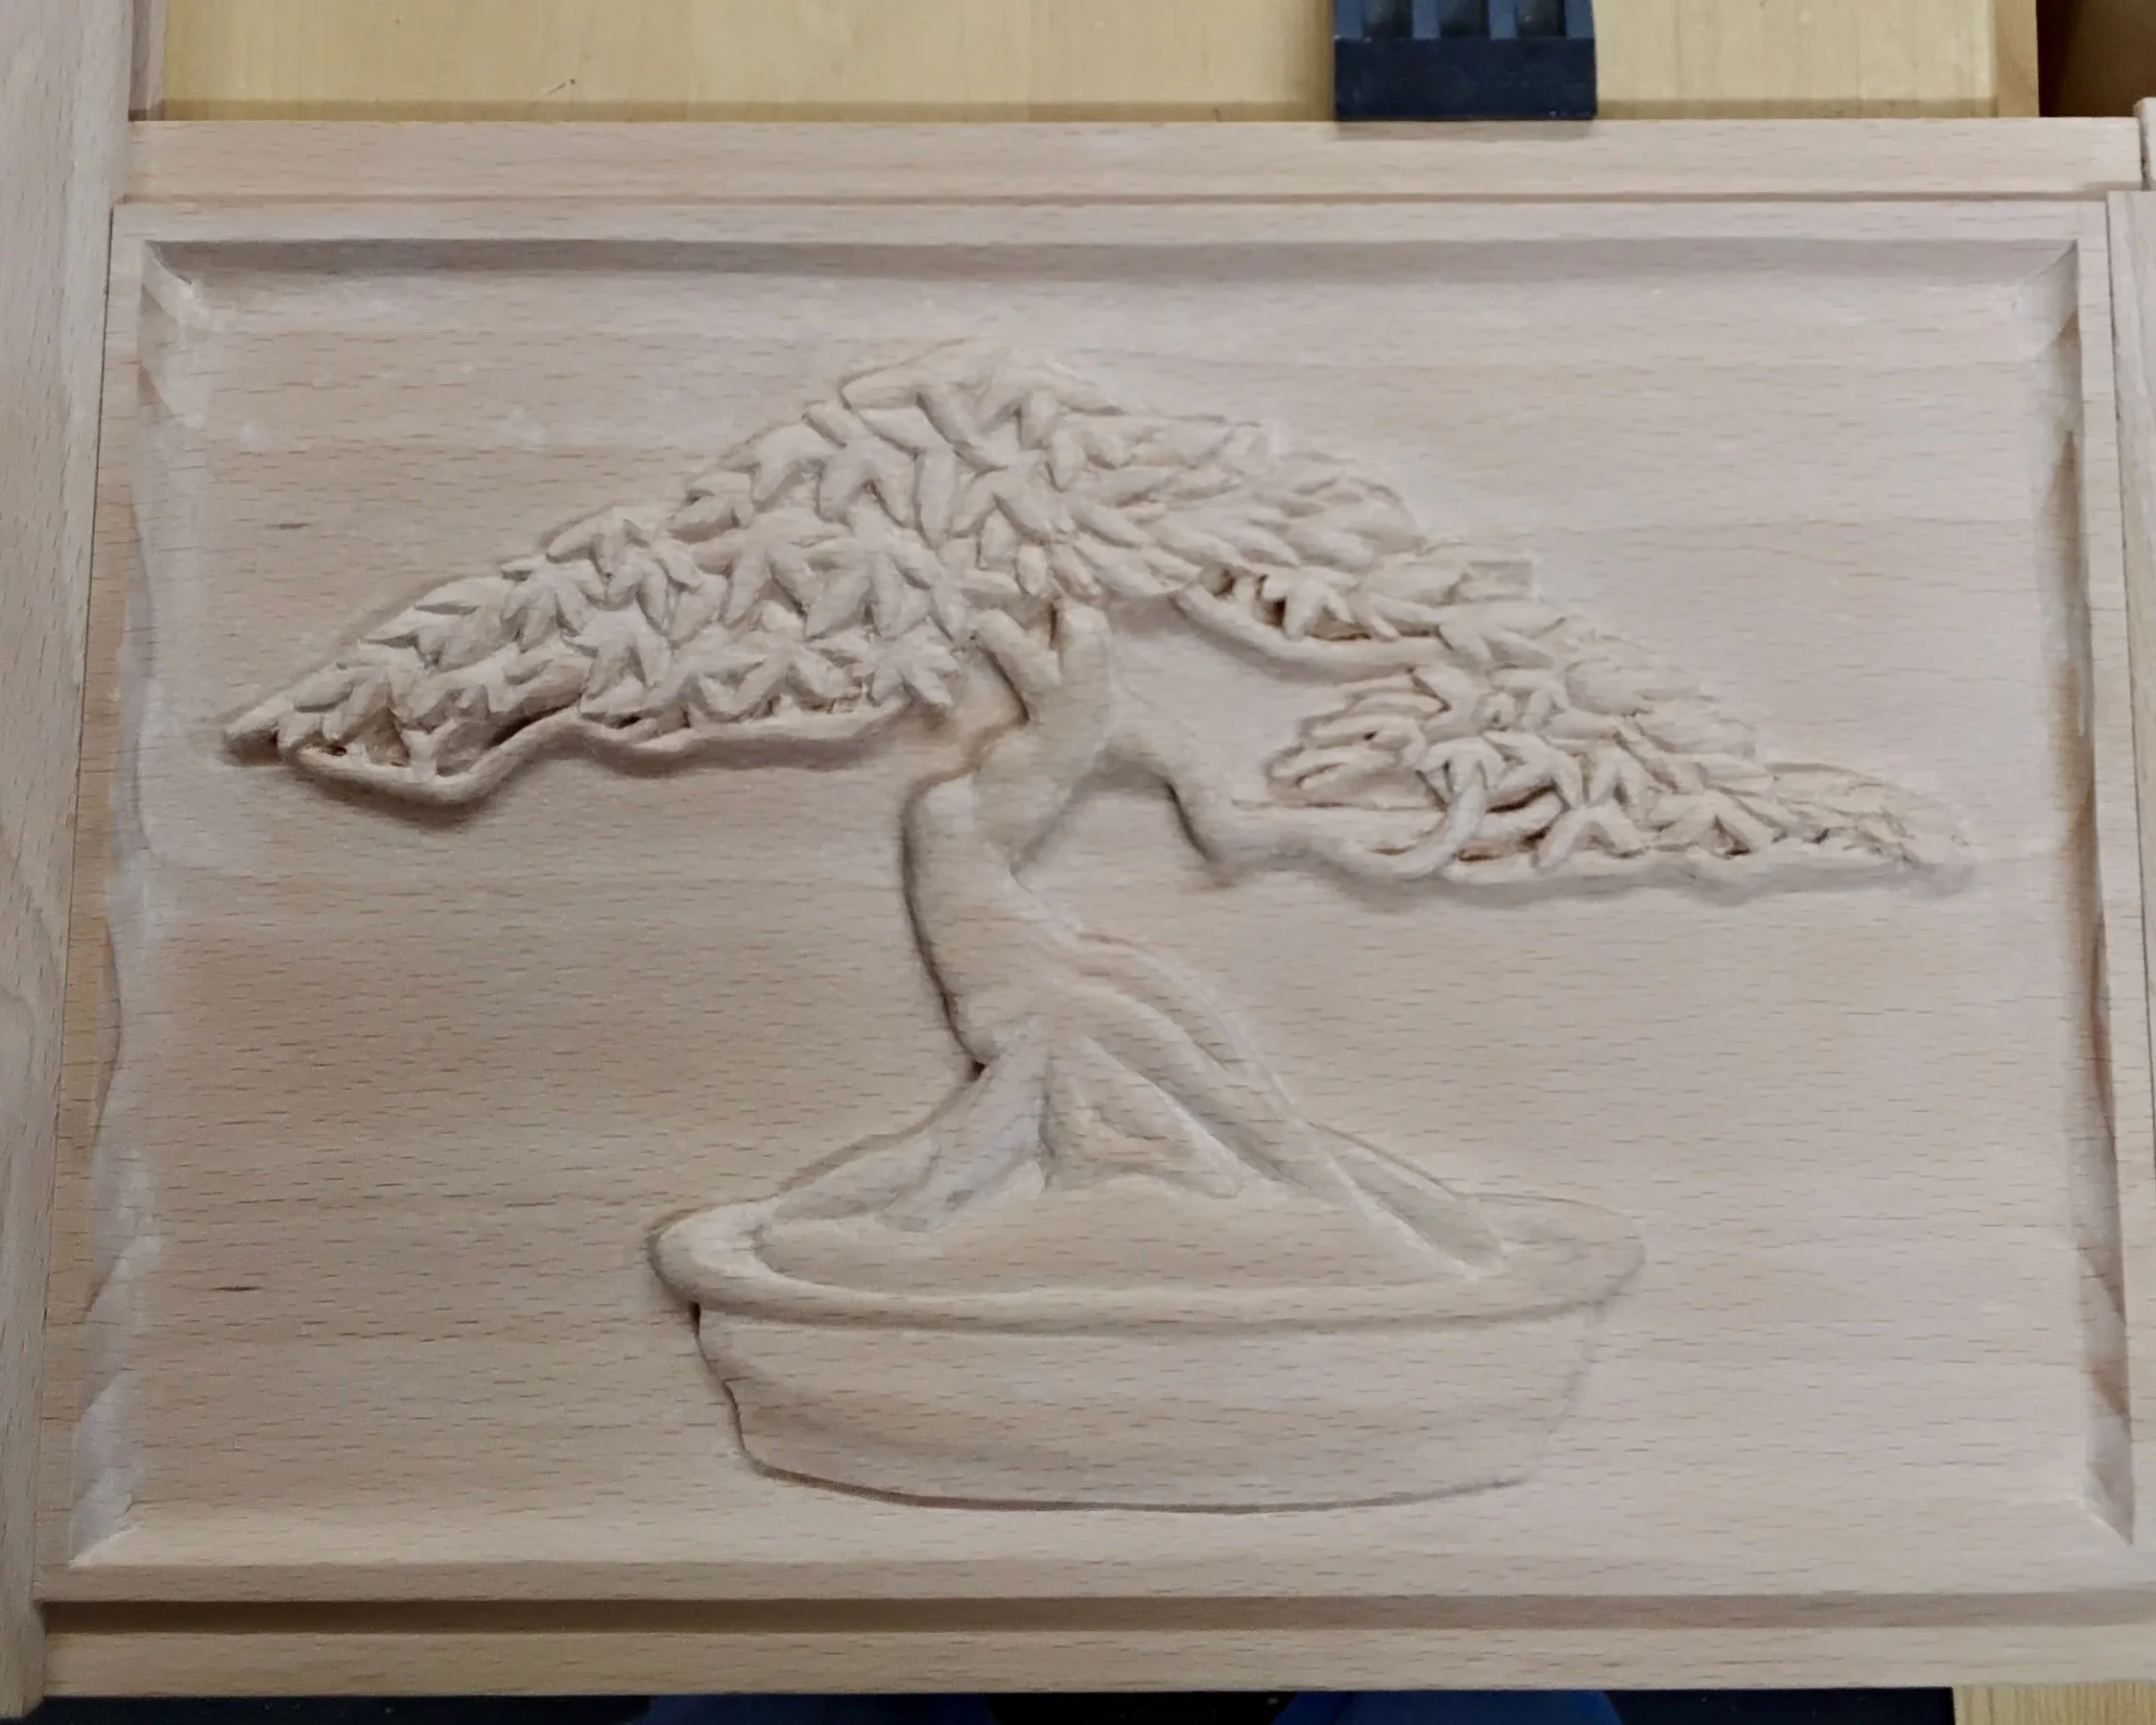
Ready for the final touch-ups
The very final step is to lightly sand the entire carving with 220 sandpaper.
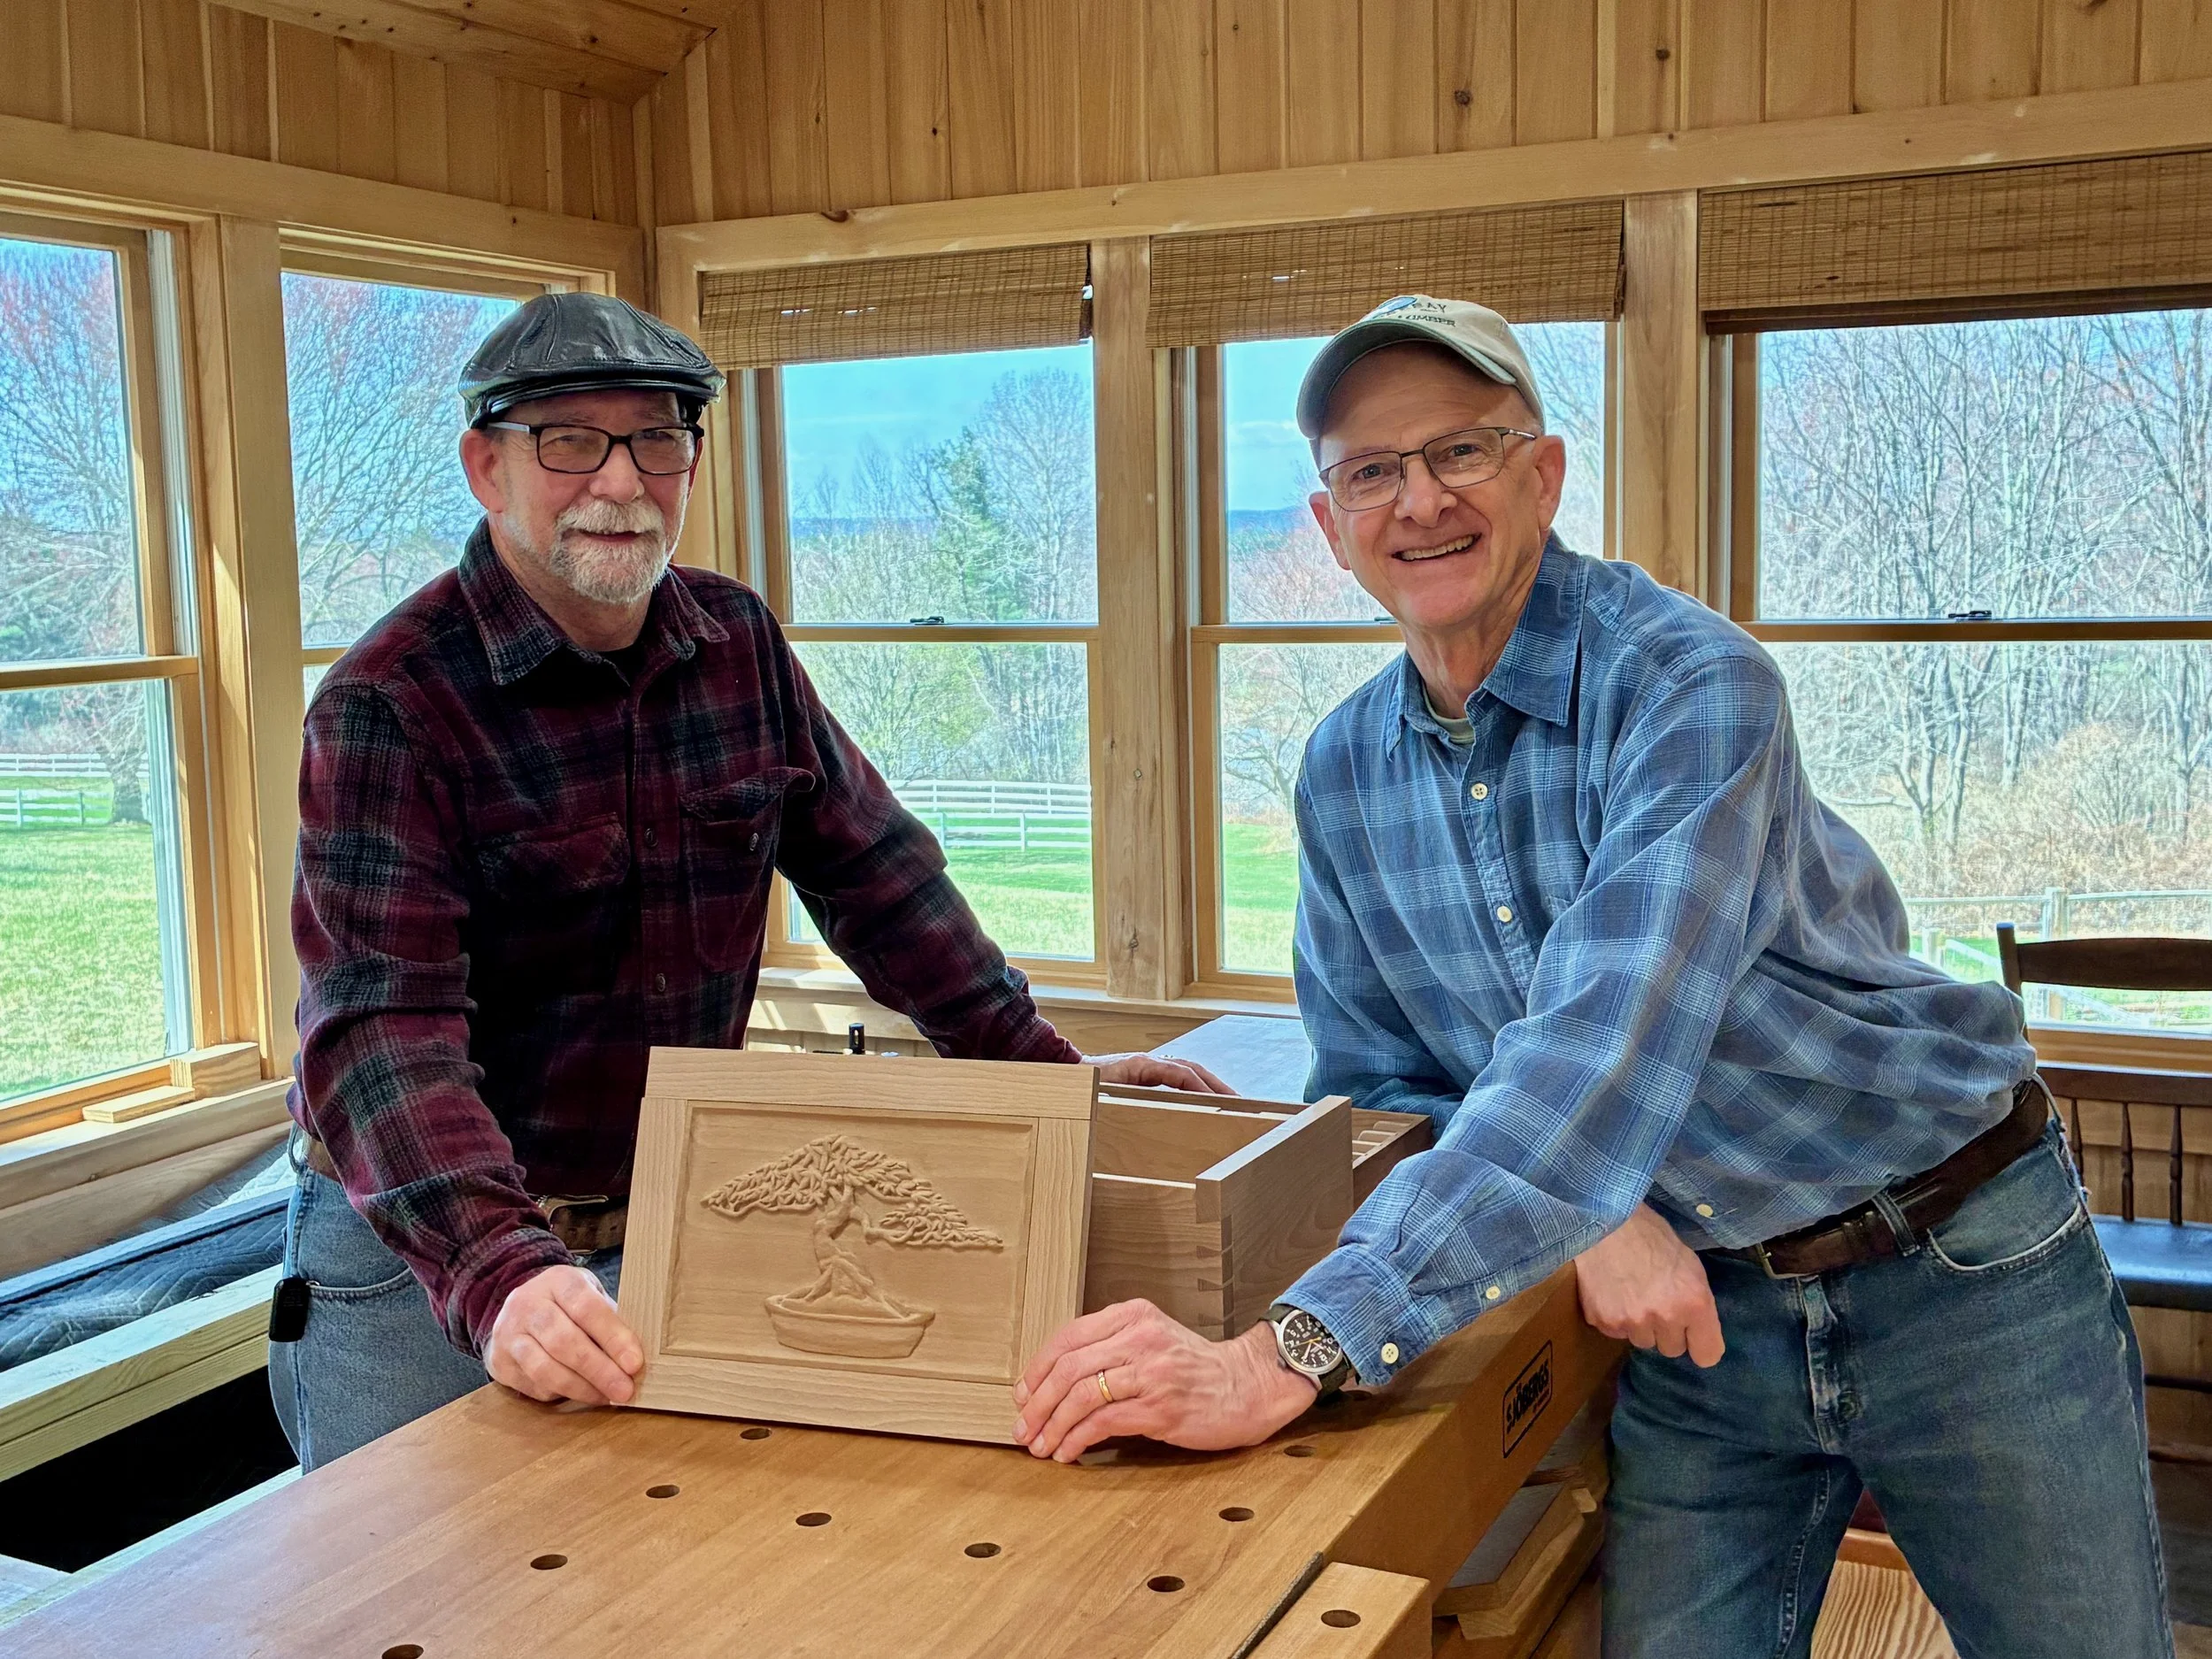
Taking delivery of the finished work
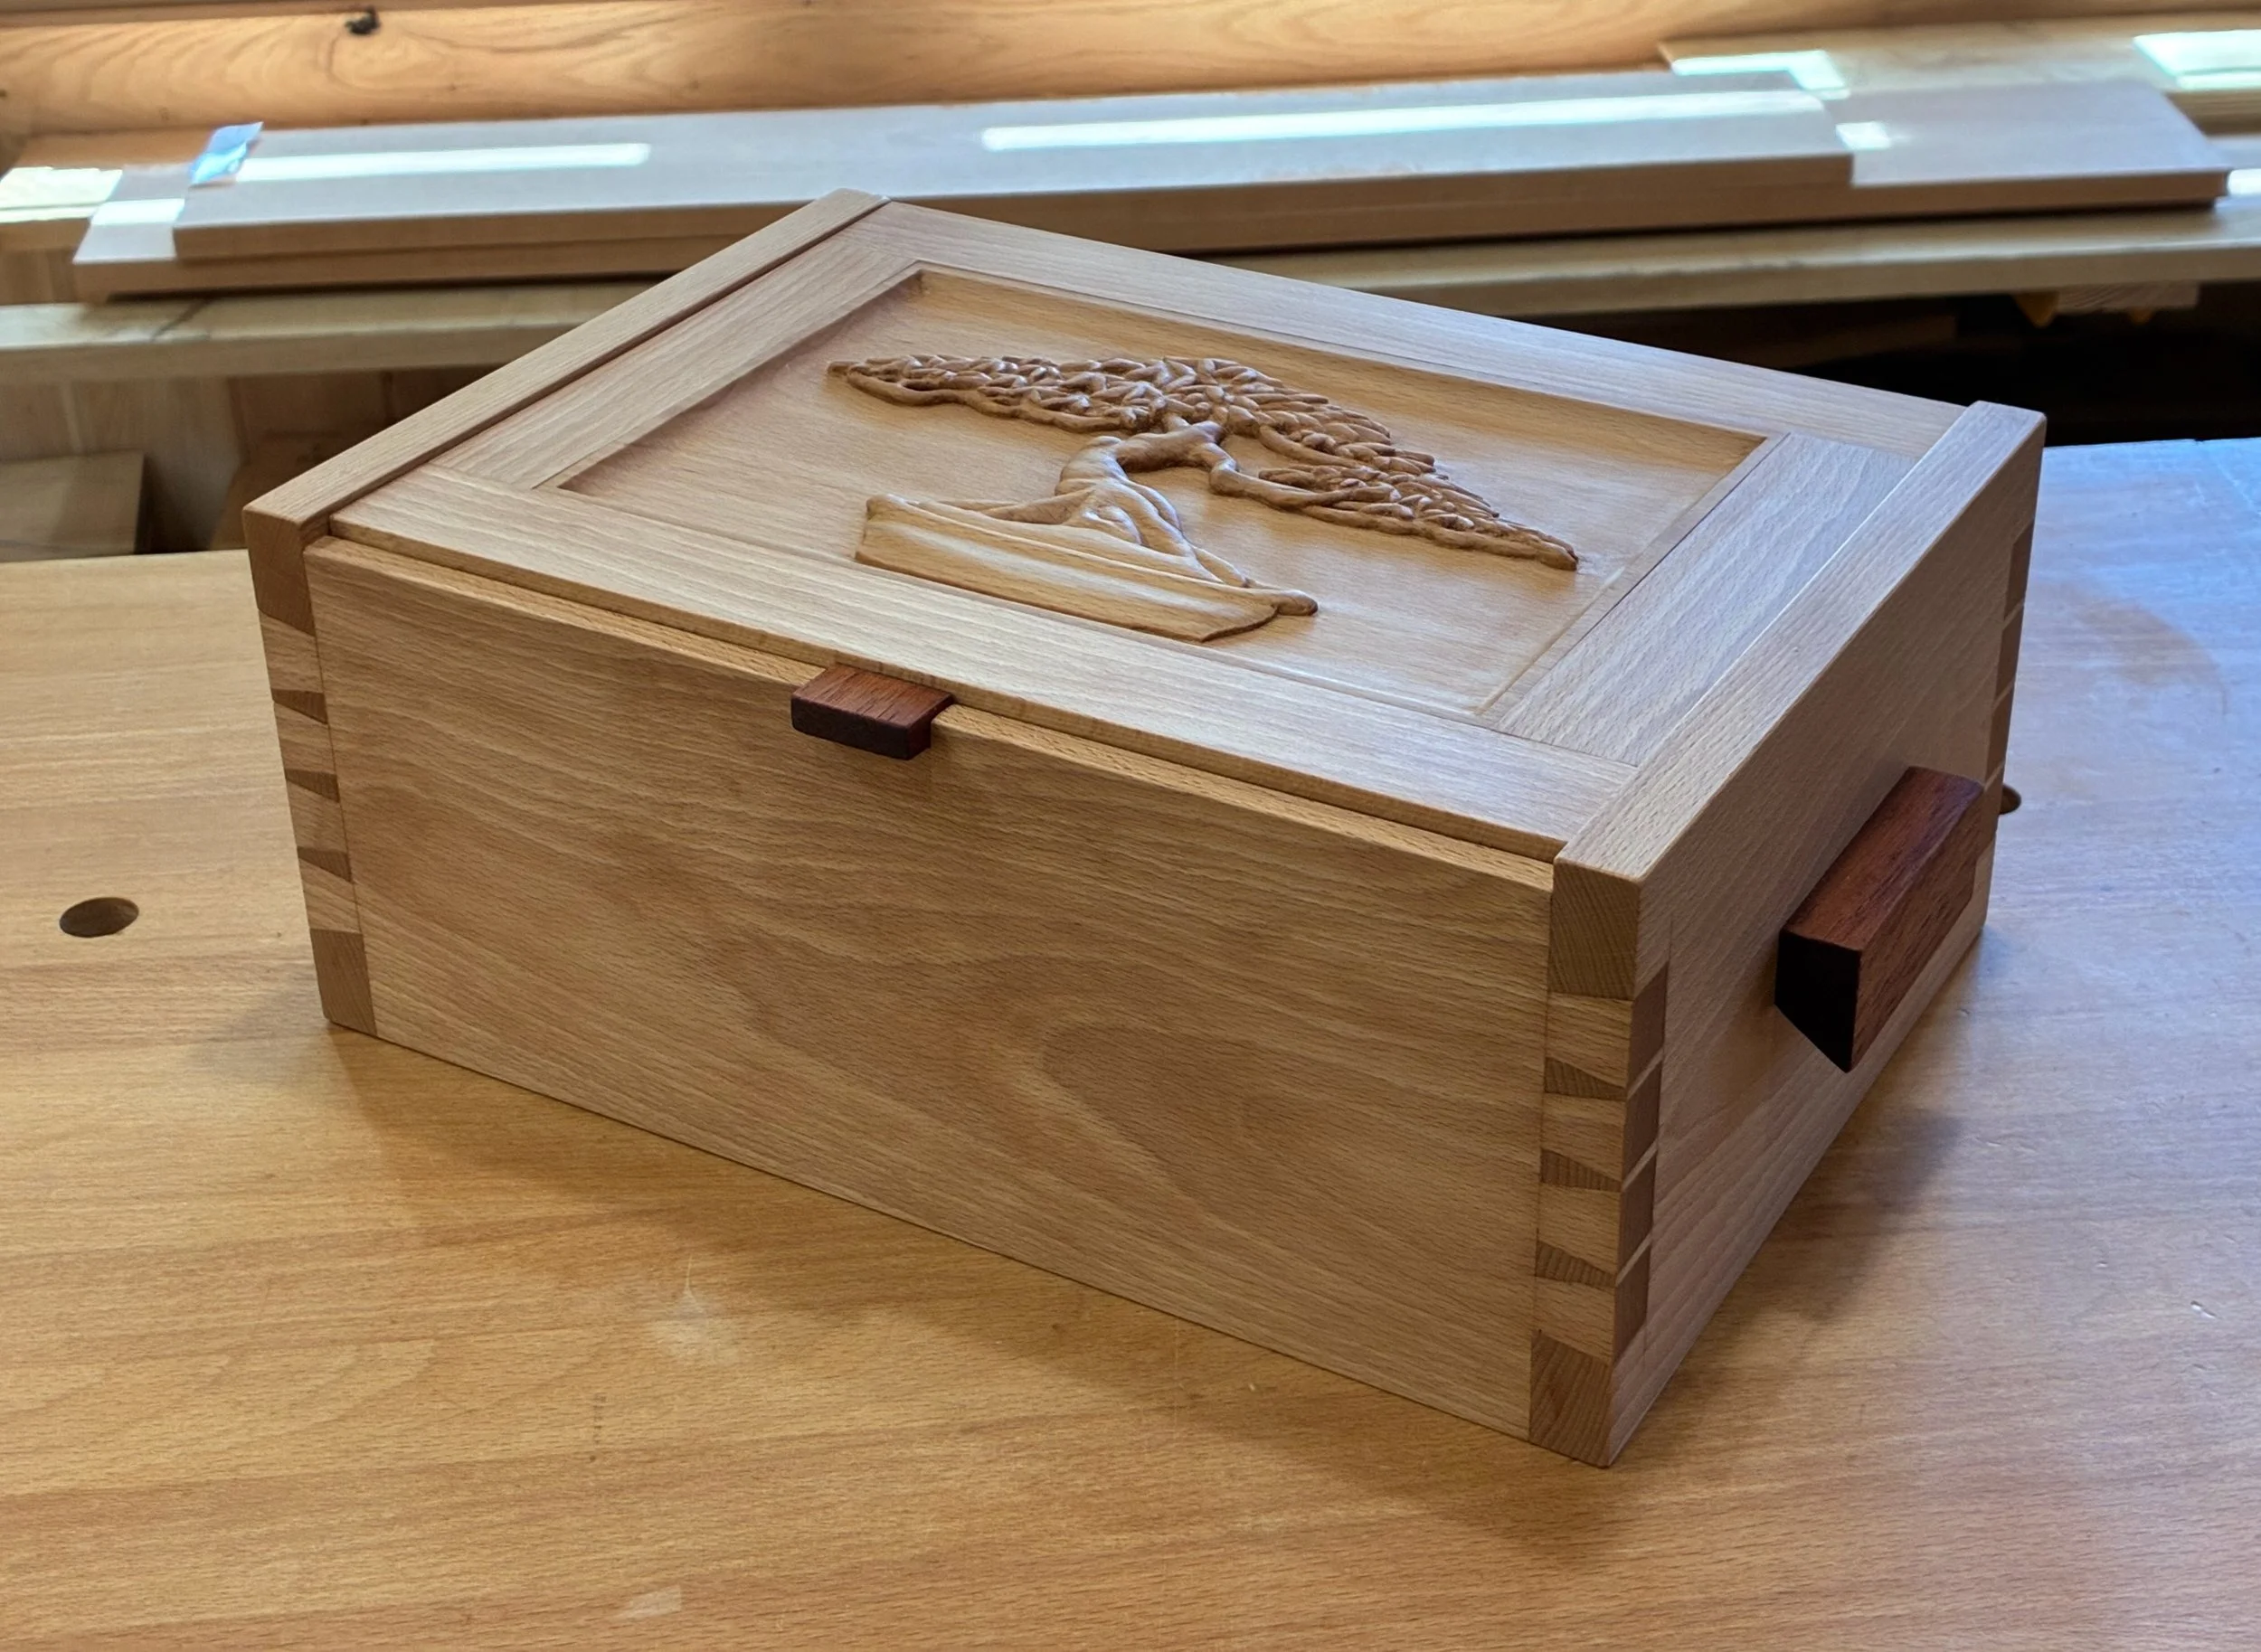
Needless to say I was blown away by the craftsmanship (and beauty) contained in that 6 × 9 inch panel. Thank you Don!
Back in the land of mundane, I had a few things to finish off while the carving proceeded. To begin, the box floor was fashioned from a single beech panel composed of two 3/8 in. thick boards edge glued together, a much simpler version of the original plan. The floor panel was then rabbeted on the long edges to fit snugly within the ¼ in. grooves of the box sides. Following this, the box was knocked apart and two mortises chiseled into the back to house the brass stop hinges for the lid. Finally, a notch was cut into the front side to house the latch.
Tool tray
The original box had a removable top tray, an element common to both jewelry chests and toolboxes. I would keep this feature, with appropriate modifications: mine would be deeper, and divided longitudinally to segregate the tools. I constructed the tray in a manner consistent with the plans using some leftover yellow birch as material. Prior to assembly, the short sides were dadoed to house 5 partition boards, the center one being modified to also serve as a handle.
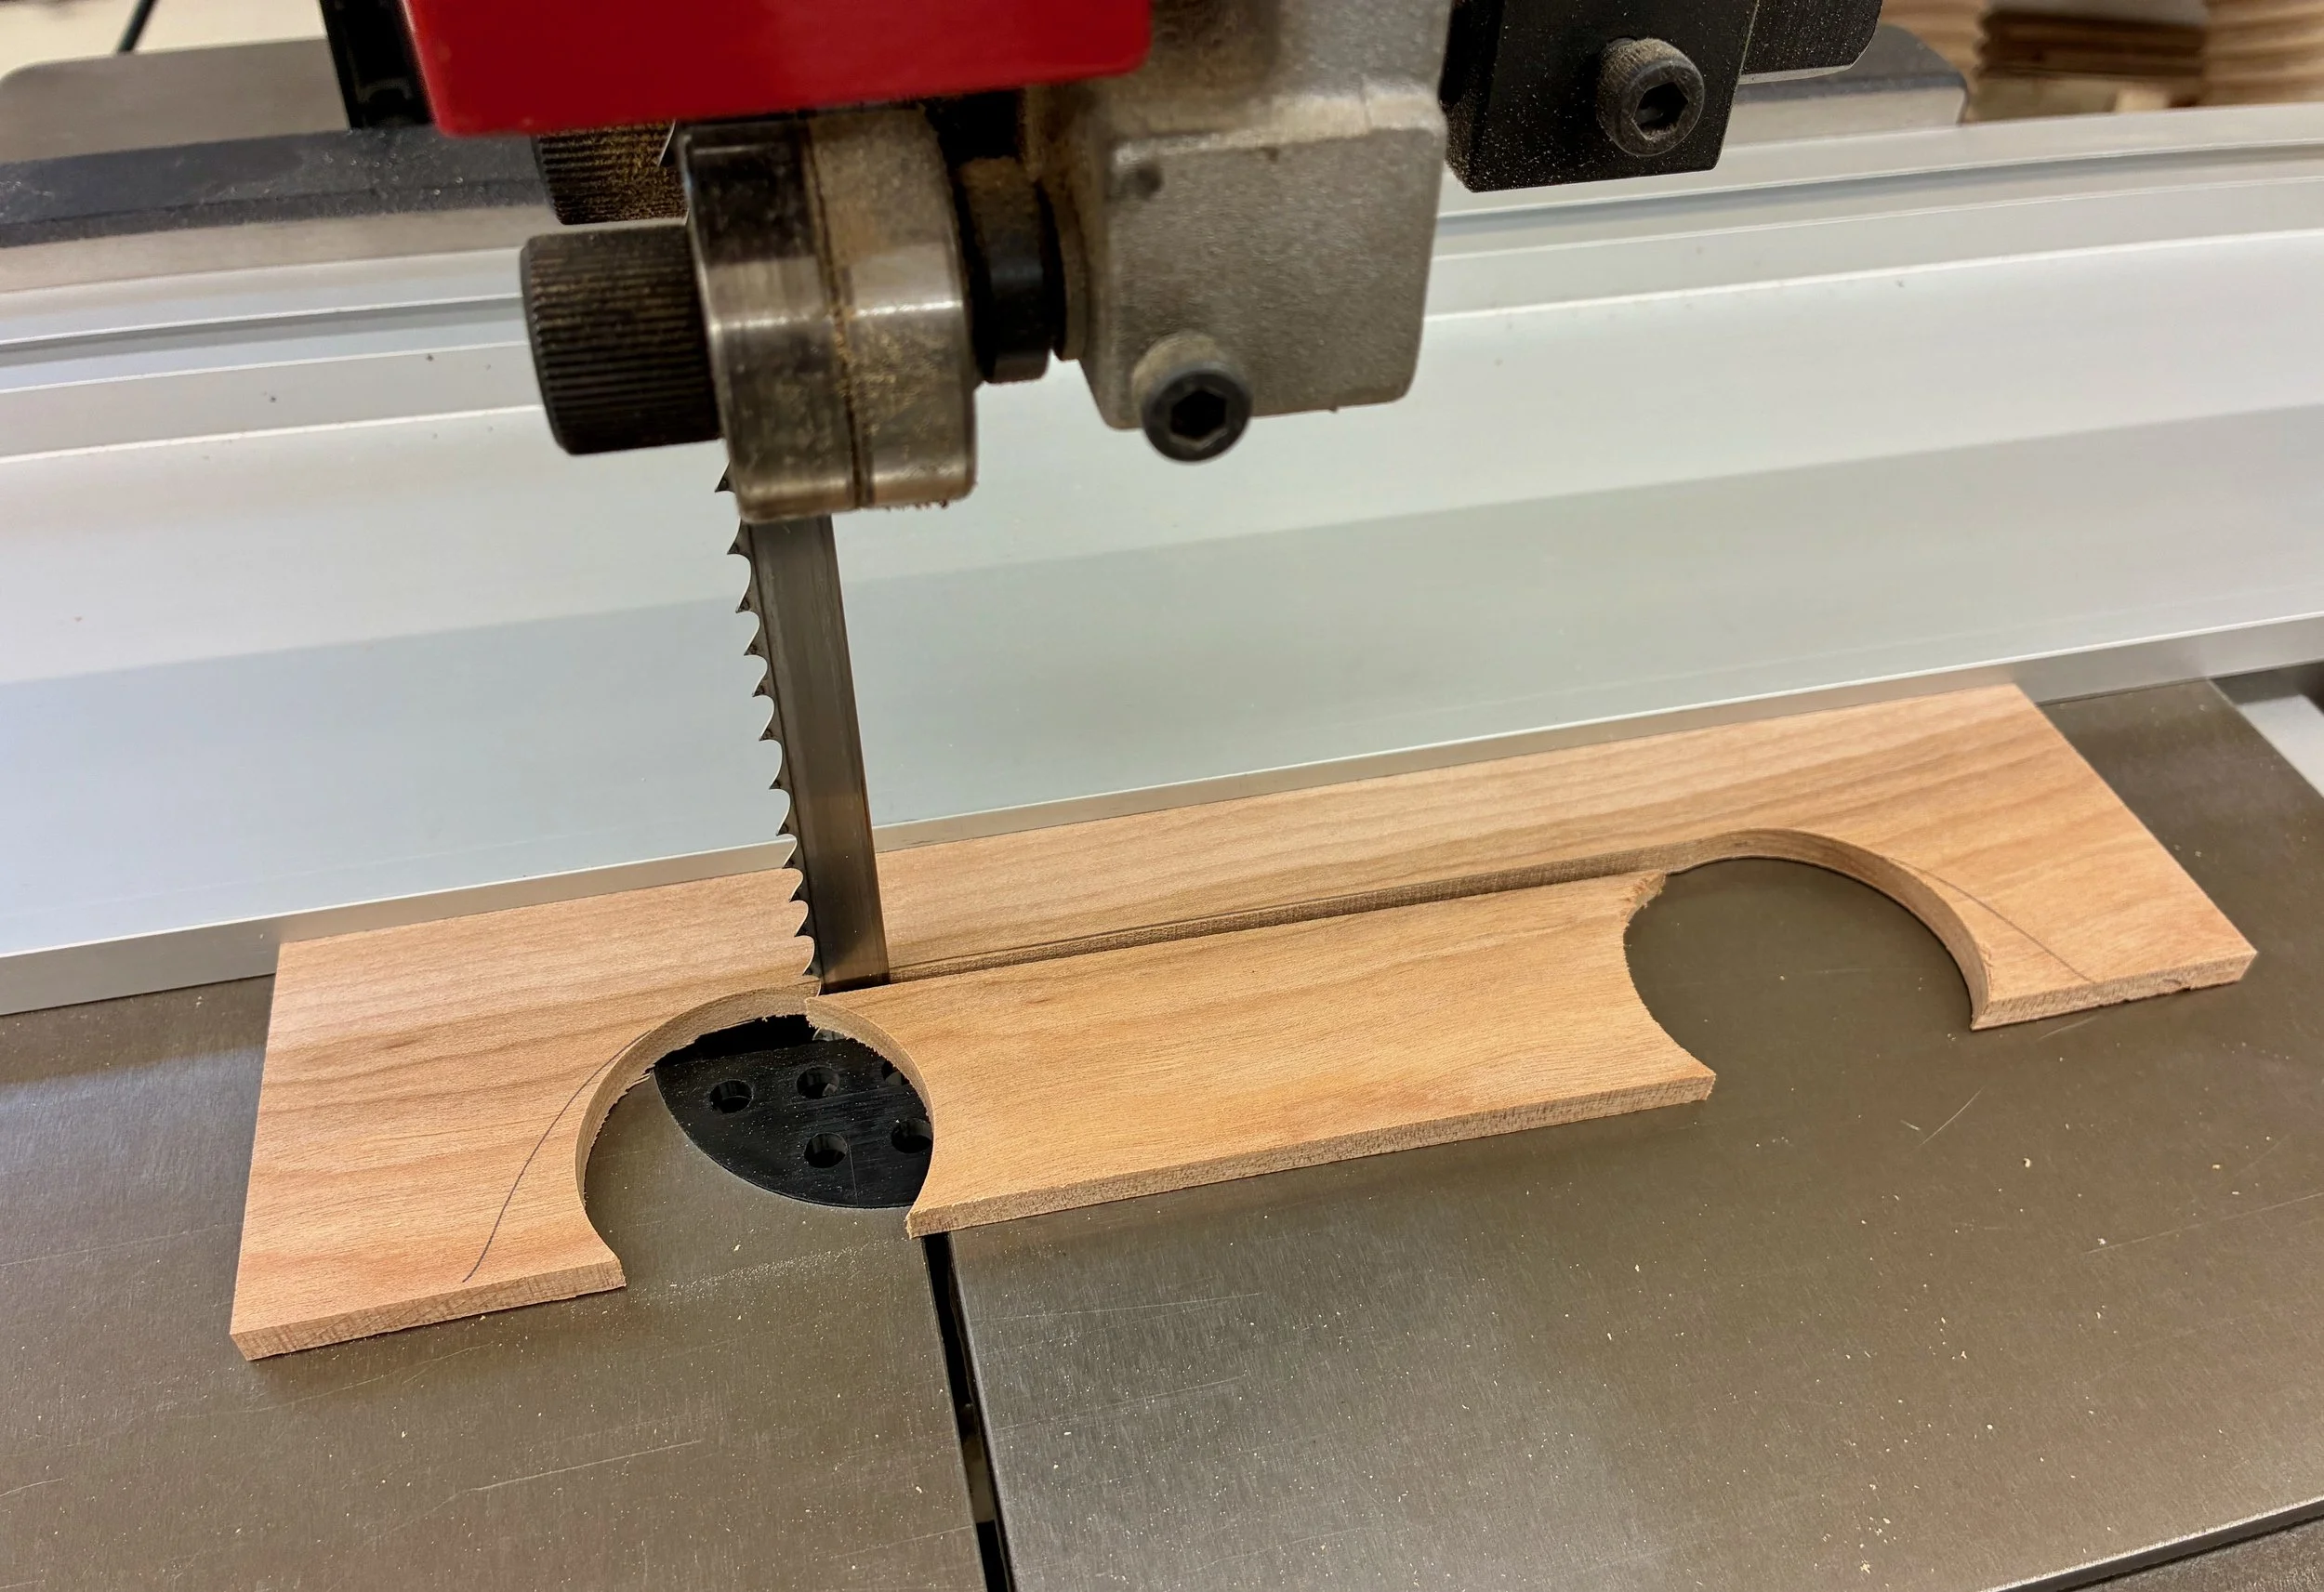
Cutting out the belly of a partition, roughly shaped beforehand at the drill press

Using a template jig to smooth the partion edges at the router table
Assembly & Finish
Following a final sanding of the parts it was time to put things together. Those dovetail joints were such a tight rub during the several dry-fits and disassemblies that, being afraid to apply glue and swell the wood even more, I popped the thing together dry and cinched the joints firm with clamps and cauls. It creaked as the clamps were tightened, giving some confidence that it’s not going anywhere. The tray was next glued-up, “clamped” along the mitered edges using tape, and then nestled into the box to assure a square assembly that “fits”.
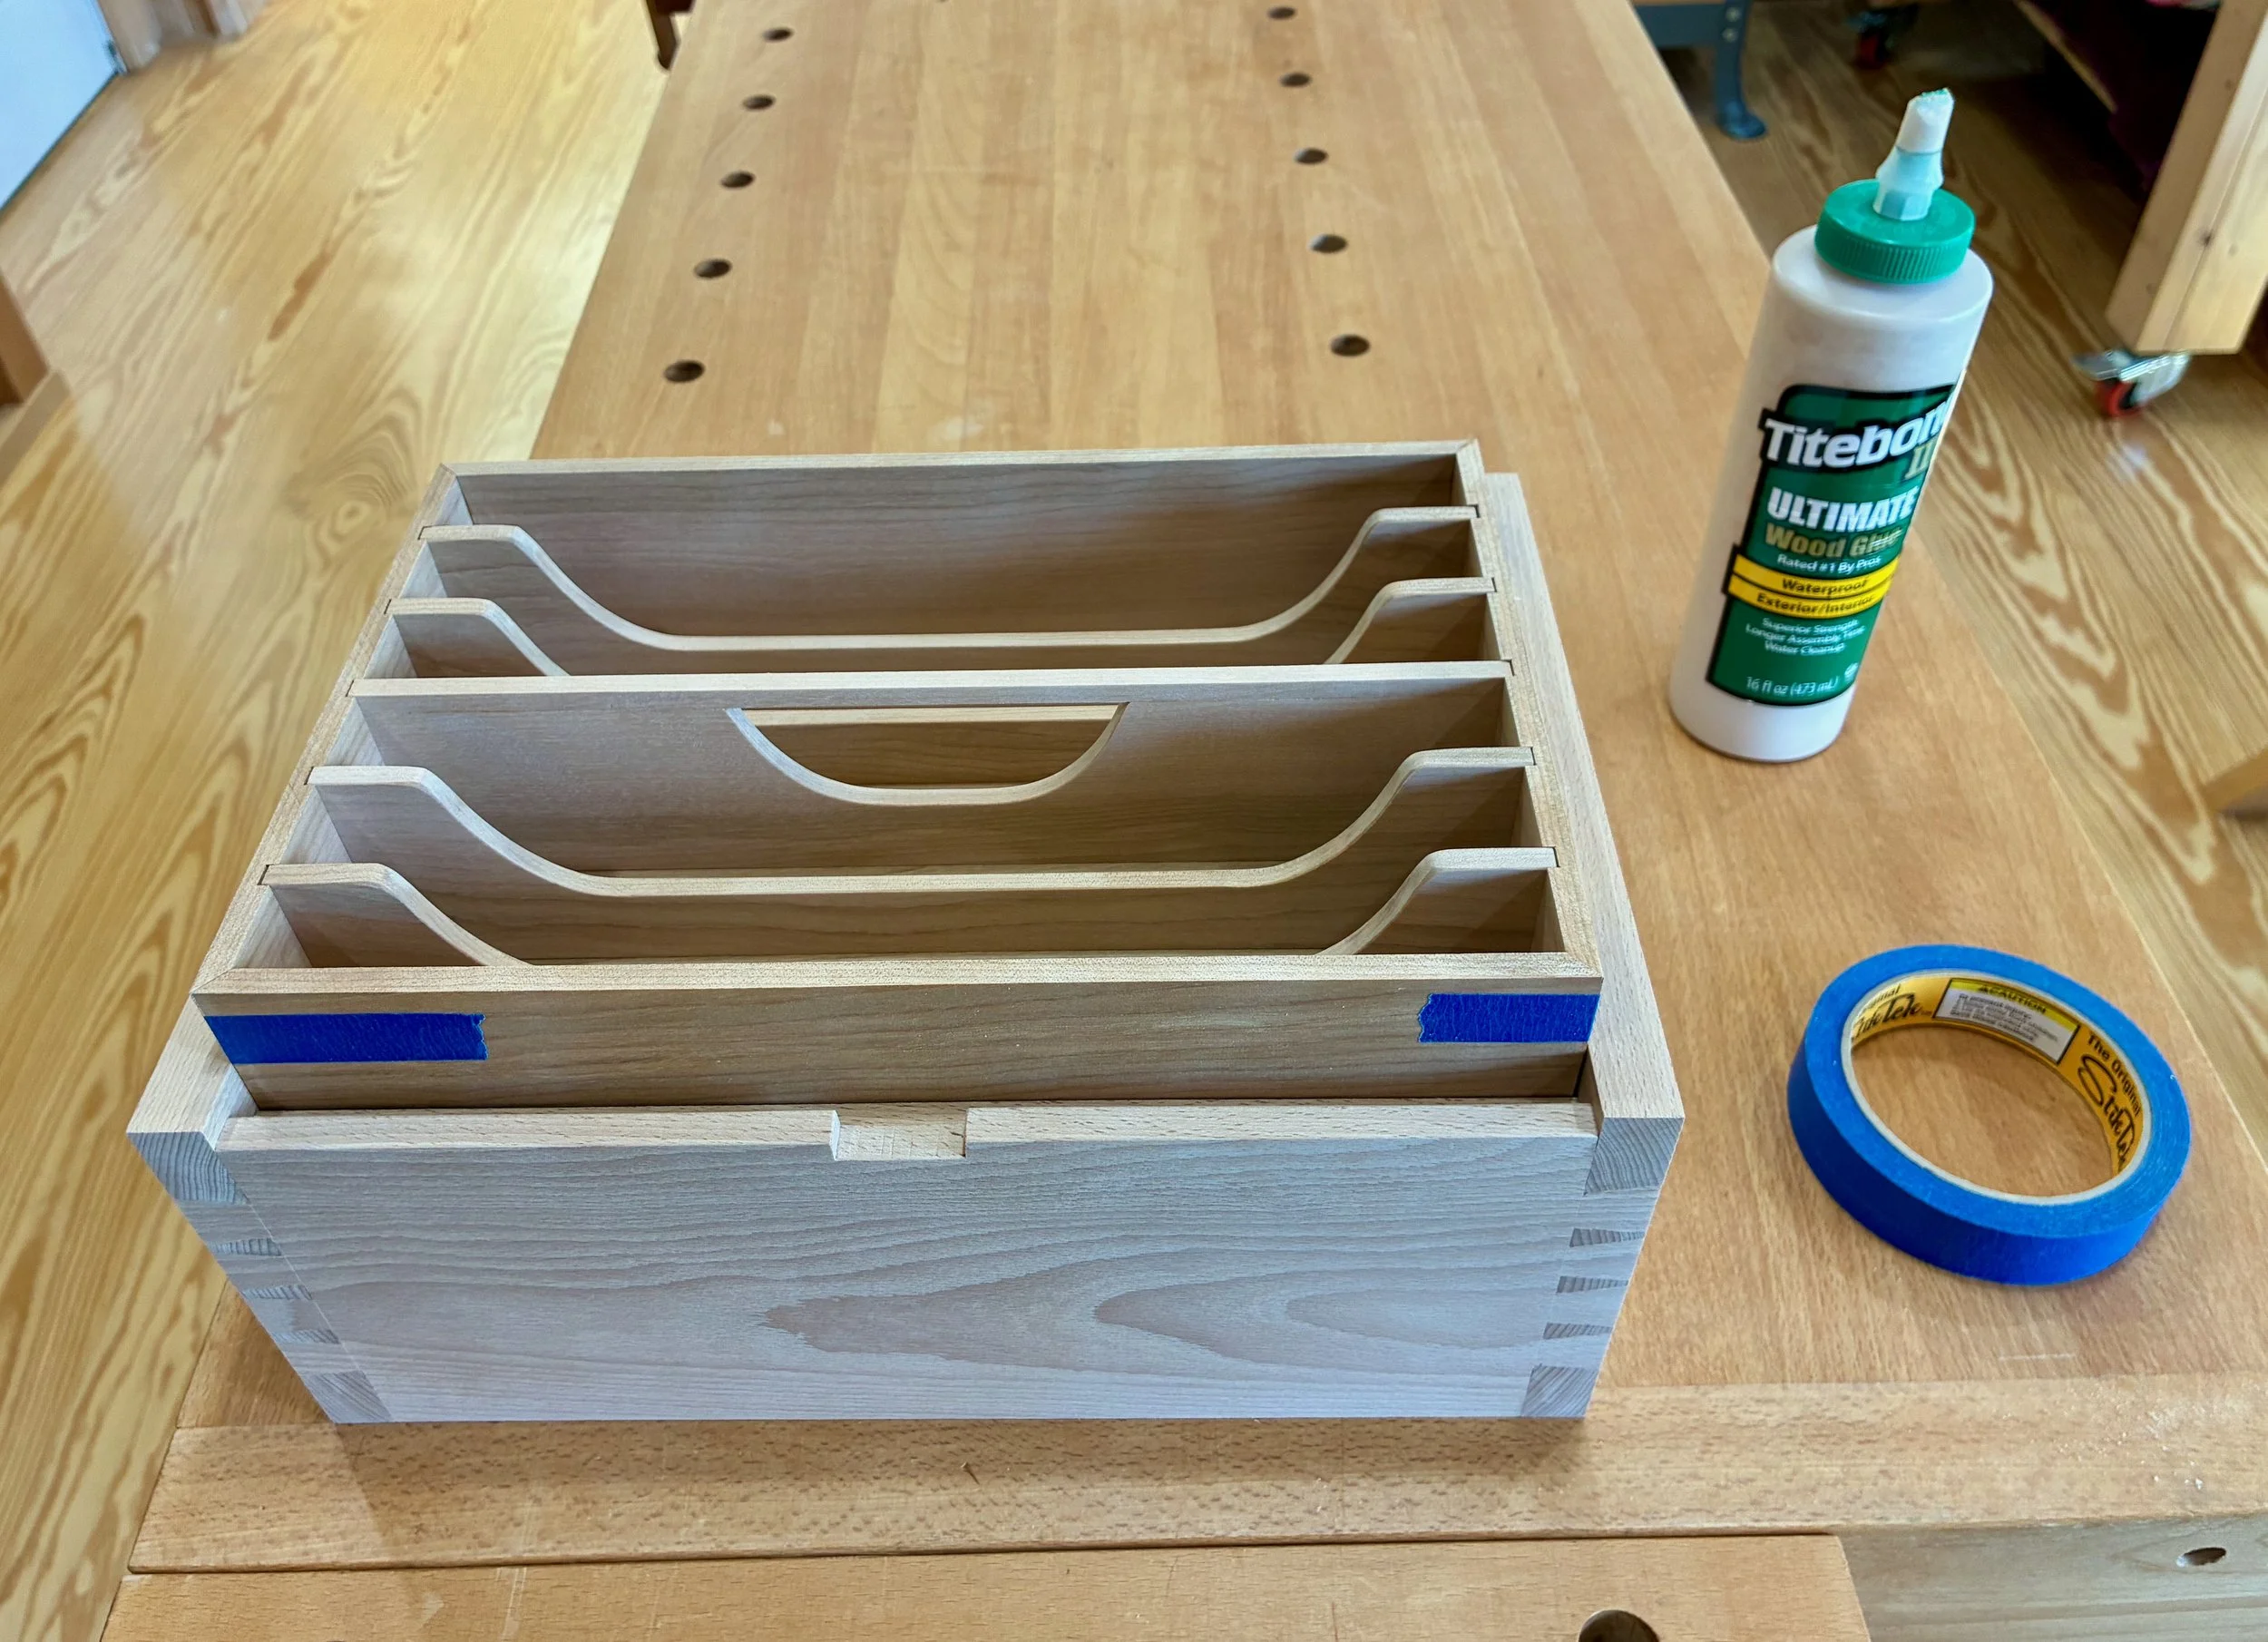
Tray sitting on a block within the box
With the tray complete, I glued the center partition to the bottom but left the others to float freely within their channels. Should my tool mix change over time they can be readily replaced with customized dividers. And, as tools are heavier than jewels, I decided to reinforce the corner mitered joints with beech blocks while also adding a couple brass screws to secure the center partition. Along the bottom interior of the box I added a 1 inch ledger board for the tray to rest on, creating a cavity beneath for extra storage.
Now, the lid. I started by glueing the frame parts around the carved panel to make a lid that was slightly wider than the opening at the top of the box. The ends were then shaved to fit using the table saw and a hand plane. Taking extra precautions to protect the carving, I marked the back rail and then morticed two slots for the hinges there.
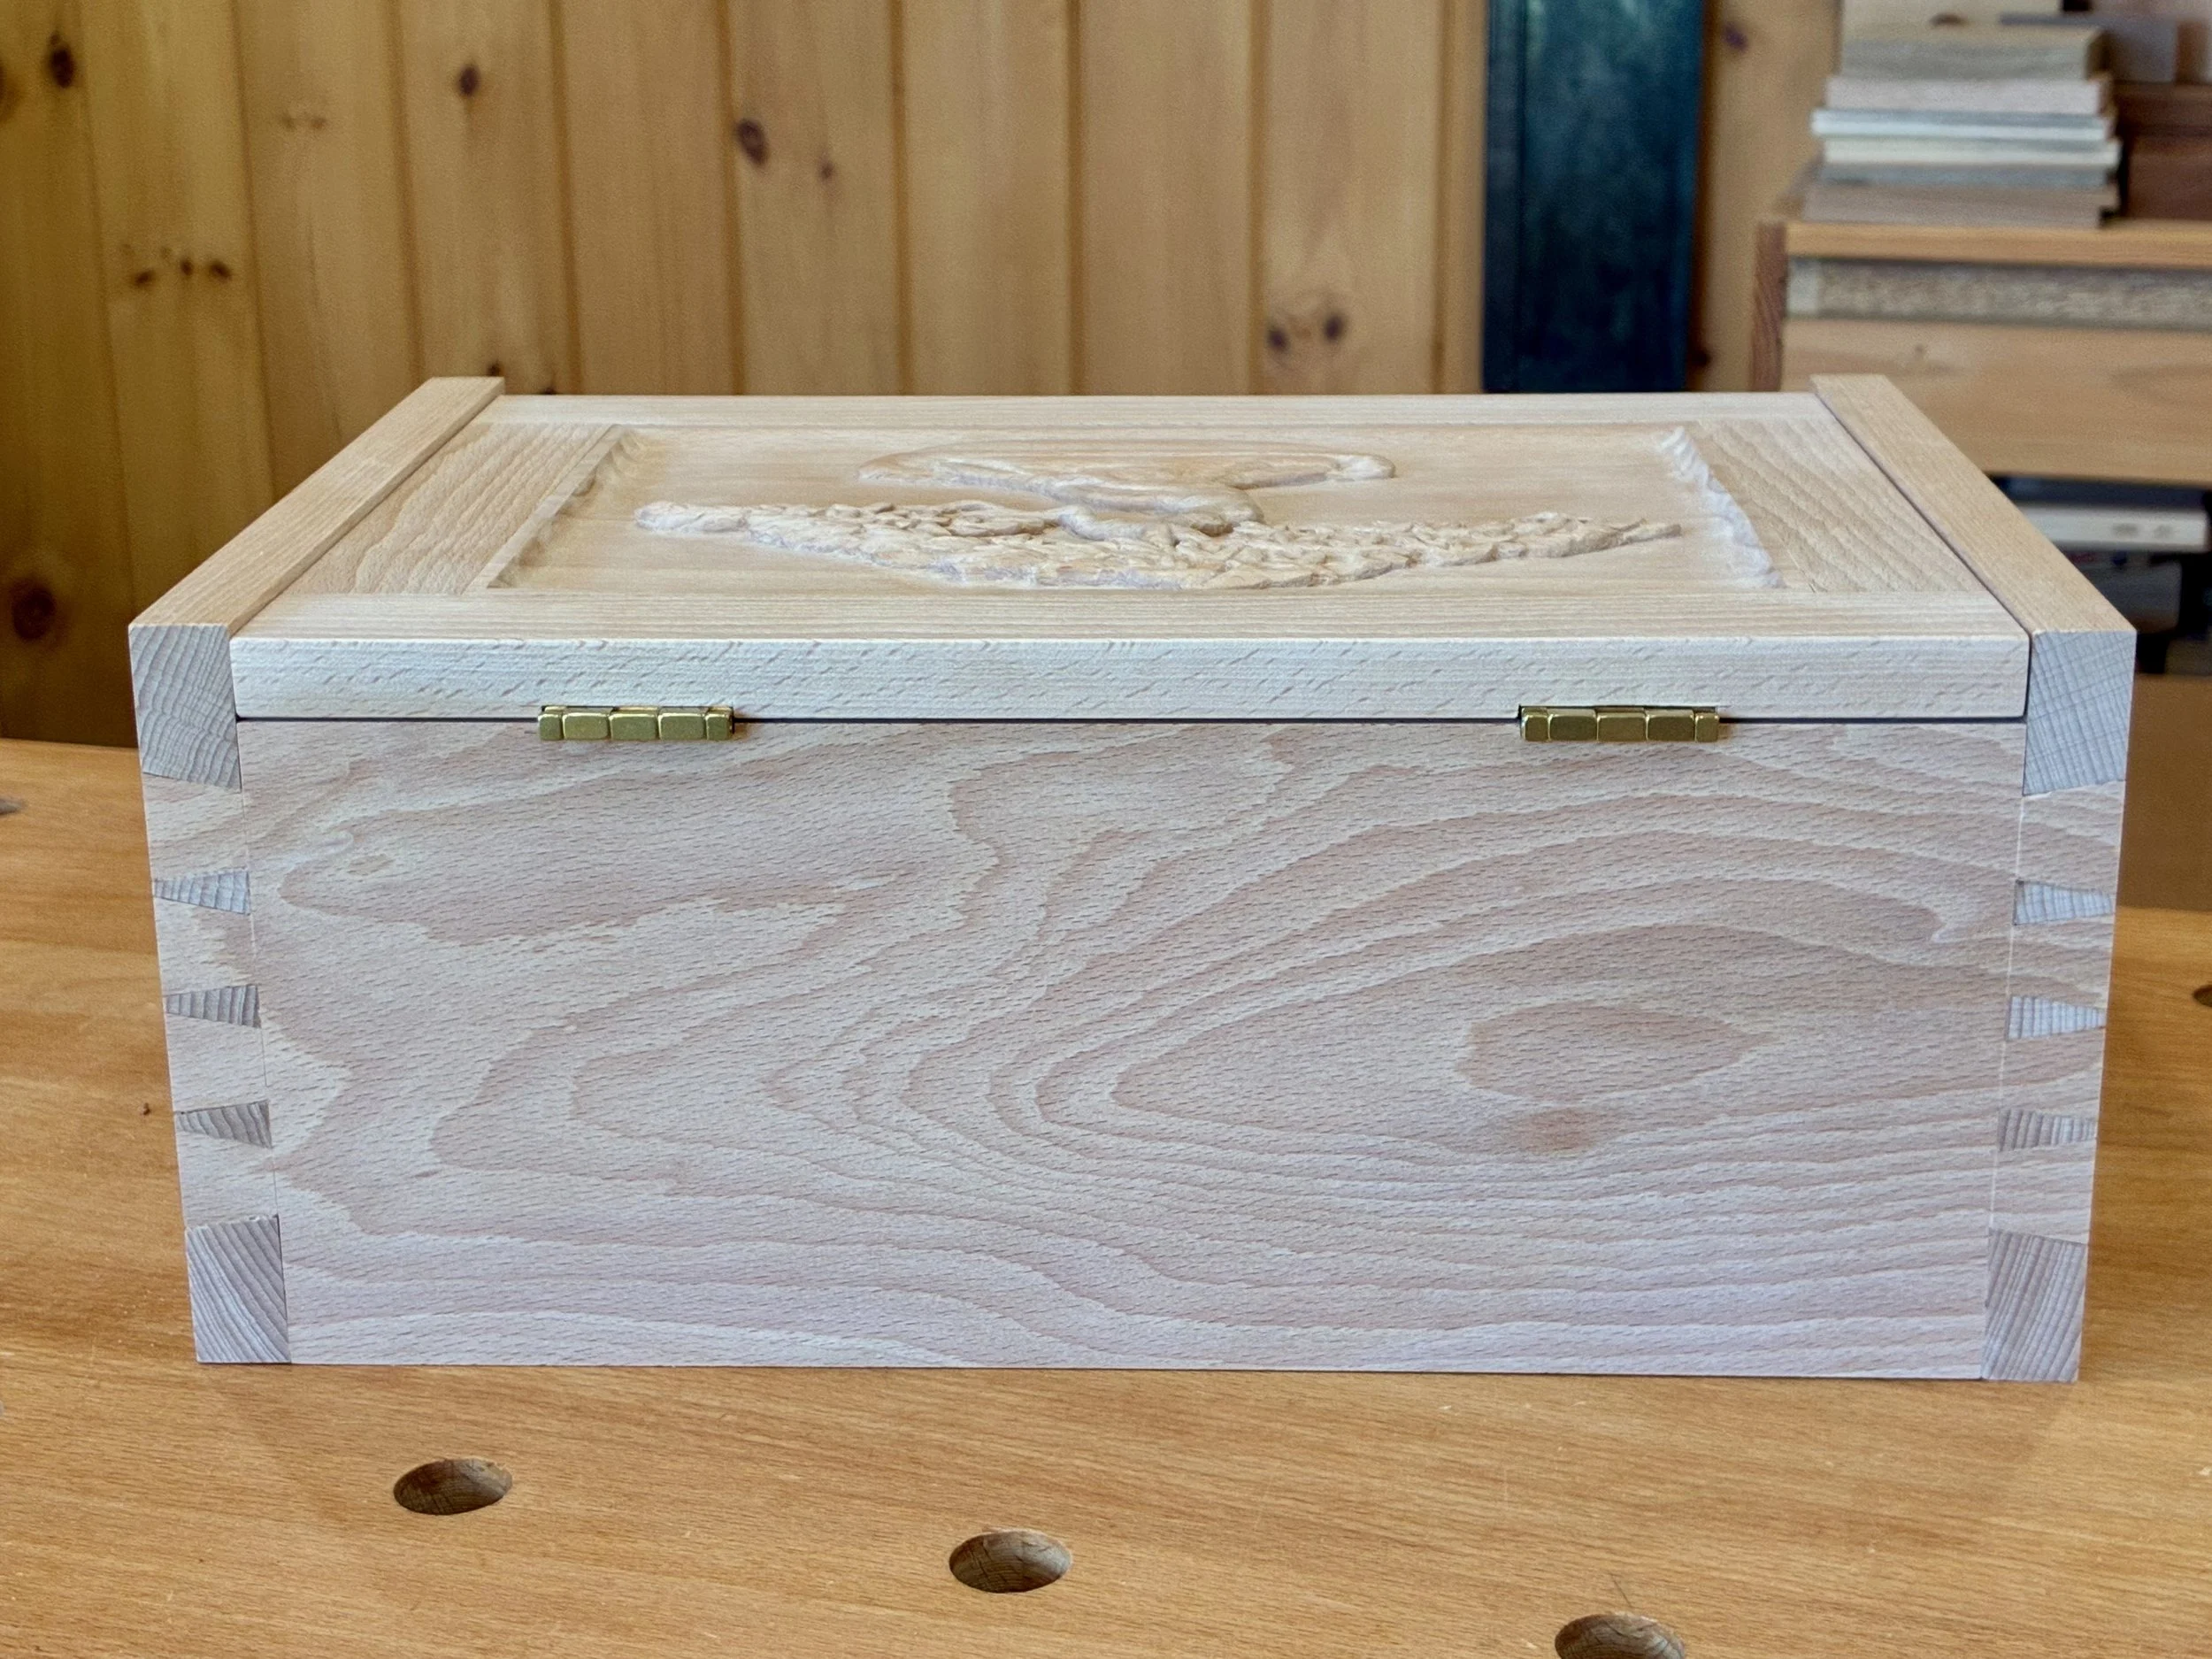
Hinged lid
The last parts to fashion were the latch tab and handles. The original used a dark piece of wood for the latch and rope for the handles. I decided to use a contrasting wood, Spanish cedar, for both. The latch tab was dimensioned appropriately and then fastened to the lid using dowels. For handles I made 5/8 in. thick rectangles, relieved slightly on the underside at the table saw. I have an aversion to glueing different woods together and so I mounted the cedar handles in position using double stick tape and then secured them to the beech with brass screws.
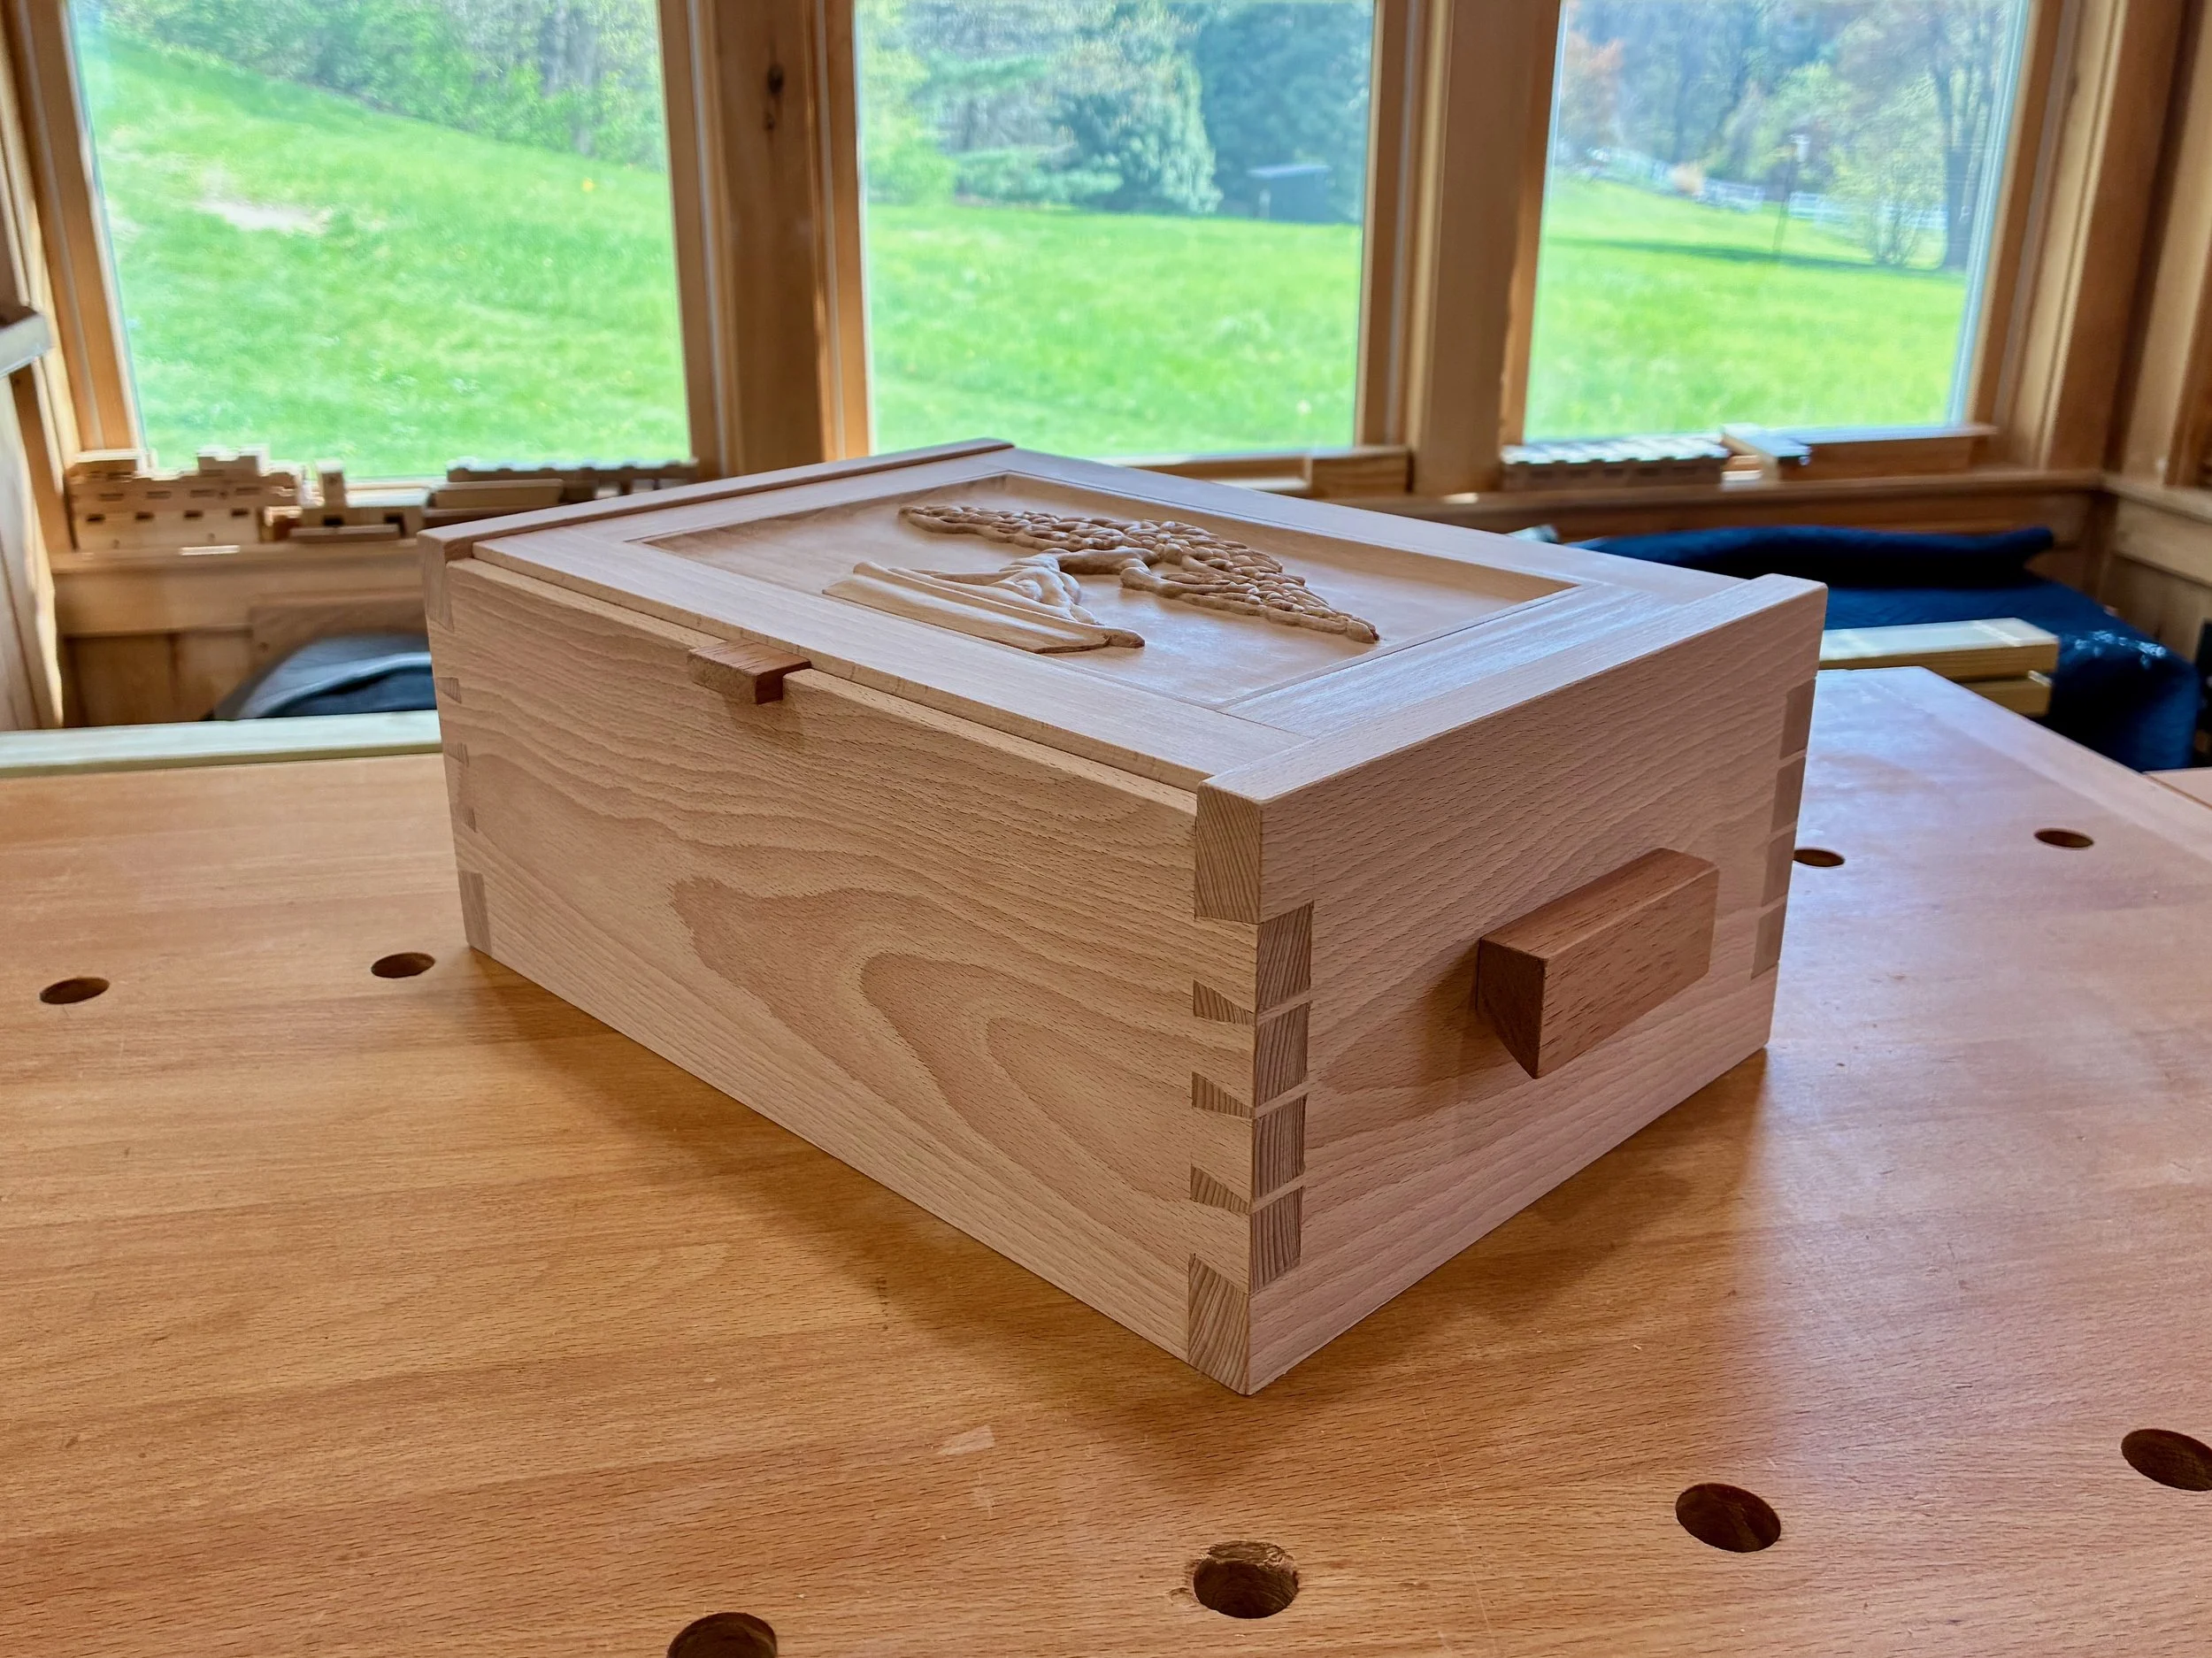
Latch and handles in place
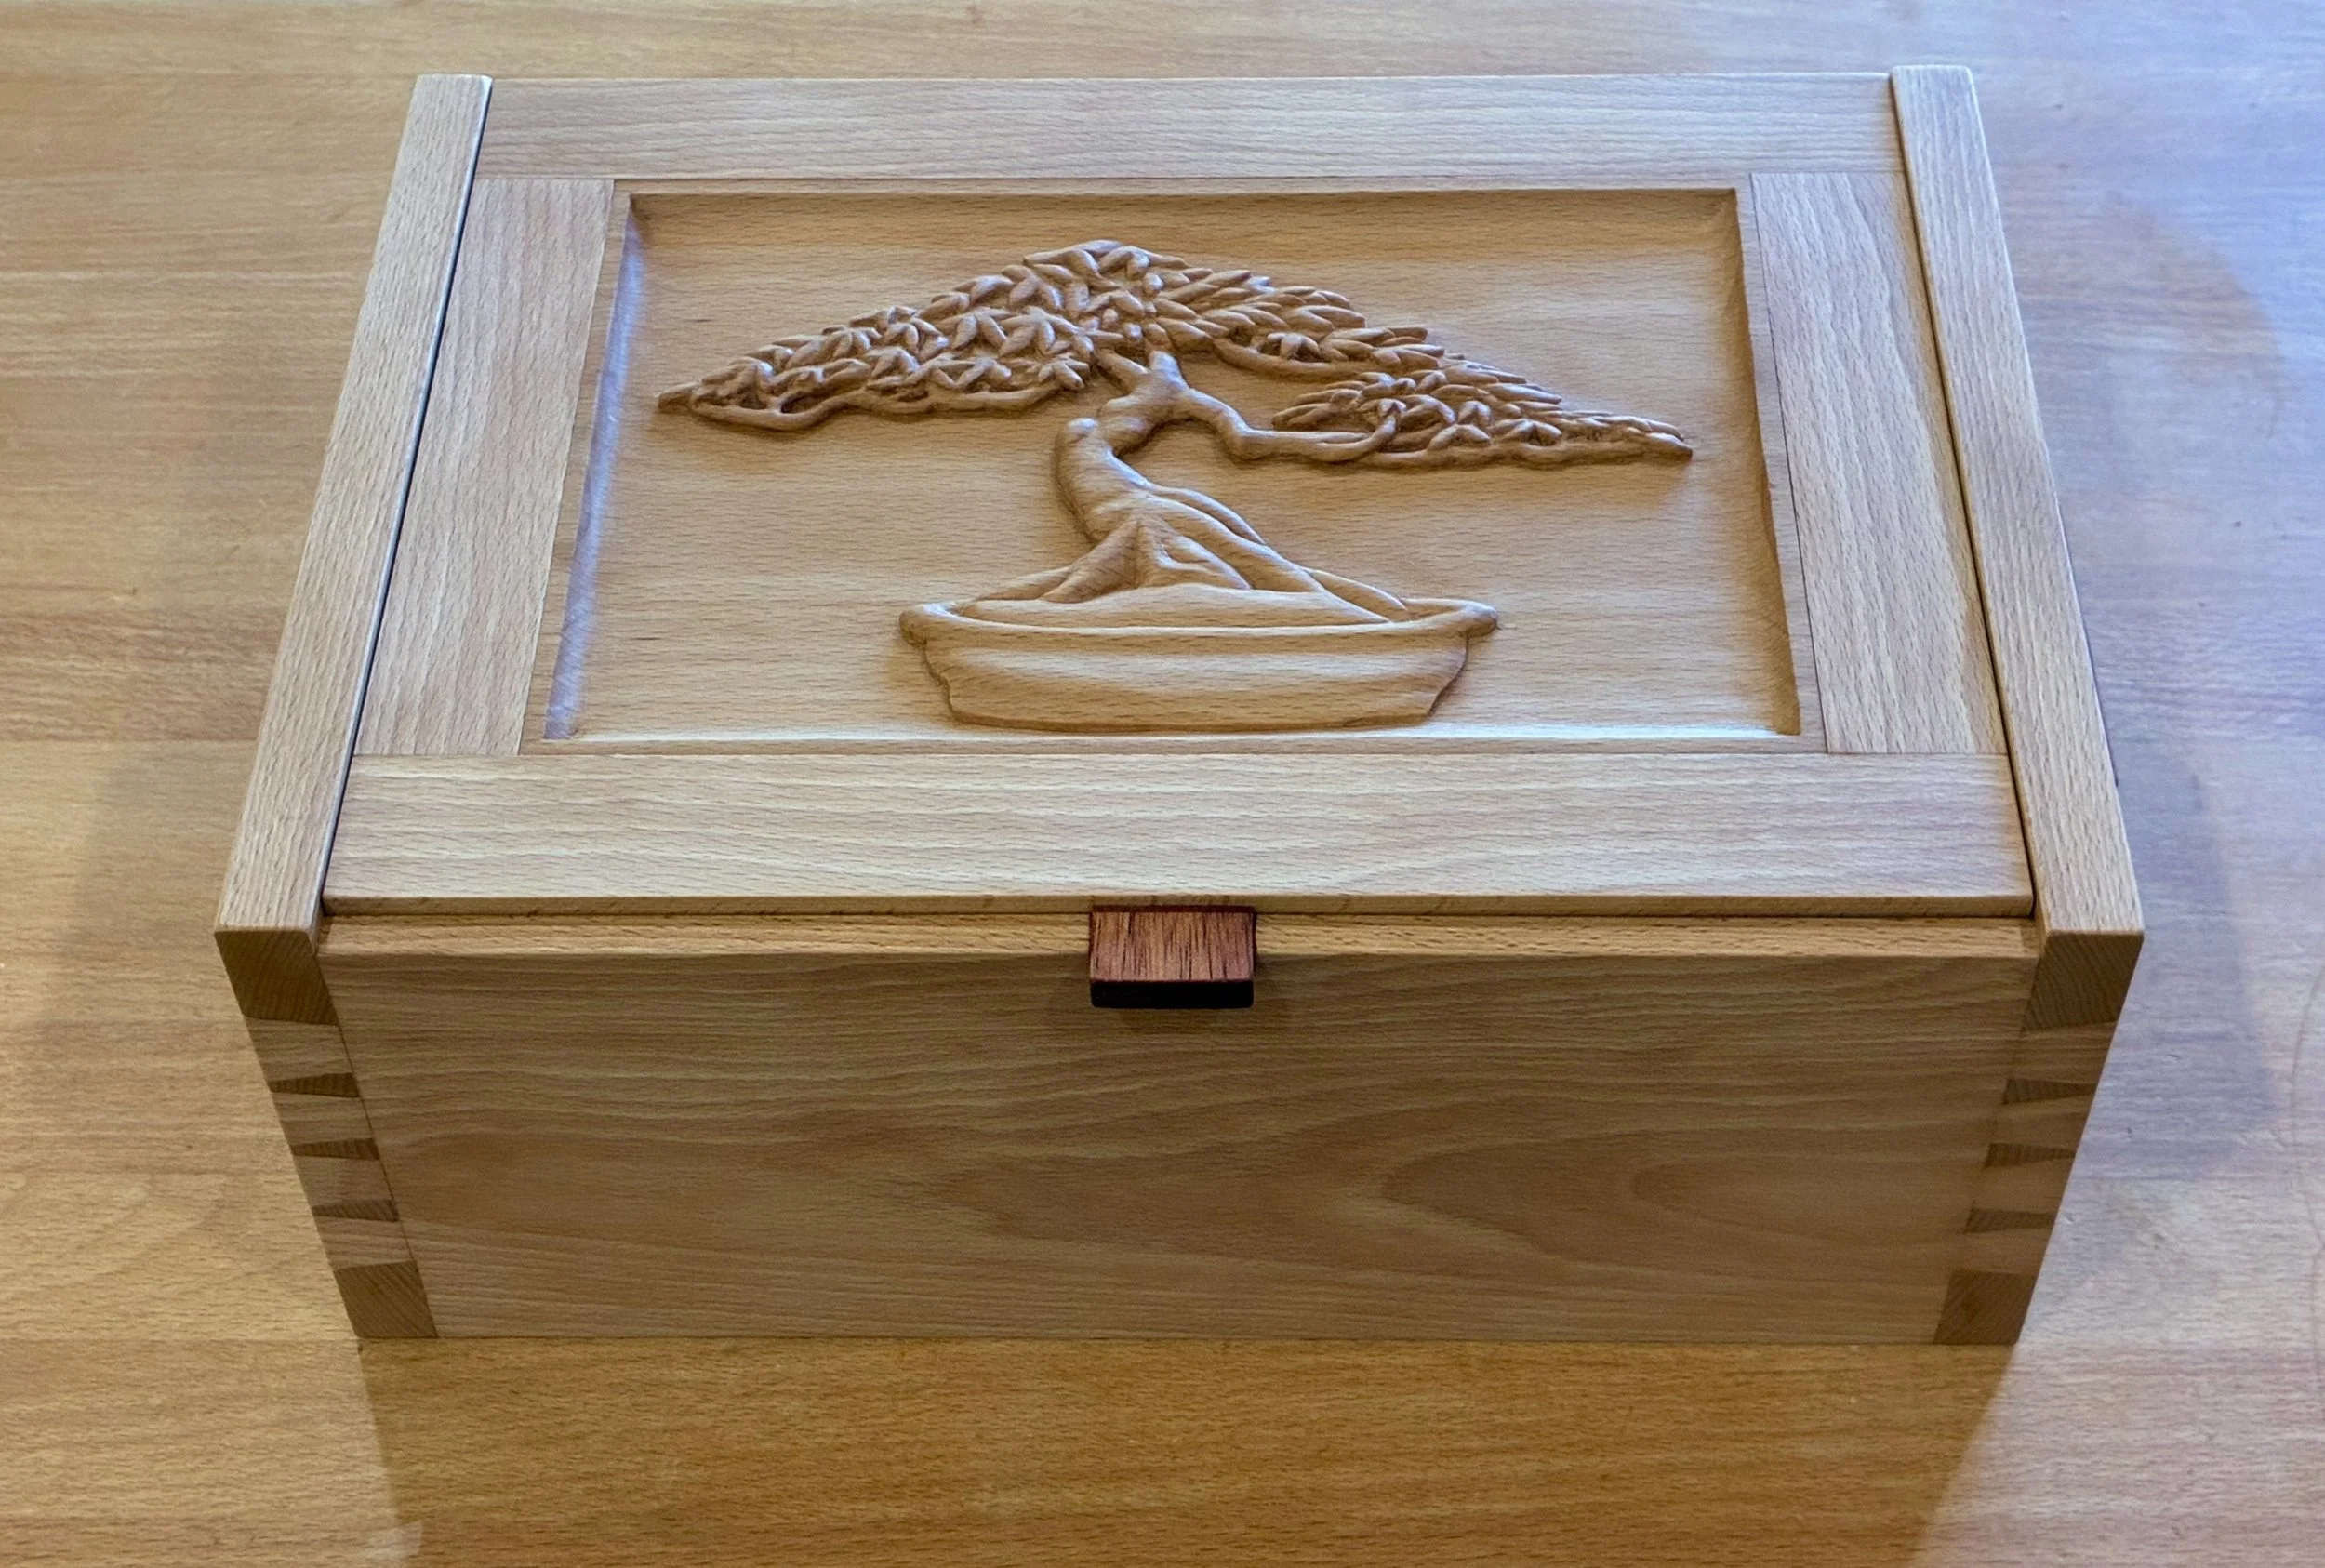
On to the finish. After some experimentation I decided to keep things simple and let boiled linseed oil do most of the work. The grain character of European beech is subtle; the wood’s glory is in its color tones. I was getting used to the pale raw look but felt obligated to make those colors glow as rich as possible, while also providing some protection from dirt and water. All pieces received an application of BLO, with the tray parts getting two more of gel polyurethane for extra protection. These treatments were applied over the course of several days, and once everything was cured I gave the toolbox a rubdown with Howard’s Feed-N-Wax. The beech is surprisingly splotchy, now, but that should ease as things darken. One last modification of the lid was to cover the interior panel with some Korean wallpaper. This little surprise upon opening adds some Asian seasoning to the gumbo.
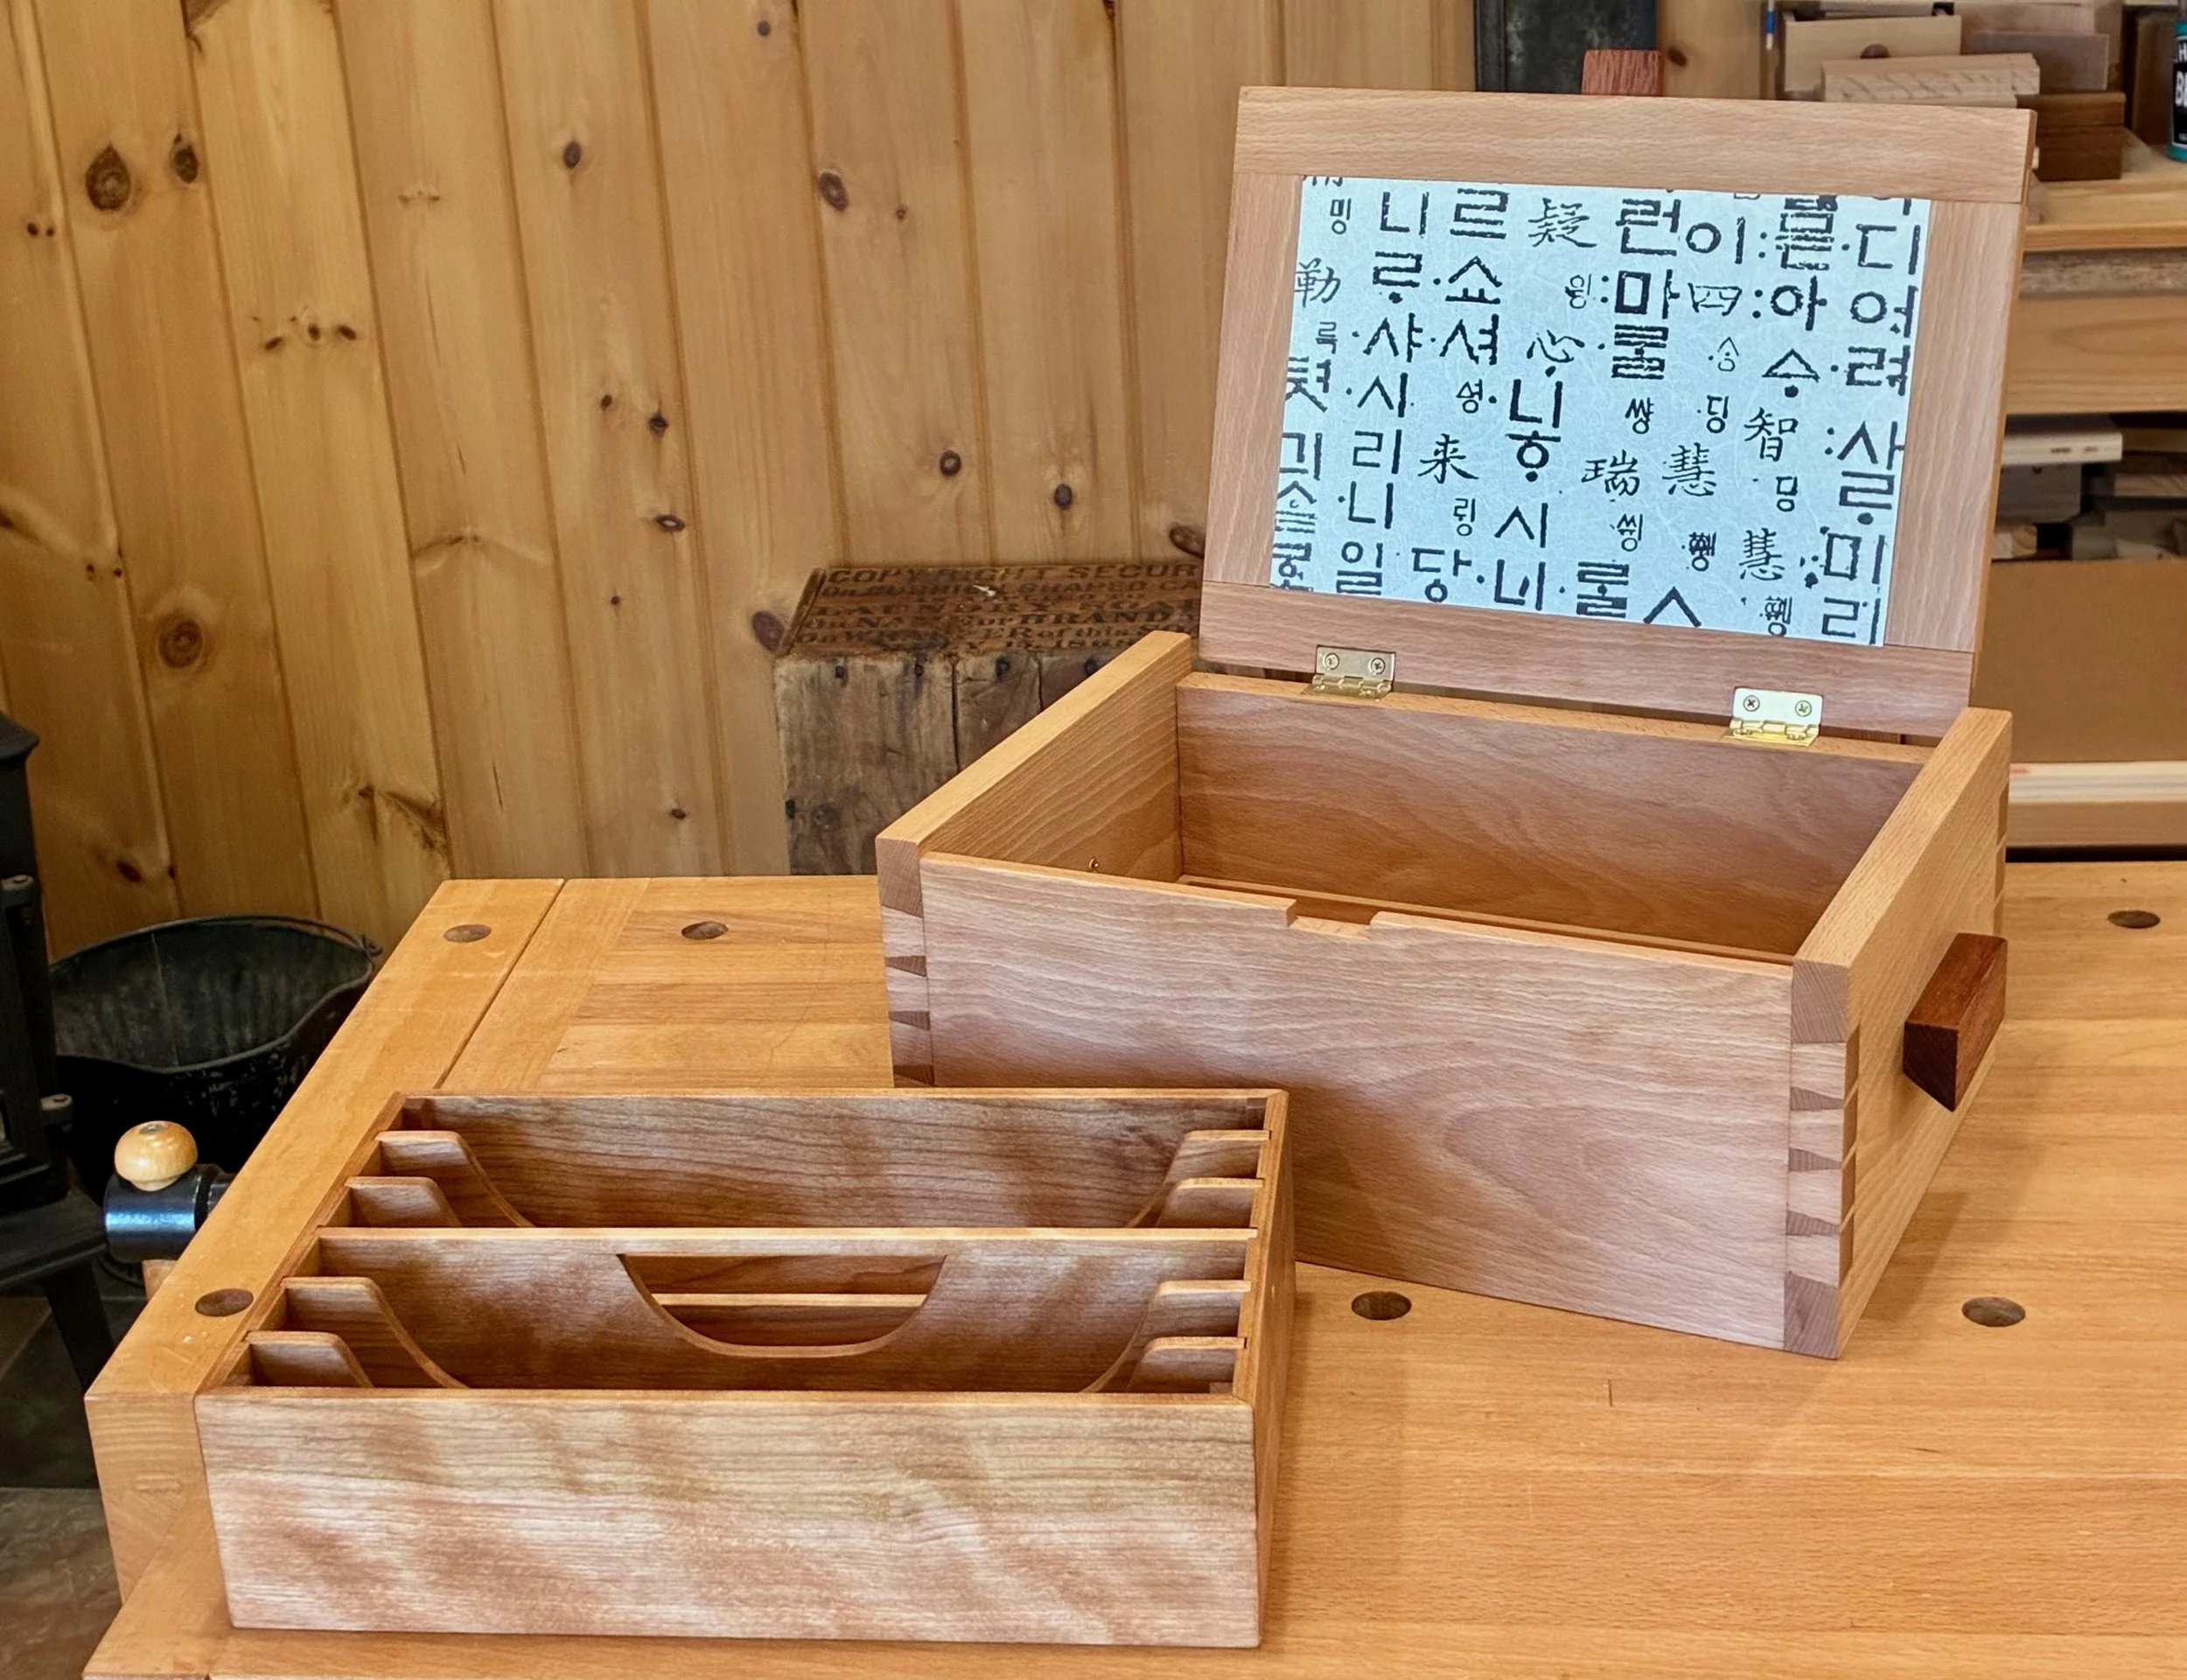
Finished toolbox
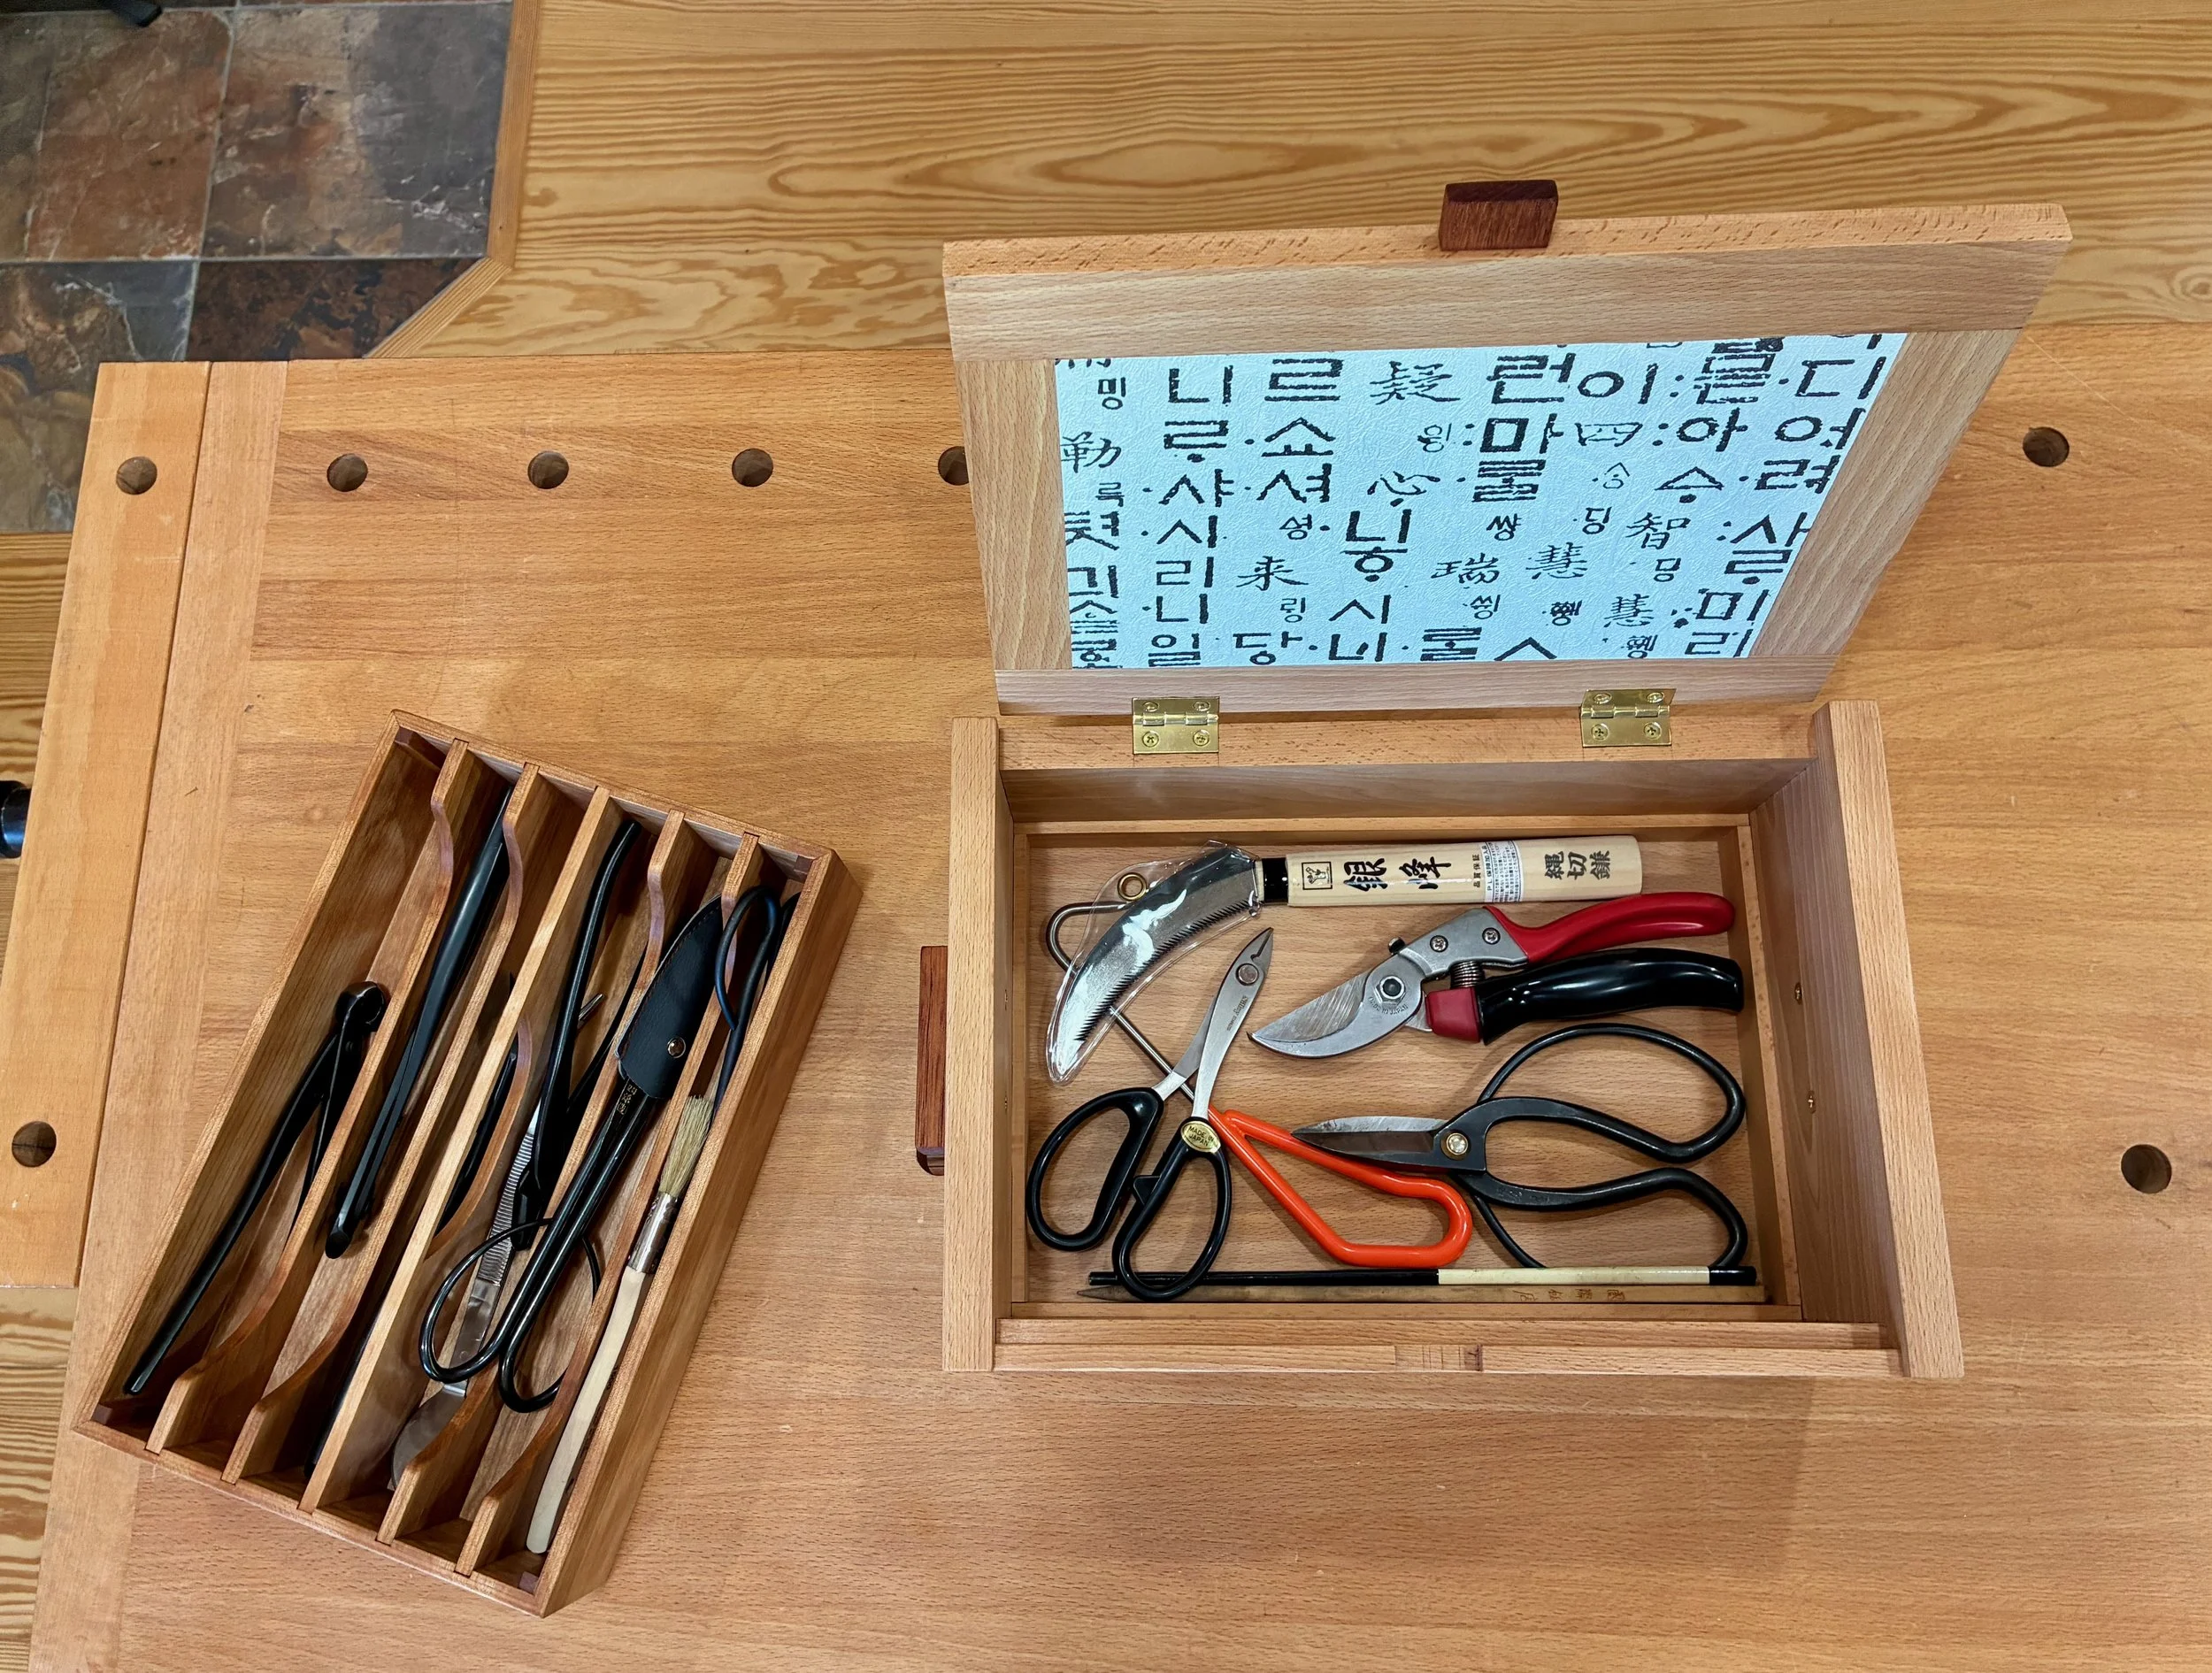
Tools protected
This little box is packed with features, which made it a very enjoyable build. Also, the opportunity to collaborate with Don on the lid took things to another level of satisfaction. And much like bonsais, this “masterpiece”, if cared for properly, should delight the owner for generations to come.
Bonsai Toolbox