

Bonsai Benches
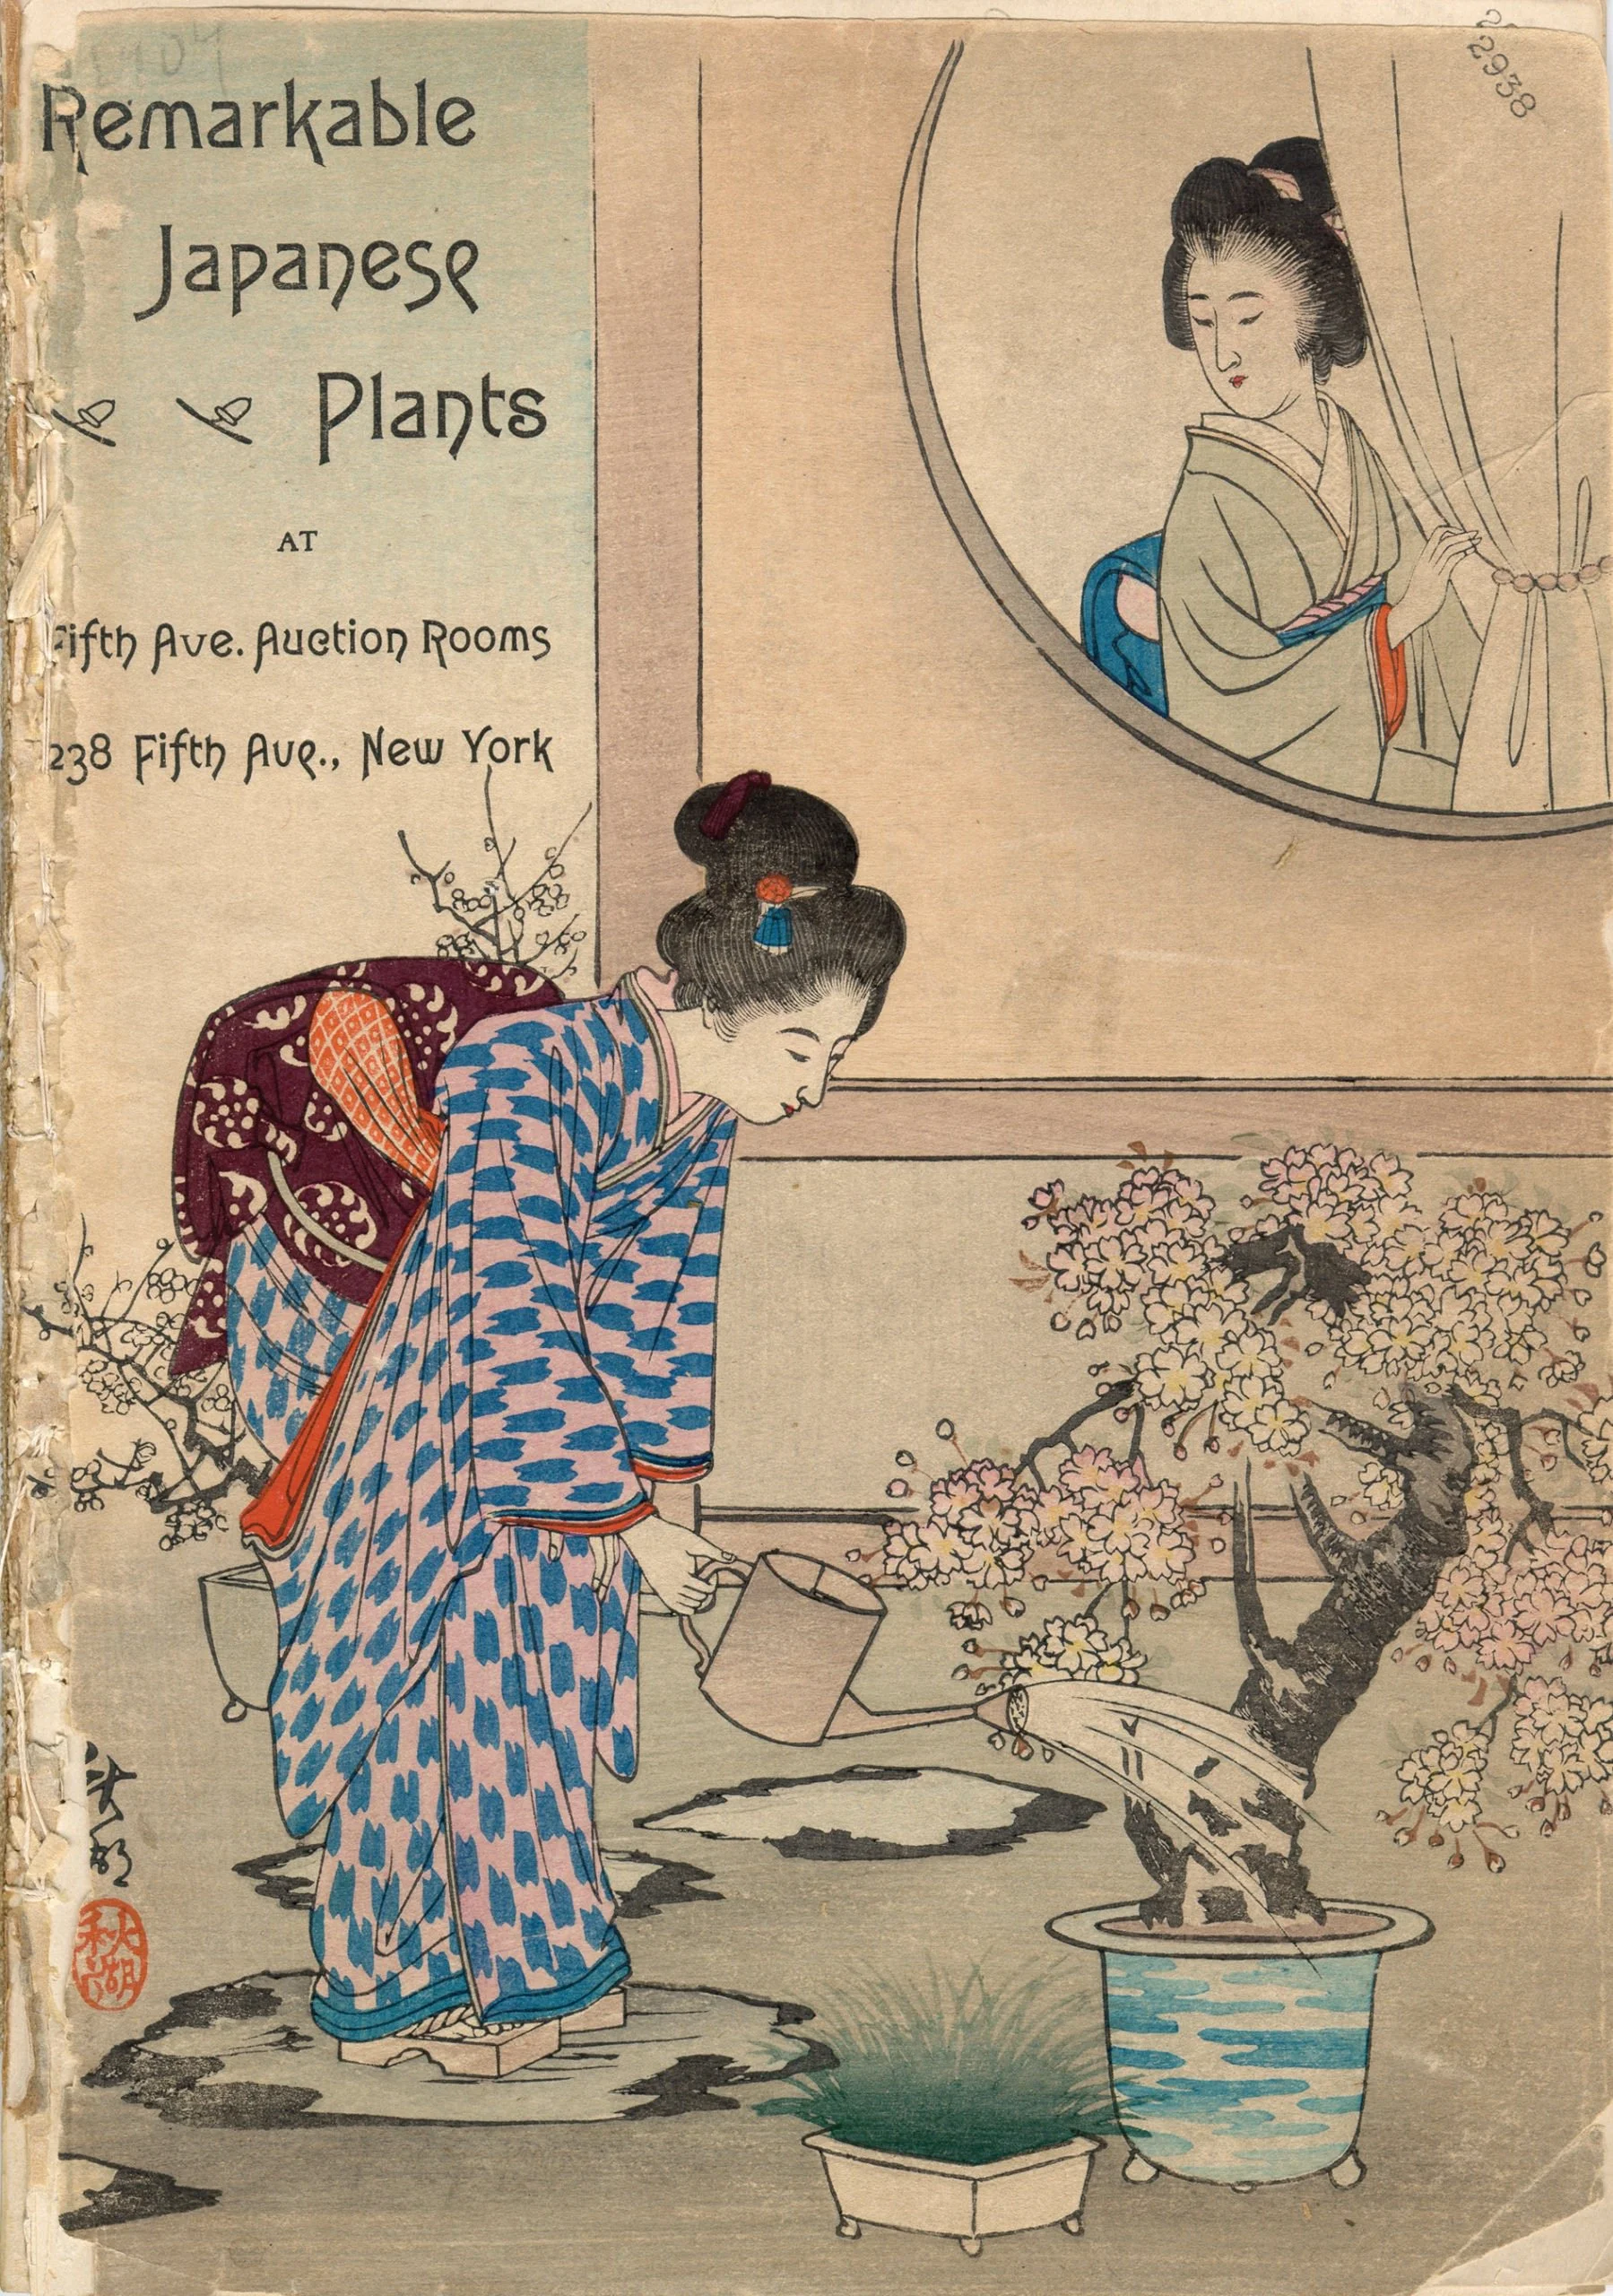
Early appreciation of bonsai in America as “remarkable Japanese plants”
This spring I am getting into the bonsai hobby with much excitement - it will be my second foray. Some thirty-five years ago I began accumulating a collection of trees that I enjoyed keeping on a bench in my New Jersey garden, although not all of them seemed as pleased. Fifteen years later I moved to New England, and my trees encountered that same existential impediment faced by the first European settlers here: winter. Consequently, spring of 2005 marked the end of my first bonsai adventure and, in hindsight, that was probably for the best. I had more worthy attention outlets as the family matured and professional obligations mounted. However, I now enjoy a woodworker’s retirement and reconnection with an old friend, Rich, who is both a skilled bonsai practitioner and generous soul (read: mentor). That feels like a winning hand.
While no doubt “remarkable”, bonsai trees are in fact the same as all other plants that have evolved on this earth. They are not necessarily “Japanese”, and rarely are they horticulturally special when compared to “normal” plants. Bonsai (literally: “planted in a tray”) are merely trees put in a container and maintained so as to grow a healthy, albeit stunted, existence there. What makes them remarkable are their features, carefully manicured over time, that evoke the illusion of age and the beauty of Nature.
To be appreciated, visually, bonsai should be displayed, and there are several ways to properly do this. Elaborate, furniture pieces (tables, shelves and stands) have been fashioned to support bonsai at their best during shows and competitions. I’d like to make one of these some day, but the current Project is for displaying my growing specimens out of doors.
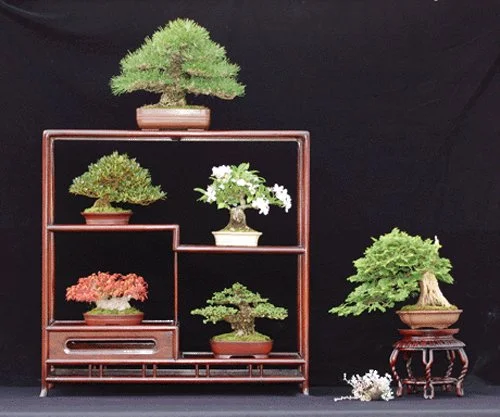
Shohin bonsai on display
(photo from Bonsai Bark by Wayne Schoech)
Design
To display bonsai in a garden one simply needs a stable platform of convenient height; ideally, one that is impervious to the effects of heavy pots, wind and water. Common solutions employ makeshift wooden surfaces supported by cinder blocks. These provide versatile structures that are are easy to remodel as a collection grows or the seasons change. My particular benches are meant to sit permanently along a specific wall on the edge of my patio garden, and so purpose-built structures seemed best.
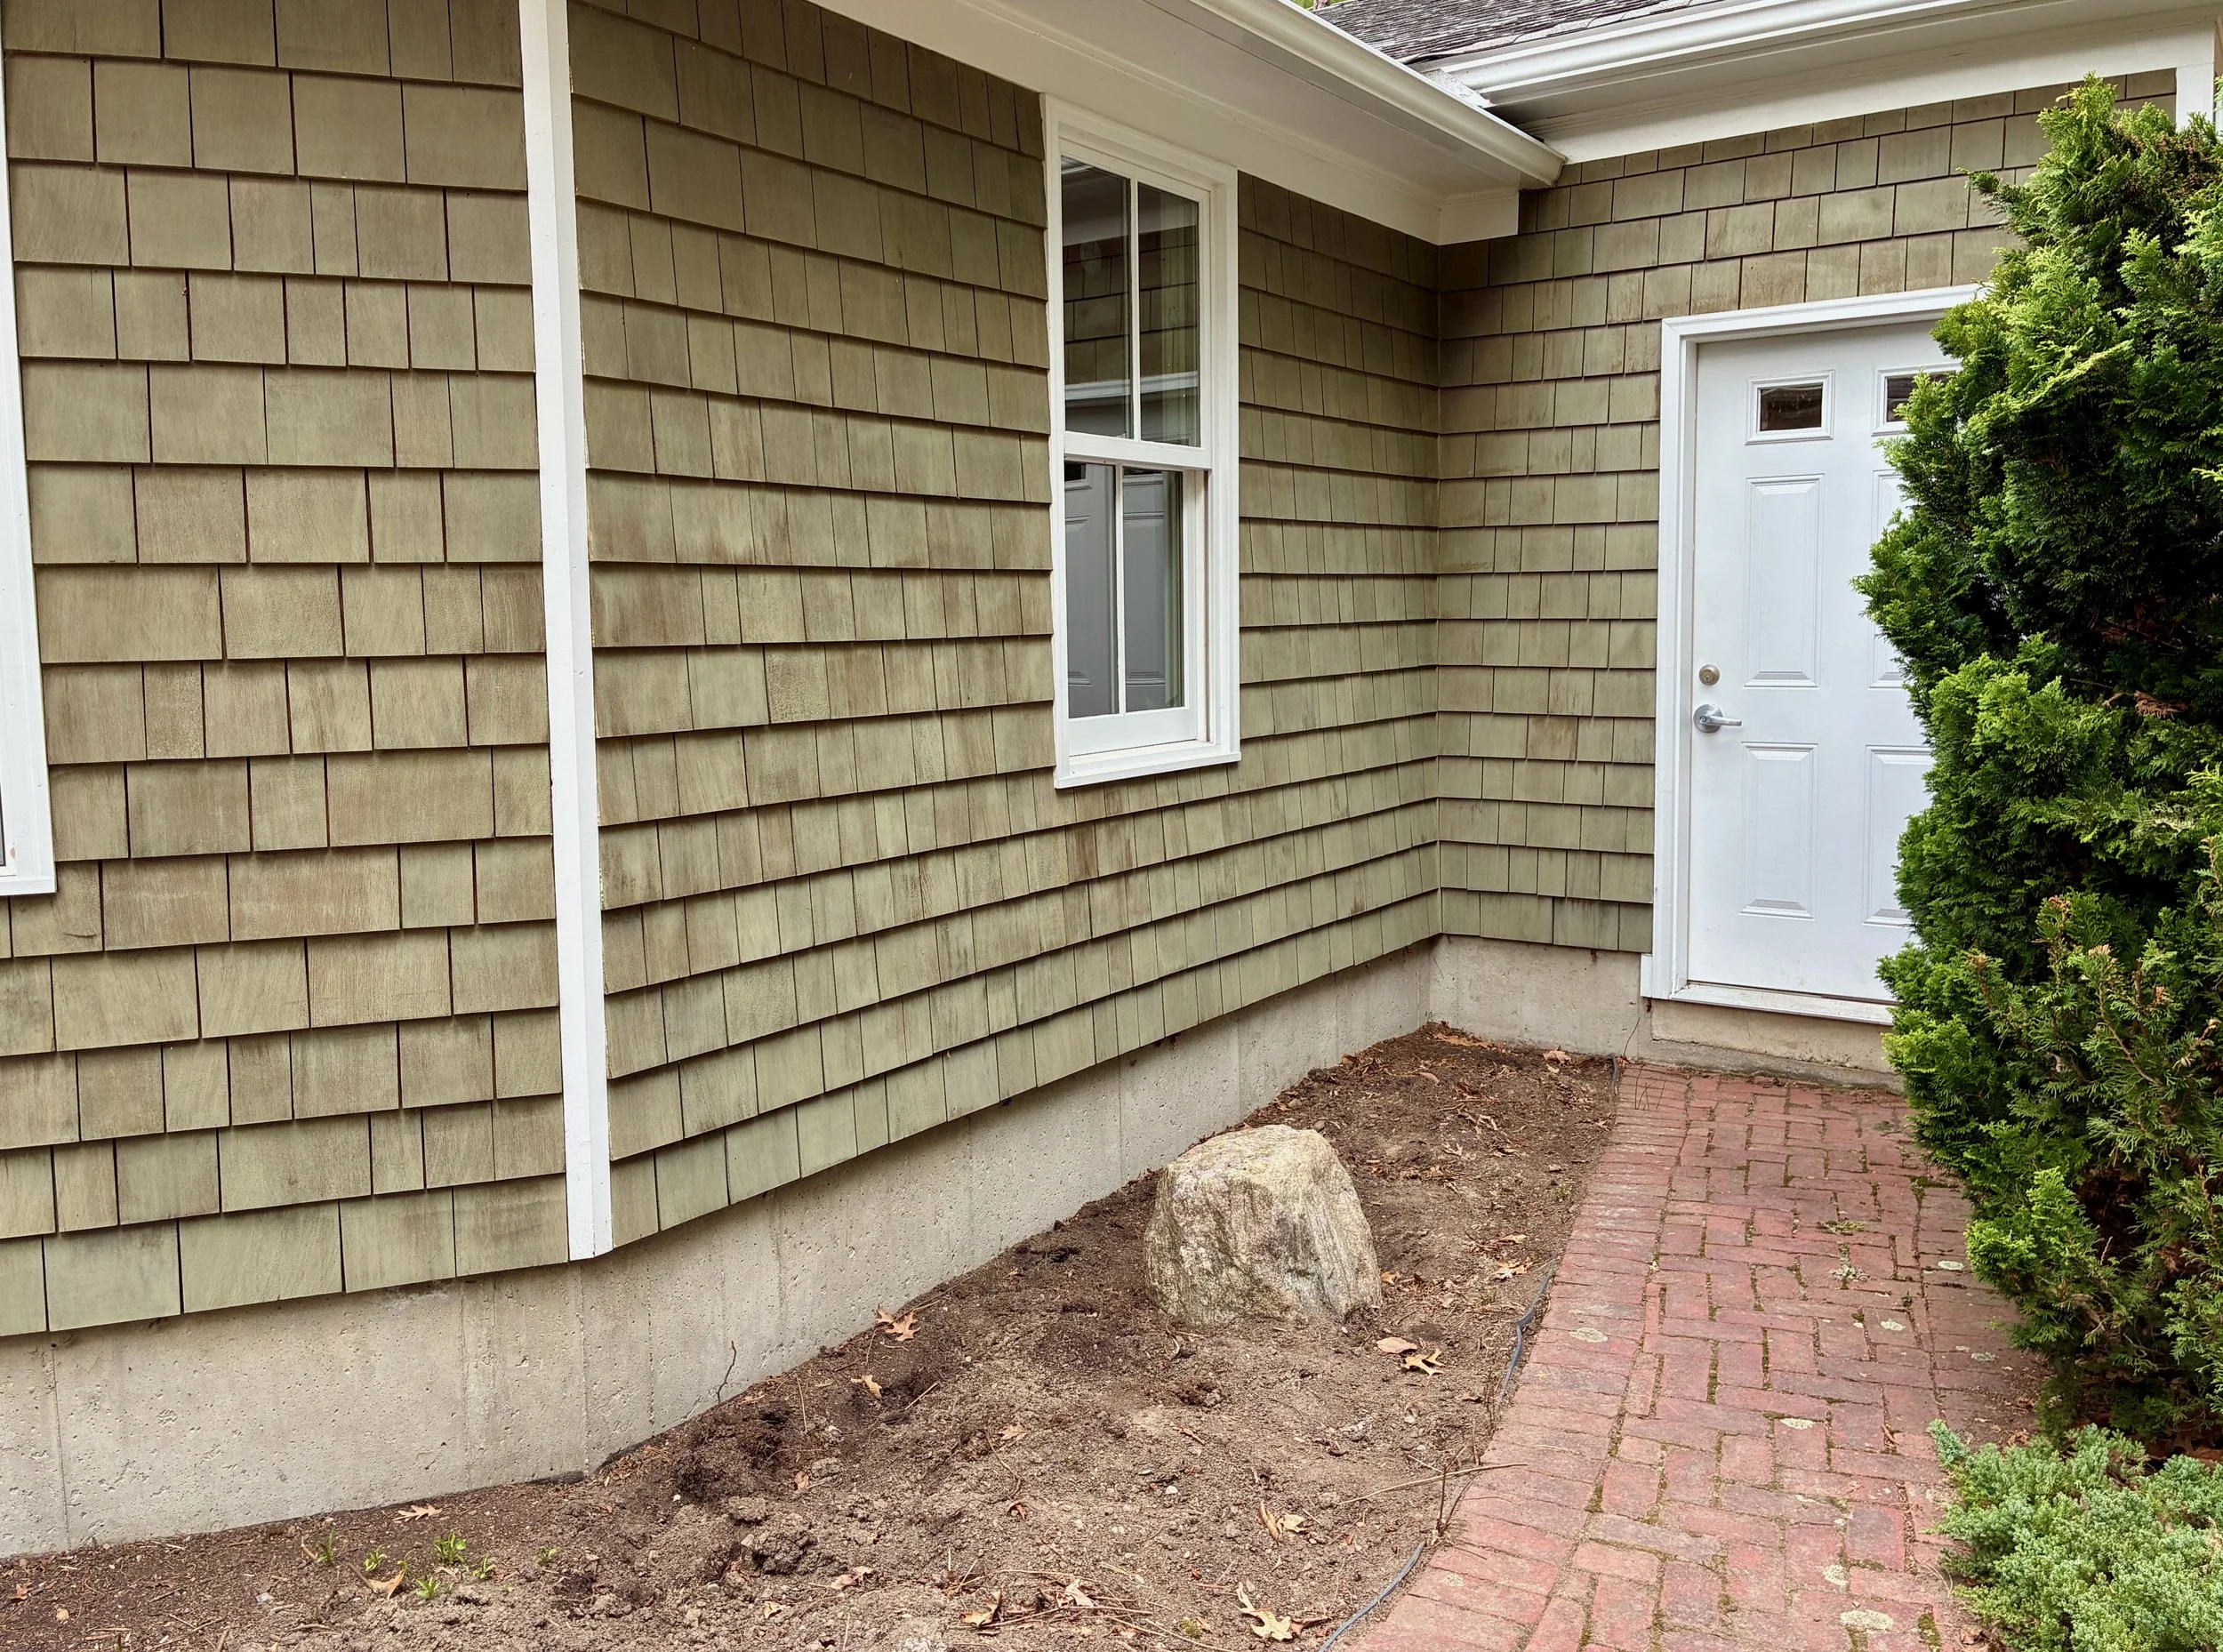
Bonsai garden space cleared of previous plantings
I played around by re-dimensioning some outdoor seating bench designs but ended up with a simple table plan. There will be two adjacent benches, and I chose to vary their heights so that they would not have to lie exactly even & level with each other to look good. There was a fair amount of site preparation required ahead of the final installation, which I will ignore here. The important part for design was the footprint. These benches will be situated in a trapazoidal area, and so to make better use of the space they will also vary in their width dimension.

Rough plan
Materials
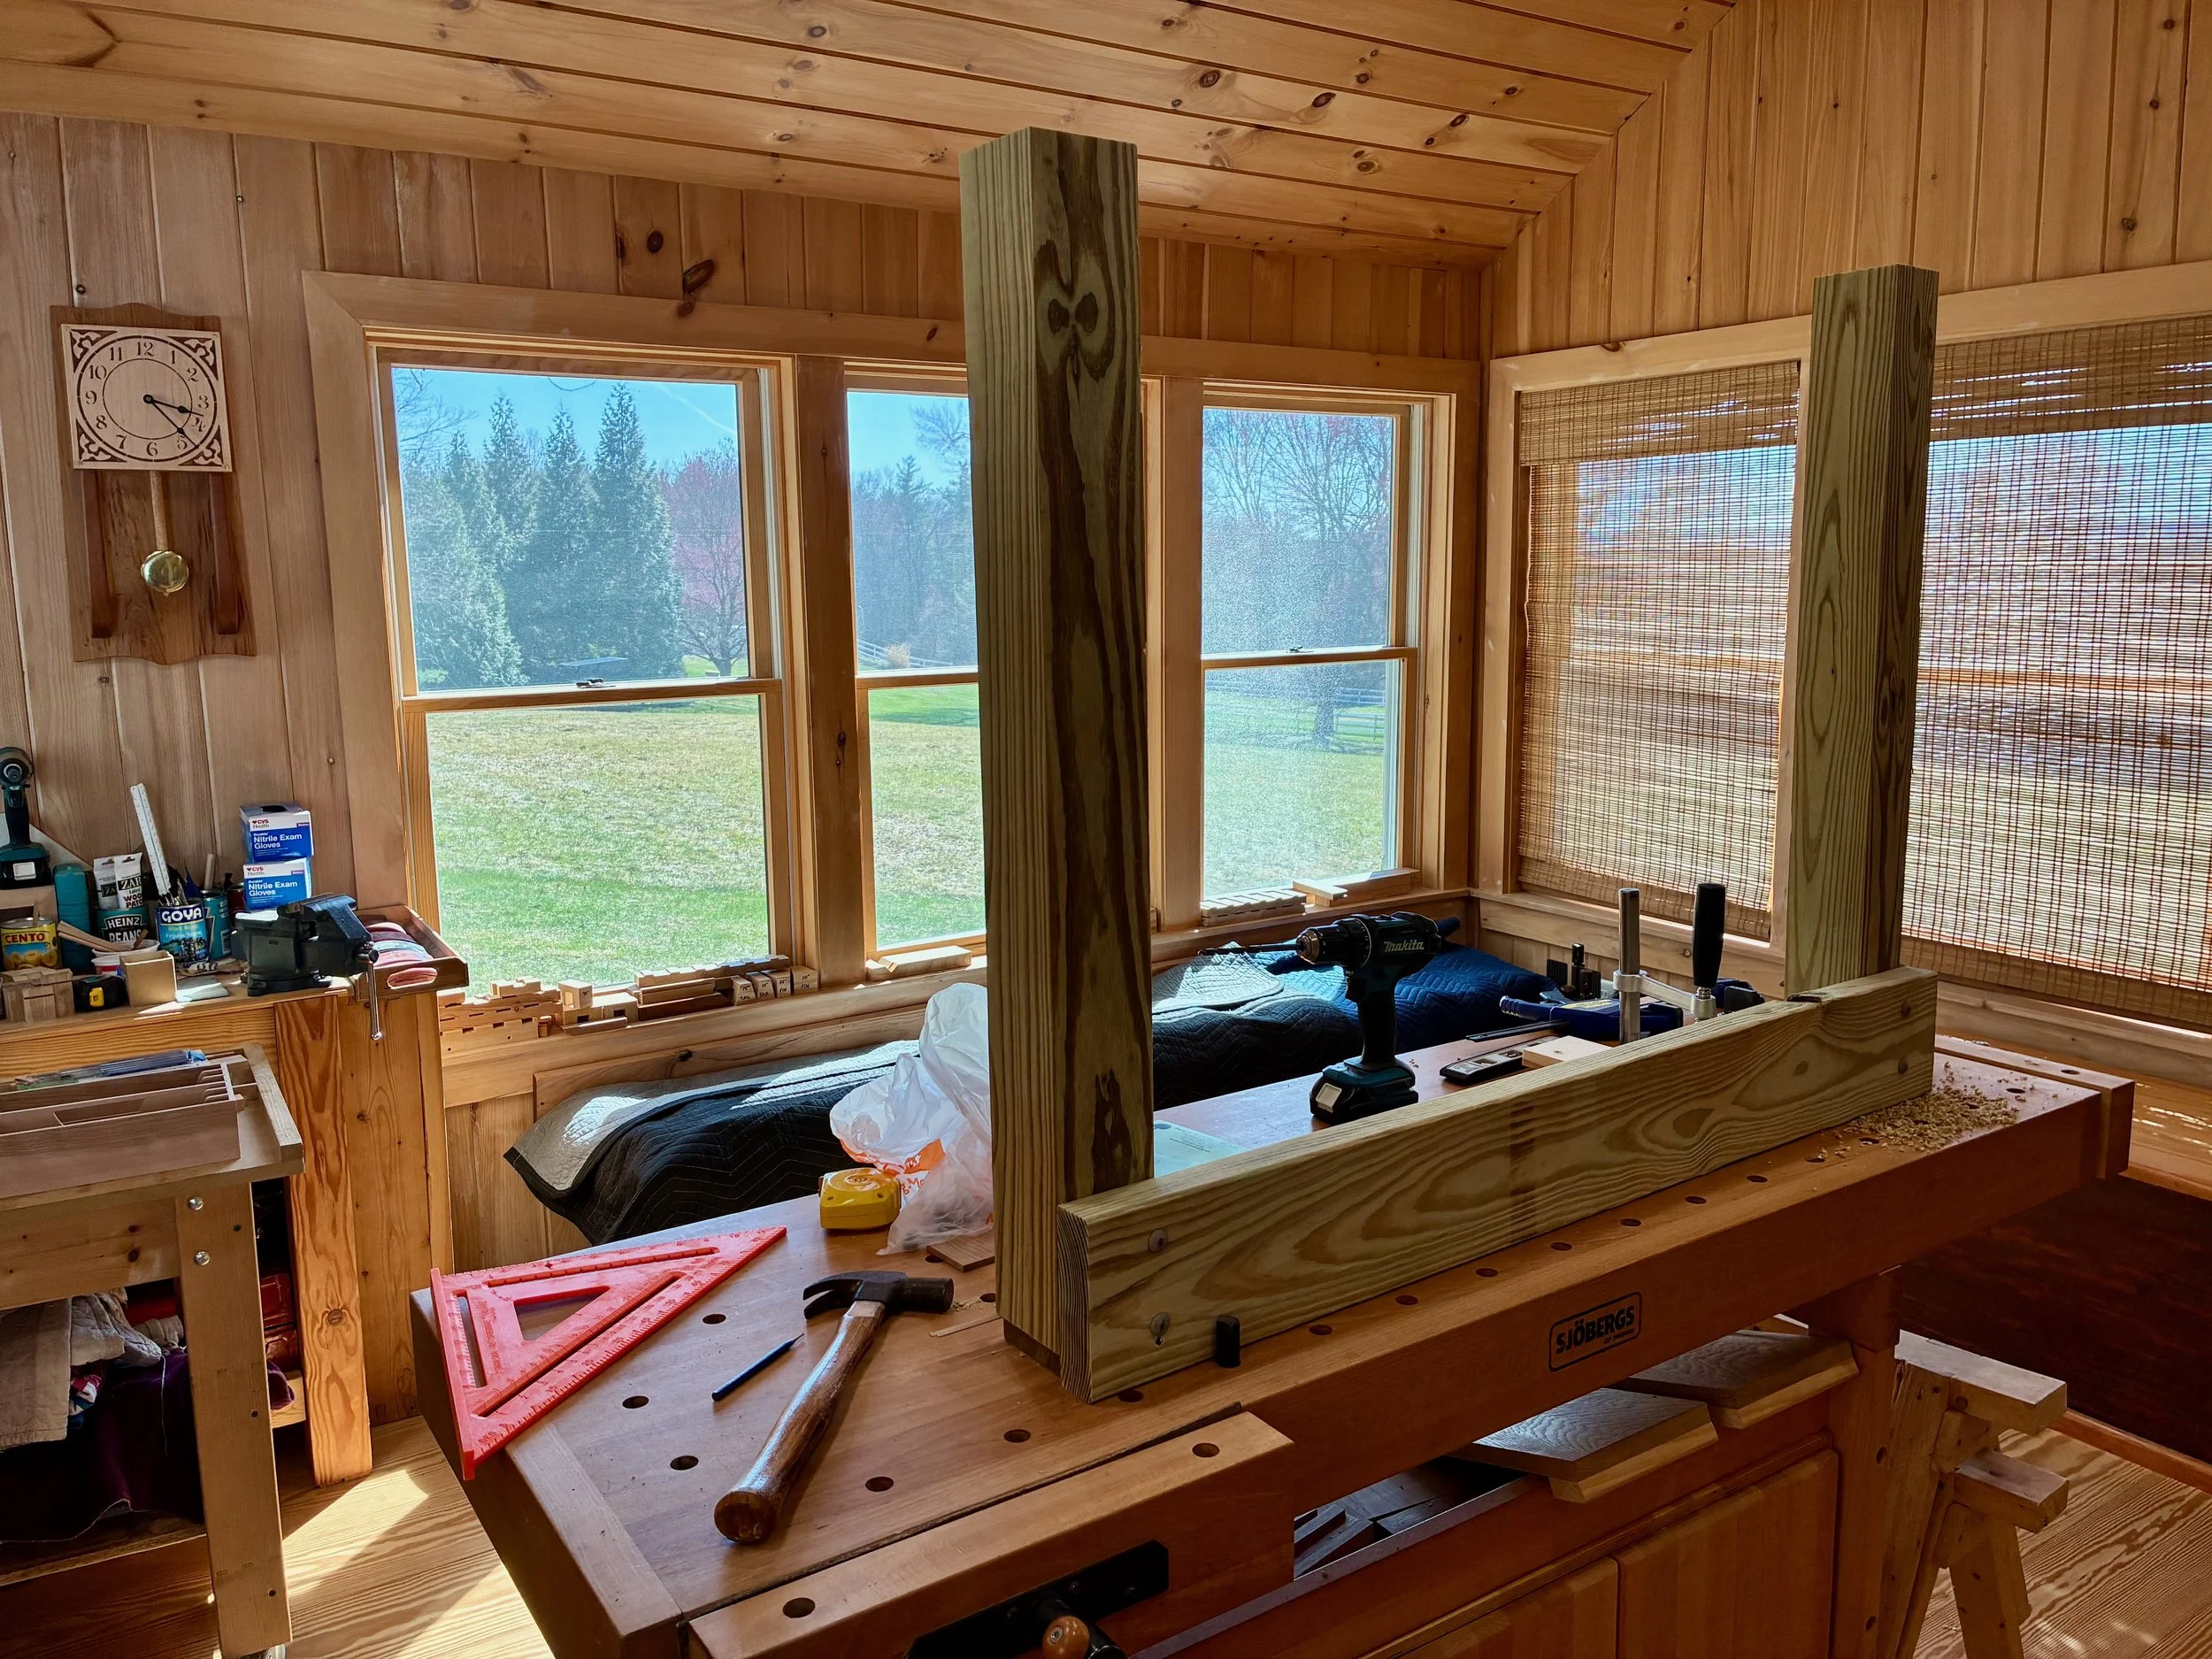
Pressure treated (PT) pine in 1 x 6, 2 × 4, 2 × 6 and 4 × 4 dimensions were procured from Home Depot. As I have commented previously, PT lumber is a remarkable material that resists rot and thereby saves trees otherwise required for the lumber to duplicate a shorter-lived, natural wood version.
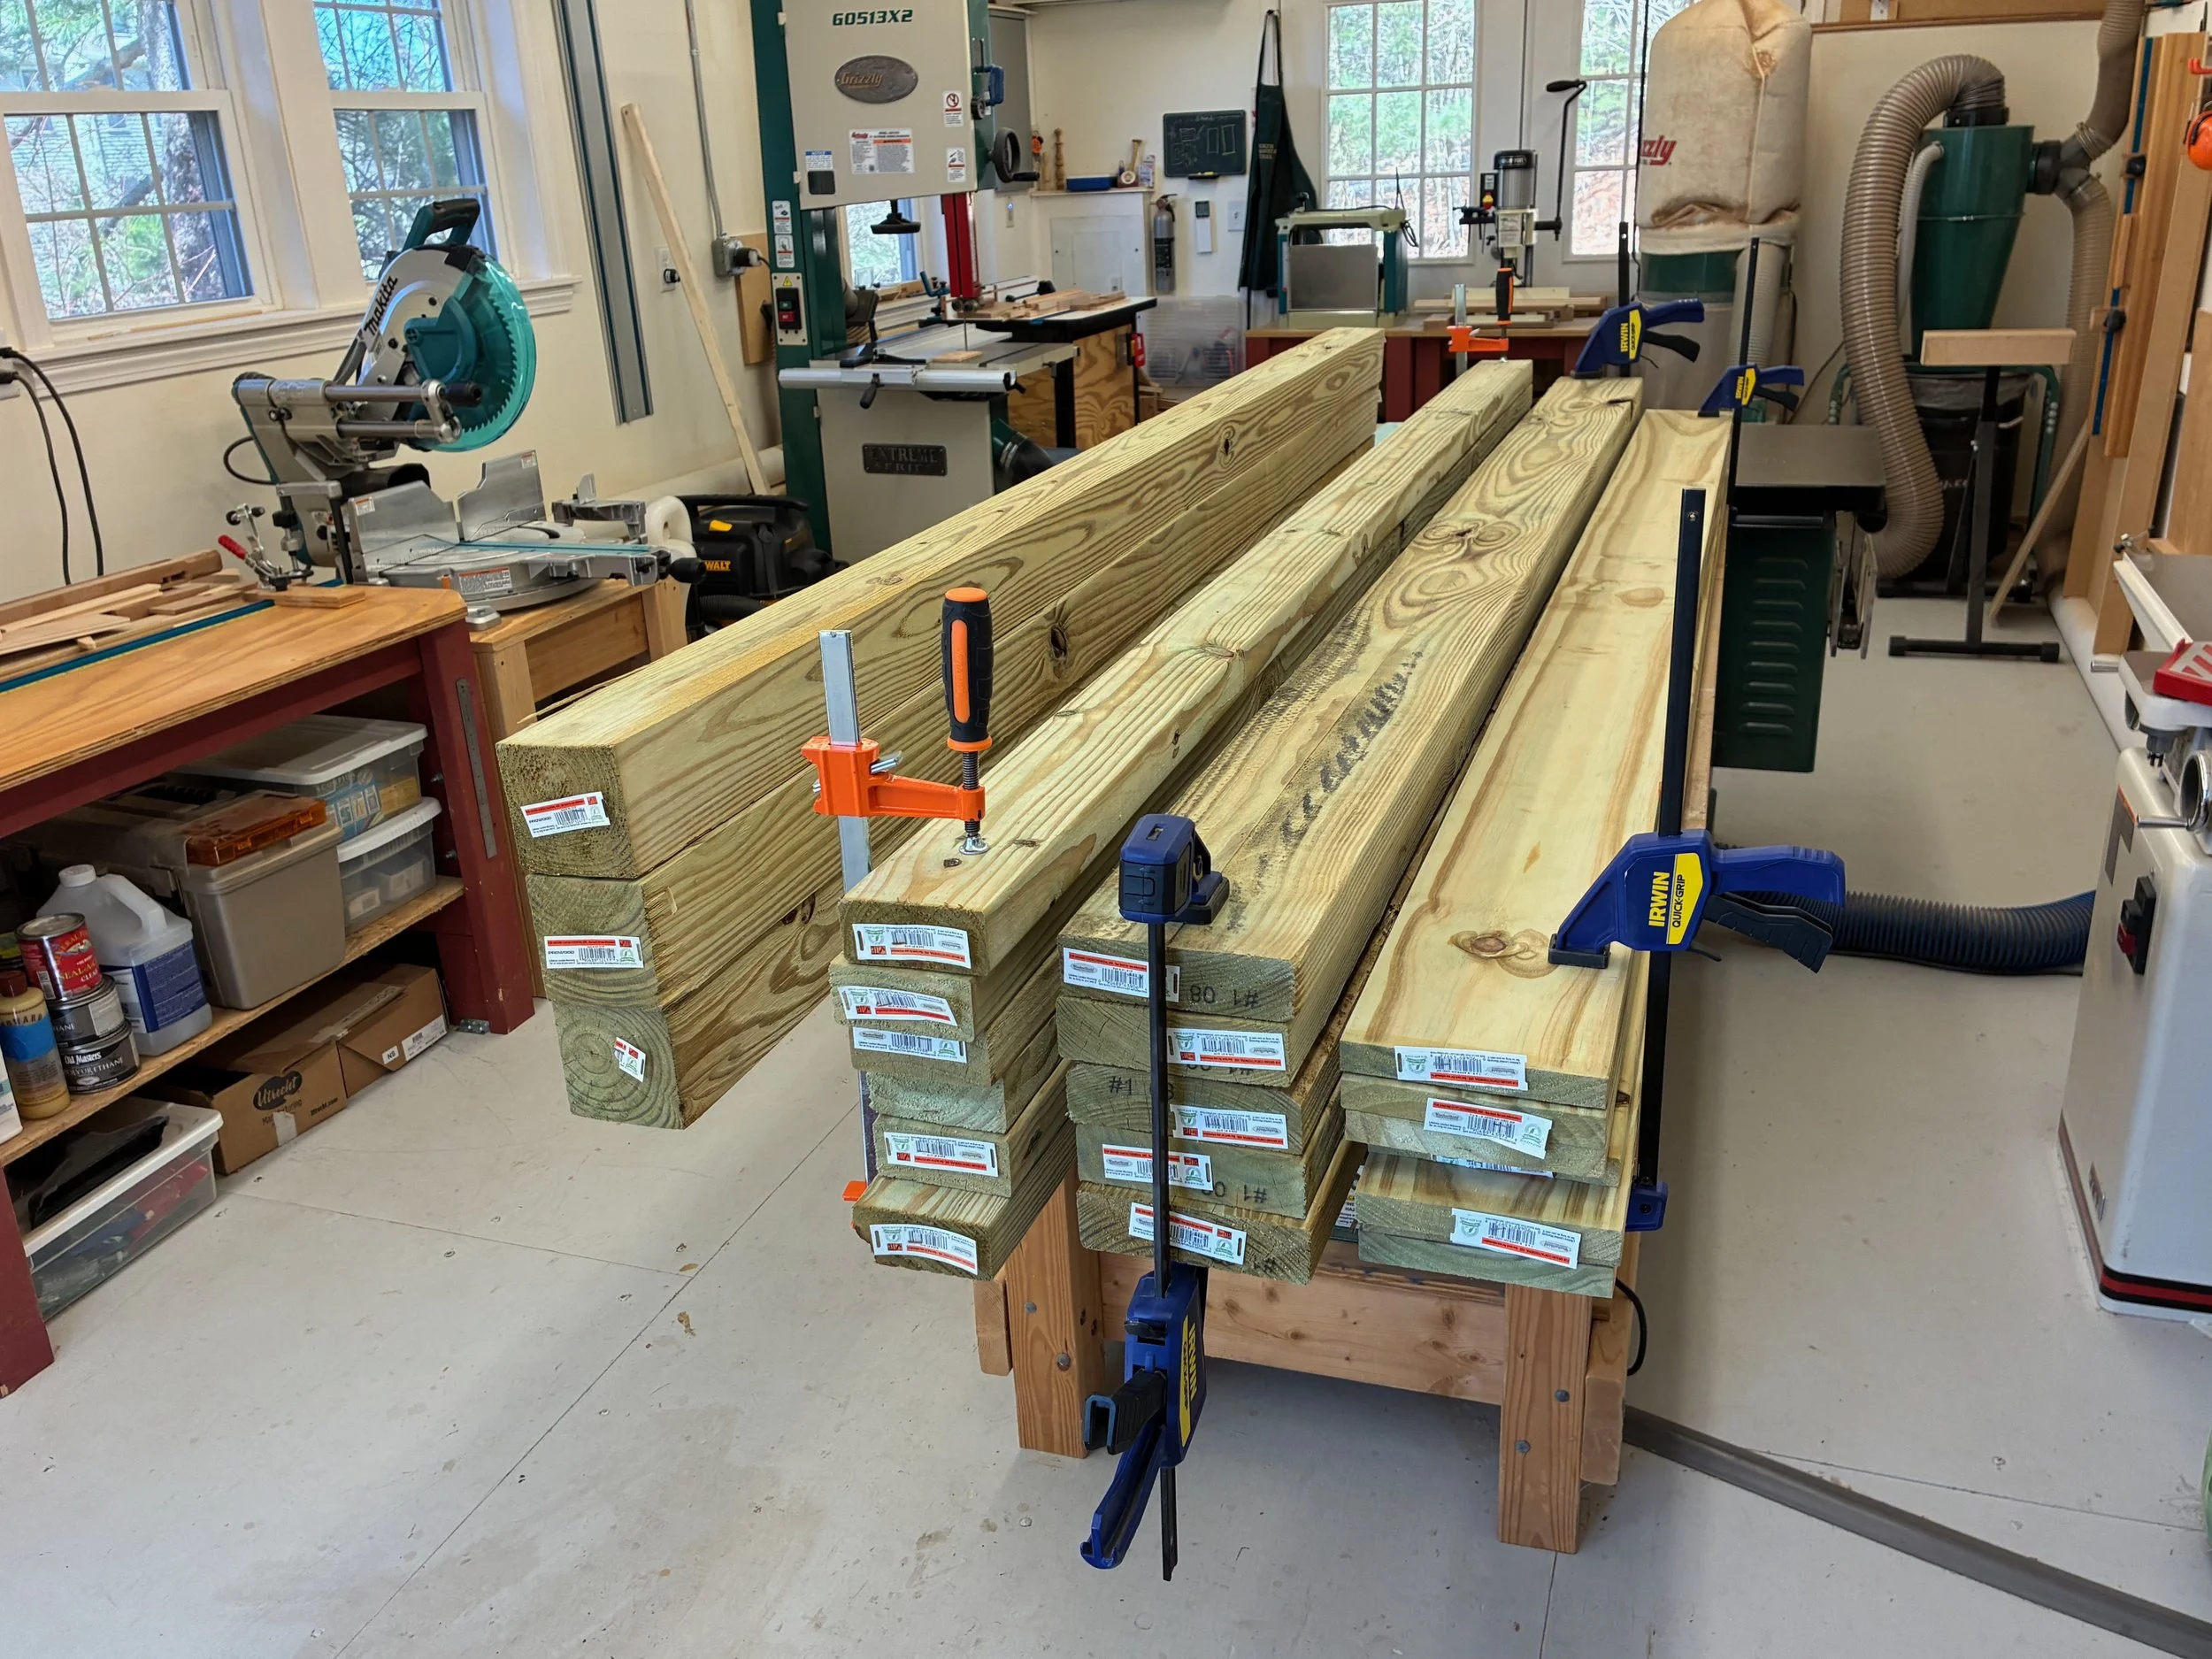
Pressure treated pine and sliding miter saw
Dimensioning & Assembly
As a rule, I don’t like to use my workshop tools for PT lumber, but the sliding miter saw is so much easier to use than a hand held circular saw that I made an exception here. I followed the plan dimensions, exactly, so the sawing was simple: square-off the ends and cross cut to length. The wood was quite wet, but pretty straight and well-behaved, overall.
I began with the shorter bench and constructed it in the workshop. Galvanized, 5/16 in. carriage bolts were used to firmly join the rails to the legs, and a 2 × 4 “sister joist” (maybe that’s the term?) was run along the inside of the long rails to provide a nice surface on which to fasten the platform boards, spaced ¼ inch apart.
Attaching the legs to a side rail using carriage bolts
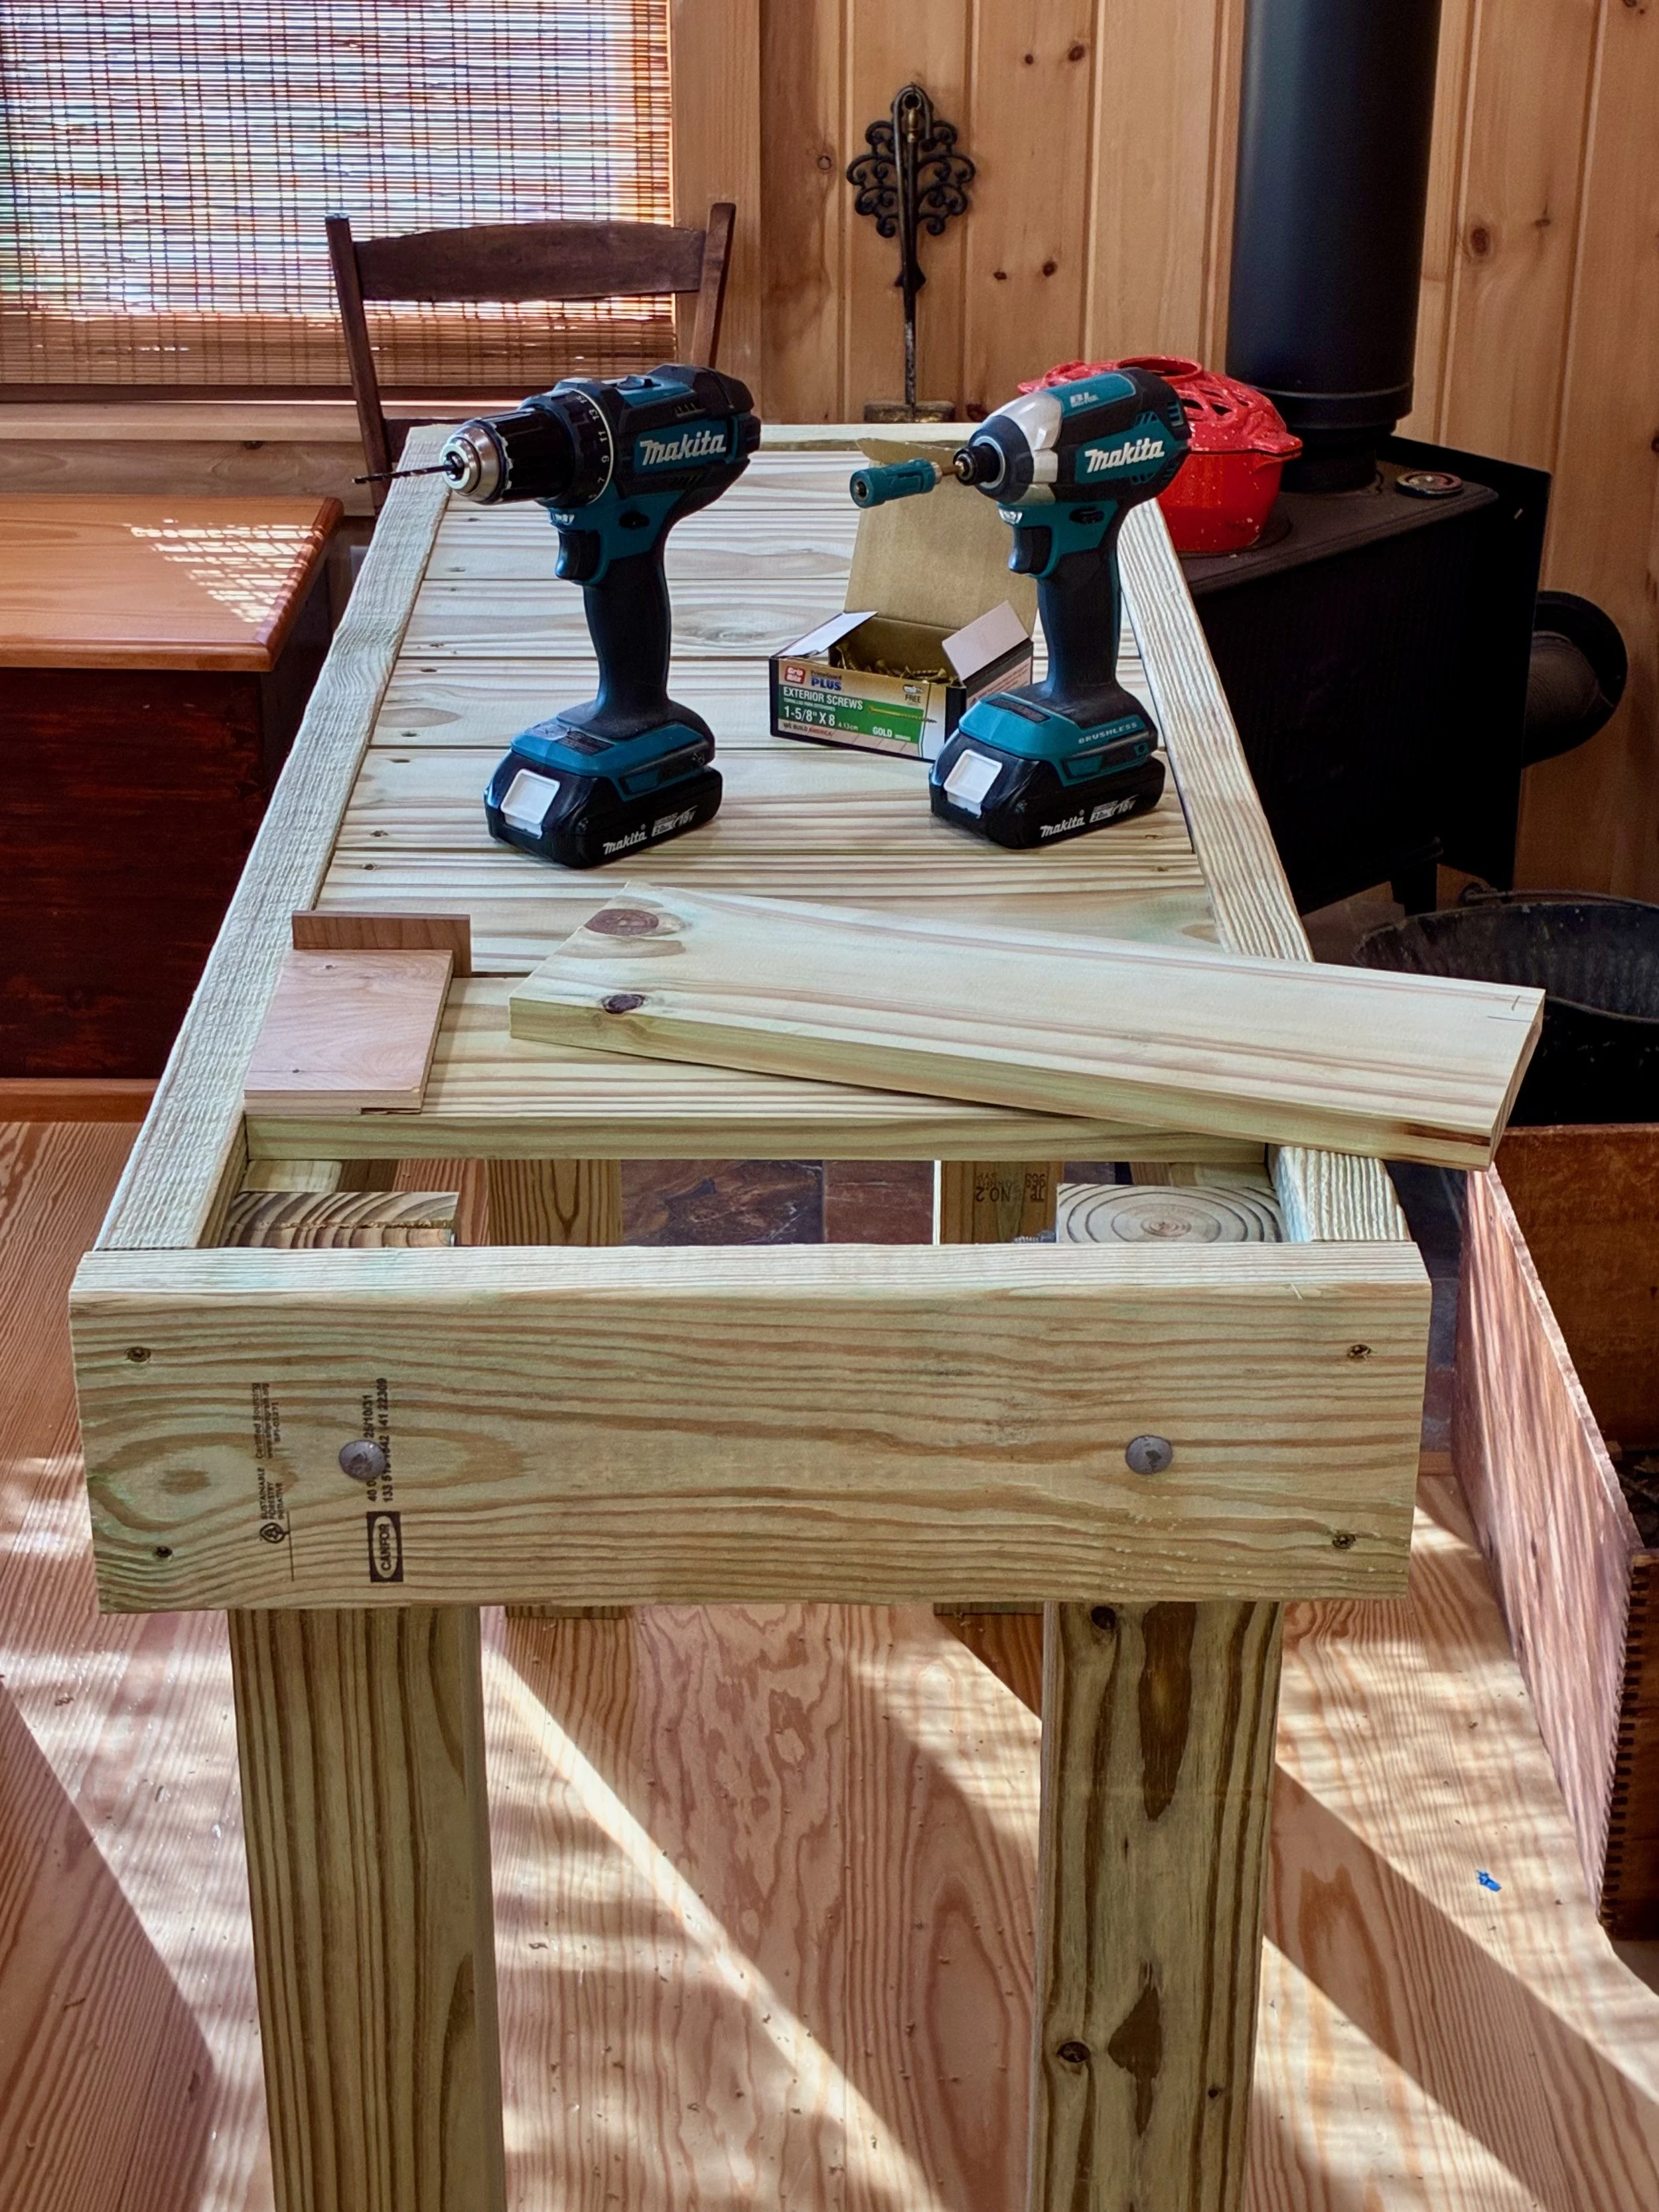
Laying the final board. A simple jig was used to keep the screw spacings uniform.
The larger bench was assembled on the garage floor from boards cut to length under the Red Top.
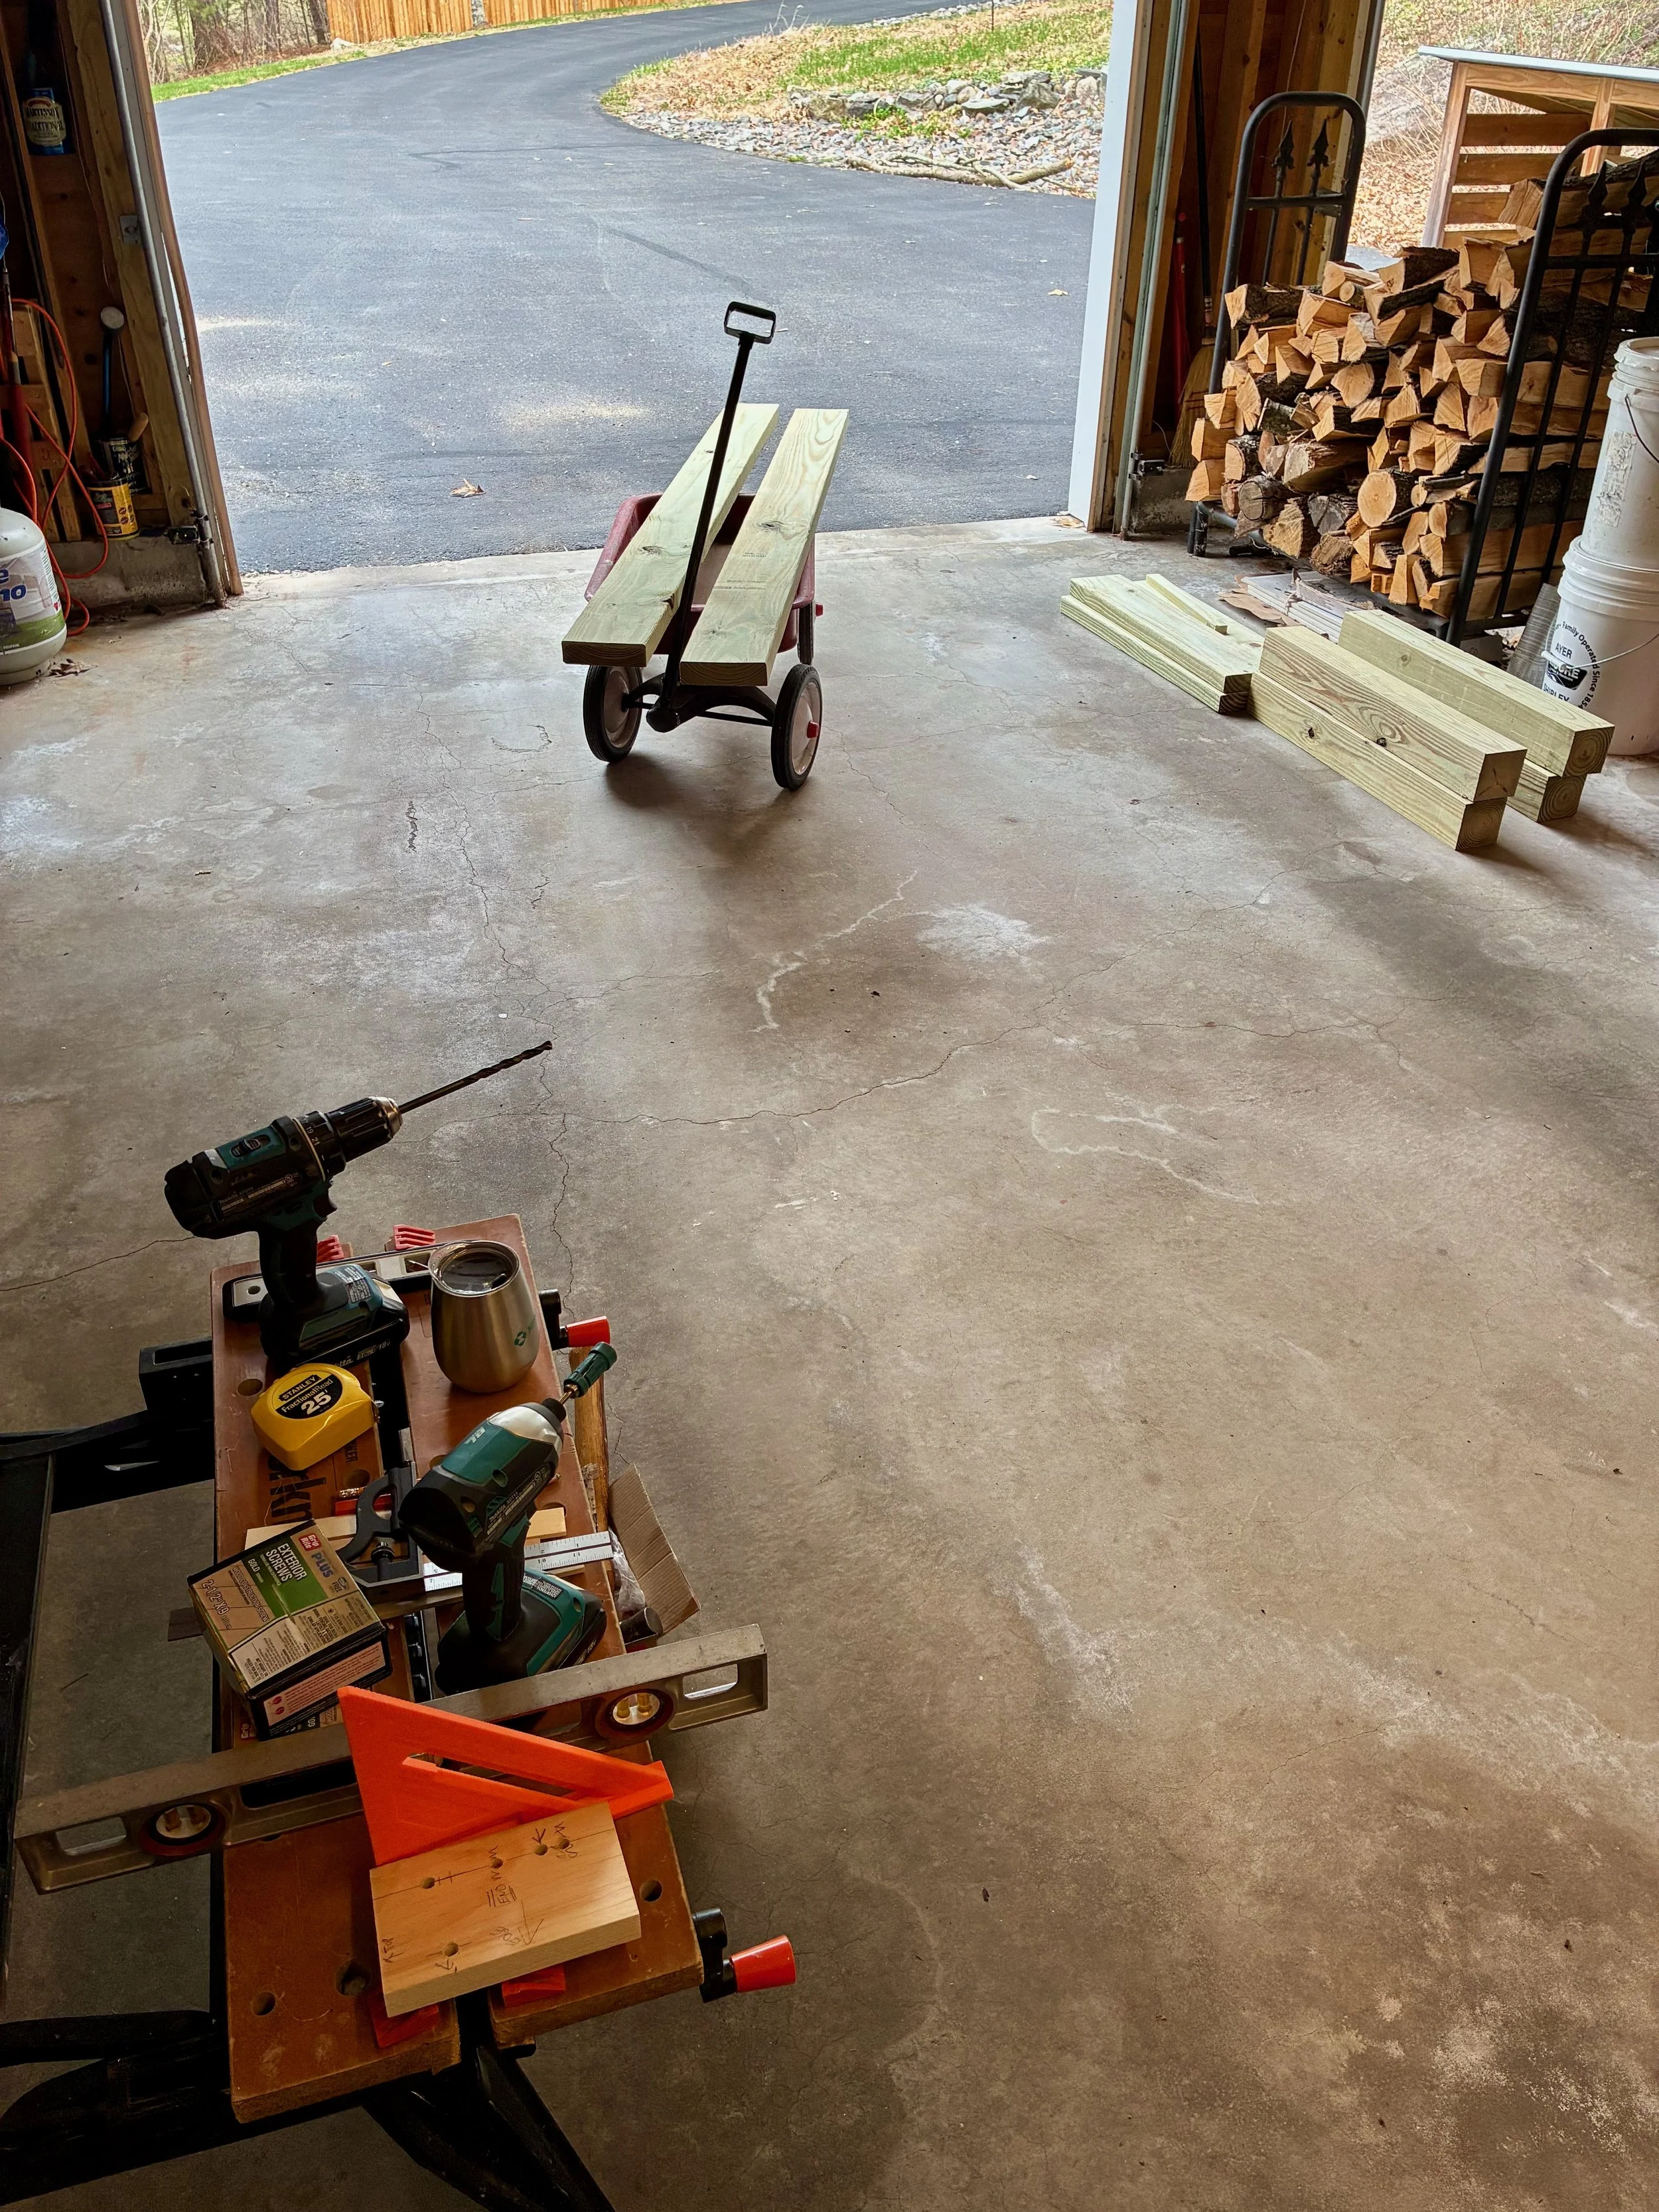
Tools and pre-cut lumber at the job site
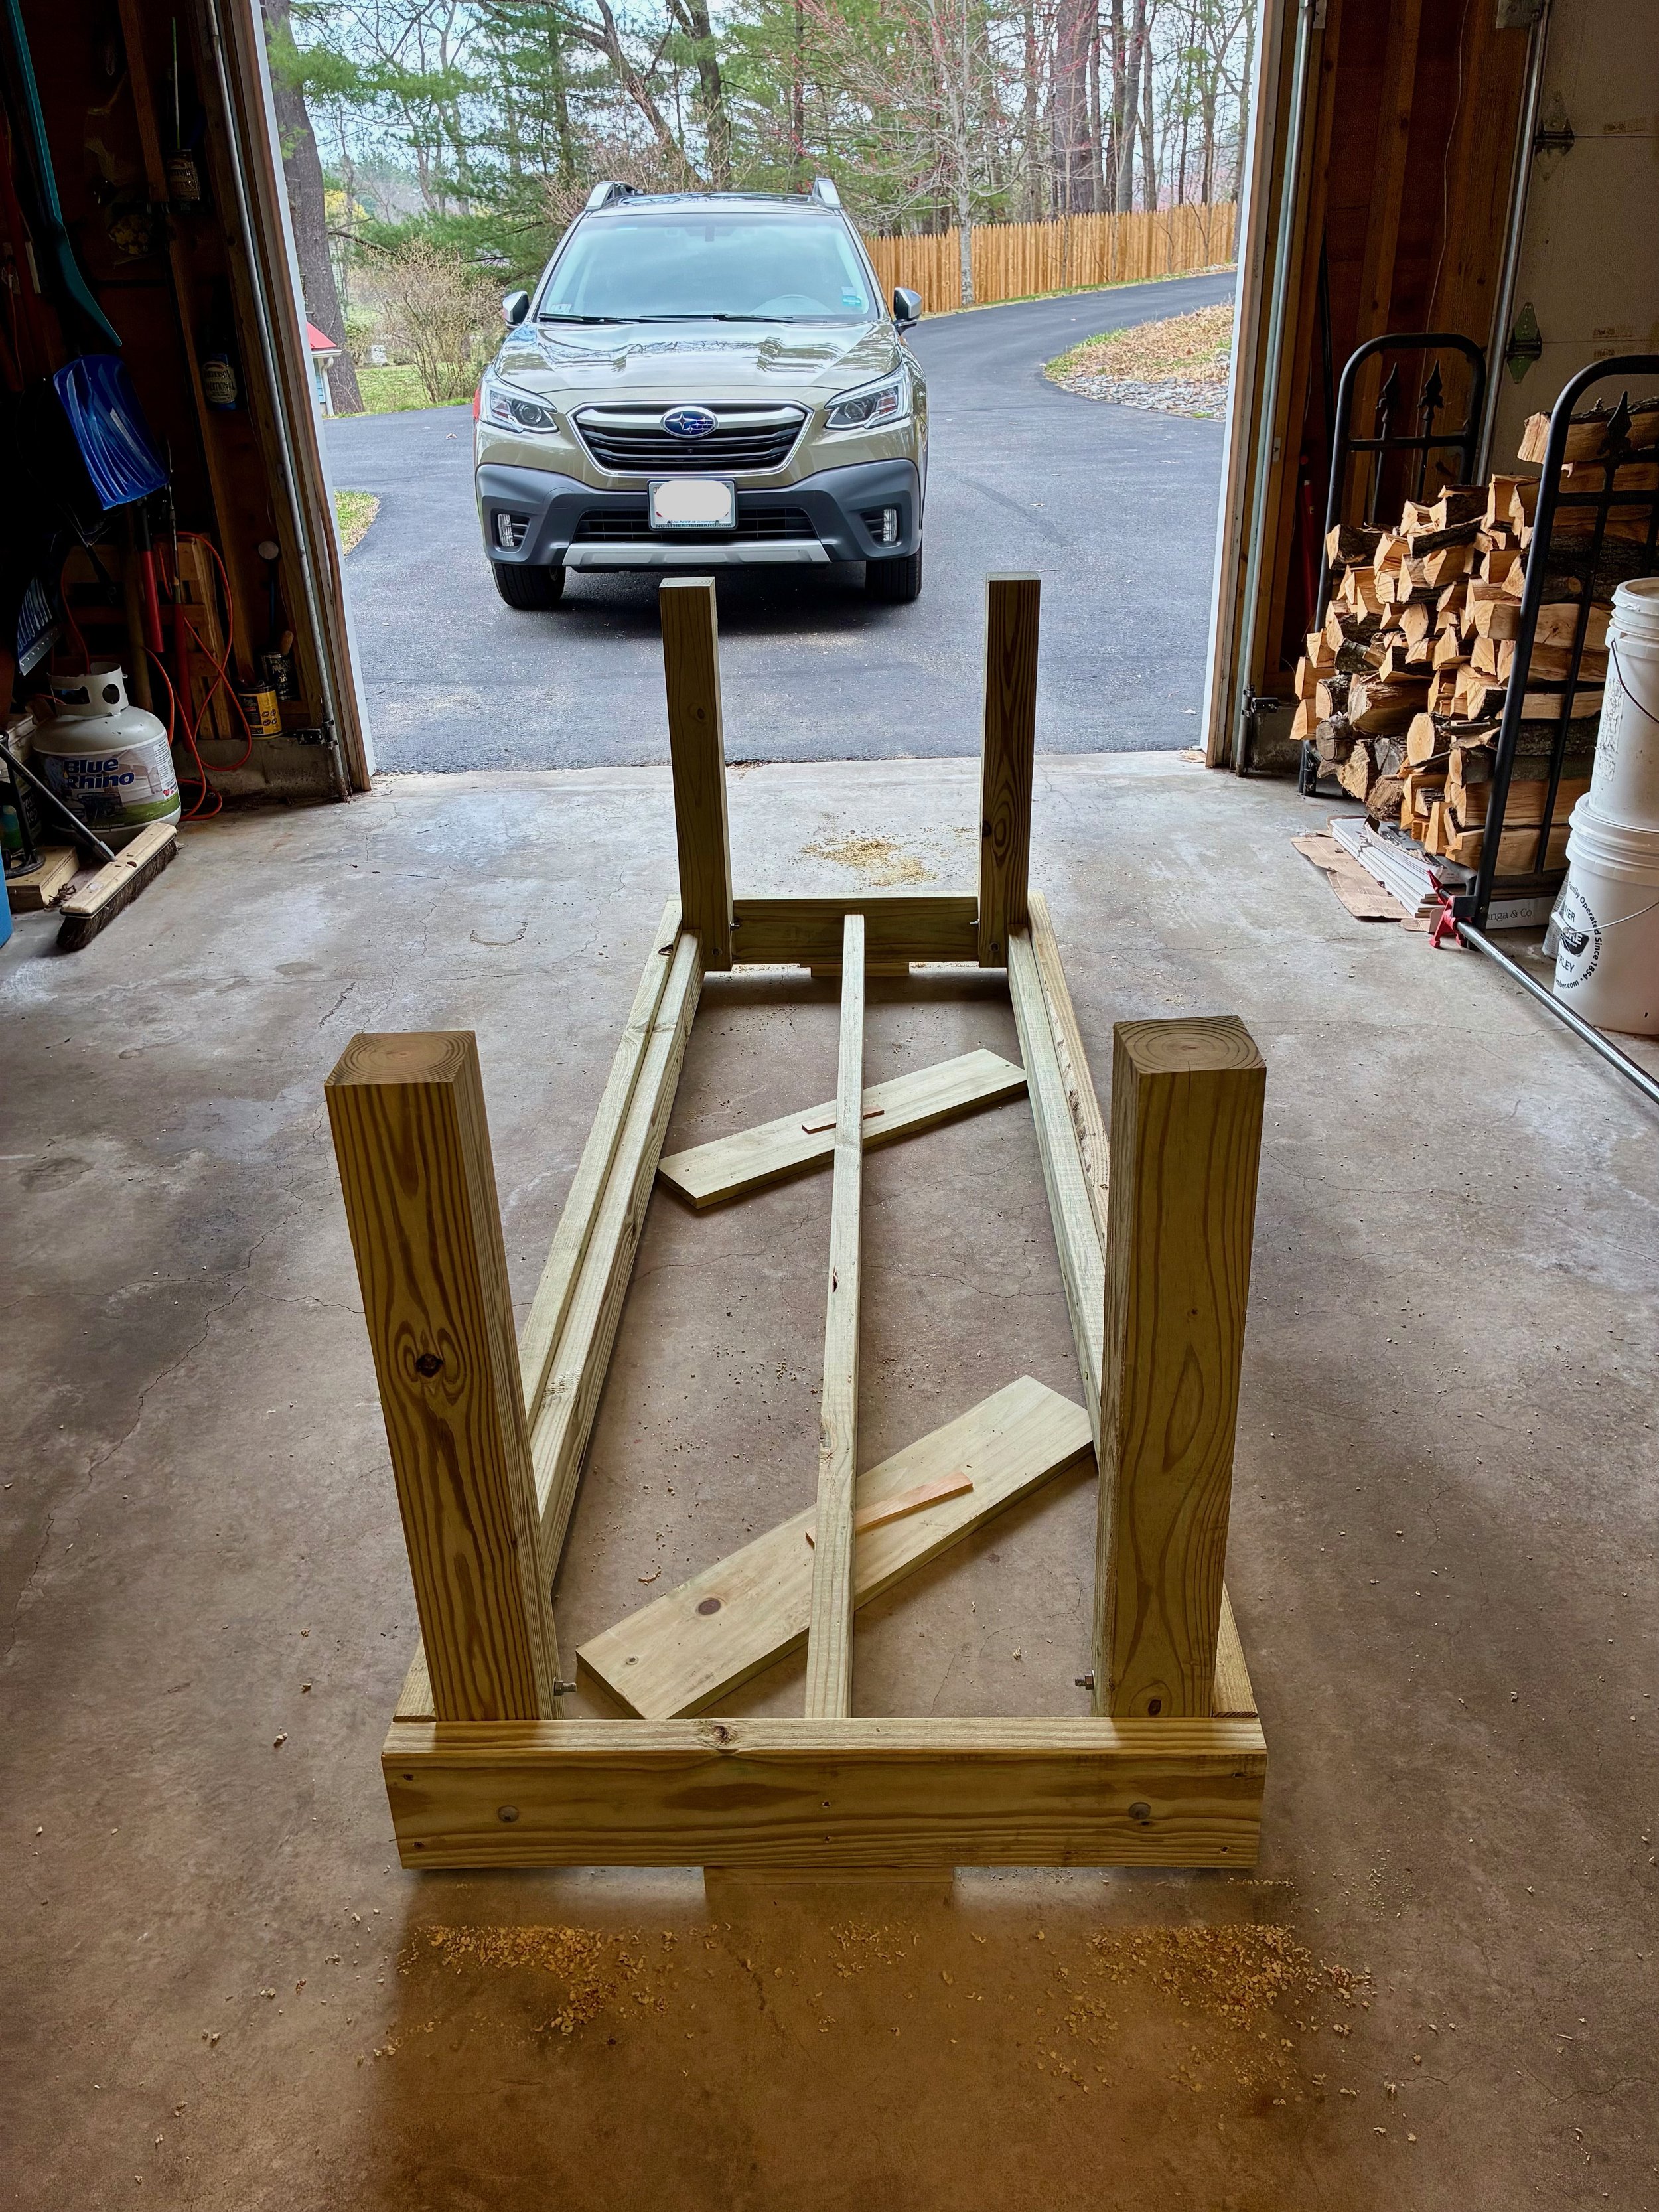
Completed frame
Except for flipping things over and moving the benches to site, this is an easy, one-person job. Rich helped me move the frame outdoors and the decking was completed there.
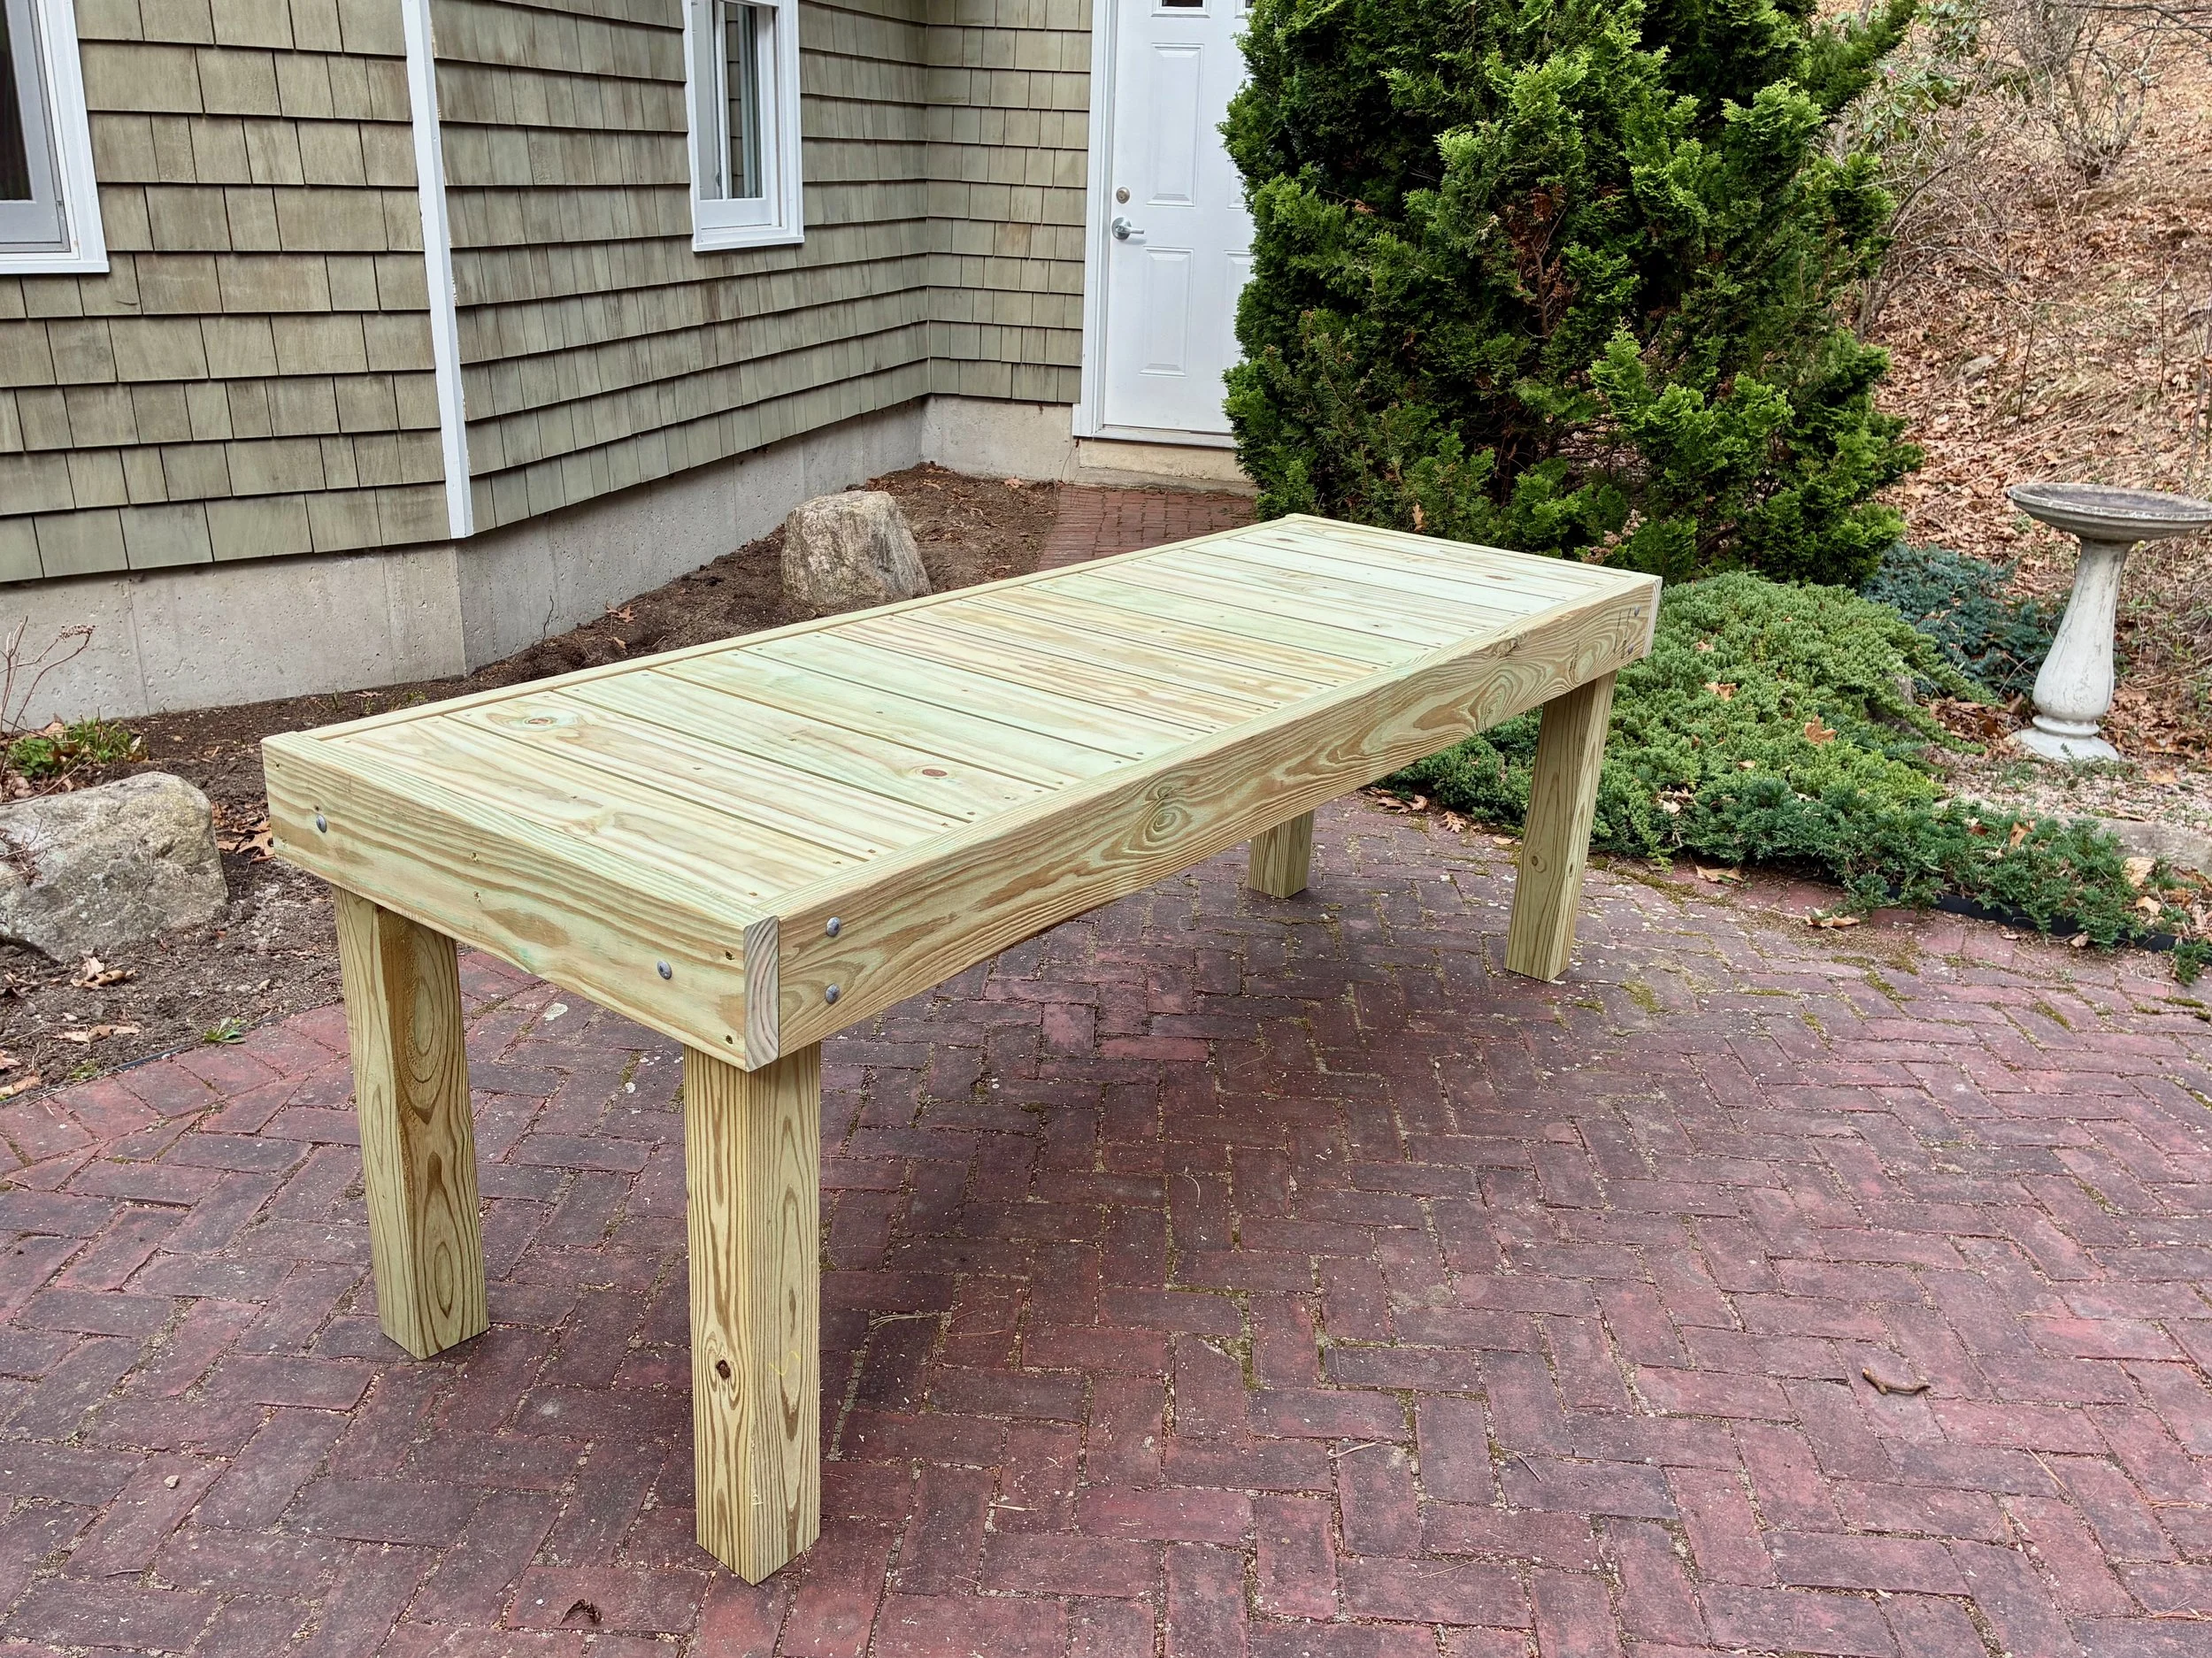
Bench done
Following some landscape work the bonsai benches were moved into place to begin their new life in support of a new adventure.
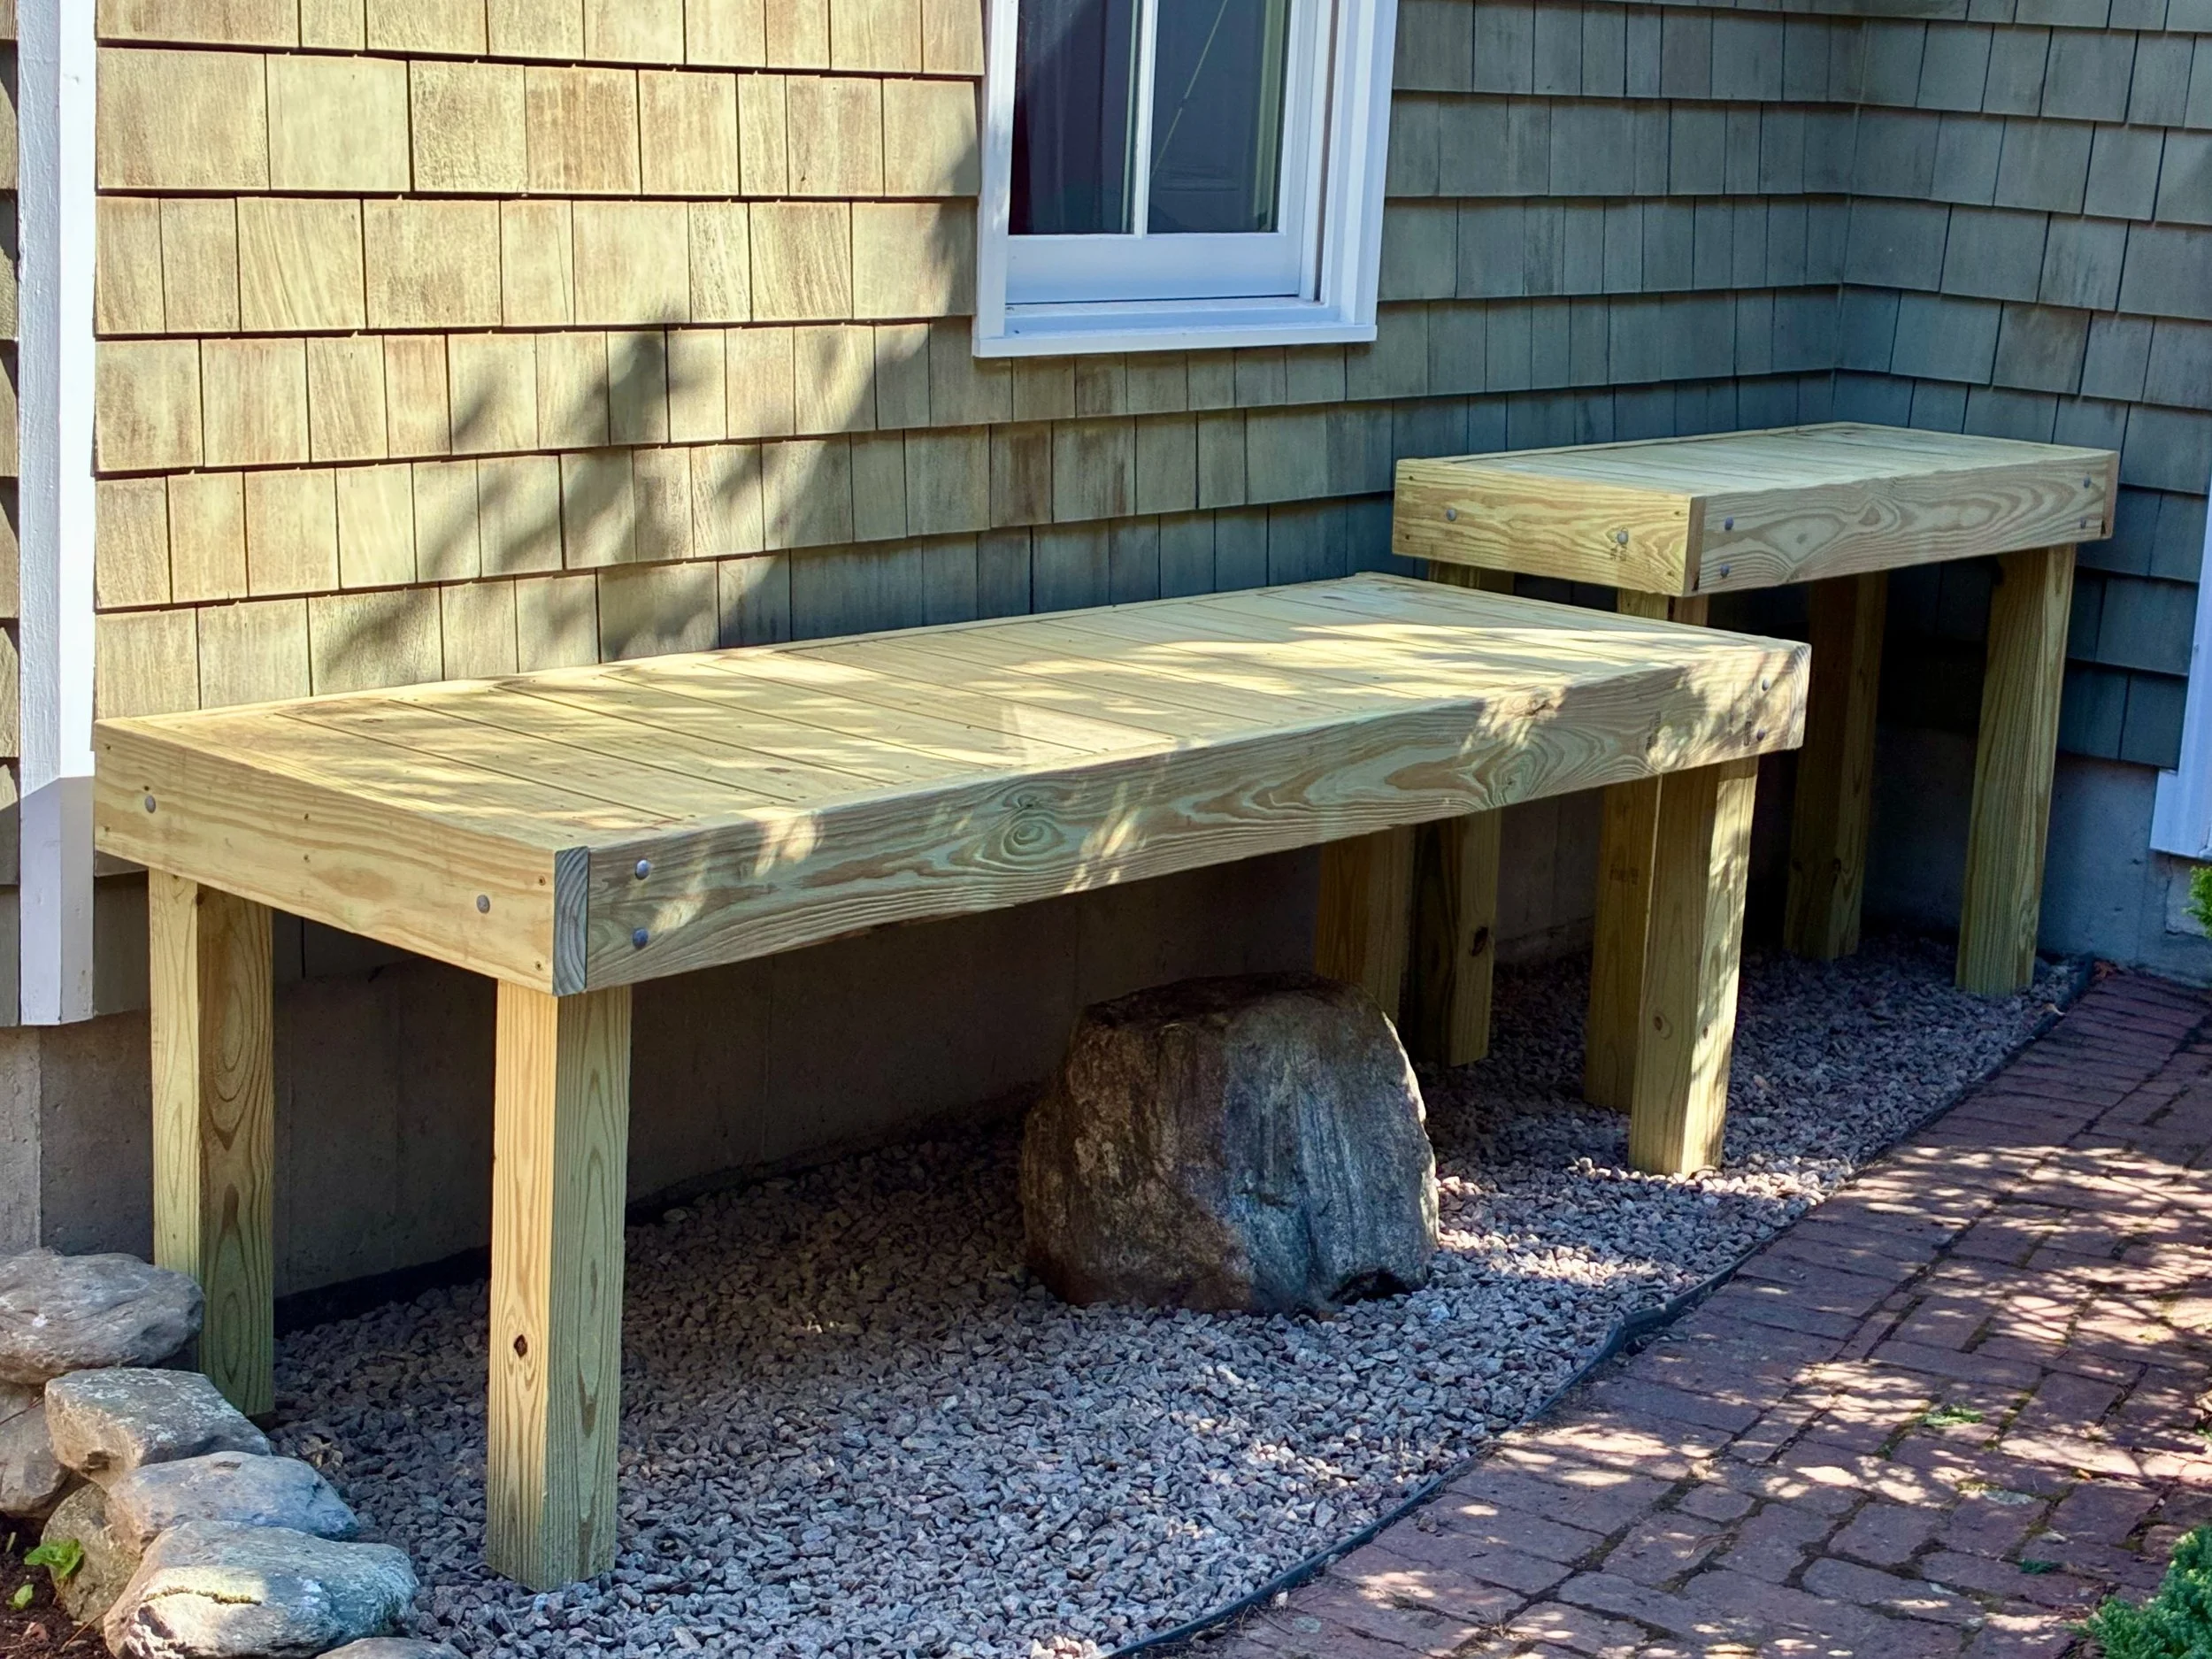
Benches in place
I collected some trees from the woods on my property to get started. They’ll spend a year or two acclimating to pot life and begin bonsai training, thereafter. Stay tuned.
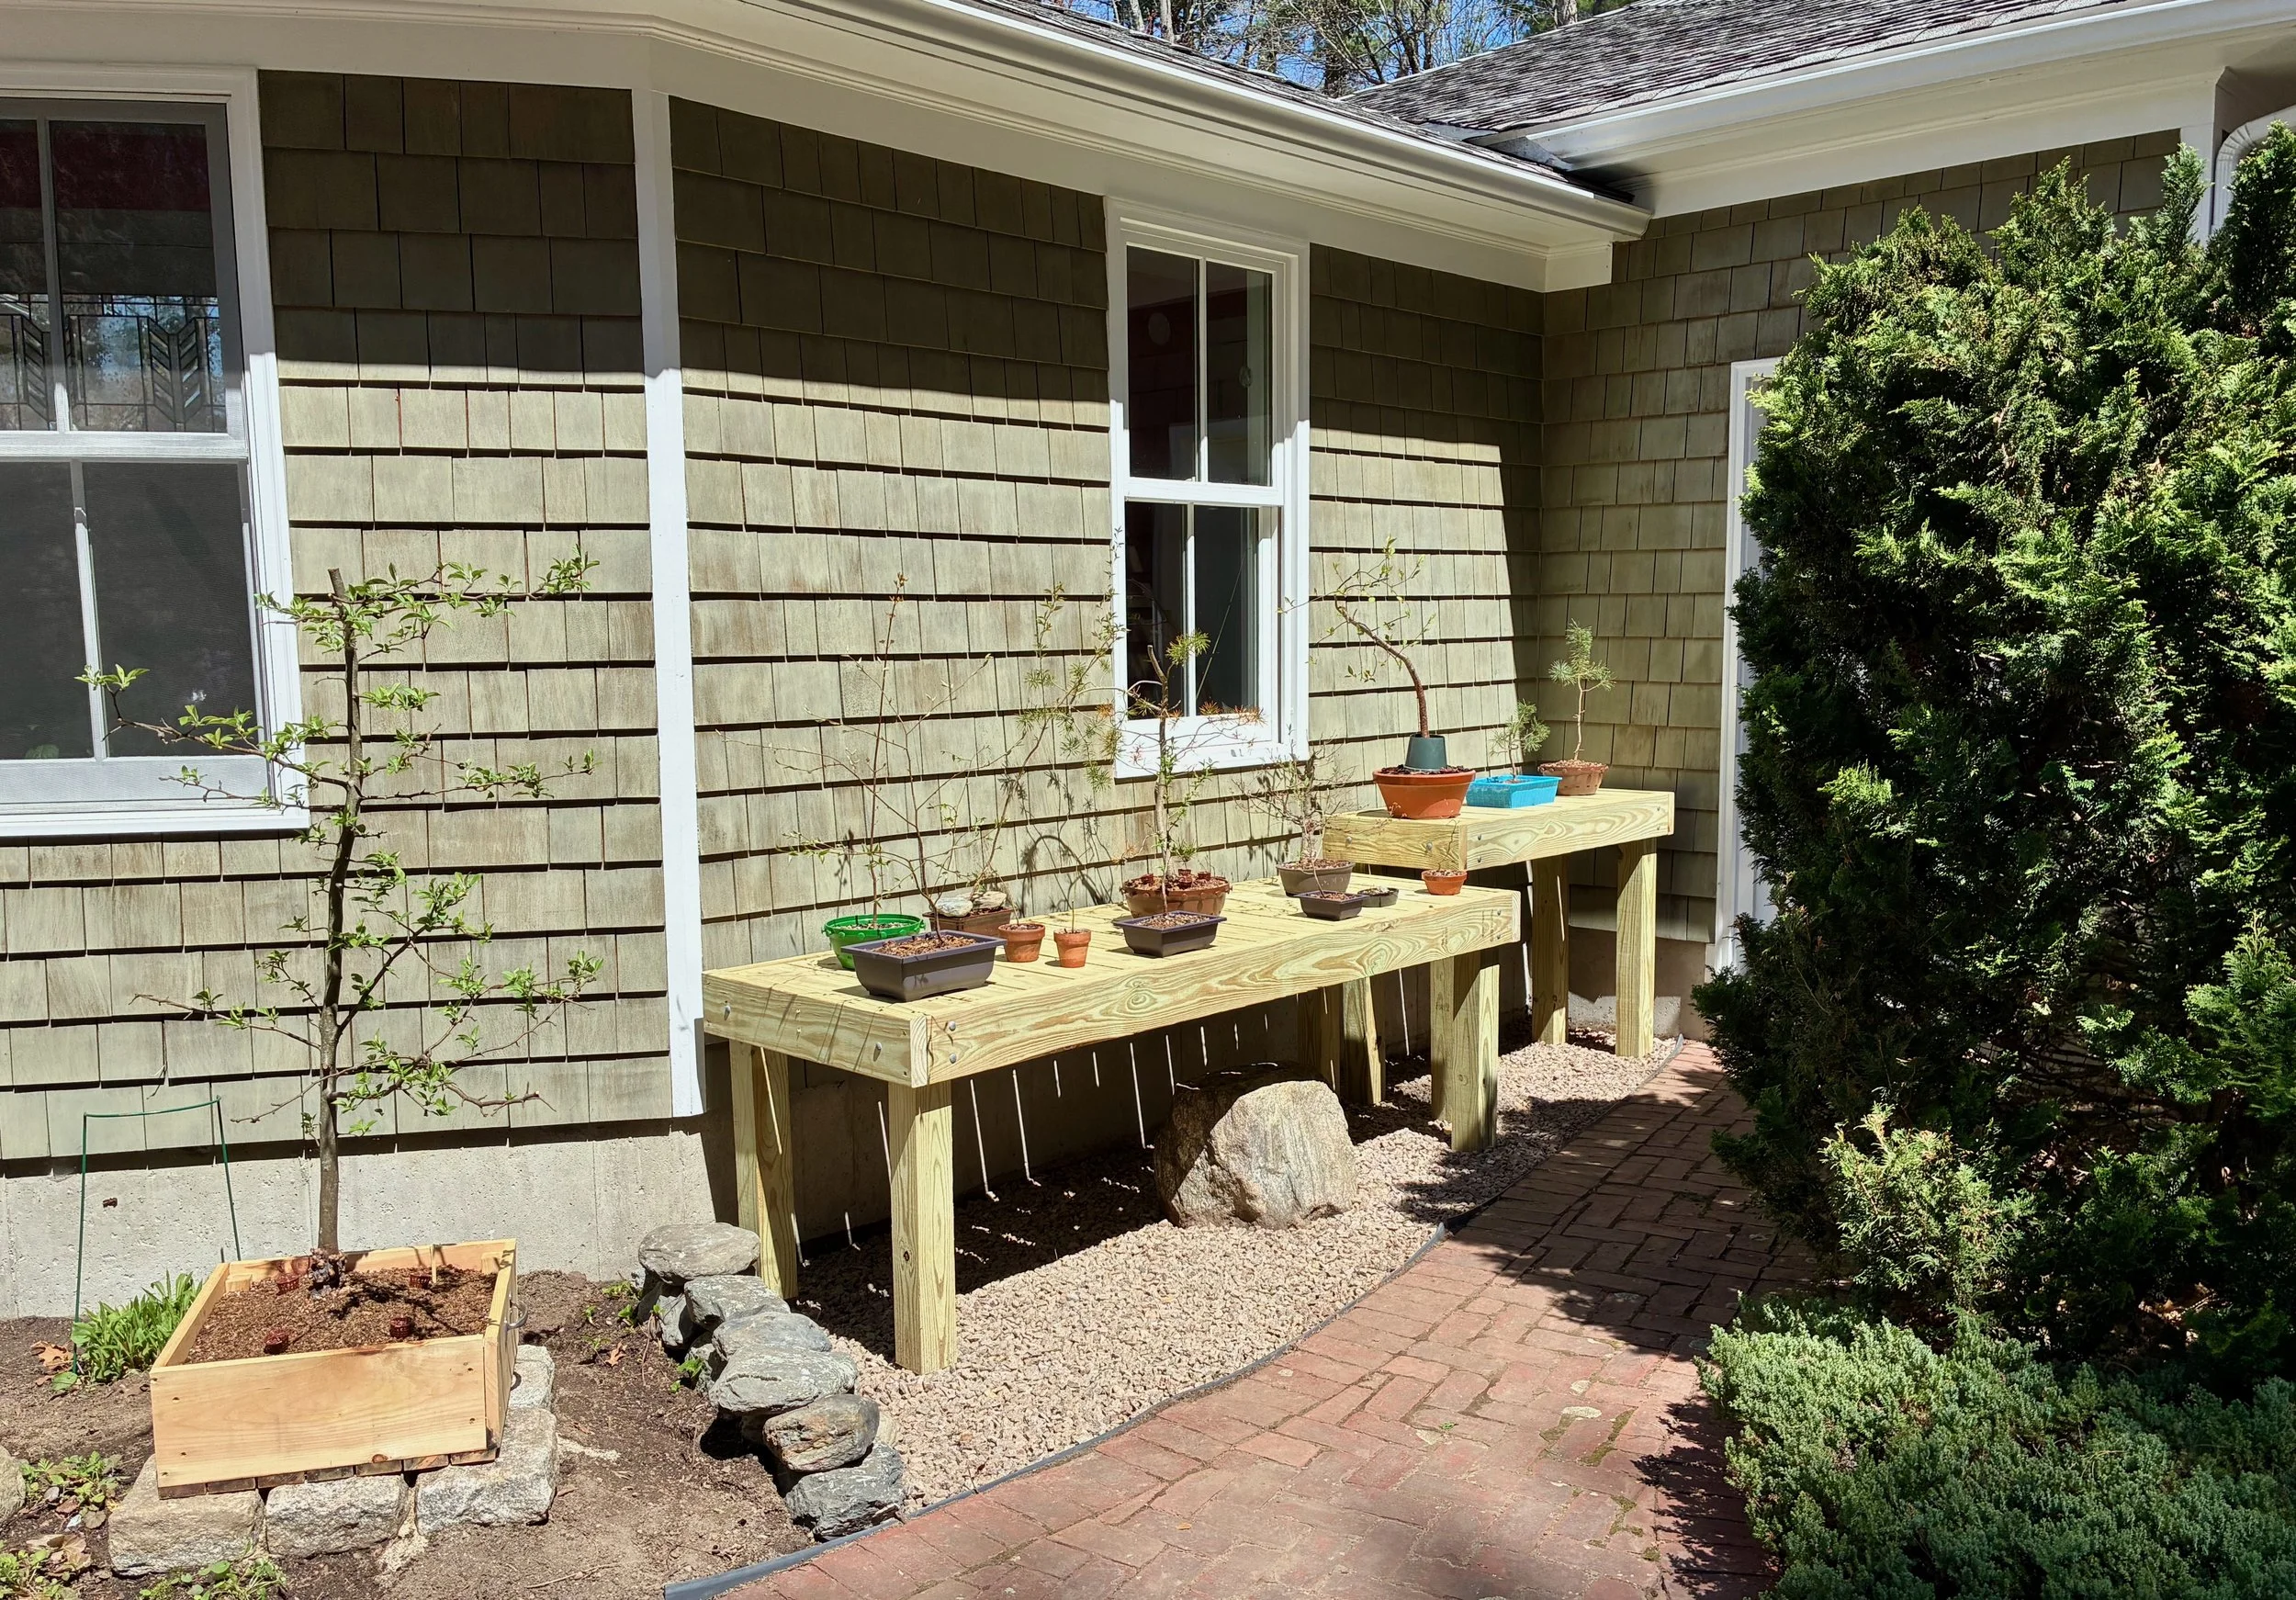
My remarkable plants